When you click on links to various merchants on this site and make a purchase, this can result in this site earning a commission. Affiliate programs and affiliations include, but are not limited to, the eBay Partner Network.
1st Gen. Ram - All TopicsDiscussion for all Dodge Rams prior to 1994. This includes engine, drivetrain and non-drivetrain discussions. Anything prior to 1994 should go in here.
The sight glass is on top of the filter dryer, it is tiny, but you can use it. It should be completely clear with R-12. The filter dryer is mounted to the passenger side fender...Mark P.S. It may be covered in crud...
Thanks. I�ll have to check that out when I get a drivetrain back in the truck.
Well our newest member Coffeeaddict had a break down today so I went out to help him. Turns out even before this we were PM-ing back and forth and it turns out we already knew each other..... So he gave me a call today when his truck would not turn over, I got there and they were using some very light duty jumpers and a 2nd Gen to try and boost it....just clicking at the starter, so hooked up my HD industrial jumpers the wires are like welding wire on those. After 15-20 min running Patches on high idle it would just barely roll over, so decided then to swap my battery into the his truck....fired right up! So now that we got it running the voltage gauge was only showing about 11.5 volts.....it's a 91 BTW. So tried a few things and could not get the charging to come up to the 13+ volts, so drove around town to find a voltage regulator, swapped that on and still not charging properly.
I did everything I could think of, cleaned grounds, and battery terminals and connections, added grounds, full fielded the alternator, hot wired the voltage regulator etc to make sure it was working, but nothing would bring the voltage up.....but I did not have my multi-meter with me so I was just going off the OEM gauge so perhaps it was wrong and it was charging. Anyway checked out his truck.....pretty neat unit and it is definitely a factory cab and chassis unit cummins/getrag and 3.54 rear diff, and is an original reg cab truck VIN's all match and there is no ext cab frame under it so must have been an error at the licensing dept. But it does have some sketchy wiring that needs to be repaired, cleaned up and/or removed.
Put the cap back on the truck in anticipation of this weekends camping trip/bachelor Party.
Also looks like I will be doing the rear axle seal again, appears to be leaking again.
Speedy Sleeve with National # 99287 if the seal surface is pitted.
Break it off at the scribed line and drive it in flush to the surface. Green loctite the seating surface first.
Reseal and done.
Put the cap back on the truck in anticipation of this weekends camping trip/bachelor Party.
Also looks like I will be doing the rear axle seal again, appears to be leaking again.
If this is a repetitive chore, have you checked your axle vent? They seem to get gunked up very quickly.
Speedy Sleeve with National # 99287 if the seal surface is pitted.
Break it off at the scribed line and drive it in flush to the surface. Green loctite the seating surface first.
Reseal and done.
When I did it last winter the mating surface looks to be pretty clean and free of burrs nicks or other surface defects.
Originally Posted by dodgenstein
If this is a repetitive chore, have you checked your axle vent? They seem to get gunked up very quickly.
Good call I'll definitely check that before tearing into the axle.
Put the cap back on the truck in anticipation of this weekends camping trip/bachelor Party.
Also looks like I will be doing the rear axle seal again, appears to be leaking again.
My rear axle is fine, it's my front axle that eats inner seals....it's a yearly swap the seals and clean and re-grease the front bearings. Having said that I need to order new seals and get this done.
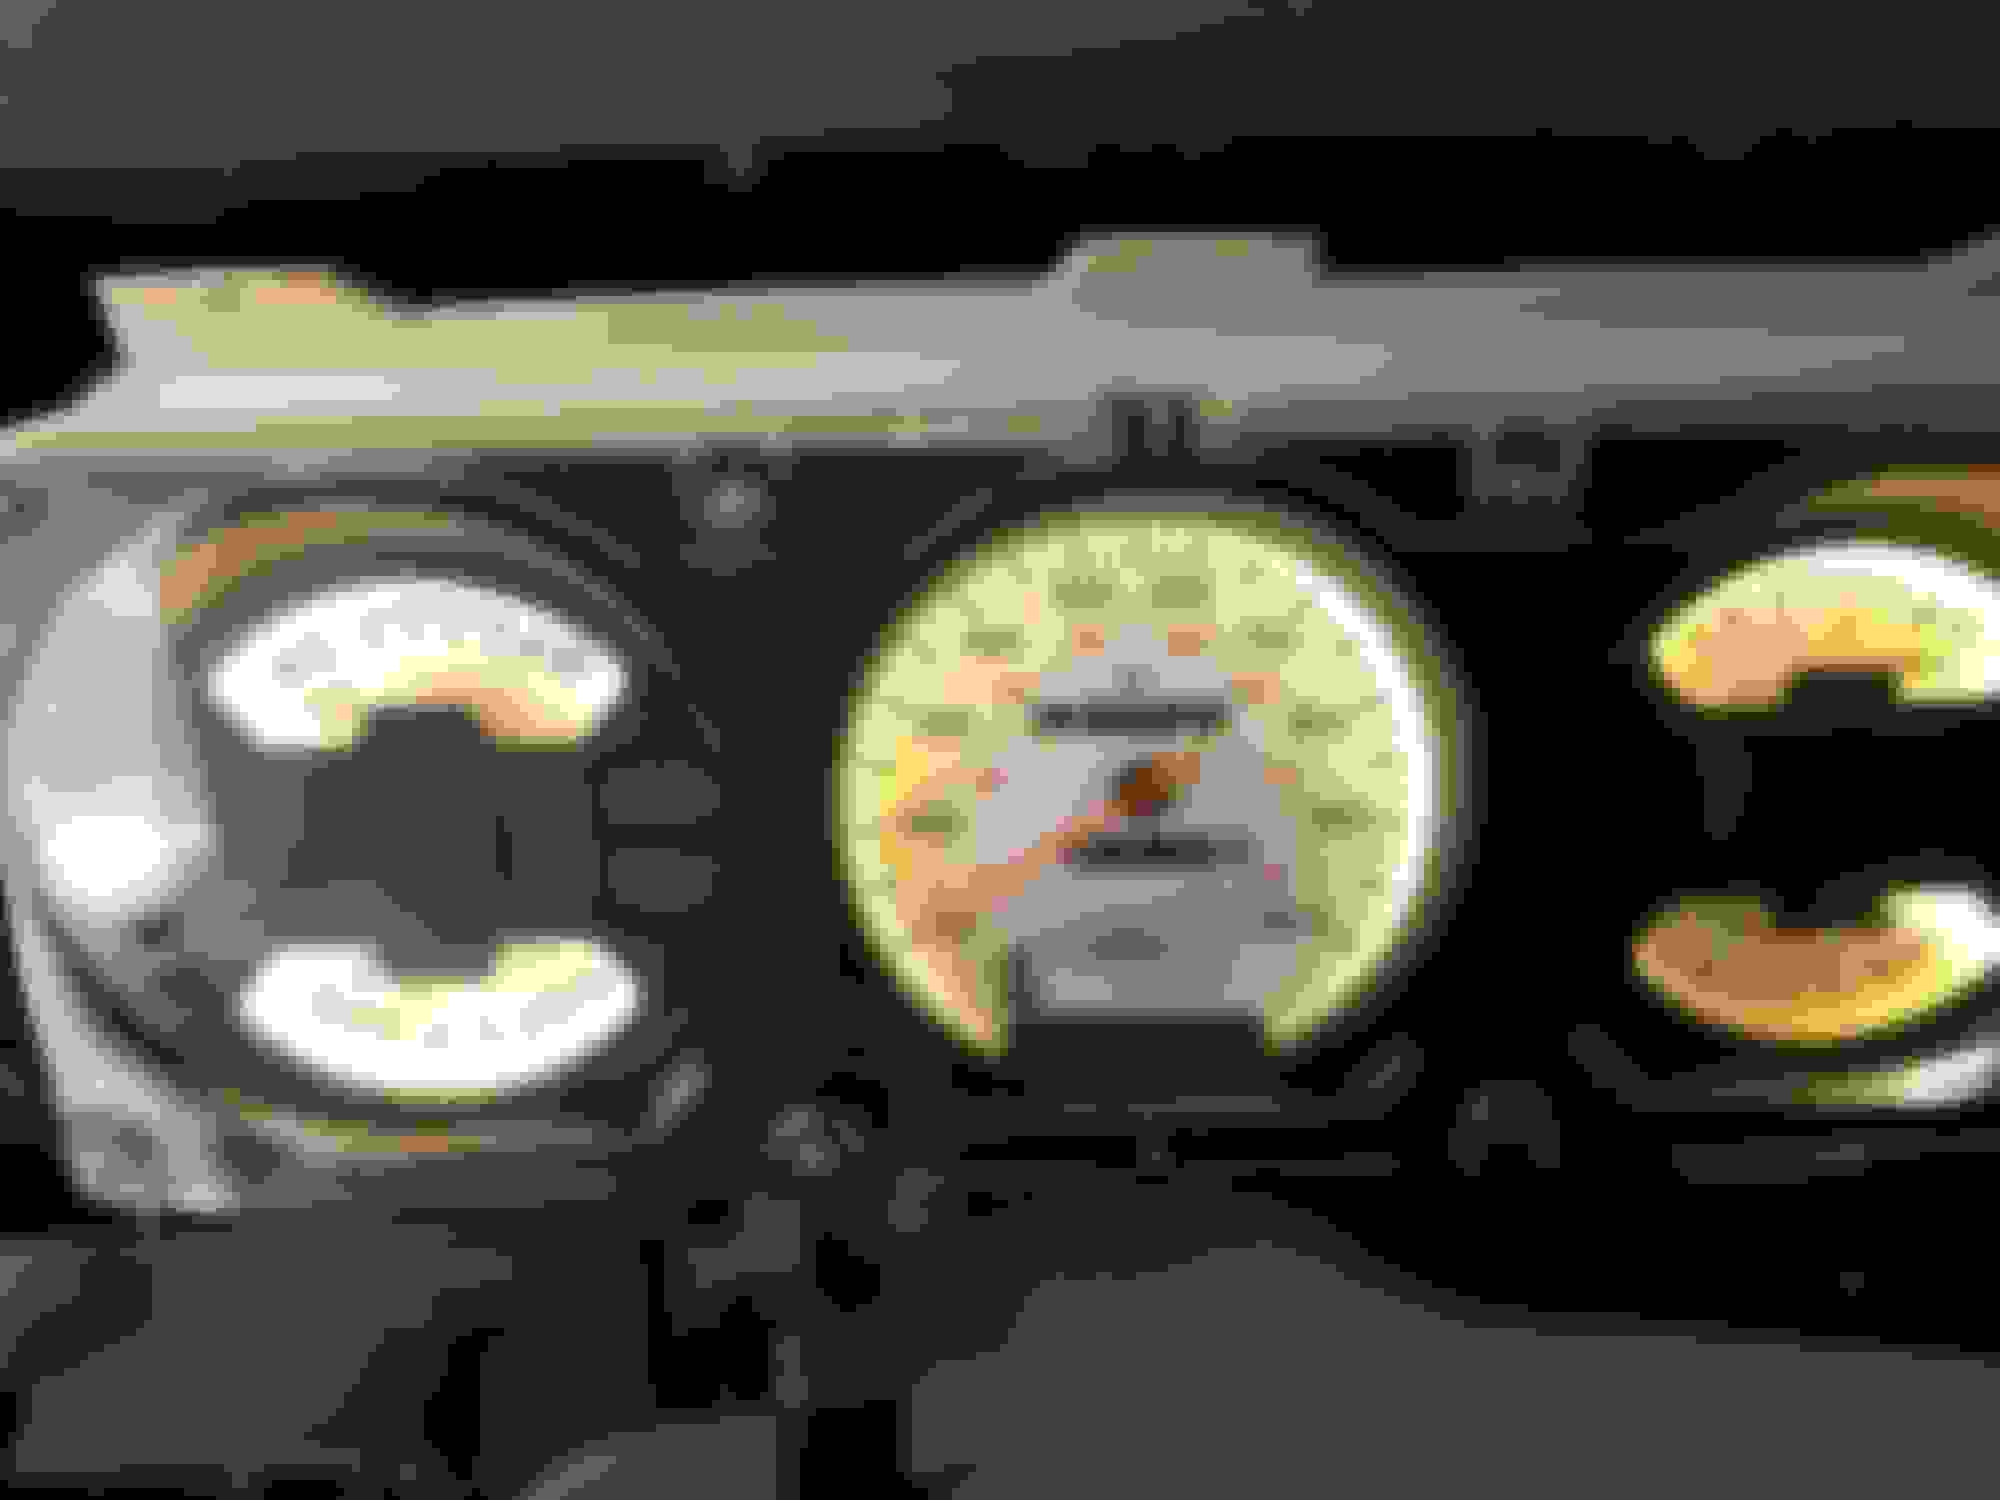
Thanks to whoever posted the sticky to replace the gears and to white face the gauges and paint the needles all fluorescent orange again! Also replaced all the guage backlighting with new LED's! I think it turned out awesome. Oh and **** retentive me was able to clean the 25+ years of nasty behind the dash bezel! Now for the new stereo and thumper speaker and amp stuff!
So less what I did to it and more what I did with it. Went into the national forest over the weekend to do some shooting and forest road exploring. Ended up on a very rough "Jeep" Trail with the cummins, it was a very bouncy ride and new "pinstripes" were acquired. Truck did great despite being wider then the trail LOL.
Bought another receiver/dryer, evacuated the system but it wouldn't hold vacuum completely, just partially.
Finally gave up and put three cans of air duster in (R152a) and so far it has held.
Thanks to whoever posted the sticky to replace the gears and to white face the gauges and paint the needles all fluorescent orange again! Also replaced all the guage backlighting with new LED's! I think it turned out awesome. Oh and **** retentive me was able to clean the 25+ years of nasty behind the dash bezel! Now for the new stereo and thumper speaker and amp stuff!
Thanks to whoever posted the sticky to replace the gears and to white face the gauges and paint the needles all fluorescent orange again! Also replaced all the guage backlighting with new LED's! I think it turned out awesome. Oh and **** retentive me was able to clean the 25+ years of nasty behind the dash bezel! Now for the new stereo and thumper speaker and amp stuff!


 So he gave me a call today when his truck would not turn over, I got there and they were using some very light duty jumpers and a 2nd Gen to try and boost it....just clicking at the starter, so hooked up my HD industrial jumpers the wires are like welding wire on those.