
What did you do to your Gen 1 today?


Registered User
Joined: Jan 2016
Posts: 359
Likes: 151
From: Vista, Ca
One of youus guys have a $3.5 million cuda sitting in your garage?
I wish I did
http://http://autoweek.com/article/c...ngs-35-million
I wish I did
http://http://autoweek.com/article/c...ngs-35-million
I know I don't but a guy did stop by today and offer me $15K for my old fastback... Kinda wish I didn't tell him no

Registered User
Joined: Jan 2016
Posts: 359
Likes: 151
From: Vista, Ca
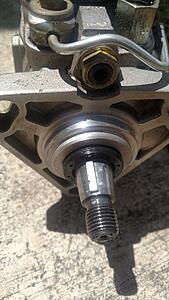
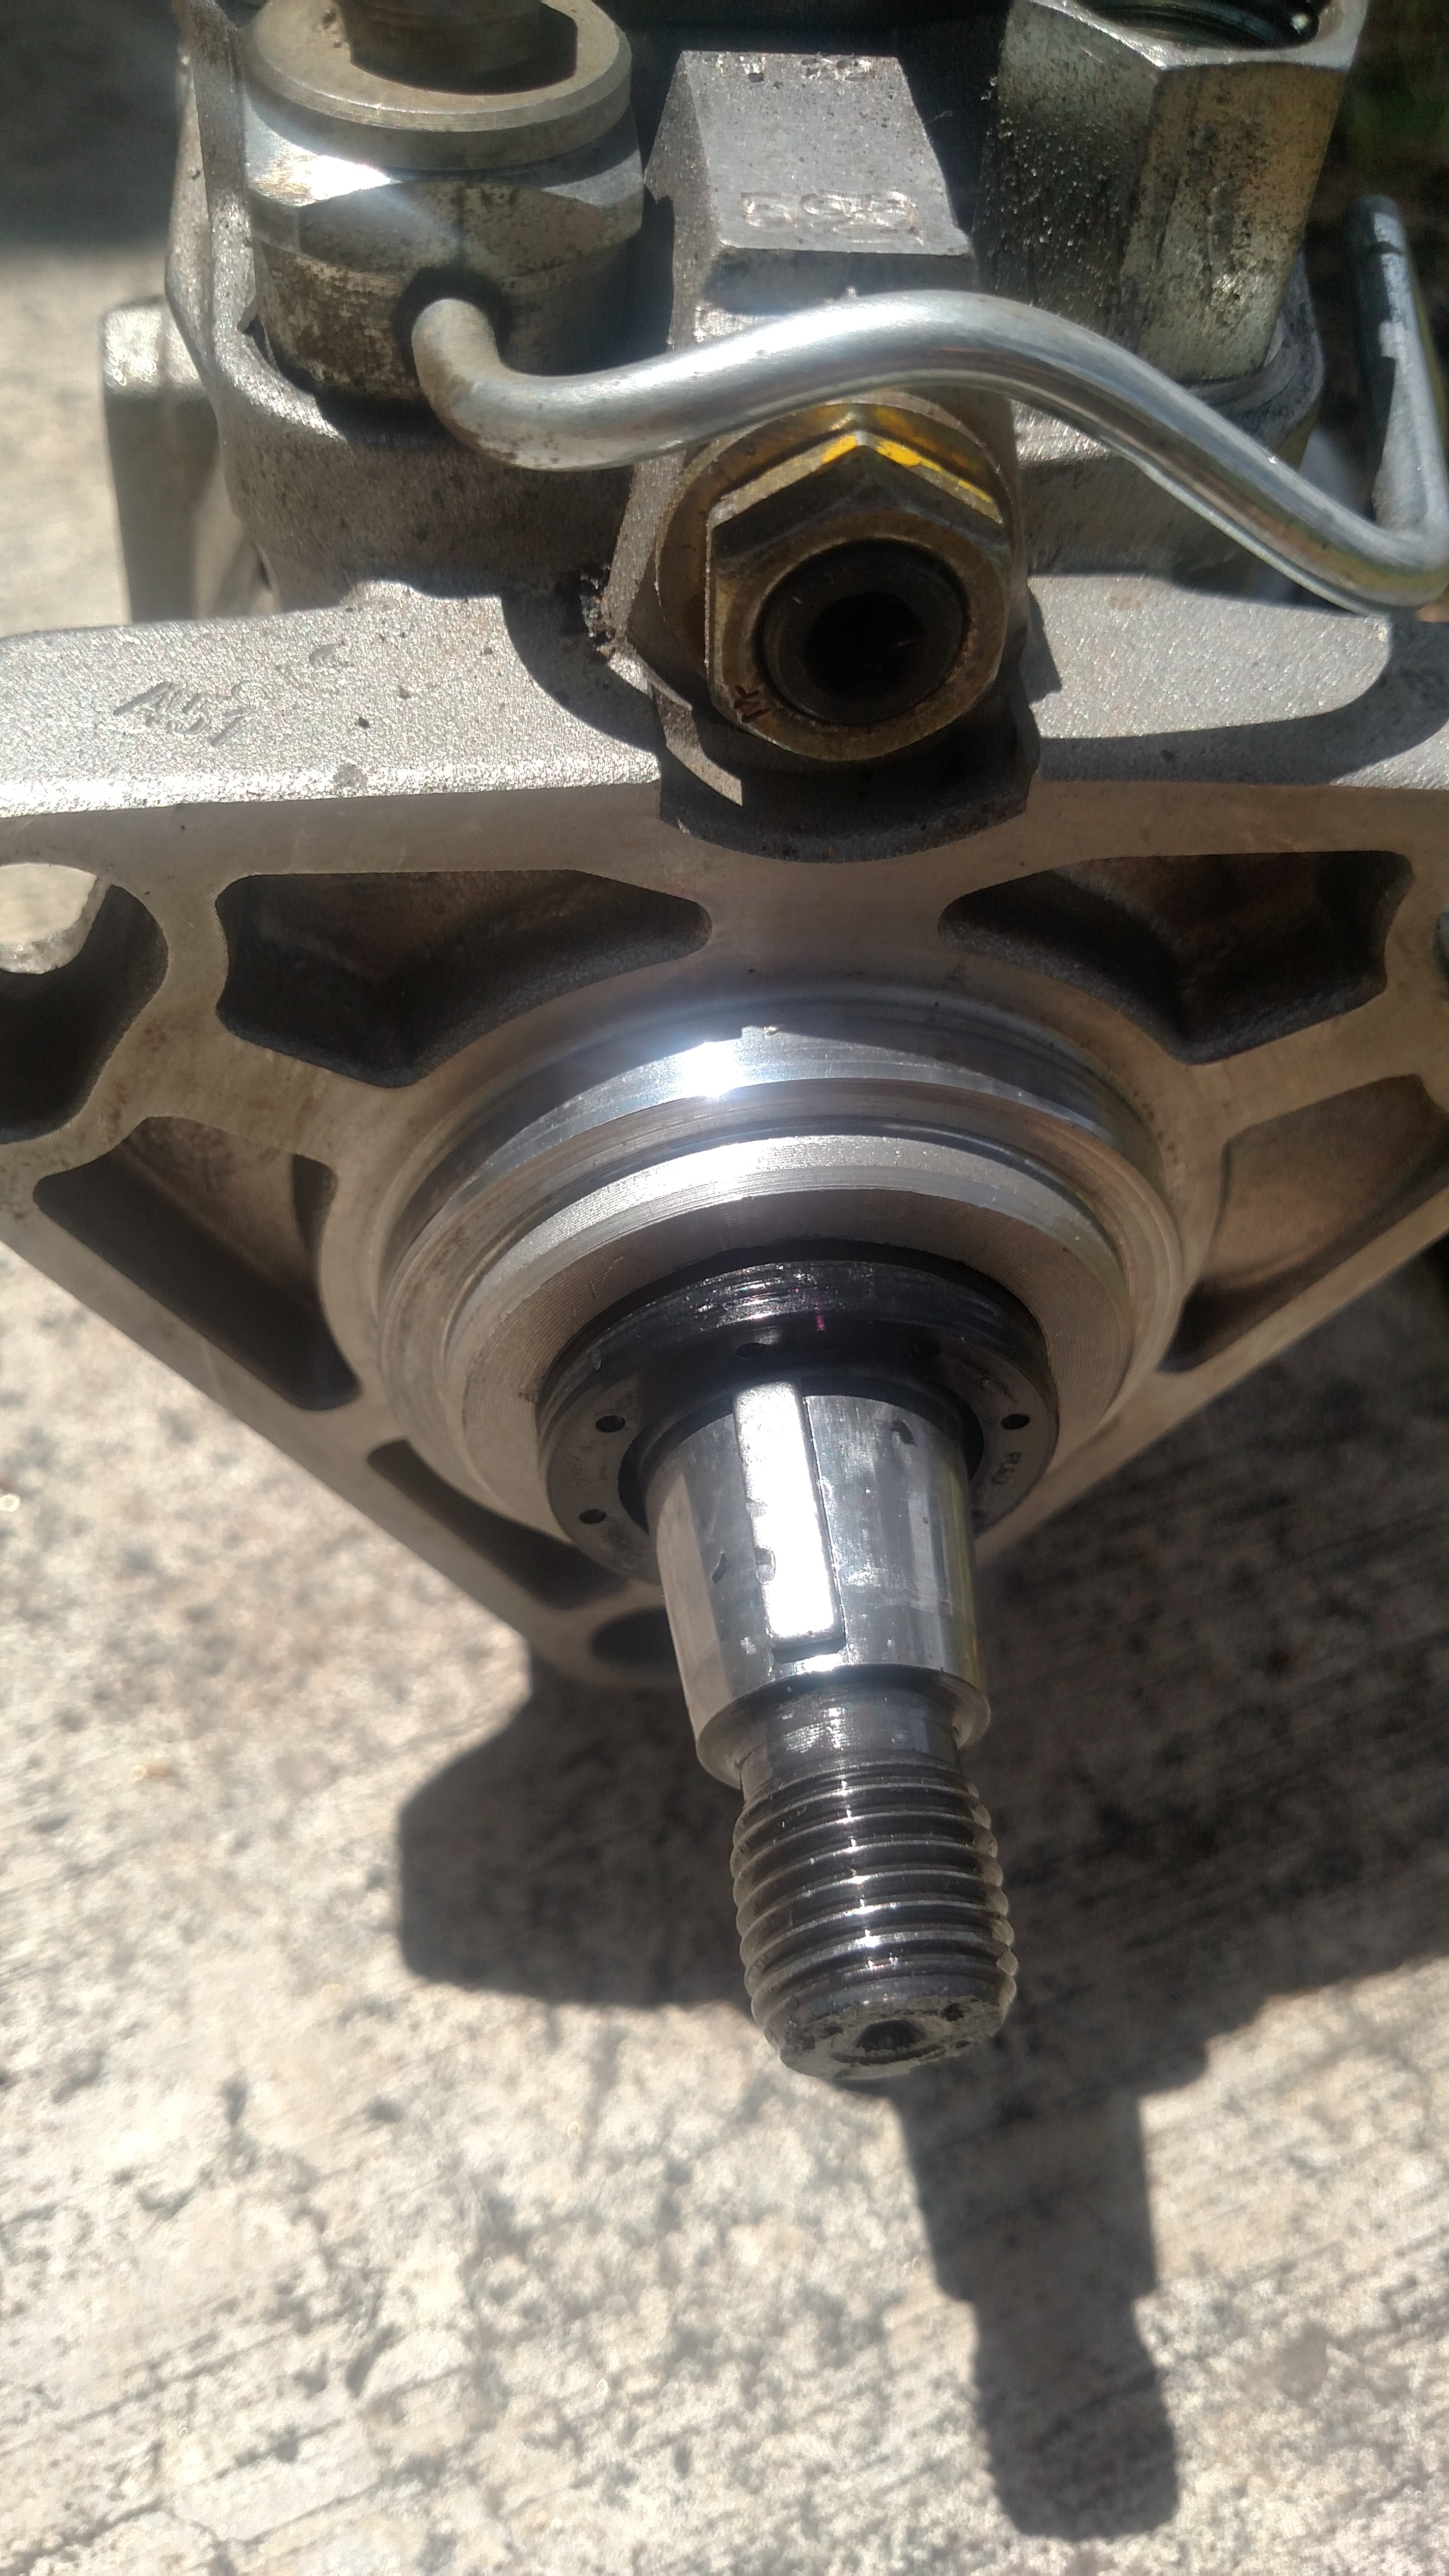
So today after finding out my lift pump wasn't the cause of having 7.5 gallons of dieselW40 in the crankcase I pulled the injection pump out. I had just resealed it last month so the procedure and tools were still fresh in my mind and got it out in a hour or two.
The seal was defiantly popped, once the Key was removed it fell off the shaft.
I am a bit confused and concerned that it popped out only having a stock lift pump.
The seal kit was a Ebay one but this seal say Flag Germany and has the same dimensions printed on it as the genuine Bosch seal I got Friday at a Bosch rebuilder.
Before I lock tight this one in and think I'll also stake it with a punch not unlike how some fix the KDP I will change out the return fuel lines and make sure the screen is clean in the return fuel banjo bolt. Not sure if that could increase internal pump pressure but something made this seal pop with about 1,000 miles on it.
Registered User
Joined: Mar 2008
Posts: 4,389
Likes: 114
From: Orange County, California
Dependent upon if the color can be matched and what it would cost to coat it.
The AFC top is aluminum. I've read elsewhere that a self-etching primer might help. But what I noticed was that the primer and base coats seemed to adhere just fine. It was the primer that didn't adhere to the aluminum. What you see in the picture is the bare, bead blasted aluminum. I could try a good scuff with some sandpaper next time.
I did prime the manifold prior to the base coat. Used VHT's Flame Proof primer and flat black. Being a cast, ductile iron, I'd like to think the paint will adhere well to it.
I certainly am having fun. I'm not aware of any 12-step program for this kind of addiction but regardless, I don't think there's a cure for it. I'm eager to get this thing back on the road! 
^^^^X2 on powder coating.
Is the AFC top aluminum? I've never had much luck getting primer and paint to stick to aluminum well. I've bead blasted small aluminum parts and it hasn't made much difference.
Did you prime the ATS manifold prior to painting? I primed and painted my ATS manifold then cooked it through the 3 cycles on my gas grill using a touchless thermometer aimed through an opening in the side of the grill hood. I got to around 550 on the last stage and left it in for 45 mins.
I did prime the manifold prior to the base coat. Used VHT's Flame Proof primer and flat black. Being a cast, ductile iron, I'd like to think the paint will adhere well to it.

Registered User
Joined: Mar 2008
Posts: 4,389
Likes: 114
From: Orange County, California
Registered User
Joined: Jan 2016
Posts: 359
Likes: 151
From: Vista, Ca
Put the injection pump back in, again.
Fired right up without a studder after bleeding lines and filter.
Hope seal stays put now for good. Have a 700 mile trip to pick up a flatbed car trailer and some farm equipment weekend after next.
Fired right up without a studder after bleeding lines and filter.
Hope seal stays put now for good. Have a 700 mile trip to pick up a flatbed car trailer and some farm equipment weekend after next.
Registered User
Joined: Mar 2008
Posts: 4,389
Likes: 114
From: Orange County, California
I haven't gotten much more done. Lately, I've been spending time painting miscellaneous parts that I bead blasted. I ordered the stainless braided hose for the coolant bypass. I should be seeing it someday next week.
Installed the transmission adapter and flywheel minus clutch assembly.
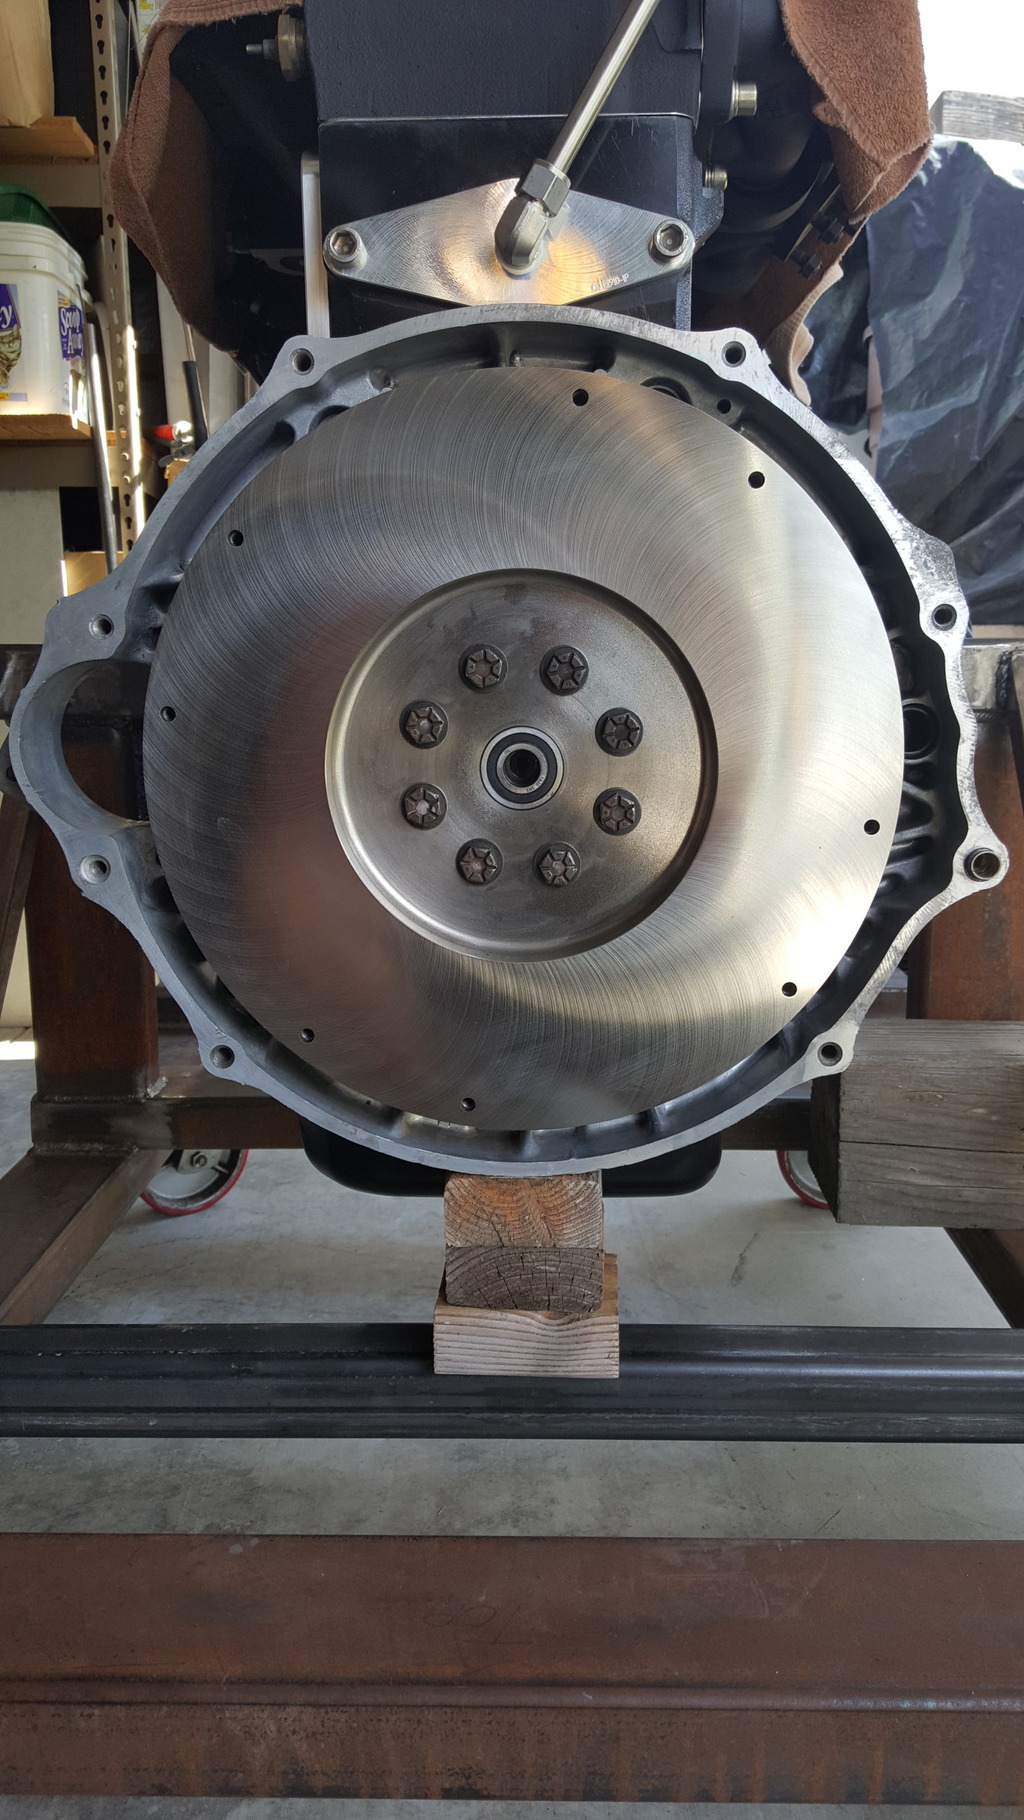
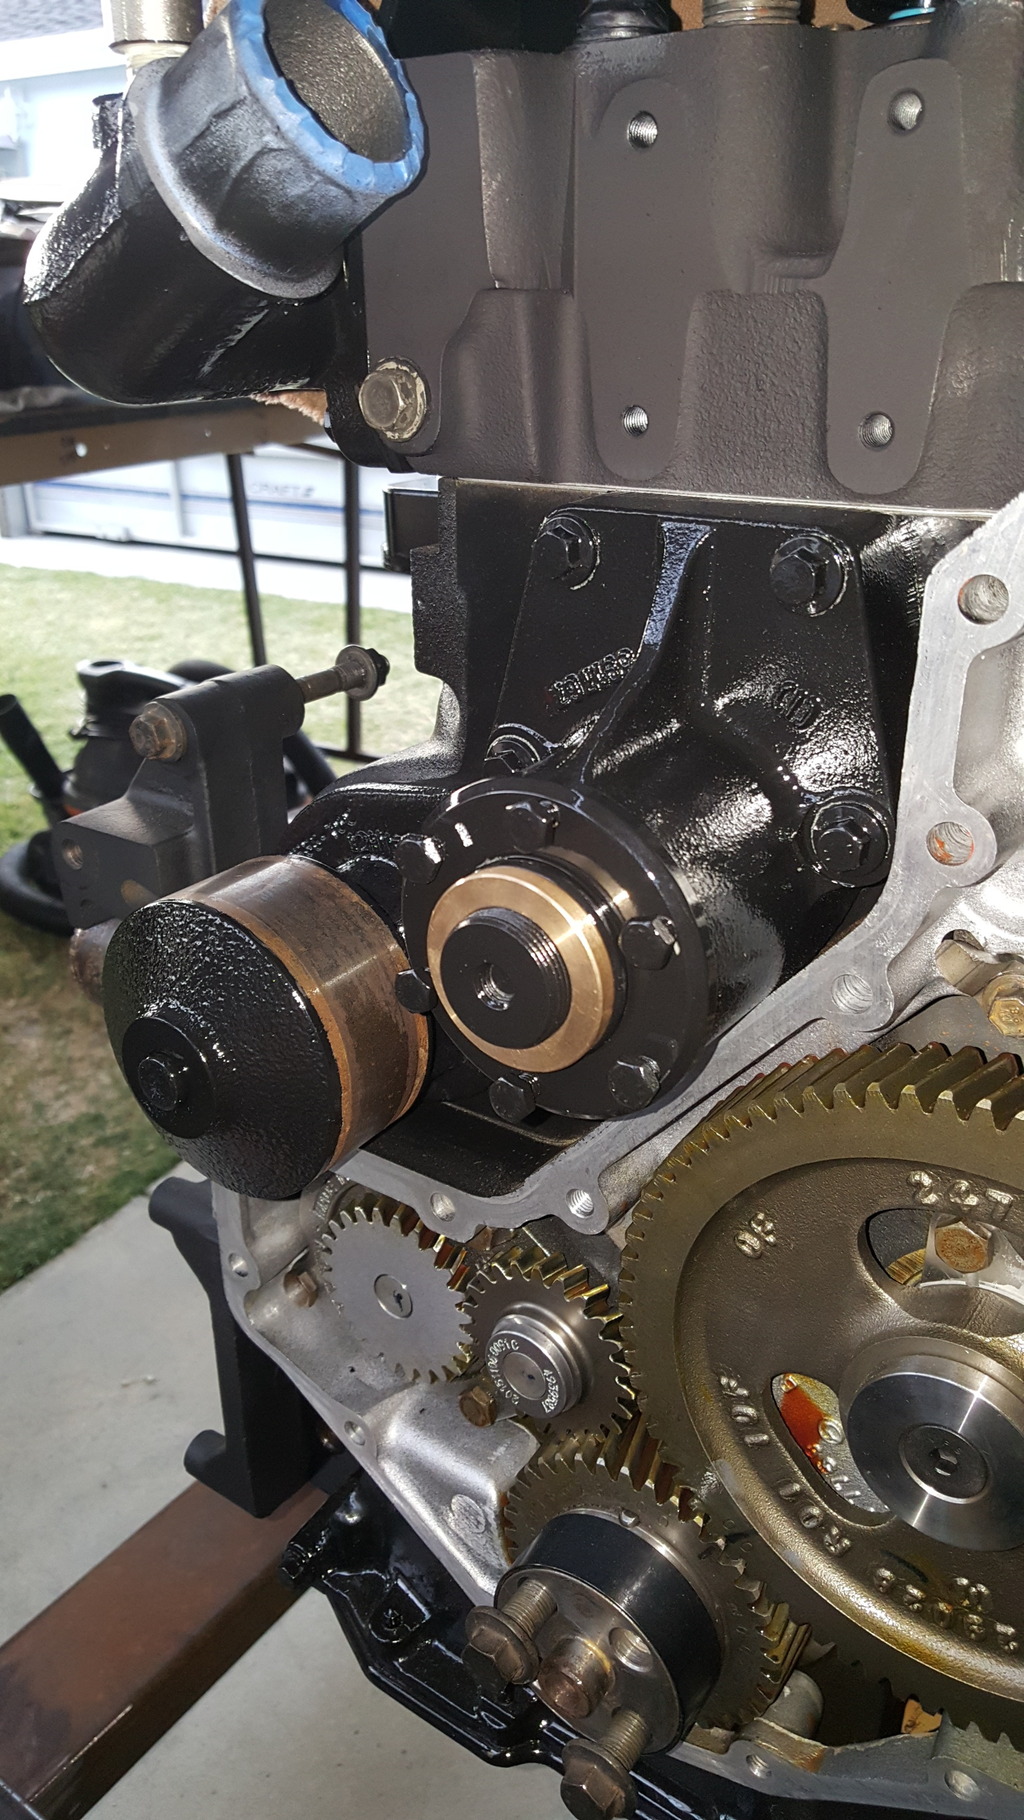
Water pump and fan hub bracket.
Installed the transmission adapter and flywheel minus clutch assembly.
Water pump and fan hub bracket.
Registered User


Joined: Mar 2010
Posts: 7,265
Likes: 1,346
From: Prince George, BC
Last couple days just did a few small things. Replaced the O-ring on my high pressure line off the PS pump...slowed the drip, but did not stop it.
Yesterday I turned in the fuel screw one full turn. Found that the lock nut on the fuel screw was not even tight...not sure if I forgot to tighten it when i rebuilt the IP 2 years ago, or if it rattled loose? Had to adjust the idle back down after turning in the fuel screw. Took it for a drive and it definitely has a bit more jam! I'm not hating it that's for sure.

Had a couple lights out as well....so replaced those, then gave Patches a good wash.
Yesterday I turned in the fuel screw one full turn. Found that the lock nut on the fuel screw was not even tight...not sure if I forgot to tighten it when i rebuilt the IP 2 years ago, or if it rattled loose? Had to adjust the idle back down after turning in the fuel screw. Took it for a drive and it definitely has a bit more jam! I'm not hating it that's for sure.
Had a couple lights out as well....so replaced those, then gave Patches a good wash.
Registered User
Joined: Mar 2008
Posts: 4,389
Likes: 114
From: Orange County, California
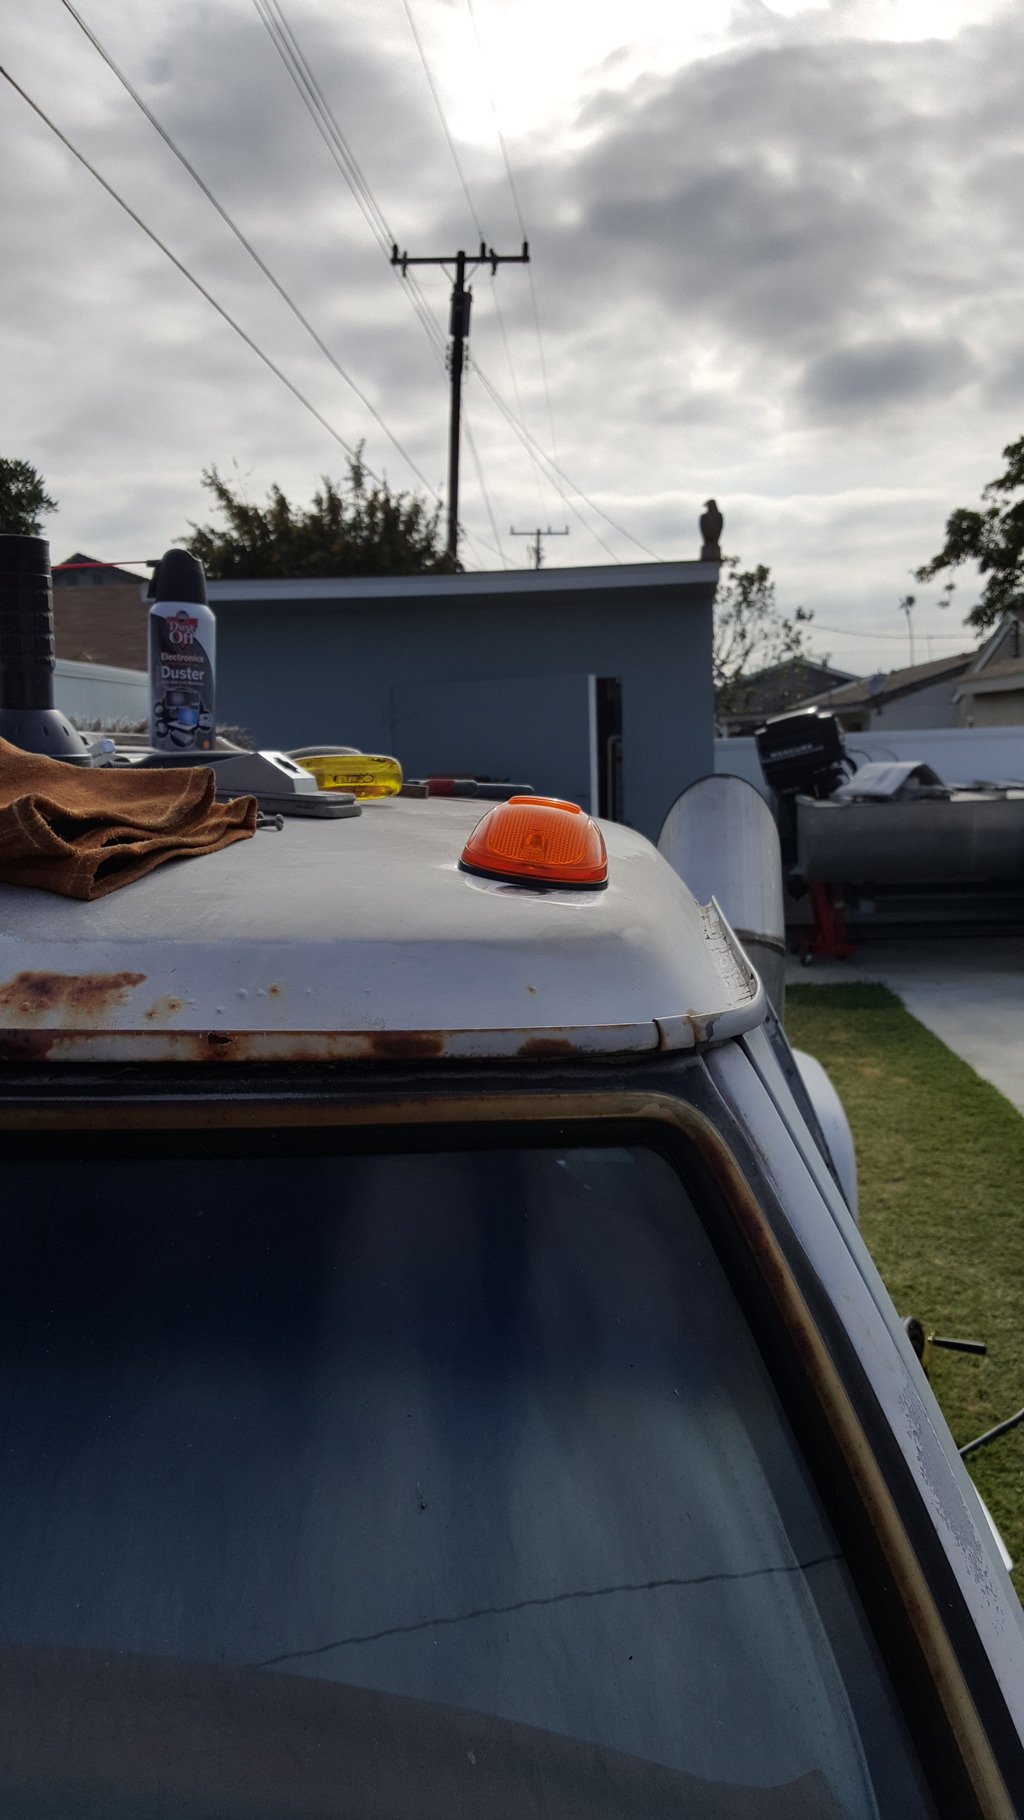
Patched up and filled some holes yesterday. I changed my mind about OEM cab lights and decided to use 3rd gen cab lights for a lower profile look.
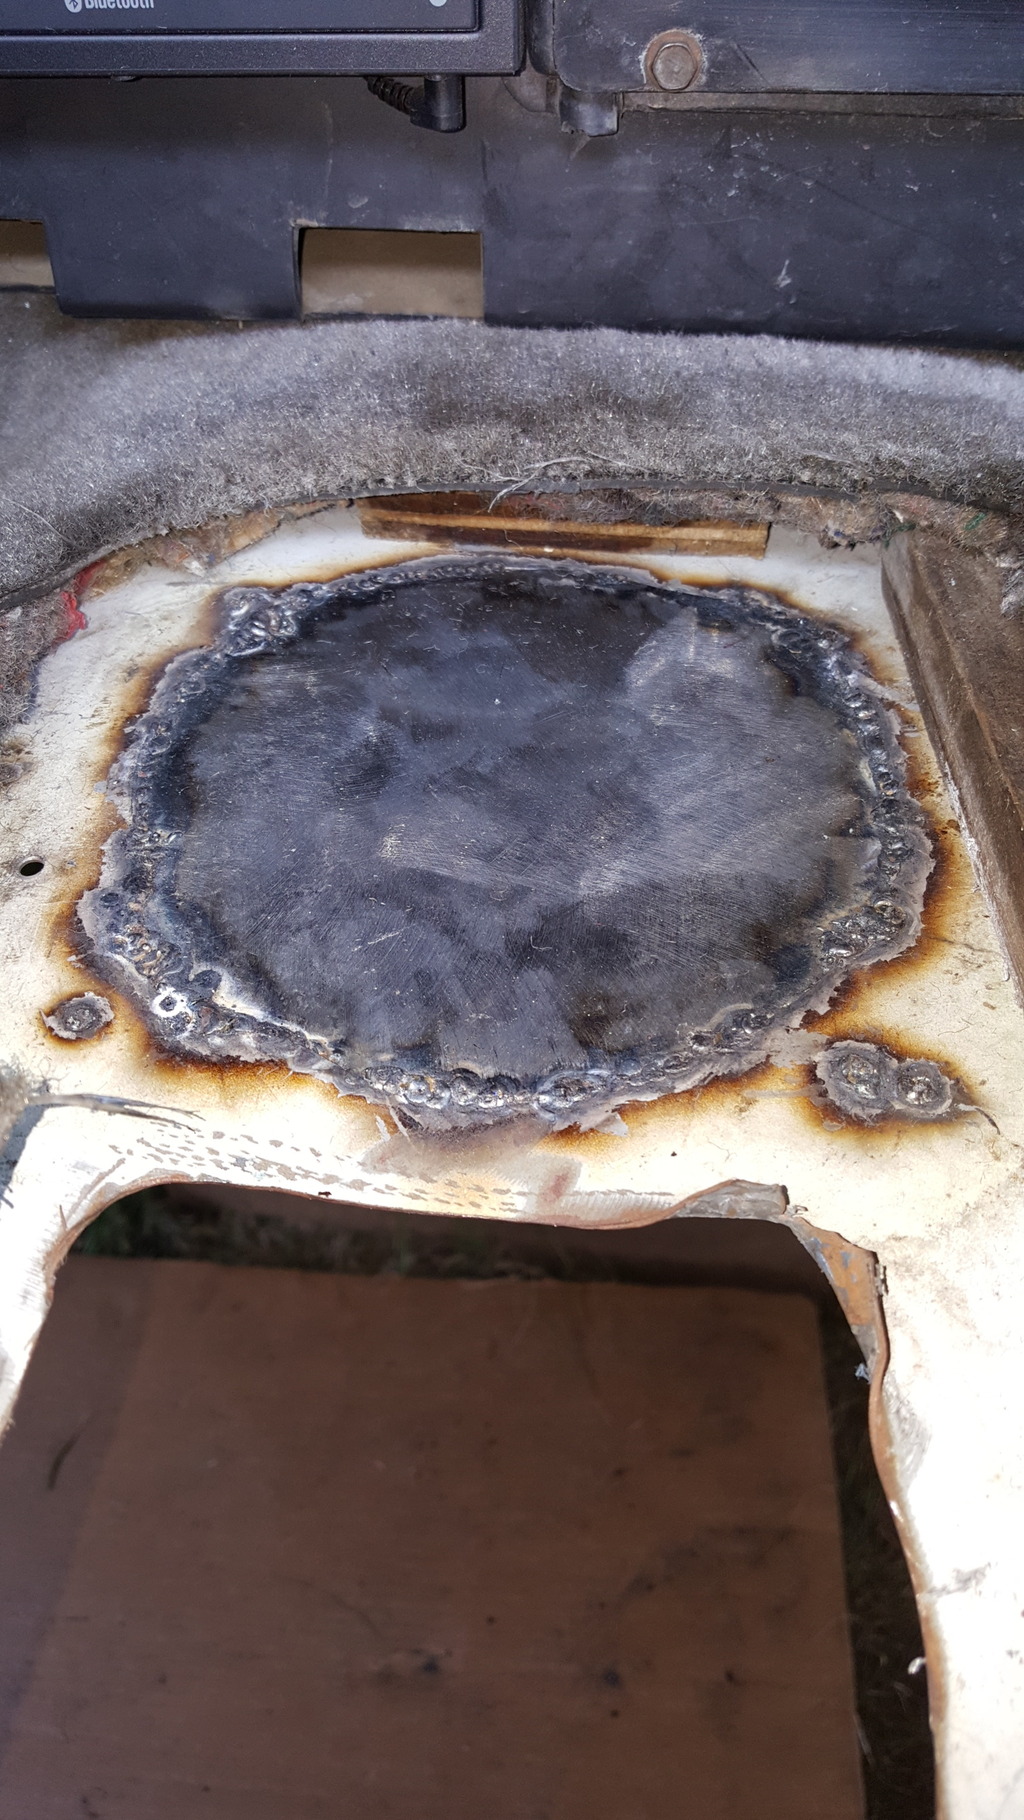
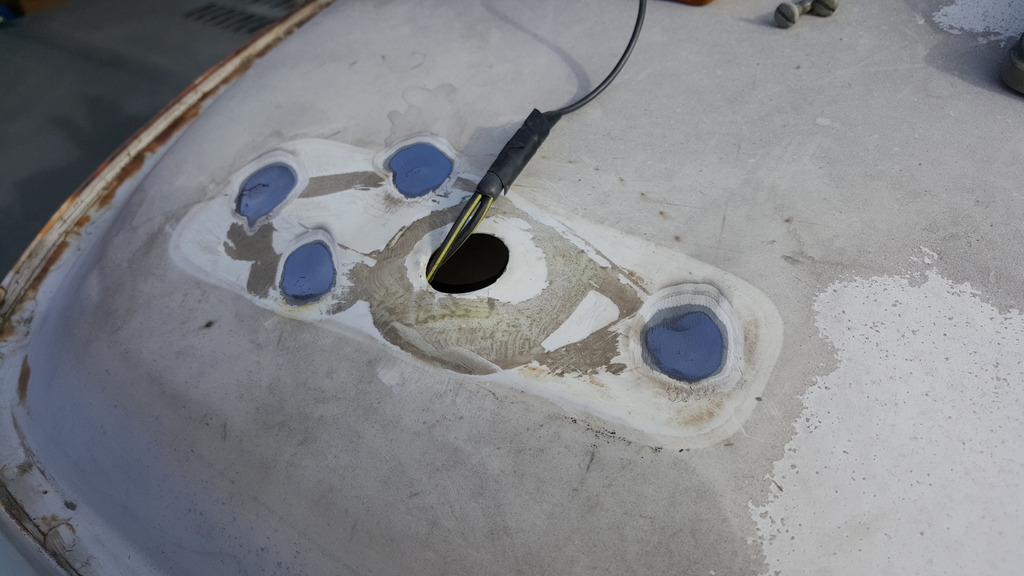
Did away with the still existing, Getrag shifter hole. I had some body panels that I had already cut into pieces. I made a template on the aluminum sheet that was initially covering the opening, cut it to shape and traced it onto a body panel and cut that out to use as the filler. I also filled the remaining holes used to fasten the shifter boot and the previous aluminum patch panel as indicated by the red markings. I bought an 11lbs spool of .023" wire but goofed and didn't get the proper drive rolls for the Hobart. I managed to make .030" work just fine.
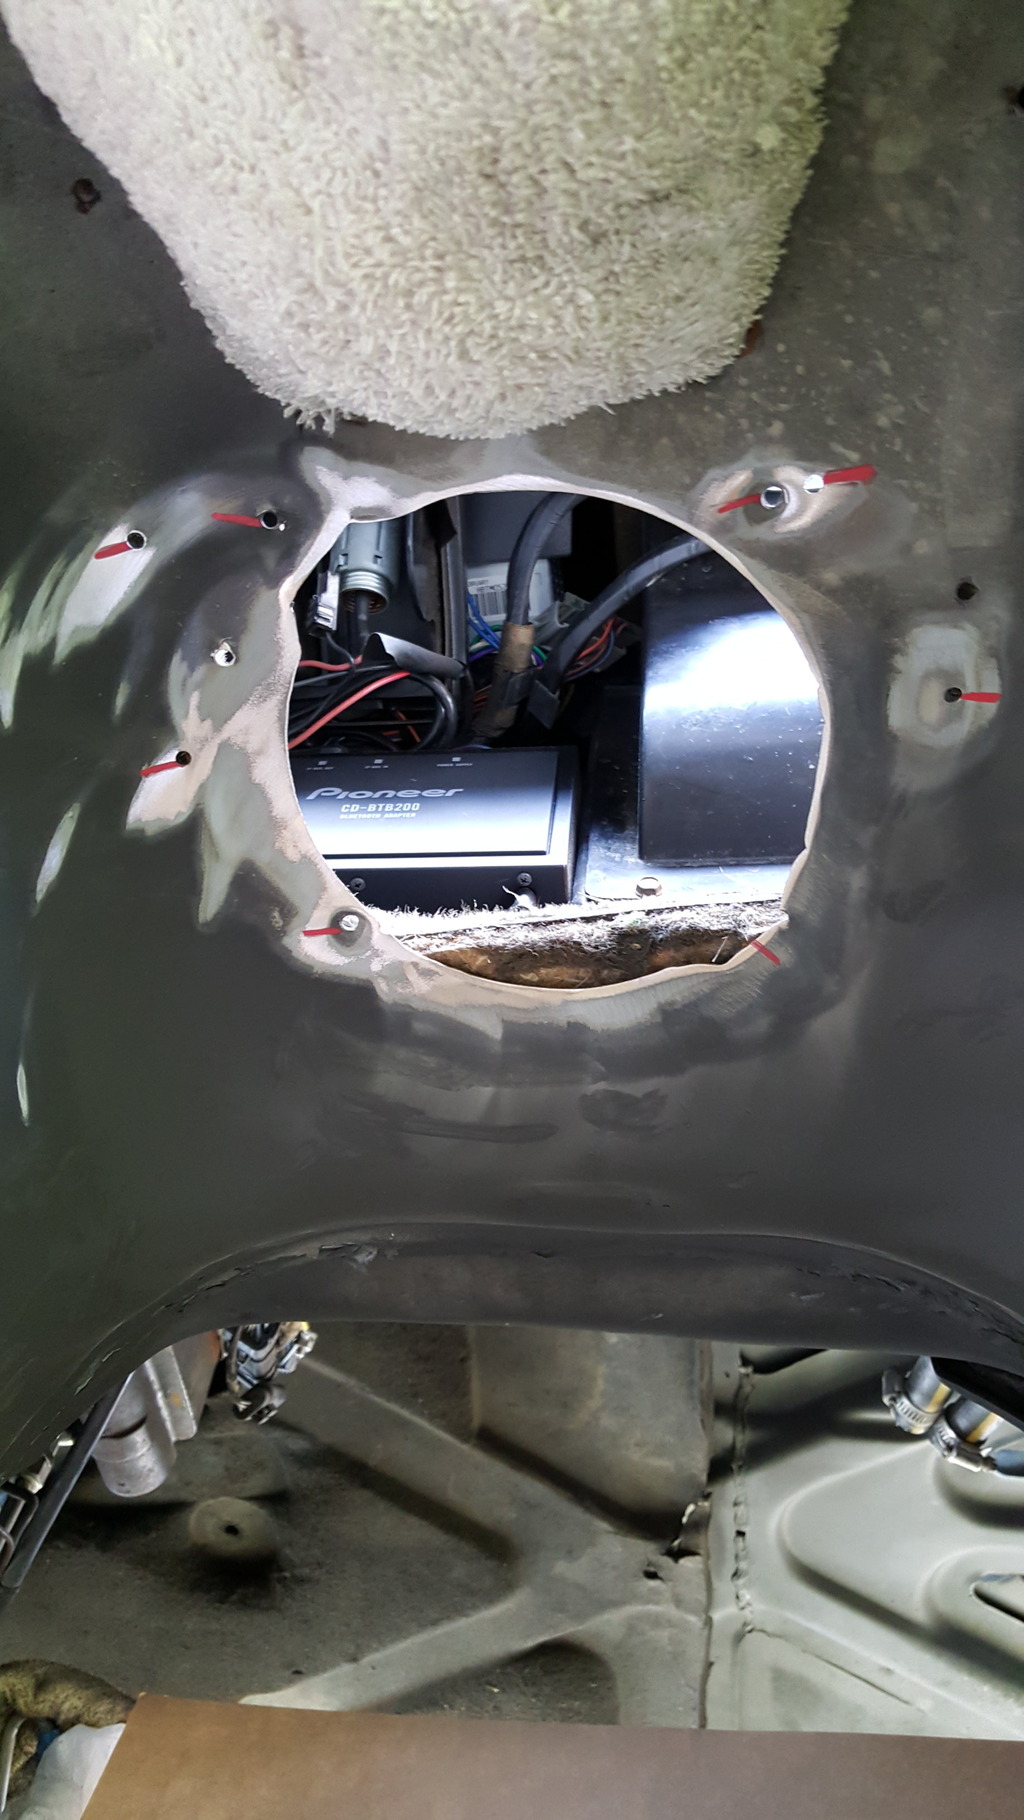
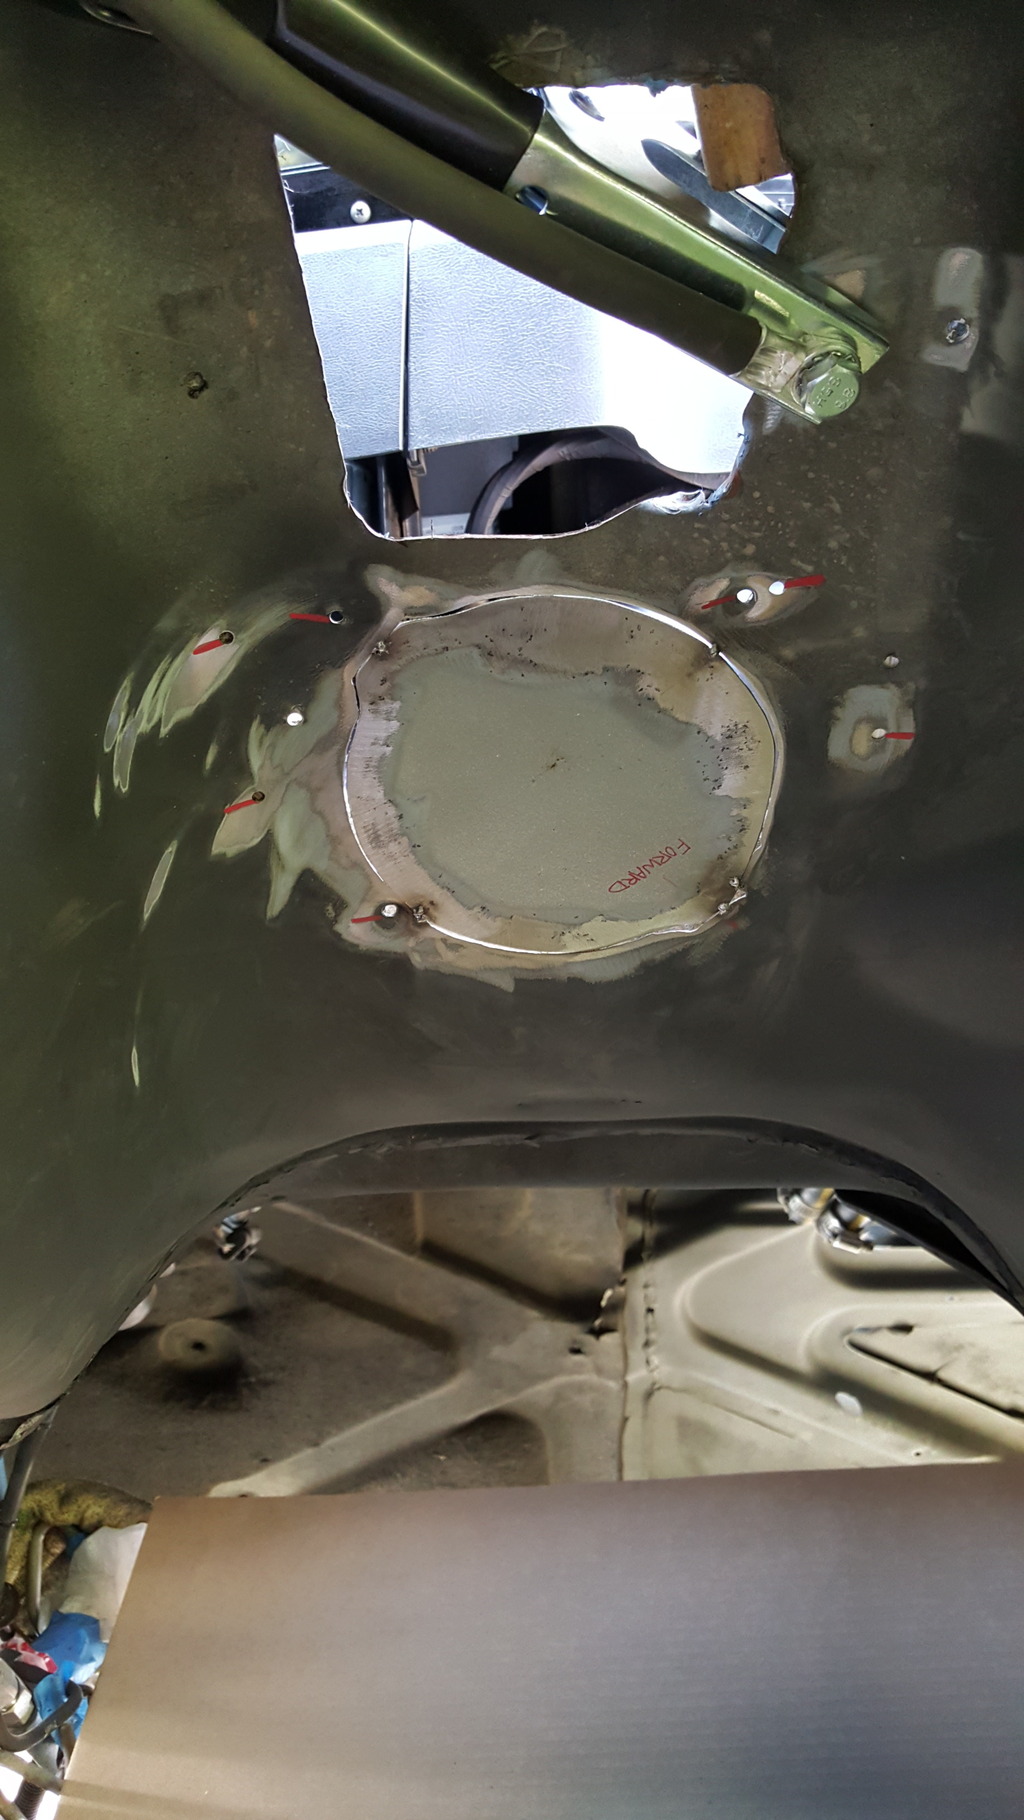
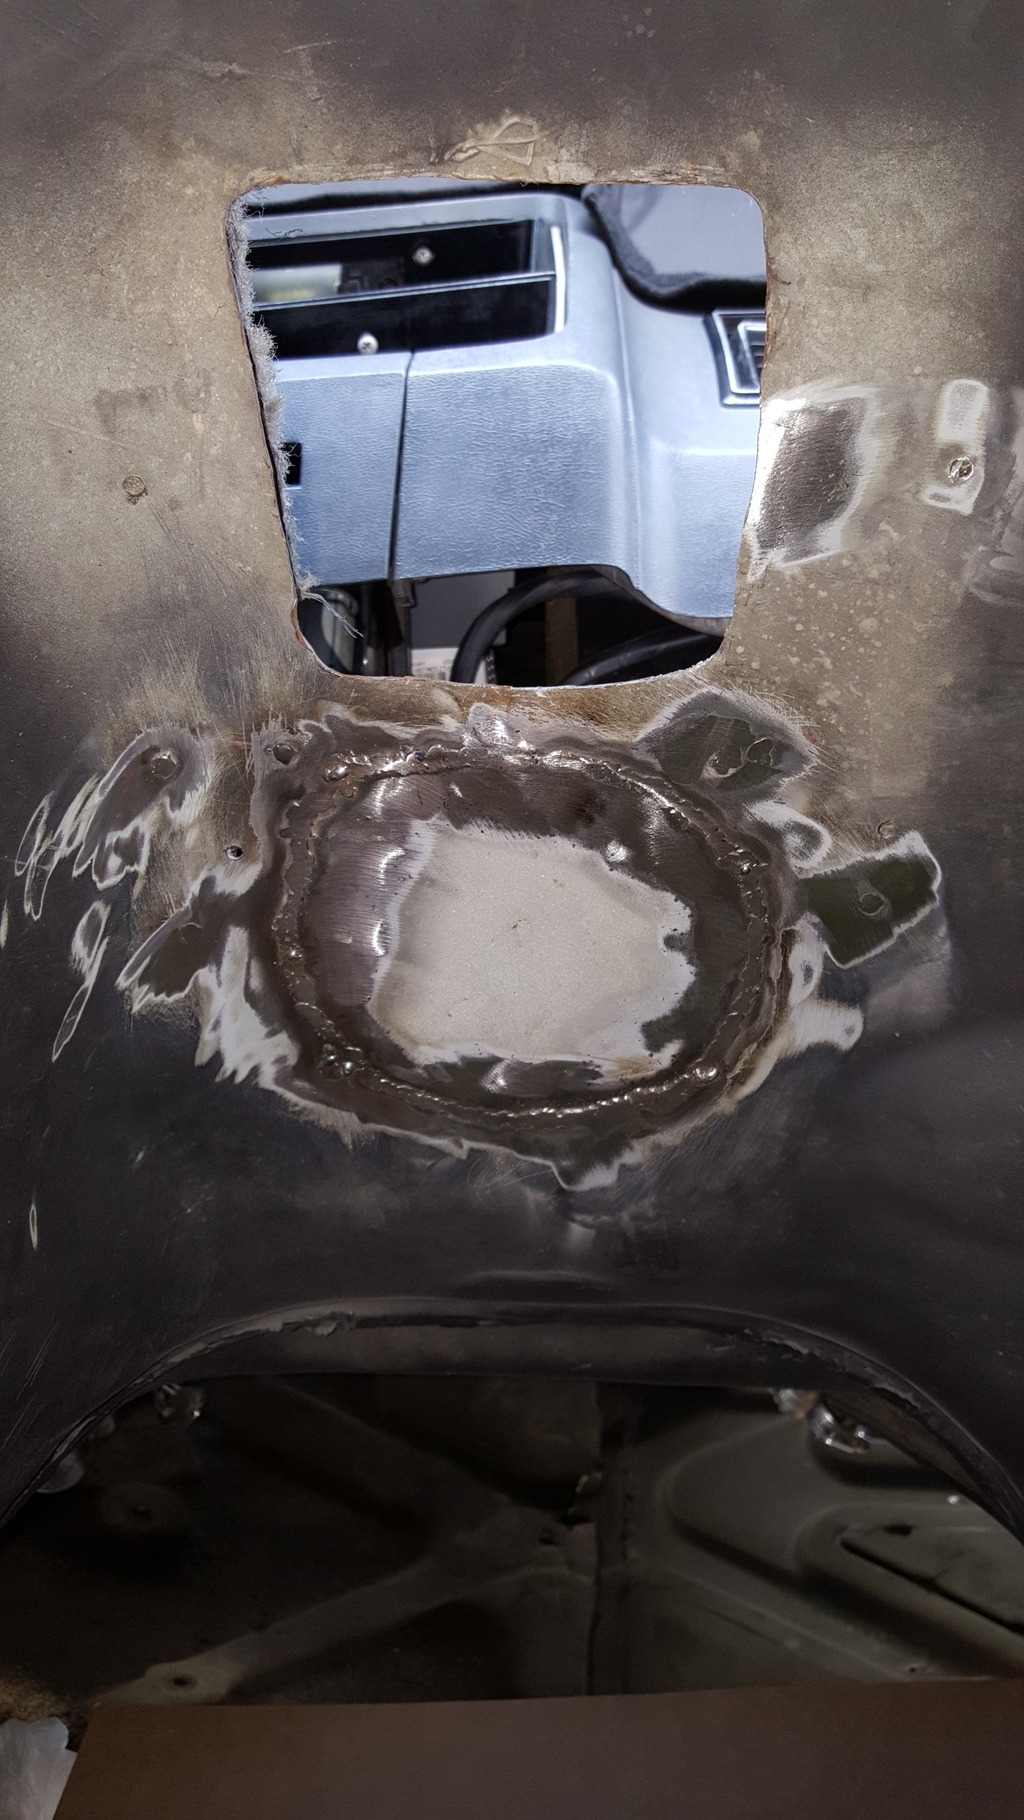
Still have some clean-up to do inside the cab.
Did away with the still existing, Getrag shifter hole. I had some body panels that I had already cut into pieces. I made a template on the aluminum sheet that was initially covering the opening, cut it to shape and traced it onto a body panel and cut that out to use as the filler. I also filled the remaining holes used to fasten the shifter boot and the previous aluminum patch panel as indicated by the red markings. I bought an 11lbs spool of .023" wire but goofed and didn't get the proper drive rolls for the Hobart. I managed to make .030" work just fine.
Still have some clean-up to do inside the cab.
Registered User
Joined: Mar 2008
Posts: 4,389
Likes: 114
From: Orange County, California
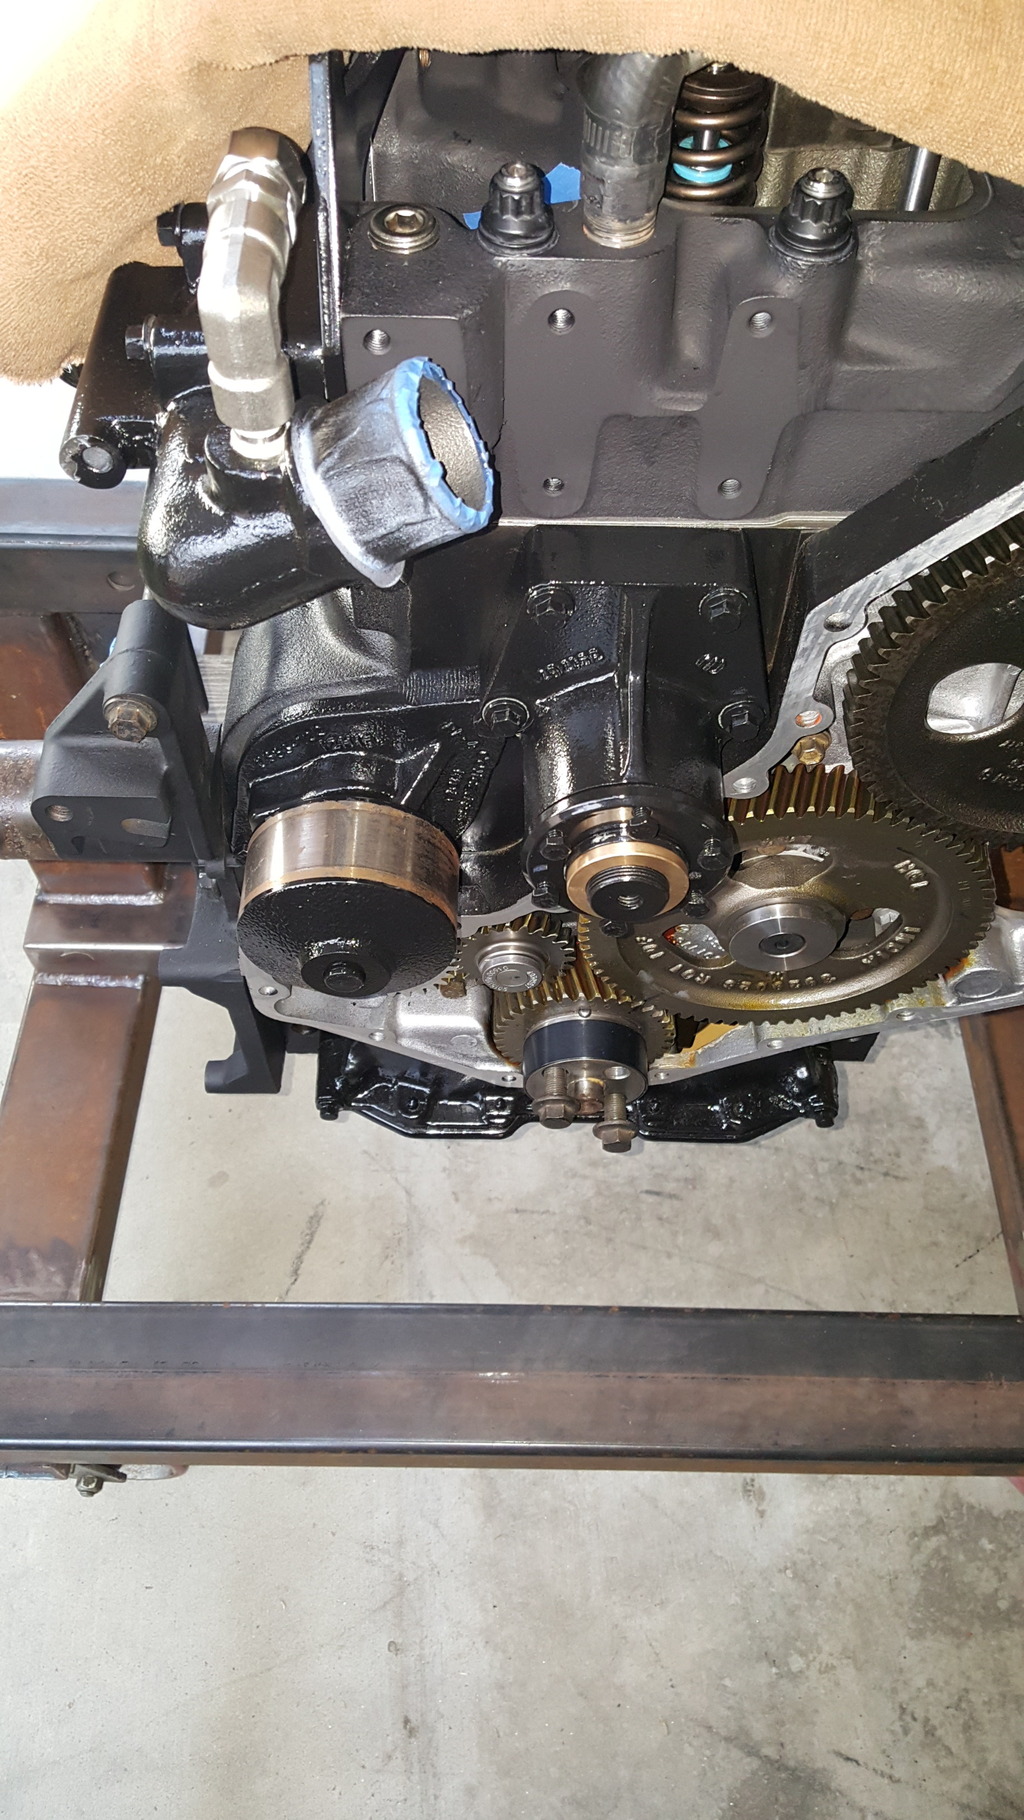
It's a spacer to replace the 2 big washers I was using to clearance the fan for the Fluidampr. I took dimensions of the shank (ID), shelf (OD) that the fan clutch nut seats against and the overall thickness of the 2 washers I had, gave them to a machinist friend and asked him to make me a spacer out of something. That's what I got back. Can't tell if it's brass or bronze though. Not quite as orange as brass is. More yellow-ish. I may end up buying a fan clutch for the later engines for the hell of it. If I do, I'll see if he can turn the spacer down some to expose more threads on the shank.
Registered User
Joined: Mar 2010
Posts: 7,265
Likes: 1,346
From: Prince George, BC
It's a spacer to replace the 2 big washers I was using to clearance the fan for the Fluidampr. I took dimensions of the shank (ID), shelf (OD) that the fan clutch nut seats against and the overall thickness of the 2 washers I had, gave them to a machinist friend and asked him to make me a spacer out of something. That's what I got back. Can't tell if it's brass or bronze though. No quite as orange as brass is. More yellow-ish. I may end up buying a fan clutch for the later engines for the hell of it. If I do, I'll see if he can turn the spacer down some to expose more threads on the shank.

Registered User
Joined: Mar 2008
Posts: 4,389
Likes: 114
From: Orange County, California
Registered User
Joined: Nov 2011
Posts: 4,479
Likes: 211
From: Isanti, MN
Jim, you are having way too much fun. Be careful not to get an overdose.
An overdose of fun can get ugly.
An overdose of fun can get ugly.