
Crewcab update...


Registered User
Joined: Aug 2013
Posts: 4,918
Likes: 603
From: Tulsa, OK
Here is how I did mine. There may be some ideas worth a look.
https://www.dieseltruckresource.com/...314771/page26/ starting at post 387
https://www.dieseltruckresource.com/...314771/page26/ starting at post 387
Registered User


Joined: Dec 2010
Posts: 6,838
Likes: 1,683
From: Land of the Toxic Avenger


Thread Starter
Registered User
Joined: Mar 2010
Posts: 7,265
Likes: 1,346
From: Prince George, BC

 I'll have to put that on my list


Registered User
Joined: Aug 2013
Posts: 4,918
Likes: 603
From: Tulsa, OK

Registered User

Joined: Apr 2002
Posts: 1,602
Likes: 93
From: Richmond, VA
Kind of pointless with Manual hubs
Probably not many folks who want to shift like that, though.
Registered User
Joined: Aug 2013
Posts: 4,918
Likes: 603
From: Tulsa, OK
I disagree. When towing I would start in low range quite often. With the hubs disengaged, it is much easier to shift from 4 lo to 3 hi with the twin stick. With the stock linkage, I would have trouble with both shift rails moving together, and the transfer trying to go into 4wd hi all at once. Without the hubs engaged the front driveshaft isn't spinning, so you can't engage the front output again.
Probably not many folks who want to shift like that, though.
Probably not many folks who want to shift like that, though.
Thread Starter
Registered User
Joined: Mar 2010
Posts: 7,265
Likes: 1,346
From: Prince George, BC
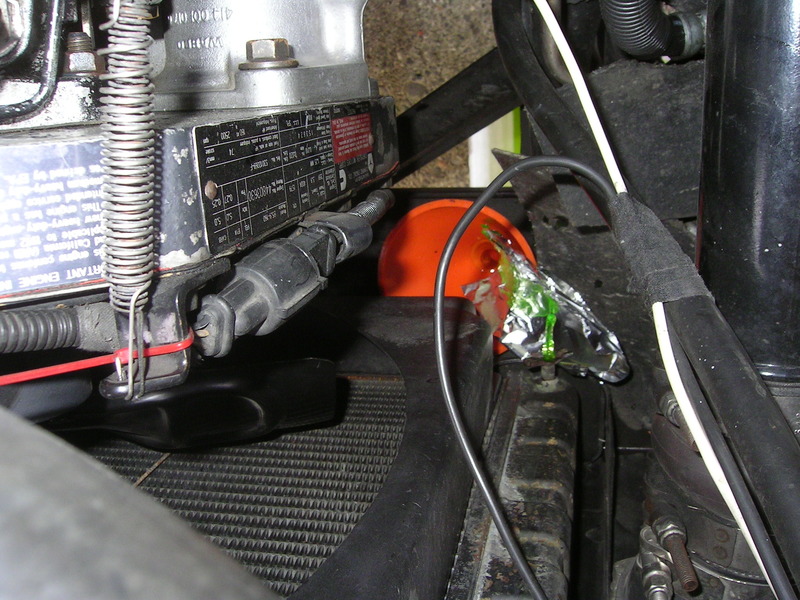
So I needed to install the water temp switch for the electric fans...so decided I would tackle a couple projects while I was in there.
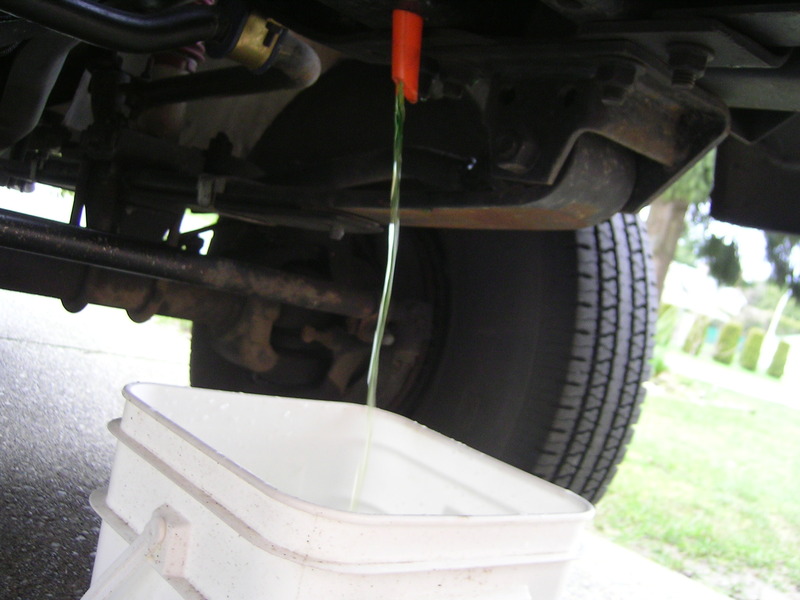
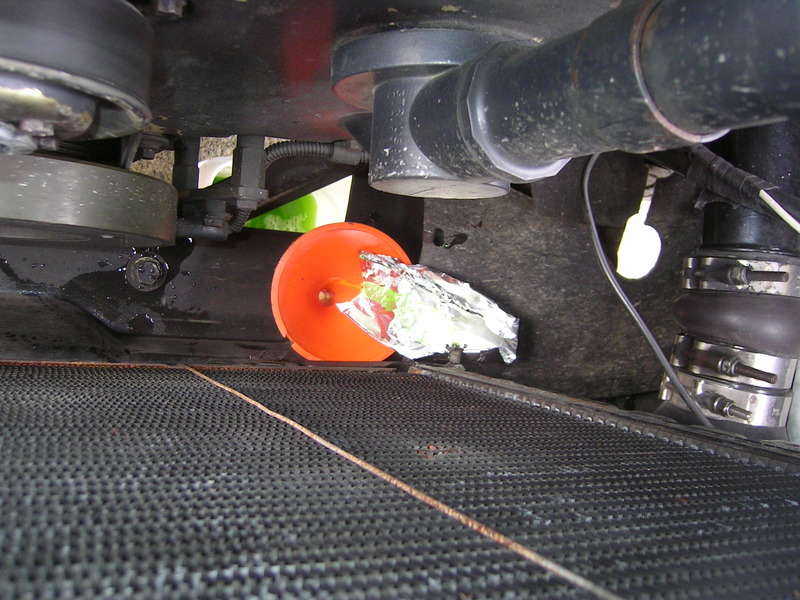
Saw a 1st gen'er post up about using a funnel to drain the rad,....so i used his idea.
Once rad was out of the way thought I'd pull the T-stat and check it...not that it hadn't been working properly.
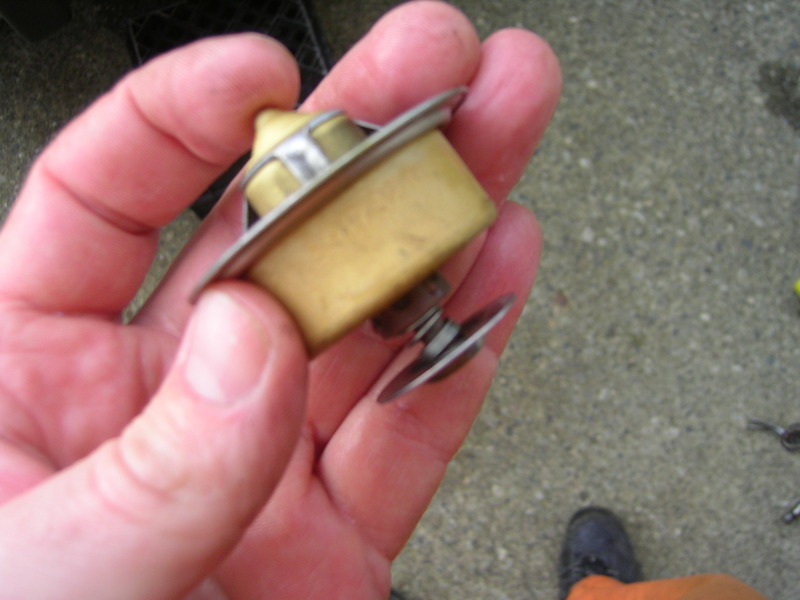

Looked a lot different then the one I pulled out of my 89 motor.
Saw a 1st gen'er post up about using a funnel to drain the rad,....so i used his idea.


Once rad was out of the way thought I'd pull the T-stat and check it...not that it hadn't been working properly.


Looked a lot different then the one I pulled out of my 89 motor.
Thread Starter
Registered User
Joined: Mar 2010
Posts: 7,265
Likes: 1,346
From: Prince George, BC
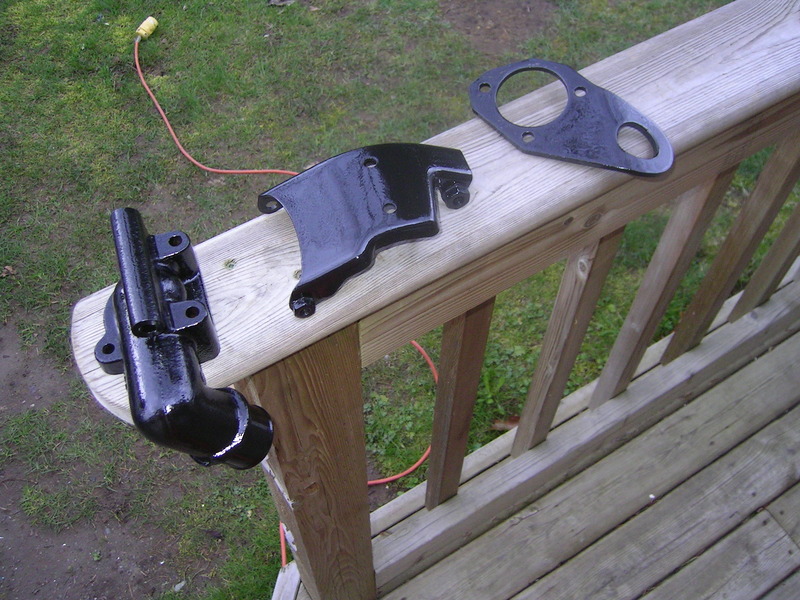
Gave the T-stat housing, lift hook and alternator bracket a quick cleaning, and a few coats of paint.
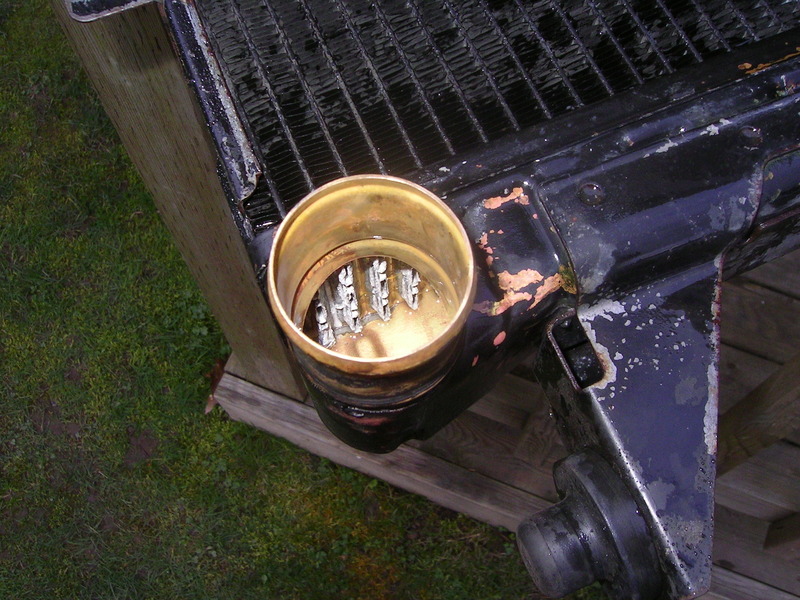
And figured since I had the rad out I would use T-mans idea on flushing the rad.
Post #1197
https://www.dieseltruckresource.com/...0/#post3281488
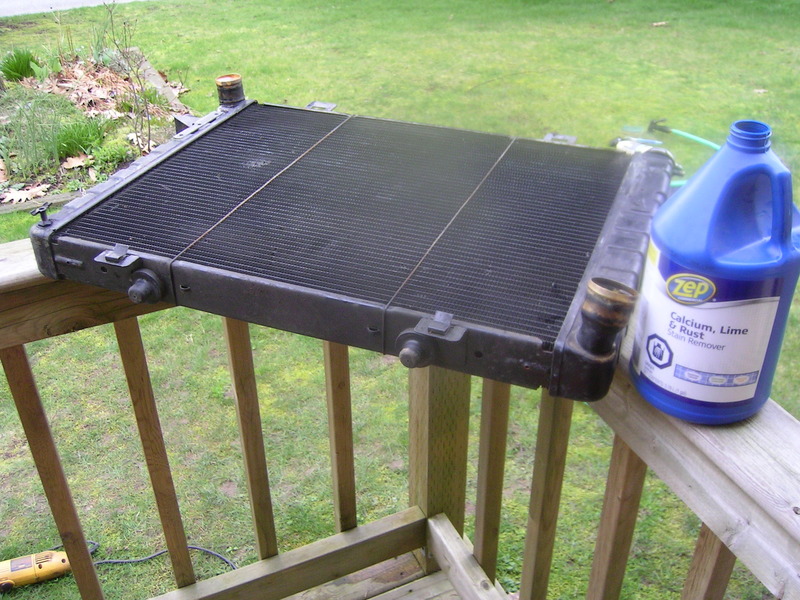
Couldn't find any oxalic Acid (Wood Bleach), so decided to try some CLR type cleaner. Boiled a gallon of hot water and mixed the jug in 50/50...thinking now I should have gone full strength?
Cores Before...
Then Neutralize with pool PH up...
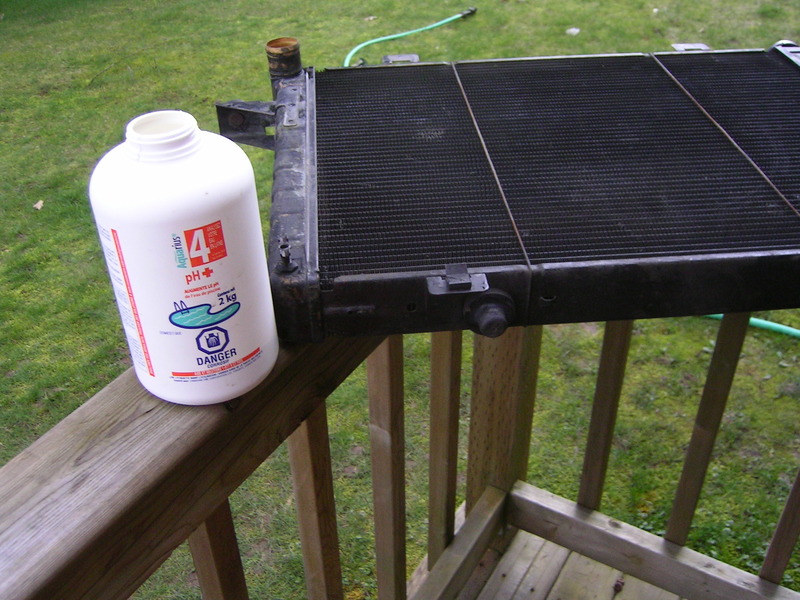
And after...
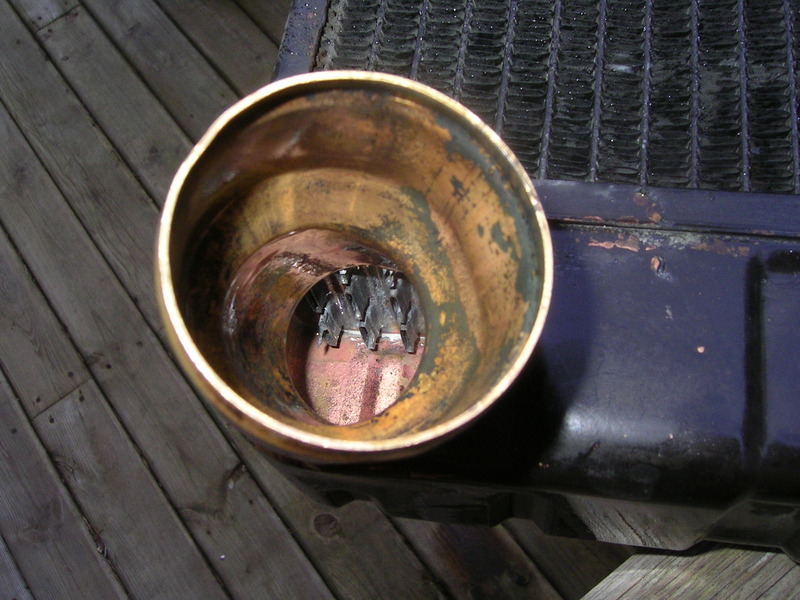
Not much of an improvement.

And figured since I had the rad out I would use T-mans idea on flushing the rad.
Post #1197
https://www.dieseltruckresource.com/...0/#post3281488
Couldn't find any oxalic Acid (Wood Bleach), so decided to try some CLR type cleaner. Boiled a gallon of hot water and mixed the jug in 50/50...thinking now I should have gone full strength?
Cores Before...


Then Neutralize with pool PH up...

And after...


Not much of an improvement.
Thread Starter
Registered User
Joined: Mar 2010
Posts: 7,265
Likes: 1,346
From: Prince George, BC
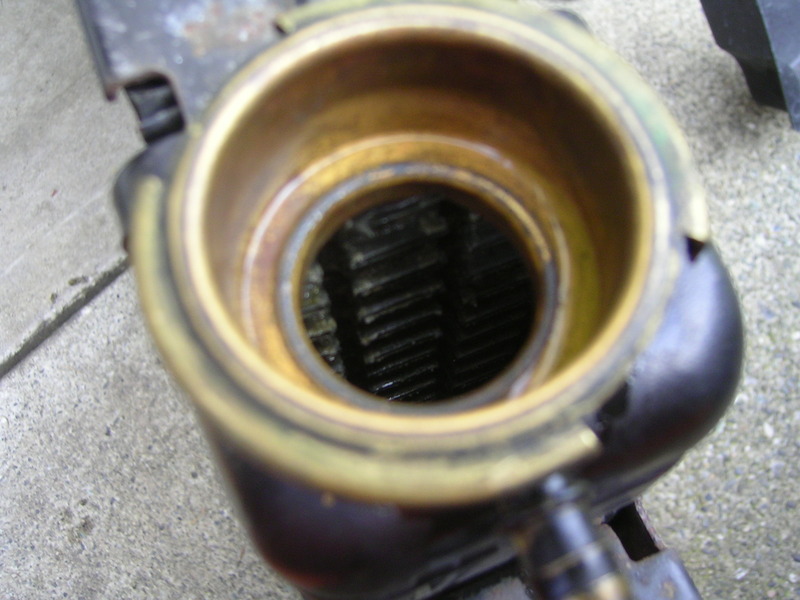
Pulled out the nipple down below the T-stat housing on the block...required some big vice grips, and a bunch of heat to get it out. Then a 1/2 NPT to 3/8 NPT adapter.
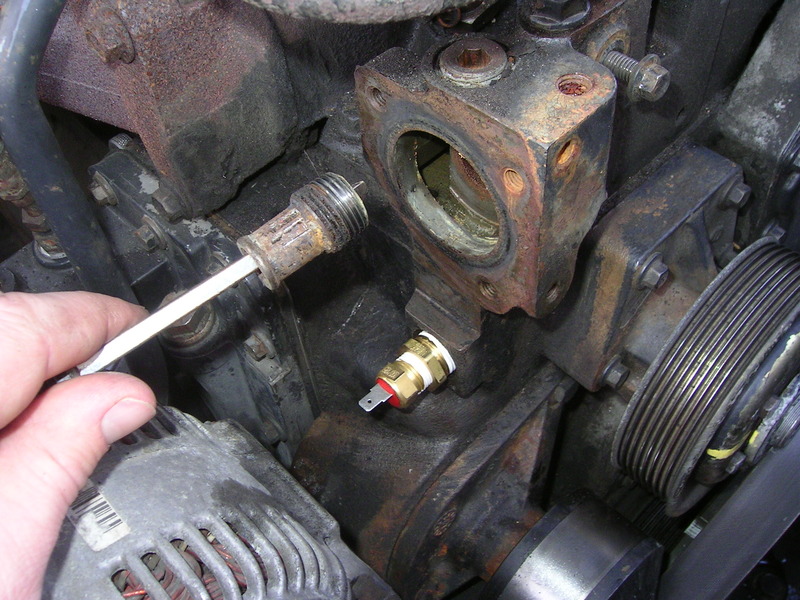
Switch is on at 200* and off at 185*.
Then reassembled everything.
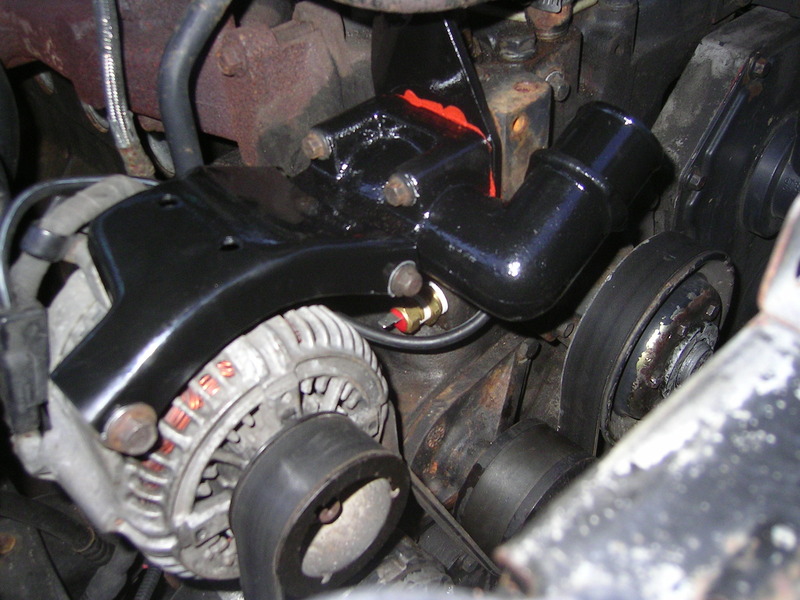

Switch is on at 200* and off at 185*.
Then reassembled everything.

Thread Starter
Registered User
Joined: Mar 2010
Posts: 7,265
Likes: 1,346
From: Prince George, BC
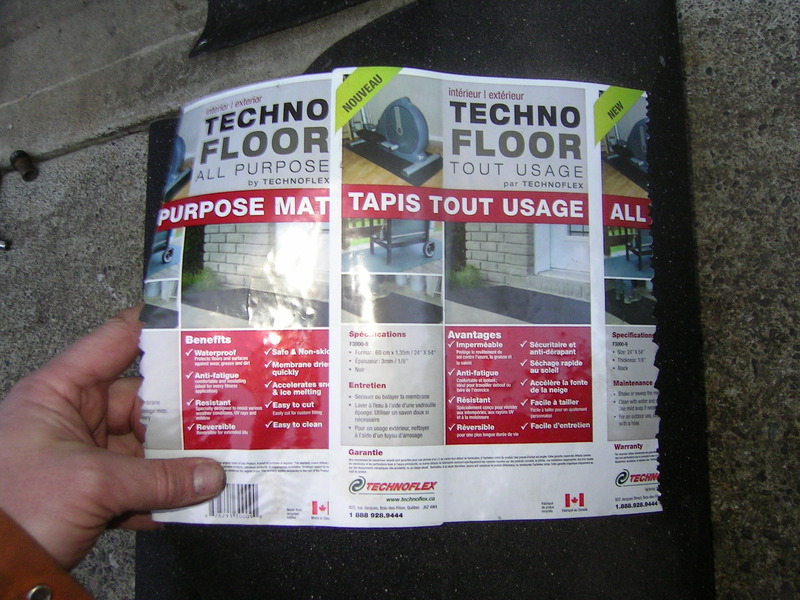
Figured I'd make a new air dam for the top of the rad. My original is cracking and very brittle. I've had this stuff kicking around for a few years now...thought it would work perfect.

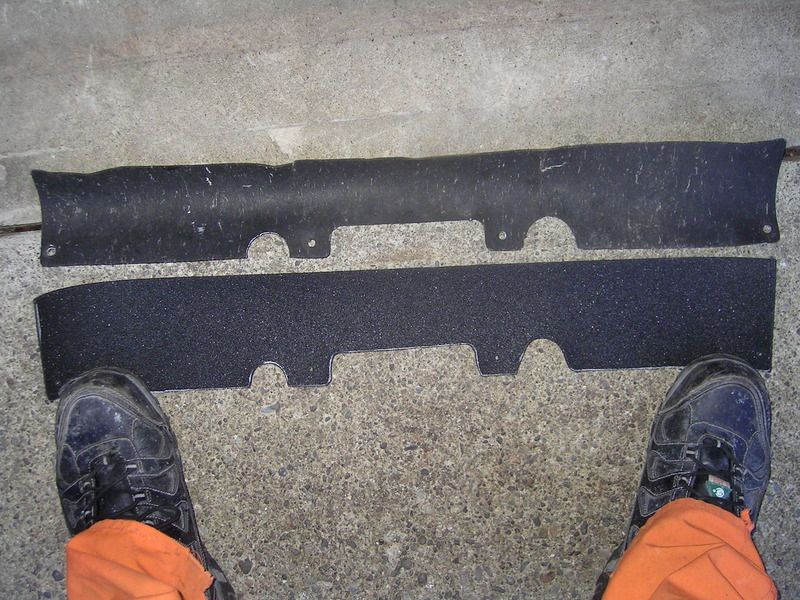
Then used the original to trace out a pattern.
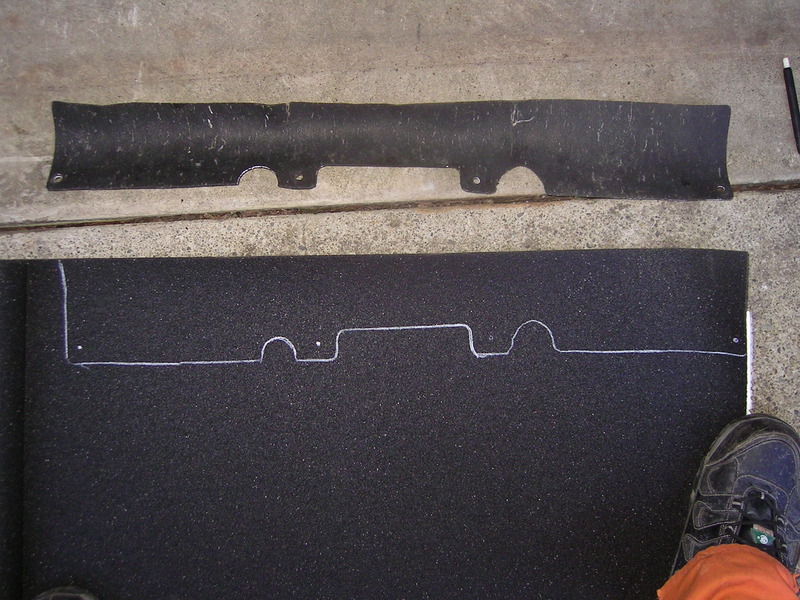
Cut out the new piece with a sharp exacto knife, and used a leather hole puncher to make the holes.
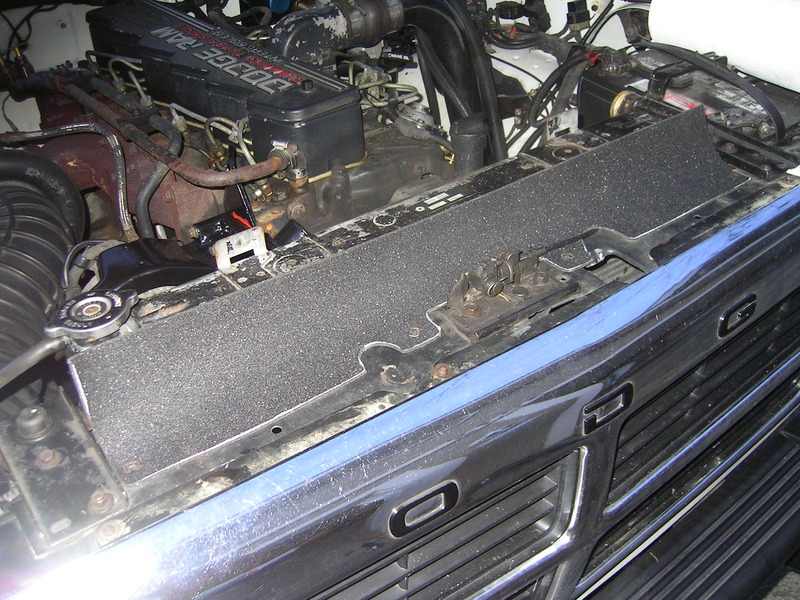
And installed....think it turned out alright.


Then used the original to trace out a pattern.

Cut out the new piece with a sharp exacto knife, and used a leather hole puncher to make the holes.

And installed....think it turned out alright.

Thread Starter
Registered User
Joined: Mar 2010
Posts: 7,265
Likes: 1,346
From: Prince George, BC
Popped the plug out of the top of the head by the T-stat and filled the rad and motor with coolant, then went for a drive. Well the friggin T-stat is stuck open! Motor will only get warm...and the needle on the gauge...which has always worked, and I never touched it...only get just off the cold side.
When I had the water boiling for the rad I tossed the T-stat into it make sure it opened and closed properly...seemed to from what I saw...but clearly something didn't work right, or I did something wrong.
Let it sit tonight, and go for a drive tomorrow morning and hope it starts working. If not guess I will be pulling it and swapping in the T-stat from my 89 motor.