Crewcab update...
 03-11-2014, 03:37 PM
#541
Registered User

 03-21-2014, 01:13 AM
#543
Registered User
Thread Starter
OK I'm going to spend an hour or so and update a bit....
So I had to repair the drivers door. The typical cracked lower hinge area. Well it was previously repaired...poorly I might add.

And wire wheeled clean....
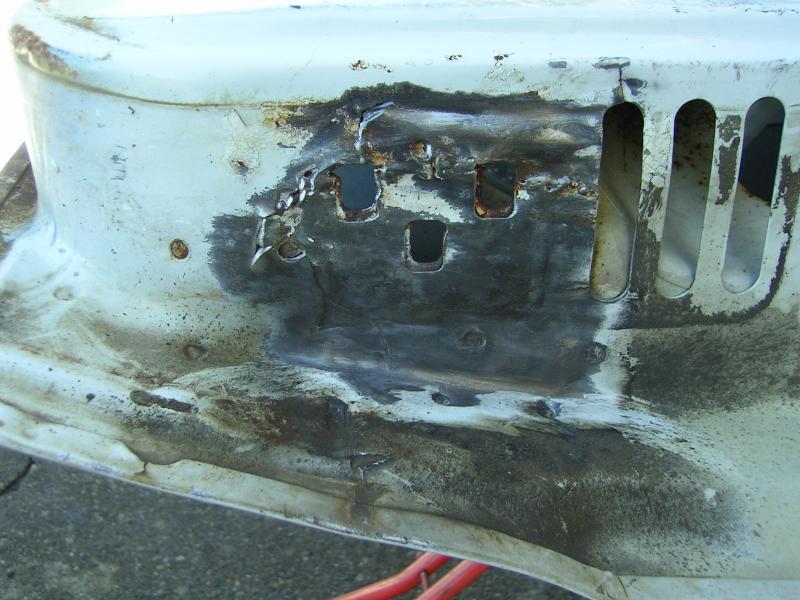
I was first going to just open the cracks and weld everything up. But after a bit of grinding I realized this was in WAY worse shape then I thought. So I decided it would be easier to just cut out the offending area and start over. Plus I needed to weld up the reinforcing area behind the outer sheet metal.
Kind of looks smug don't it....
Rear area welded up...
So I had to repair the drivers door. The typical cracked lower hinge area. Well it was previously repaired...poorly I might add.

And wire wheeled clean....

I was first going to just open the cracks and weld everything up. But after a bit of grinding I realized this was in WAY worse shape then I thought. So I decided it would be easier to just cut out the offending area and start over. Plus I needed to weld up the reinforcing area behind the outer sheet metal.
Kind of looks smug don't it....

Rear area welded up...
 03-21-2014, 01:21 AM
#544
Registered User
Thread Starter
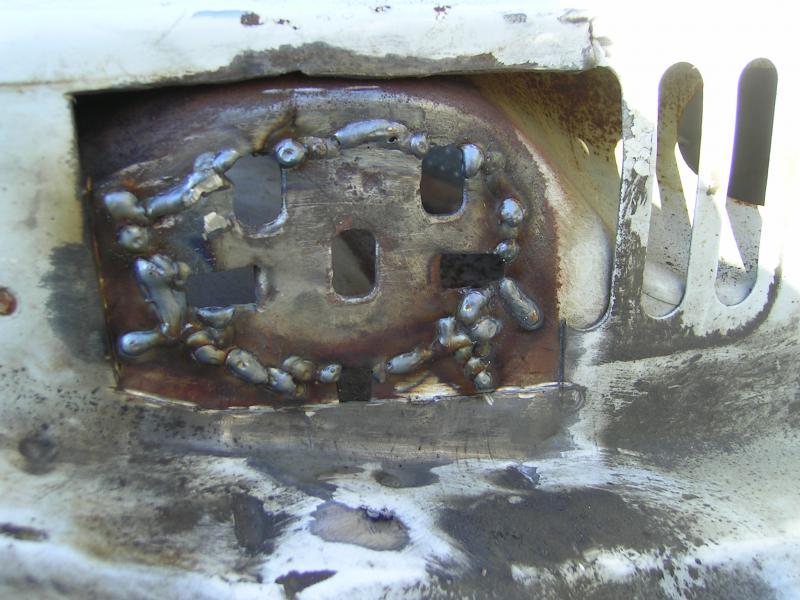
Rear area cleaned up and weld through primered....
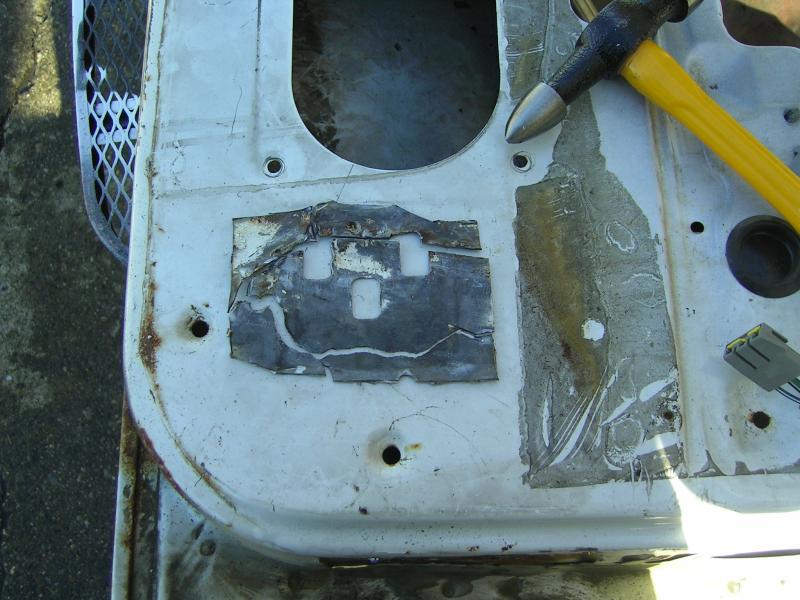
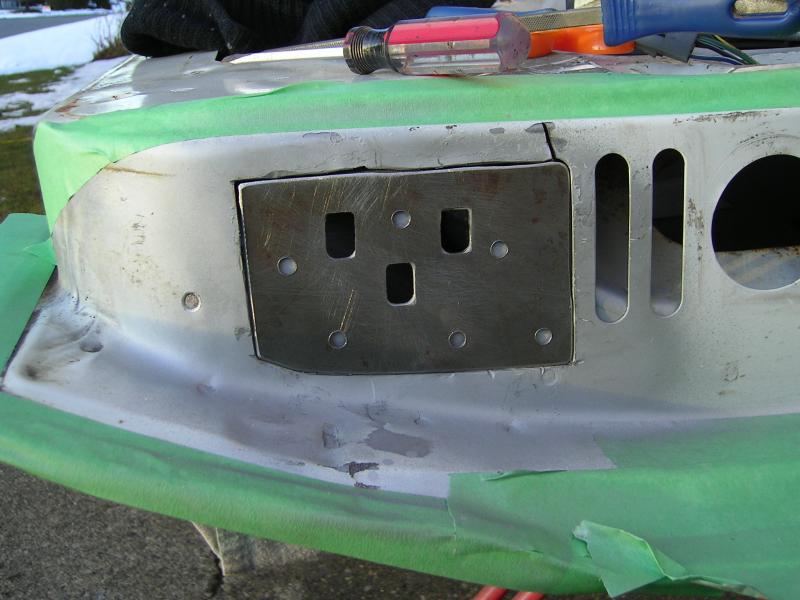
Then I had to make a new patch. The original sheet metal is THIN...like .04"!! And the scrap metal I used was .048". Anyway I had to mark out the holes...then drill and rat file them into shape.
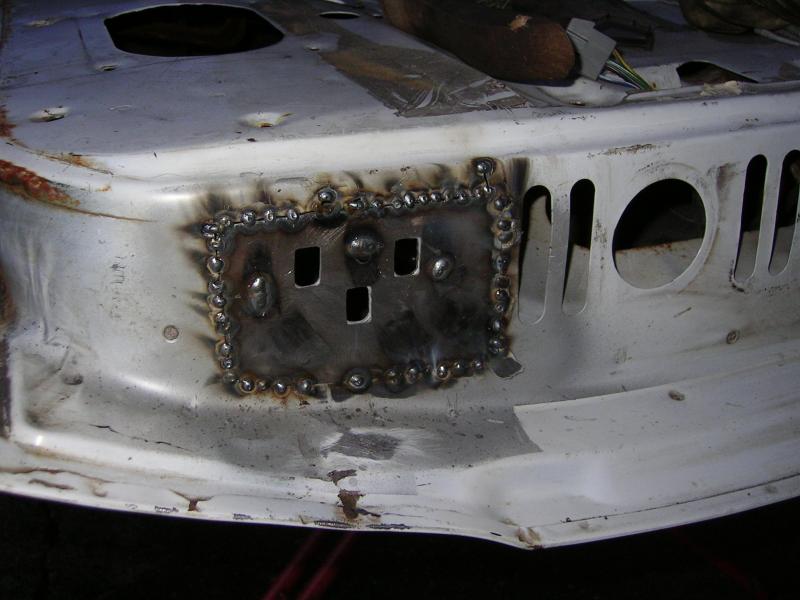
And pretty much all welded up...
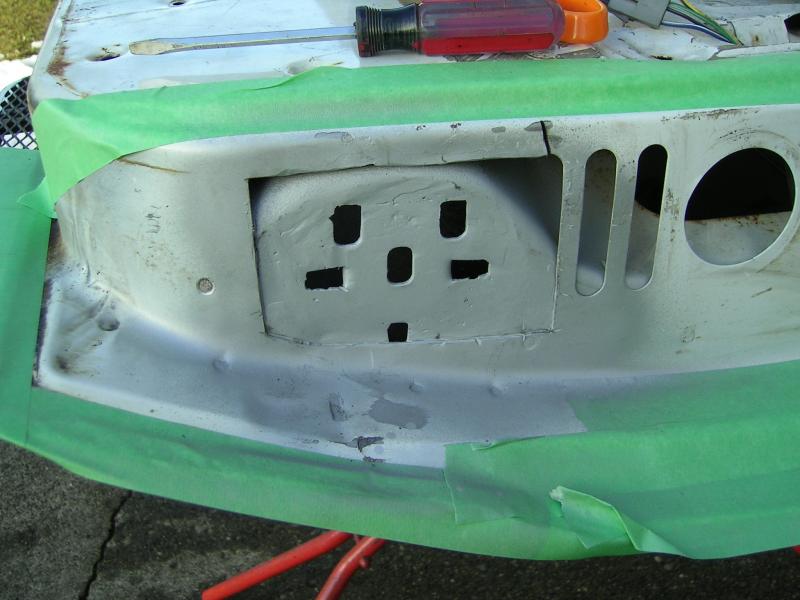
And all finished up and painted....
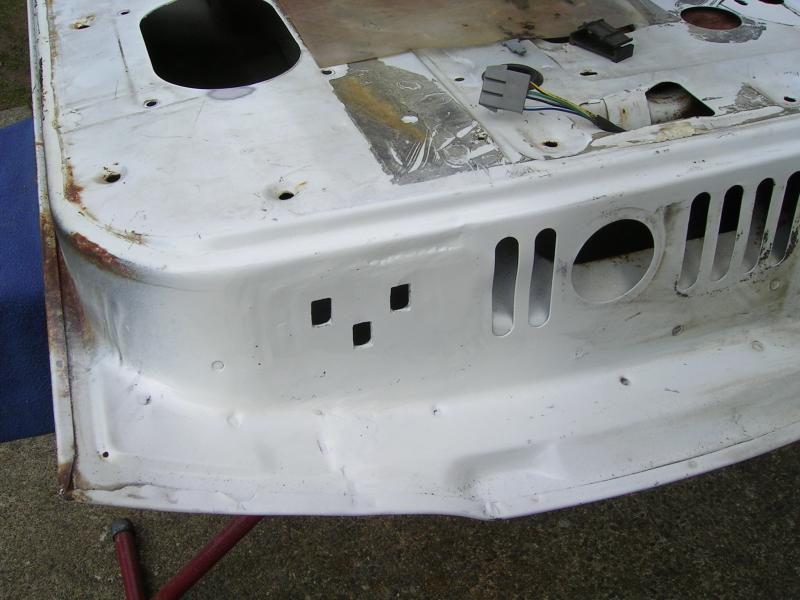
Much better!!

Then I had to make a new patch. The original sheet metal is THIN...like .04"!! And the scrap metal I used was .048". Anyway I had to mark out the holes...then drill and rat file them into shape.

And pretty much all welded up...

And all finished up and painted....

Much better!!
03-21-2014, 01:32 AM
#545
Registered User
Thread Starter
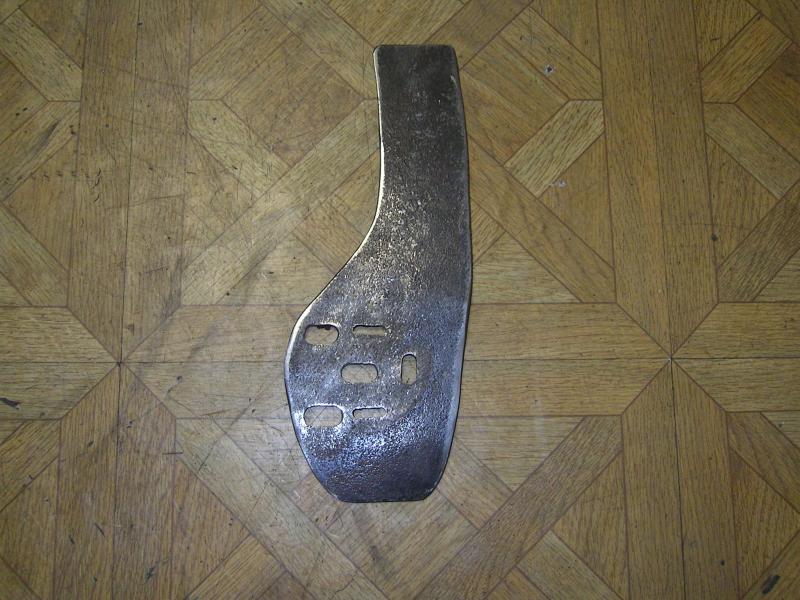
Then it was on to making a big reinforcing plate for inside the door. Little trick to get in there and make a template...but eventually I got that template made. Then I transferred it to some 1/4" plate and started cutting. Wish I had a plasma cutter....that would have made it SOOO much easier!!
Anyway here is the finished piece. I had to do a lot of drilling, and rat file work to get all those holes in the right spot.
And a slight bend in the lower area....
And installed in the door.....

Hopefully this helps the lower hinge area to stay crack free for a few years. Regardless I have a nice clean...uncracked...spare drivers door if I need it.
Anyway here is the finished piece. I had to do a lot of drilling, and rat file work to get all those holes in the right spot.

And a slight bend in the lower area....

And installed in the door.....

Hopefully this helps the lower hinge area to stay crack free for a few years. Regardless I have a nice clean...uncracked...spare drivers door if I need it.
03-21-2014, 01:37 AM
#546
Registered User
Thread Starter
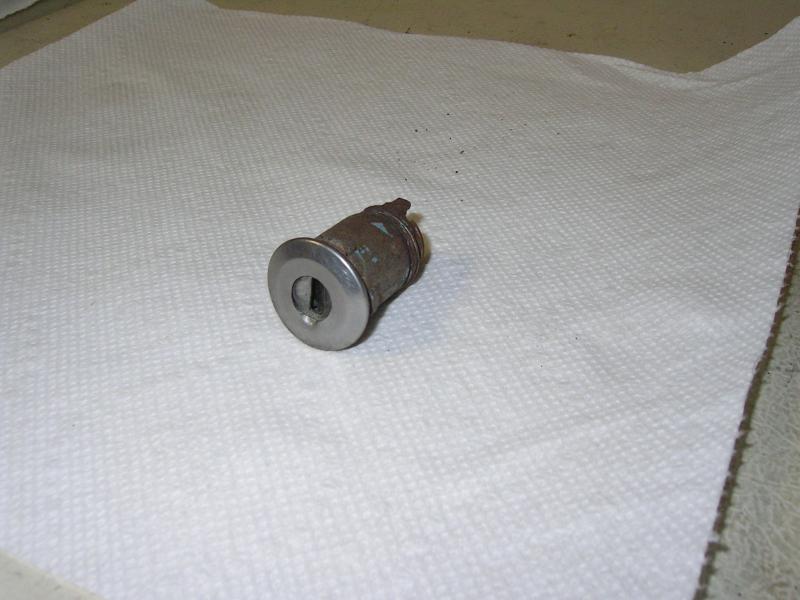
I also installed new hinge pins and bushings. Had to toss the original white lower hinge...it was twisted and bent from all that abuse. So I grab a spare one I had and re/re'd it.
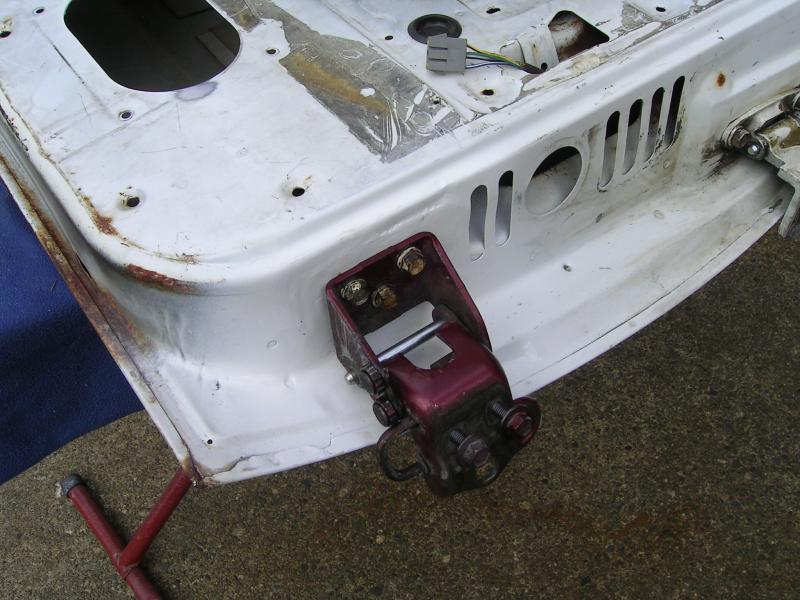
And just in case people don't know...the only difference between the LH (driver) and RH (passenger) side lower hinge is the direction the pin is installed.
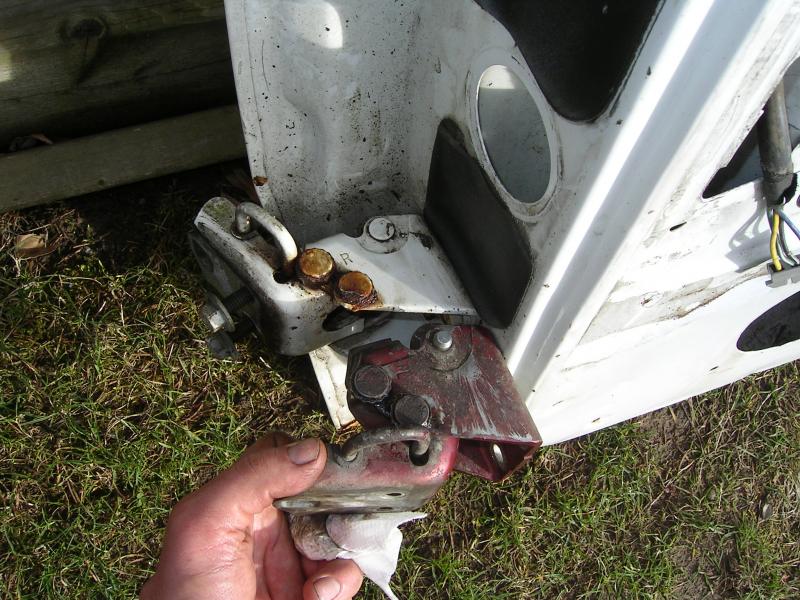
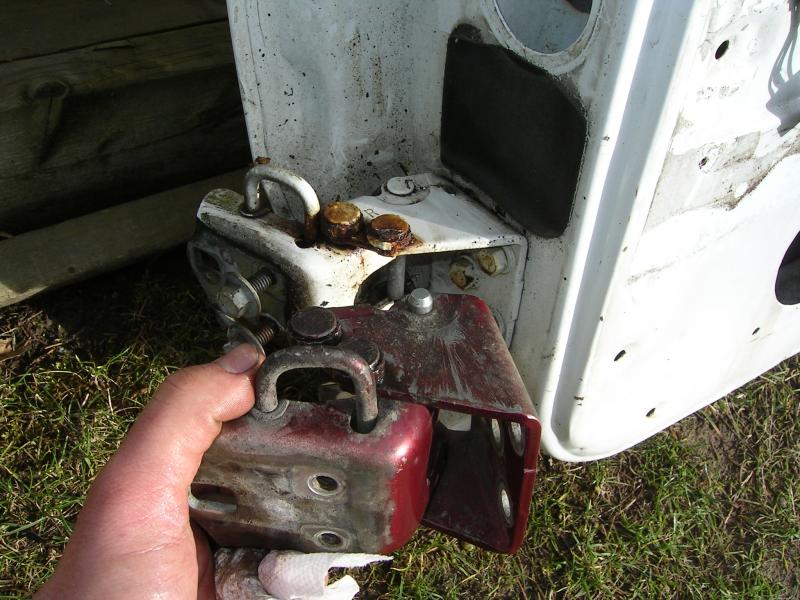
The hinge is just flipped over to use on the other side of the truck.

And just in case people don't know...the only difference between the LH (driver) and RH (passenger) side lower hinge is the direction the pin is installed.


The hinge is just flipped over to use on the other side of the truck.
03-21-2014, 01:41 AM
#547
Registered User
Thread Starter
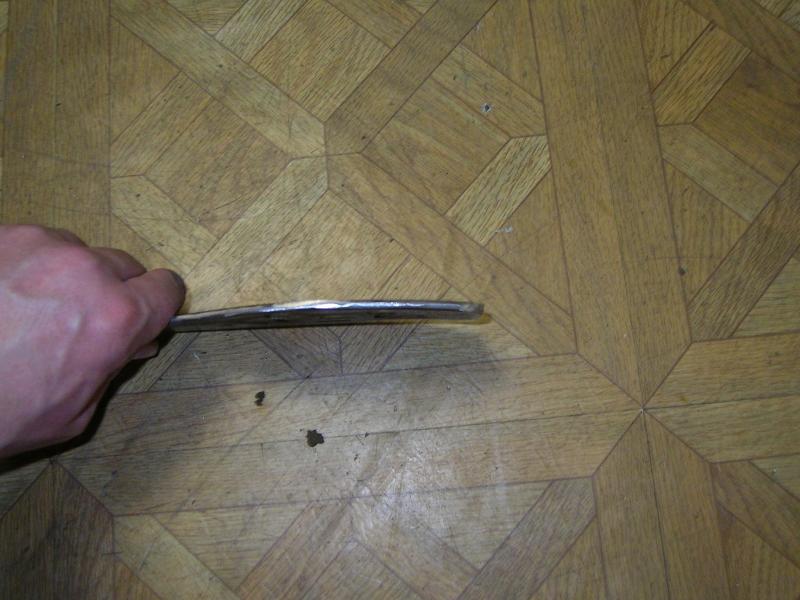
The lower rivet to hold the lower window stop bracket was loose. So i decided to drill out all 3 rivets and remove the bracket.
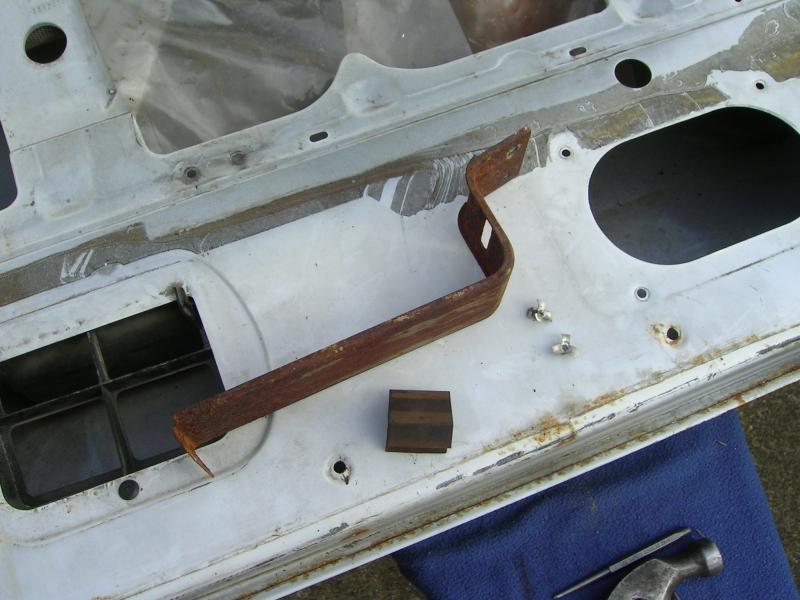
I then installed some nuts and bolts. Then welded the nuts to the bracket.
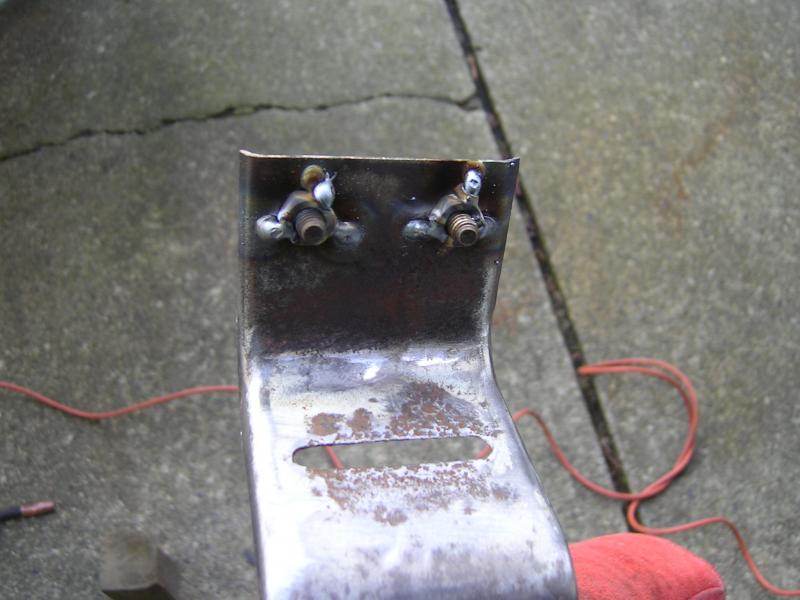
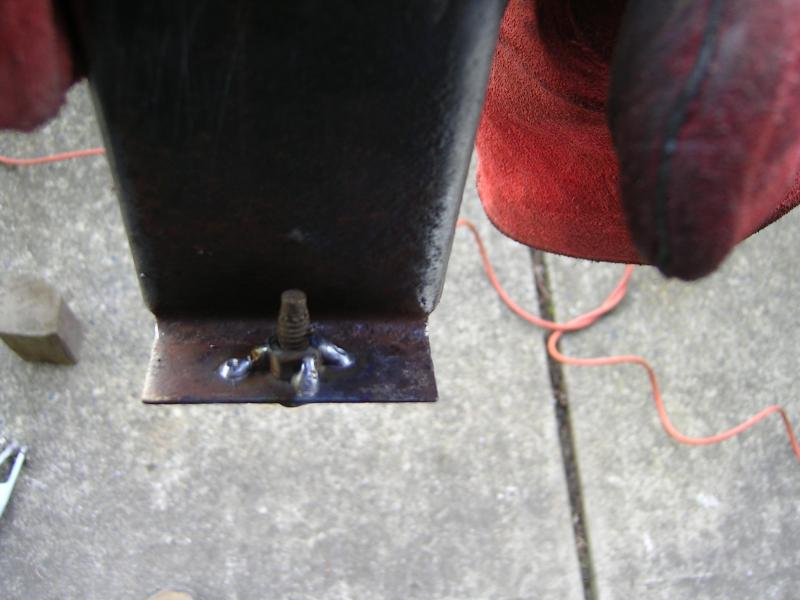
Now if I need to remove the bracket for any reason, it will come out very easy.

I then installed some nuts and bolts. Then welded the nuts to the bracket.


Now if I need to remove the bracket for any reason, it will come out very easy.
03-21-2014, 01:52 AM
#548
Registered User
Thread Starter
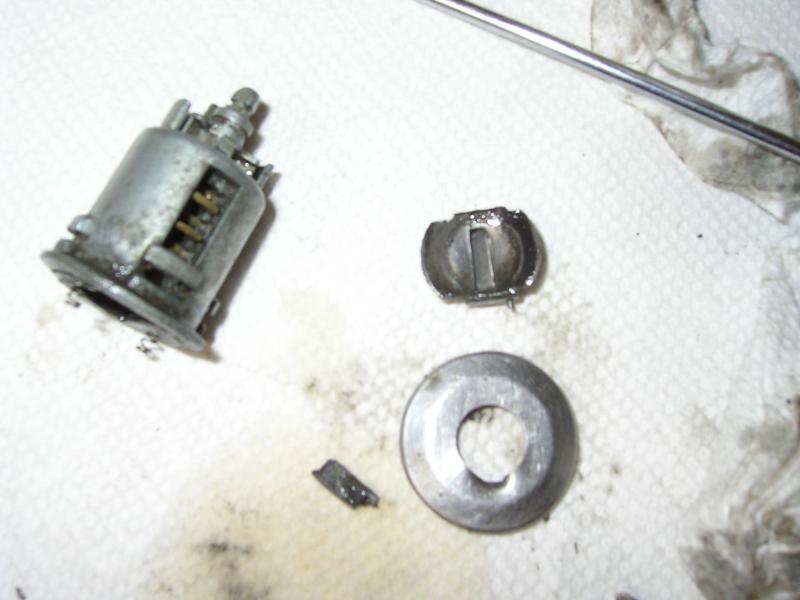
The old donor 93 had been broken into at some point as well. The drivers door lock was punched and bent up...but it still kind of worked. I decided to tackle swapping out the main key tumbler with anouth spare lock I had.
Old lock...
This is not a serviceable part BTW. I had to carefully pry off the stainless front to get at the tumbler.

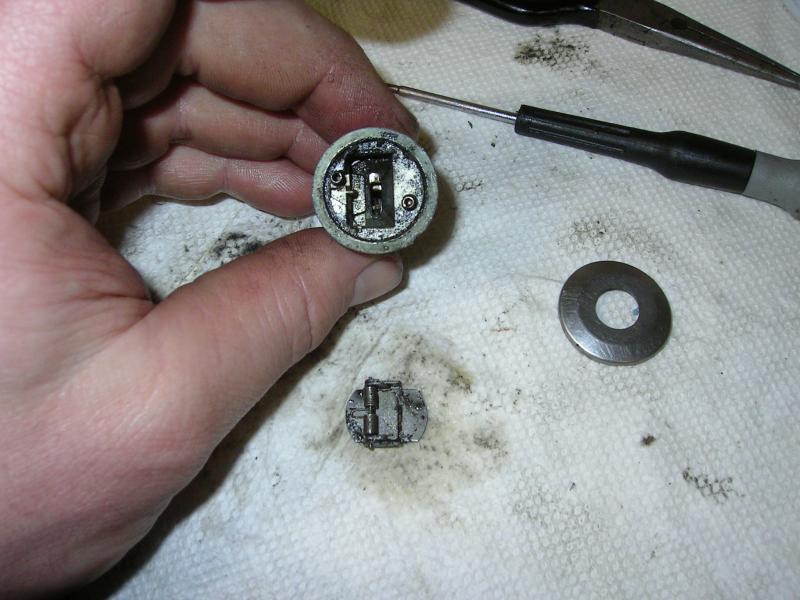
Then do this all over again with my spare lock. Once apart I discovered that the tumbler was damaged as well. So i had to pull all the pins and swap them around.

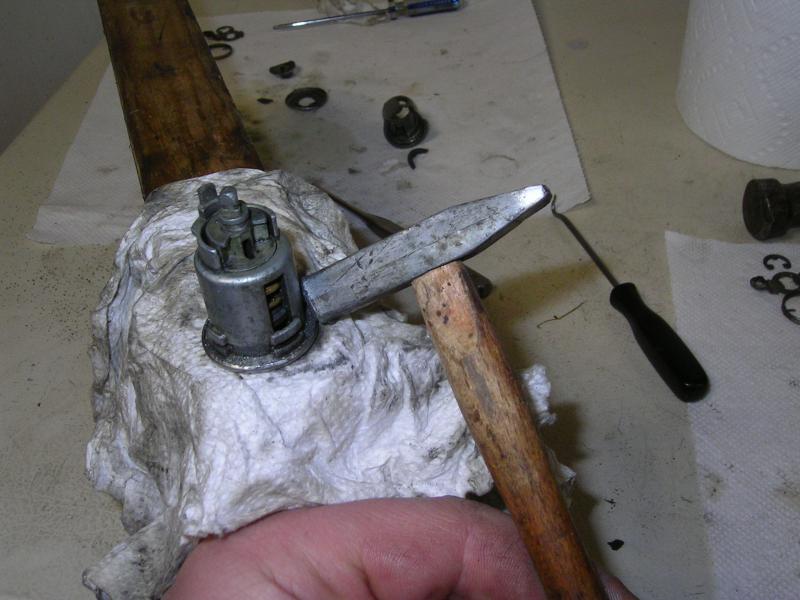
Once that was accomplished the fun part was getting the front stainless cover back on and that lip polled back over. I have a small aluminum hammer...I decided this would probably do the trick.
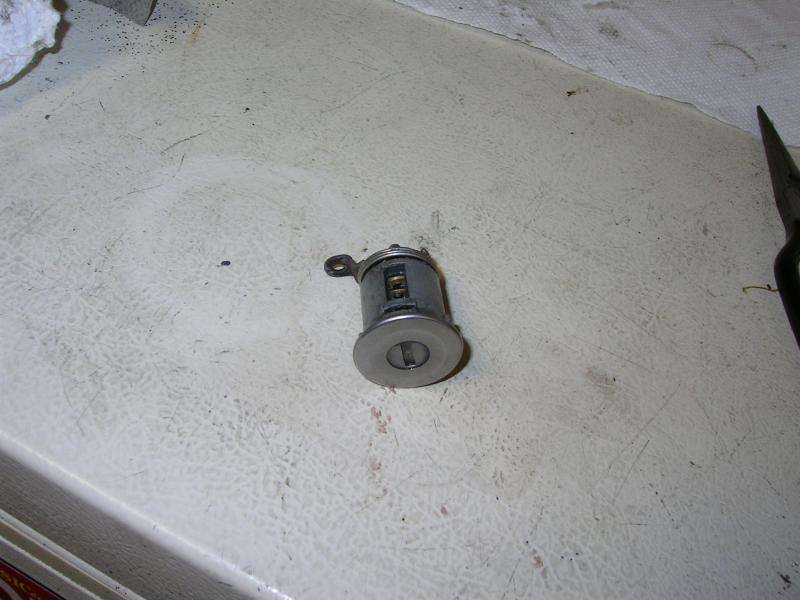
After a lot of fine tapping I go tit all secured again. Here is the "new" lock...works like a charm!!
Old lock...

This is not a serviceable part BTW. I had to carefully pry off the stainless front to get at the tumbler.


Then do this all over again with my spare lock. Once apart I discovered that the tumbler was damaged as well. So i had to pull all the pins and swap them around.


Once that was accomplished the fun part was getting the front stainless cover back on and that lip polled back over. I have a small aluminum hammer...I decided this would probably do the trick.

After a lot of fine tapping I go tit all secured again. Here is the "new" lock...works like a charm!!
 03-21-2014, 02:01 AM
#549
Registered User
Thread Starter
I installed the cab roof lights. I used the diagram, and measurements, that was posted up by Jim Lane....but did not like the location of the outside lights.
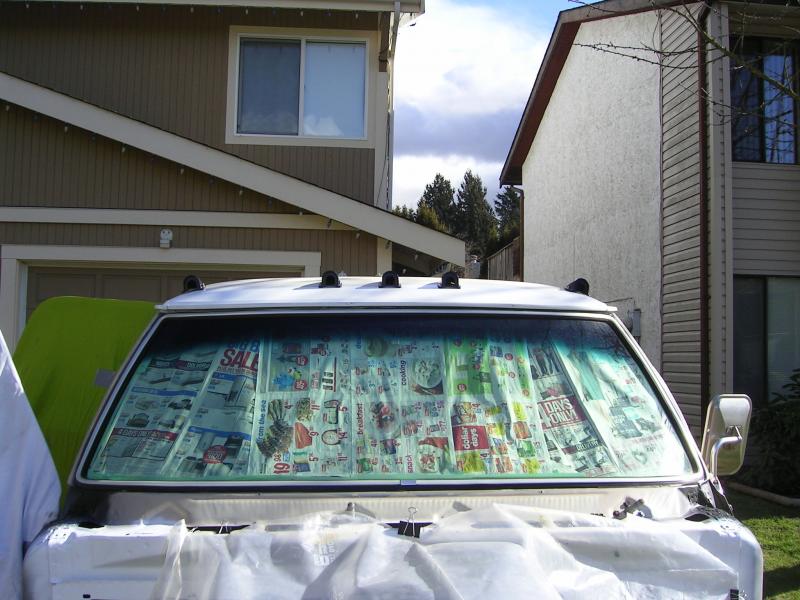
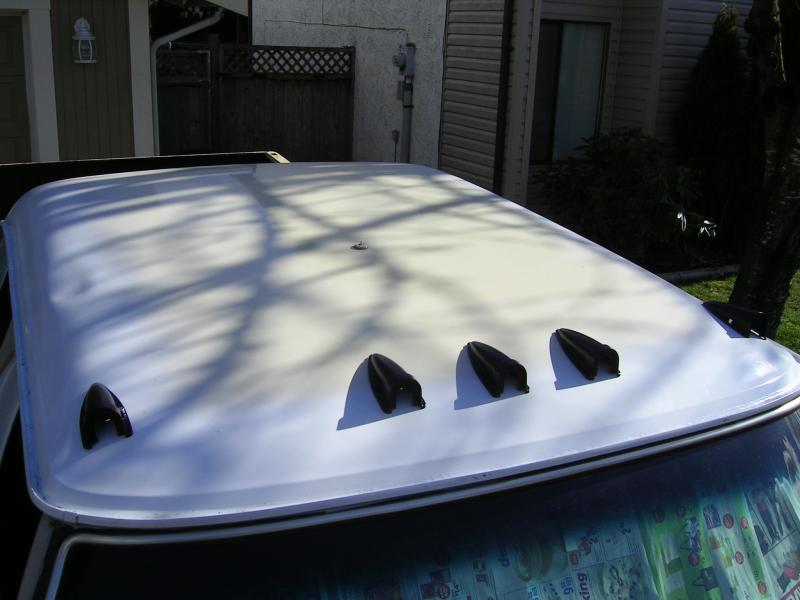
So I moved the outer lights in a few more inches....Looks much better IMO.
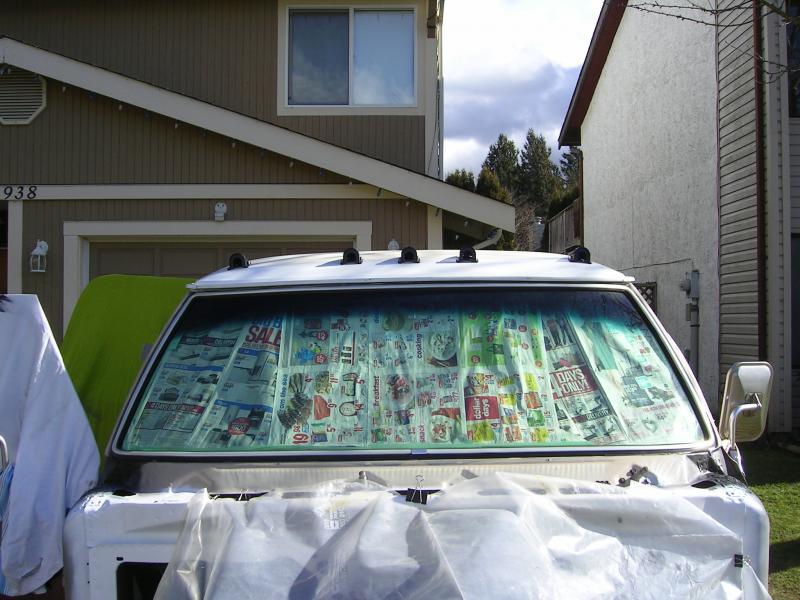
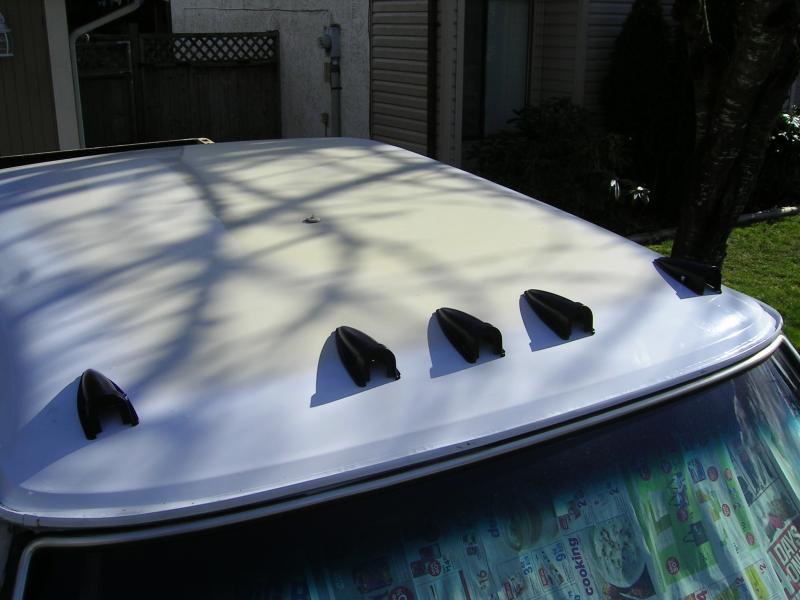
Then it was the nerve wracking job to mark and drill the roof.
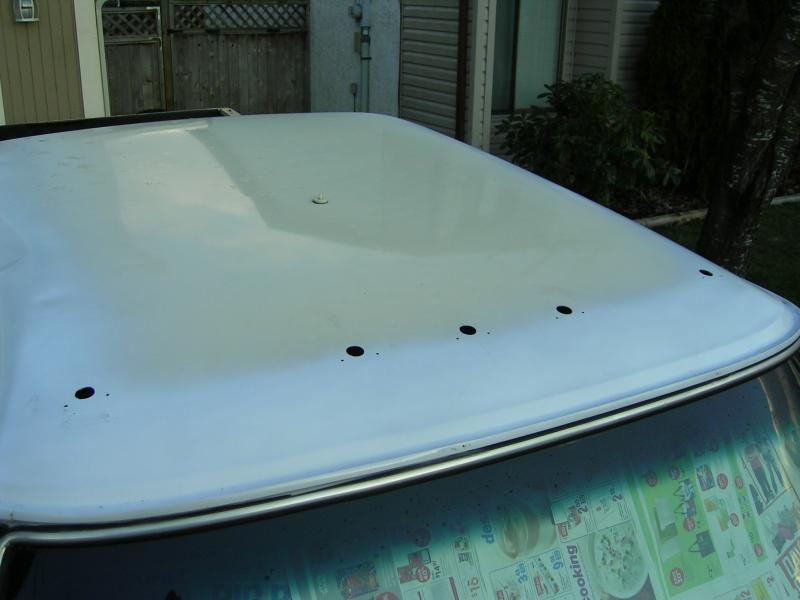
And lights all installed.


So I moved the outer lights in a few more inches....Looks much better IMO.


Then it was the nerve wracking job to mark and drill the roof.

And lights all installed.
 03-21-2014, 02:14 AM
#550
Registered User
Thread Starter
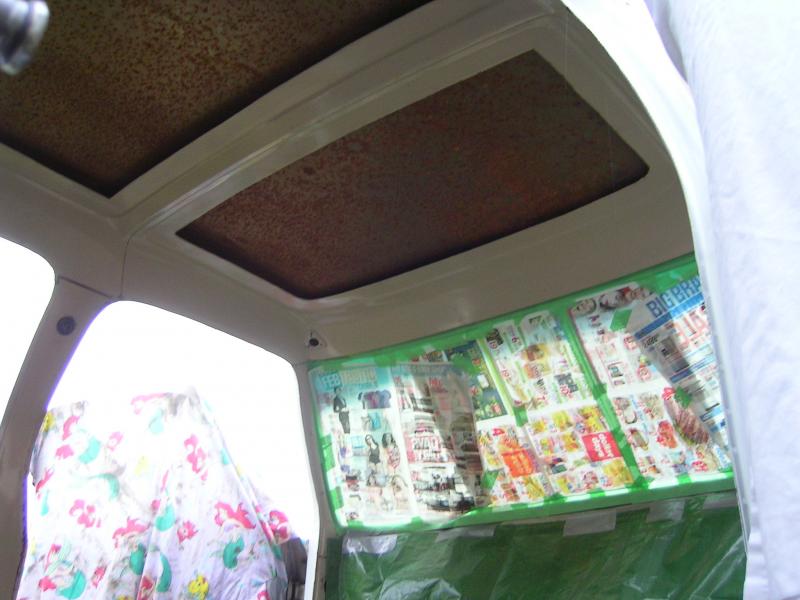
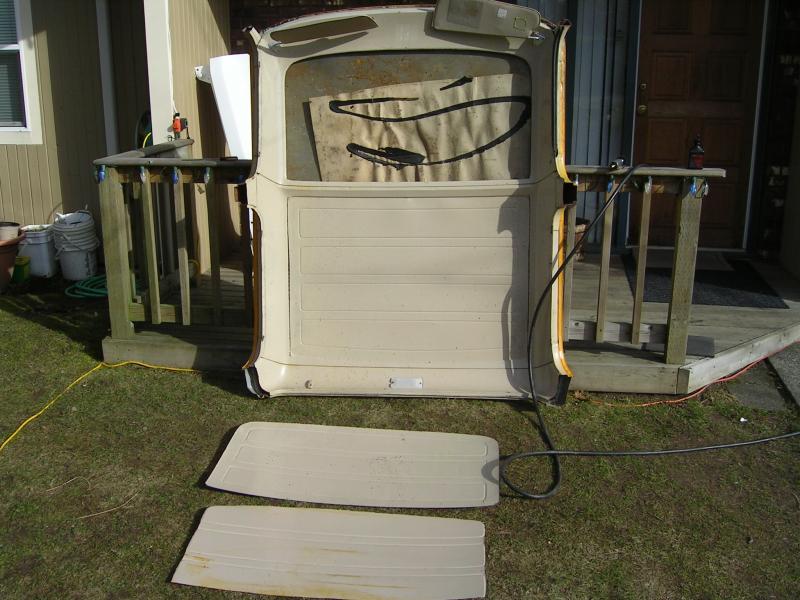
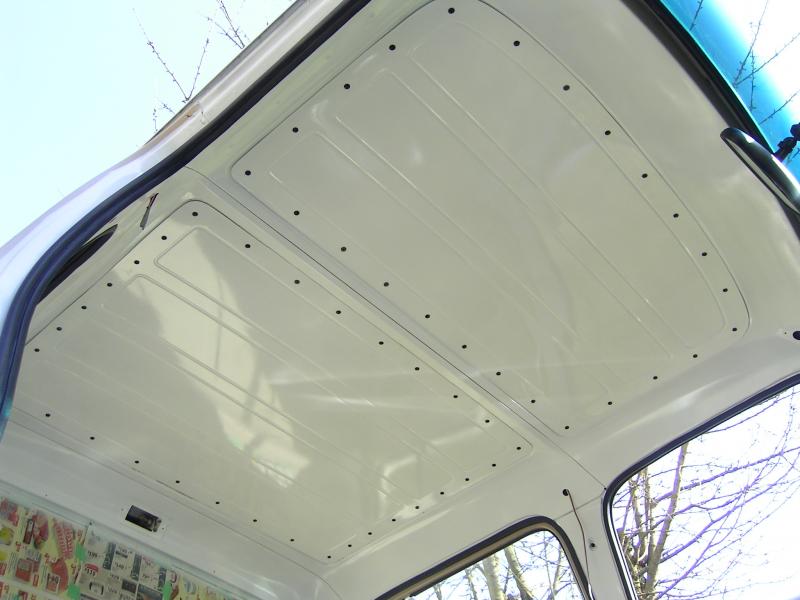
Now onto the interior roof panels. Here's what they looked like before.
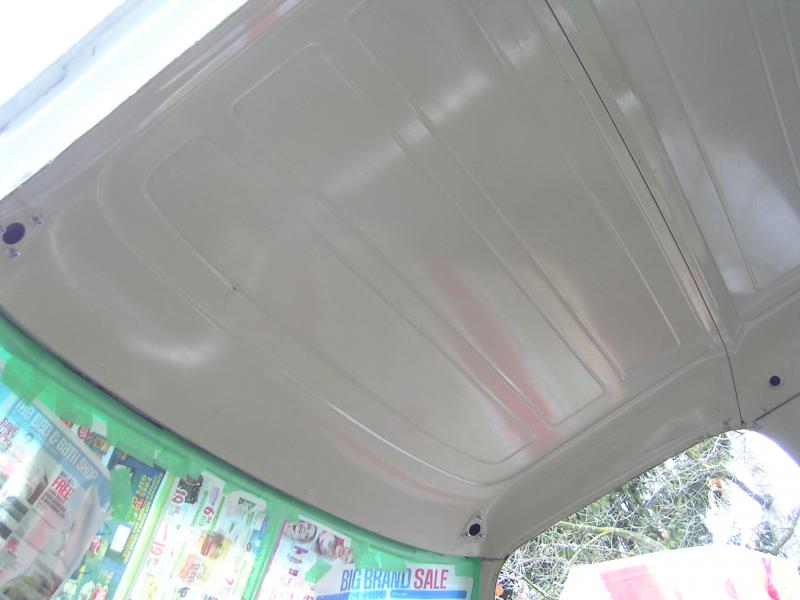
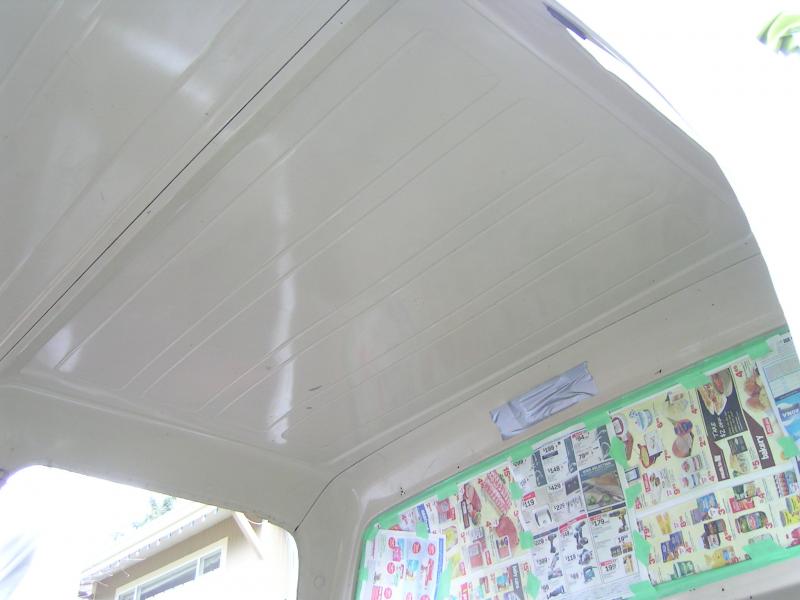
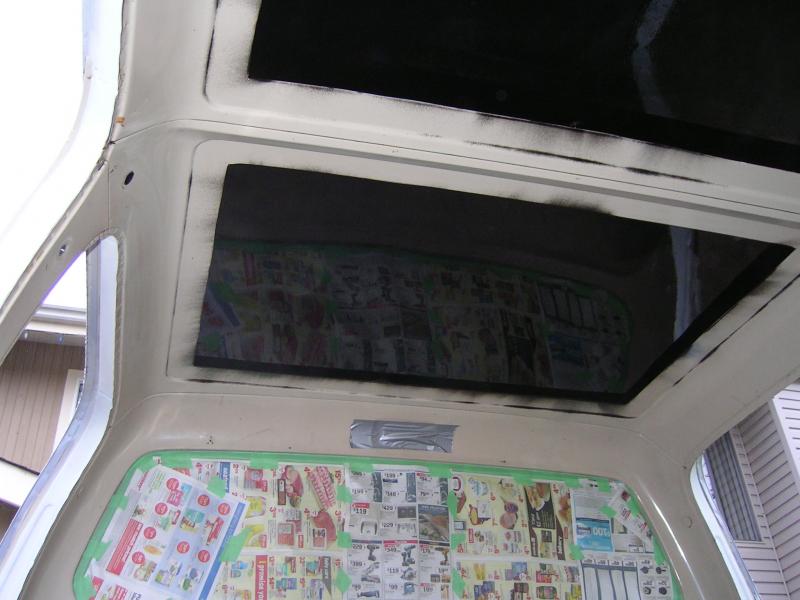
I wanted removable panels like CE TEX has done in his truck. So out came the cutting wheels.
Then it was sand and pain the inner roof. I also masked and painted all the roof and pillar areas white too.


I wanted removable panels like CE TEX has done in his truck. So out came the cutting wheels.


Then it was sand and pain the inner roof. I also masked and painted all the roof and pillar areas white too.

 03-21-2014, 02:18 AM
#551
Registered User
Thread Starter
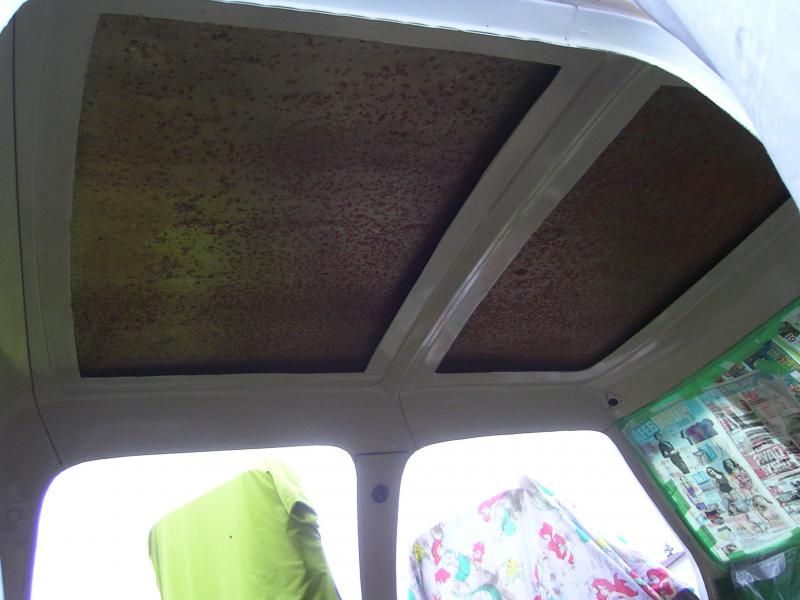
Then it was time to drag out the spare crewcab roof I pillaged from the wreckers a few years ago.
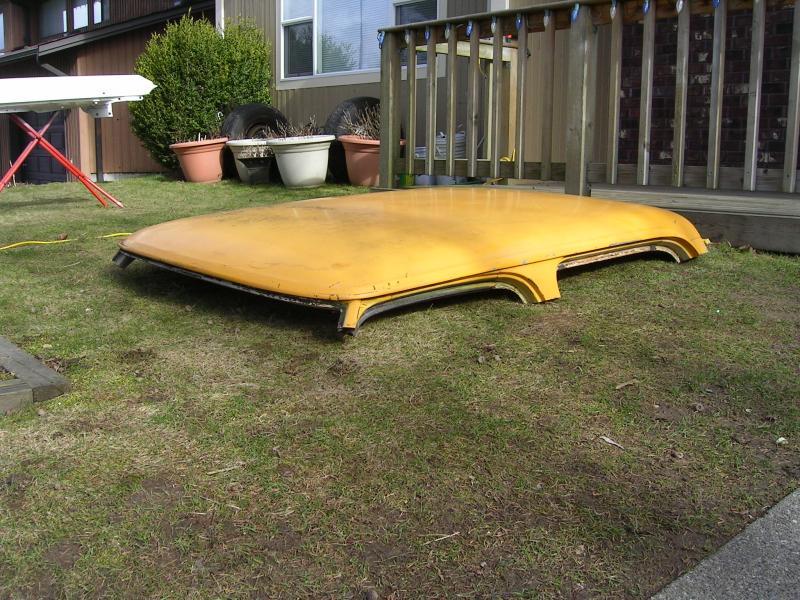

Then cut out the panels from this roof. As you can see in 3rd pic where the one I removed from the crewcab is smaller then the one I removed from the wrecker roof. This is so that the two over lapping lips will be used as the fastening area.
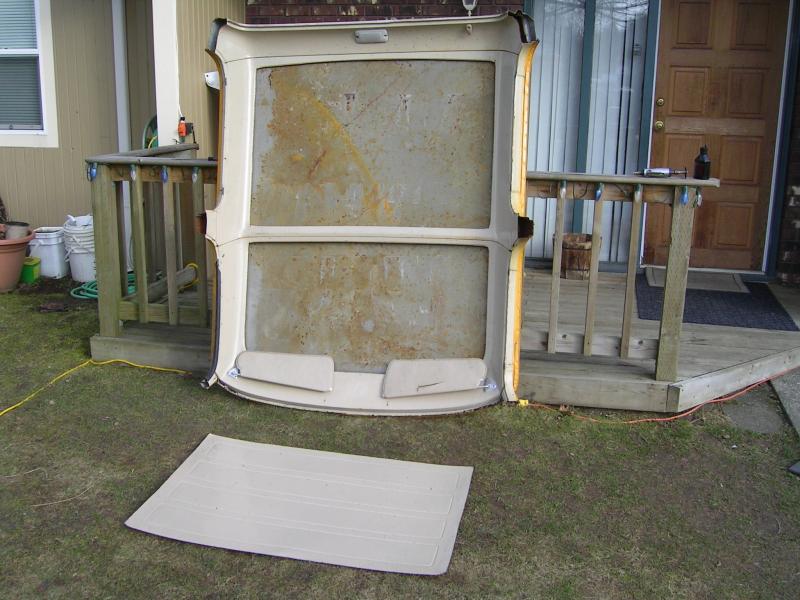
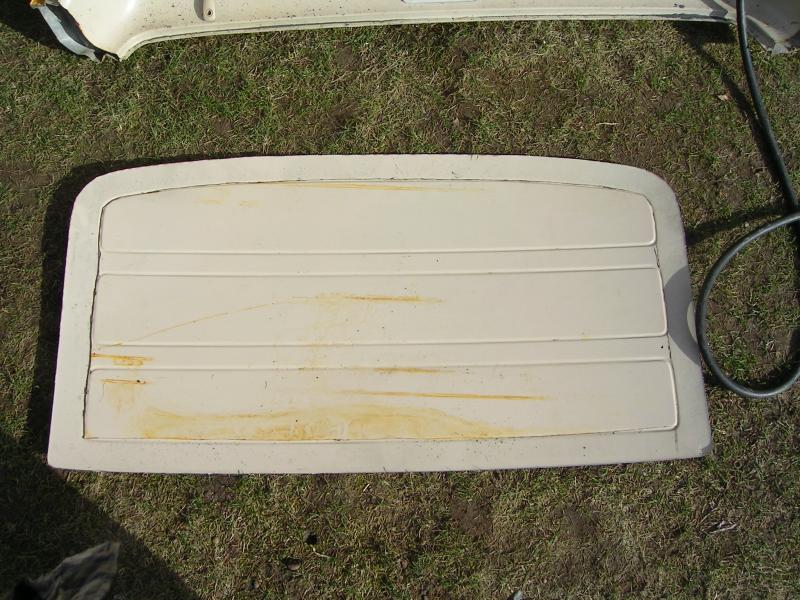
Then I cleaned and sanded and painted the removable panels.
 03-21-2014, 02:24 AM
#552
Registered User
Thread Starter
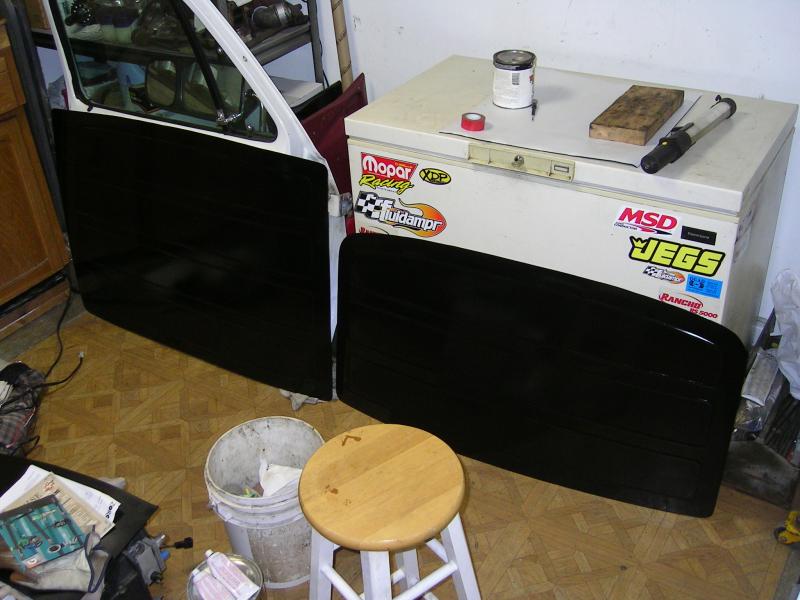
Once all that was done it was time to insulate the roof. I did a lot of research and came up with a product called mighty mat. It has an aluminum coating on one side...and a glass matting? type layer on the other. It does not hold moisture, or mold. And is about a 1/4" to 3/8" thick.
Going into the roof.
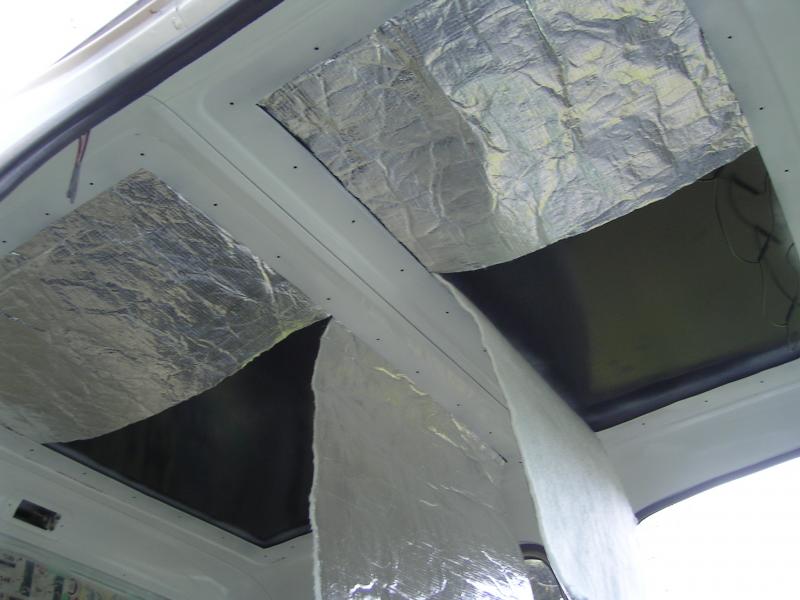
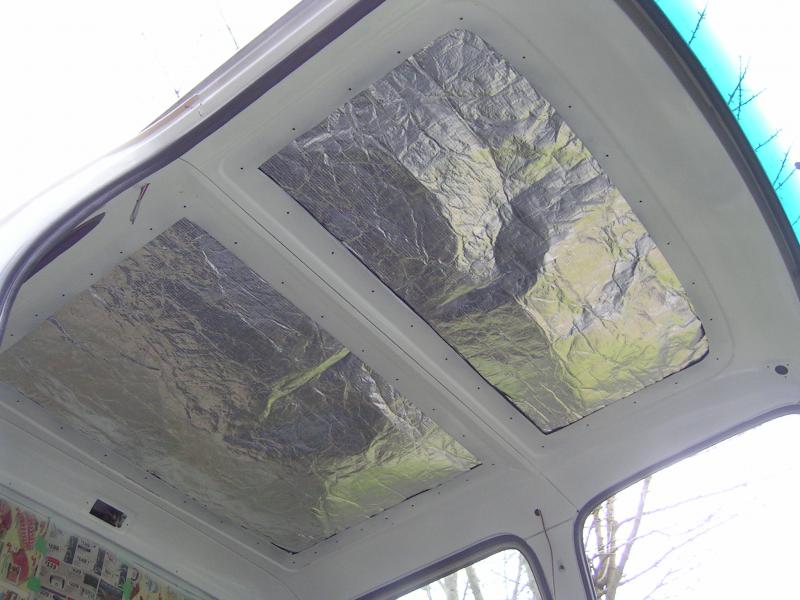
I then installed a second layer...fuzzy side down. Then installed the removable panels.
All done for now. It's nice and quiet now when you bang on the roof...inside and out!! I want to get upholstered panels to cover all the screws...but that can come later.

Going into the roof.


I then installed a second layer...fuzzy side down. Then installed the removable panels.

All done for now. It's nice and quiet now when you bang on the roof...inside and out!! I want to get upholstered panels to cover all the screws...but that can come later.
03-21-2014, 02:27 AM
#553
Registered User
Thread Starter
Alright I'm done for tonight. Will update again soon...if I find some more time. I'm working like crazy trying to get the truck on the road...I'm getting darn close.
I'm working like crazy trying to get the truck on the road...I'm getting darn close.
03-21-2014, 07:13 AM
#554
That looks really good. I know I'm probably gonna regret it but I am not planning on doing the roof mod yet. I do have a full headliner going in and will have to see how noise is with that first. If need be down the road I will tear it back down and fix it right
Sent from my XT1080 using Tapatalk
Sent from my XT1080 using Tapatalk
03-21-2014, 07:22 AM
#555
Registered User
Excellent work, Brian! Kinds looks fancy with the bolts exposed. I'd leave it!
The removable panels is what if like to do to my single cab as well. Although, finding a roof a roof section might be a little more difficult out here. I thought about welding small tabs or a flange to the section I remove to use as the fastener location.
Did you just use self-tapping screws to attach the panels?
Hunted and pecked from a Galaxy S4A.