Crewcab update...


 12-16-2013, 09:40 PM
#394
Registered User
Thread Starter
Yup I did. I did manage to kind of use one of the existing holes in the frame. I had to rat file it out by hand to get the bracket in the location I wanted.
I just went a looked through my pics...guess I didn't snap any specific pics of what I did. But I did find a couple I can enlarge and post up for reference.
Will go do this now and get them up in a little while.
I just went a looked through my pics...guess I didn't snap any specific pics of what I did. But I did find a couple I can enlarge and post up for reference.
Will go do this now and get them up in a little while.
12-16-2013, 09:59 PM
#395
Registered User
Thread Starter
As for the shock brackets. I know when I was measuring their location that the exact spot that would have put them right where the factory did....also would have put the hole right to the side of existing holes. And I would have had one ugly oval type holes.
Here's the holes left in my 84 crewcab frame. These were left behind from the removal of the 2wd front suspension.
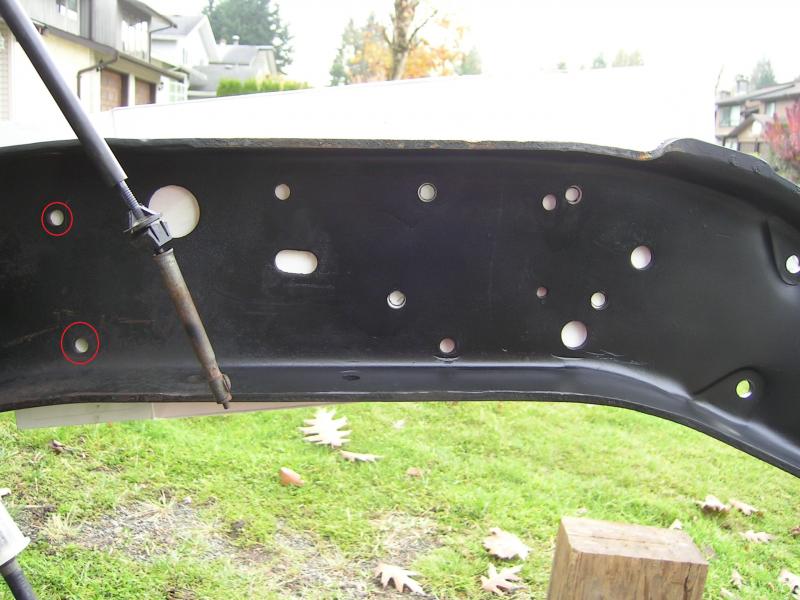
And these are the holes after I got done with the rat file. I raised the upper hole , and then increased it to 1/2". Doing this I was able to raise the lower hole so I had about 1/4 inch on frame material between the two lower holes.
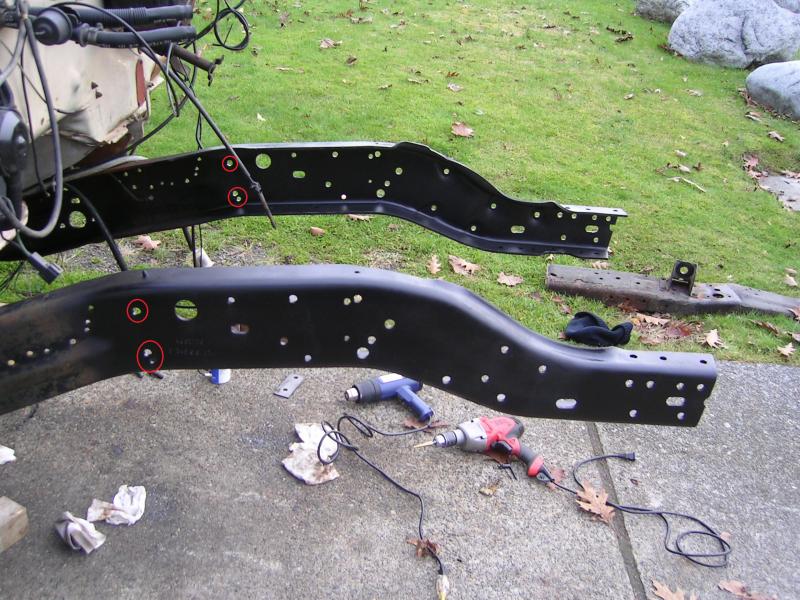
It raised the over all location of the mount by about 1/4" inch...and slightly tilted the top of the shock bracket angle towards the rear of the truck. But close enough so far as I was concerned.
12-17-2013, 01:05 AM
#396
Registered User
Thread Starter
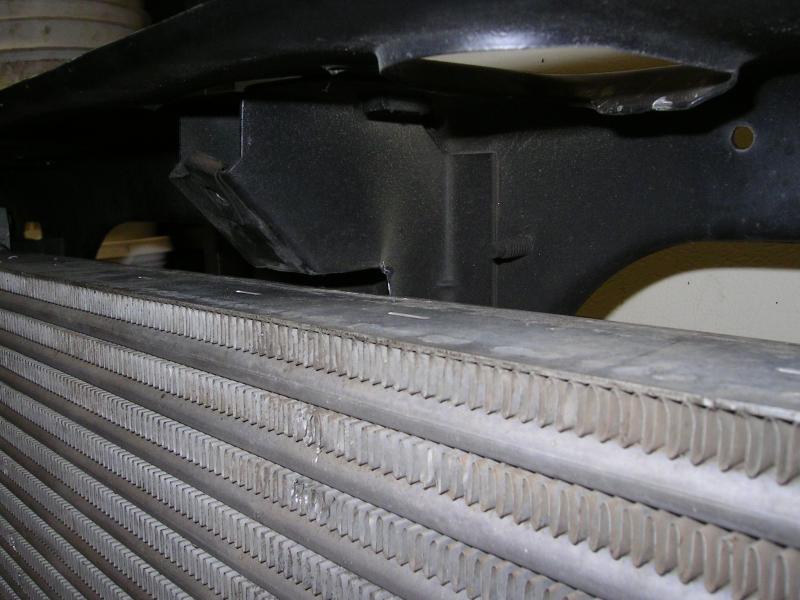
Powerstroke IC mounts...
Got the mounts made for the intercooler. I will let the pics tell the story here.
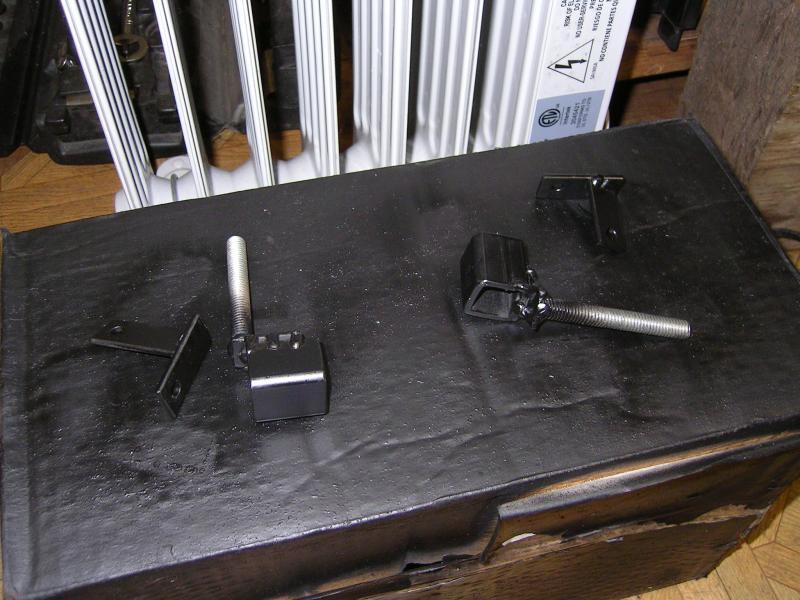
I decided to mount it without the upper and lower bushings. I installed it with the lower bushings and the IC had way too much movement.
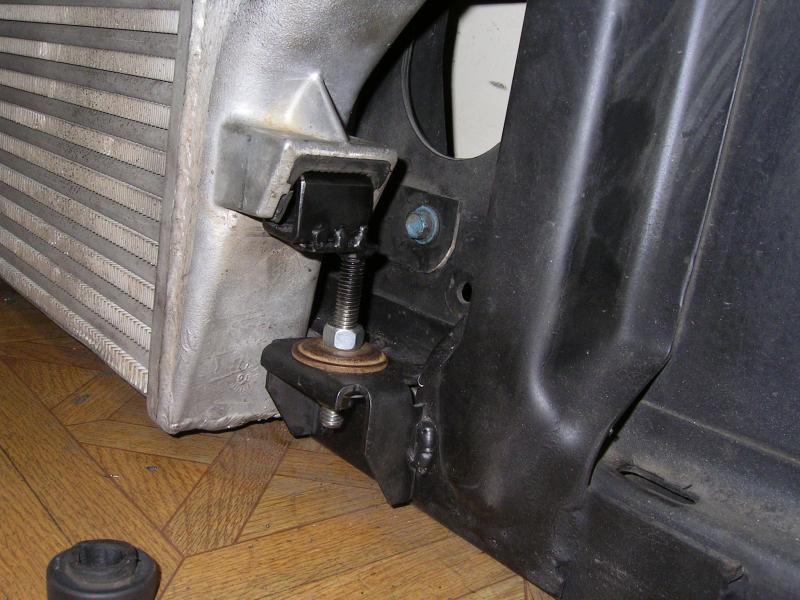
I also had to notch the center support just a bit to gain a little extra room. But that's par for the course.

I decided to mount it without the upper and lower bushings. I installed it with the lower bushings and the IC had way too much movement.


I also had to notch the center support just a bit to gain a little extra room. But that's par for the course.
 12-17-2013, 01:08 AM
#397
Registered User
Thread Starter
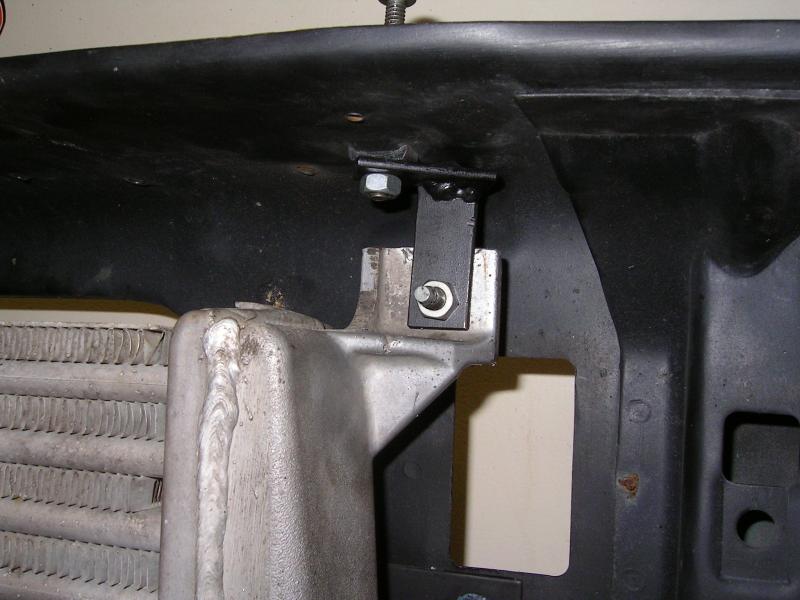
All done, pretty happy with the way it turned out. I just need to throw a little flat black on it and it will be ready to install.
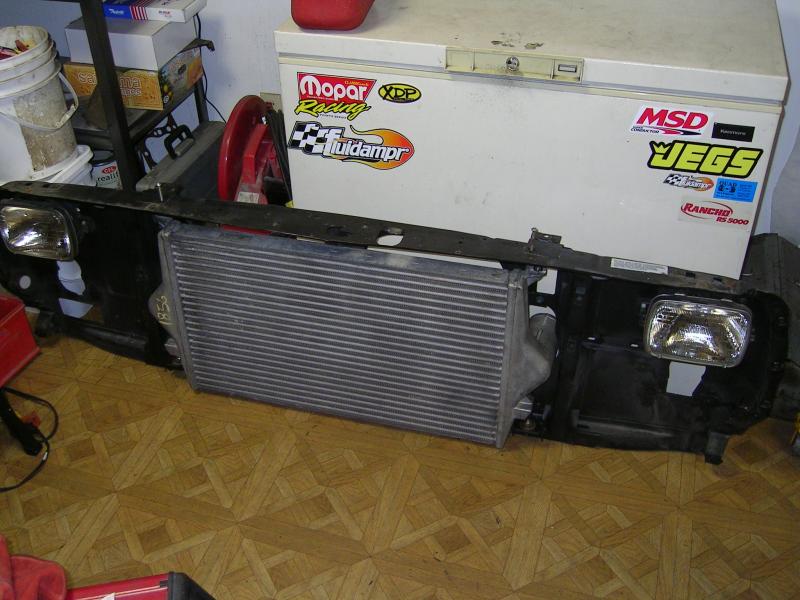
Nice and tight...
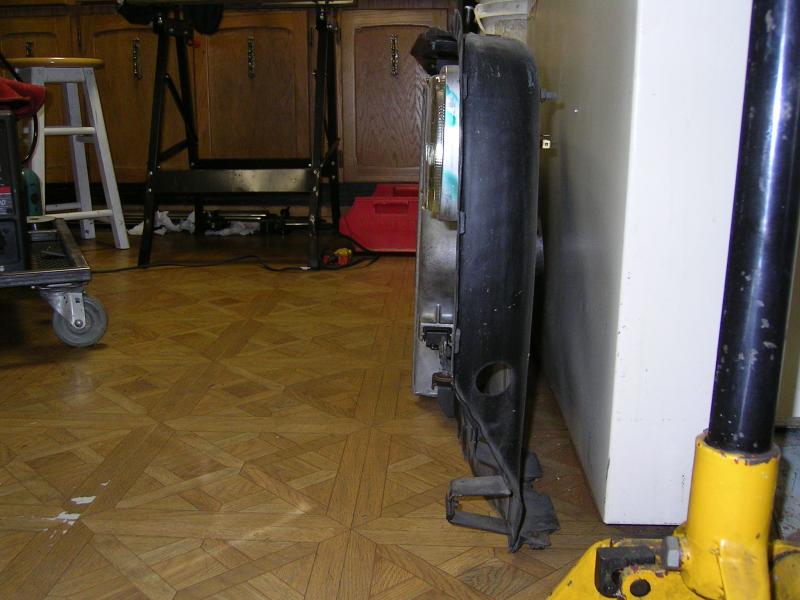

Nice and tight...


 12-17-2013, 08:40 AM
#400
Registered User
 12-17-2013, 01:47 PM
#402
Registered User
12-17-2013, 02:08 PM
#403
Registered User
Thread Starter
Looks like I might have to do some modifications to make everything work....Main Story of this build it seems....
 12-17-2013, 03:20 PM
#405
Registered User
Thread Starter
Yeah if only a few of them actually lined up with the 4wd cross member and frame brackets...but I think I actually only ended up using 4 existing holes....and 2 of those had to be modified. Rest I had to drill.