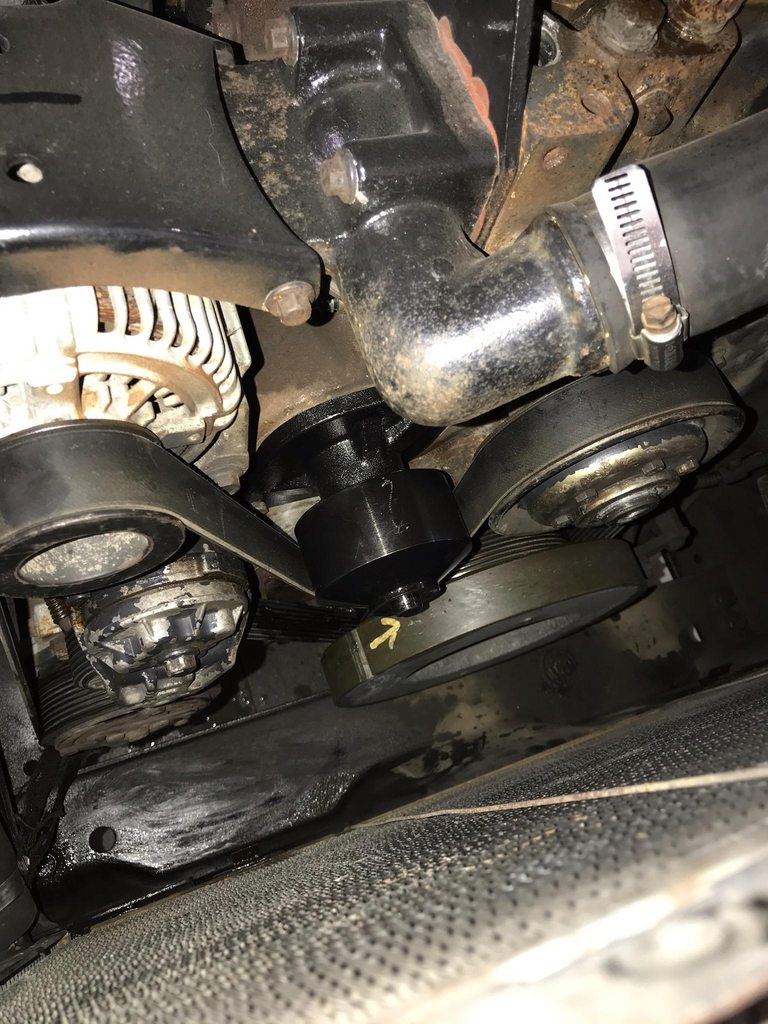
Crewcab update...


Thread Starter
Registered User


Joined: Mar 2010
Posts: 7,265
Likes: 1,346
From: Prince George, BC

Thread Starter
Registered User
Joined: Mar 2010
Posts: 7,265
Likes: 1,346
From: Prince George, BC
Pulled the axle shafts last night since Pass side had no end play in the hub bearings and was running 5-10*deg hotter then the other side, not sure how that happened after my last brake/hub/seal service but it did. So reset both sides and crawled under neath looking for culprits for my driveline noise/vibration, well it to be Fair amount of play in one cup on the axle U-joint, little bit on the U-joint at the transfercase and the carrier bearing appears to be going south as well. I greased everything up for now but guess 6 years and 115K km's it's time for driveline servicing. 

Thread Starter
Registered User
Joined: Mar 2010
Posts: 7,265
Likes: 1,346
From: Prince George, BC
Been putting off a bunch of work to poor old Patches, been concentrating pretty hard on getting the shop finished. But the carrier bearing has been getting worse and worse and the other day it made a horrible growling sound when I was driving so figured I better suck it up and bring the truck into the shop for some needed maintenance.
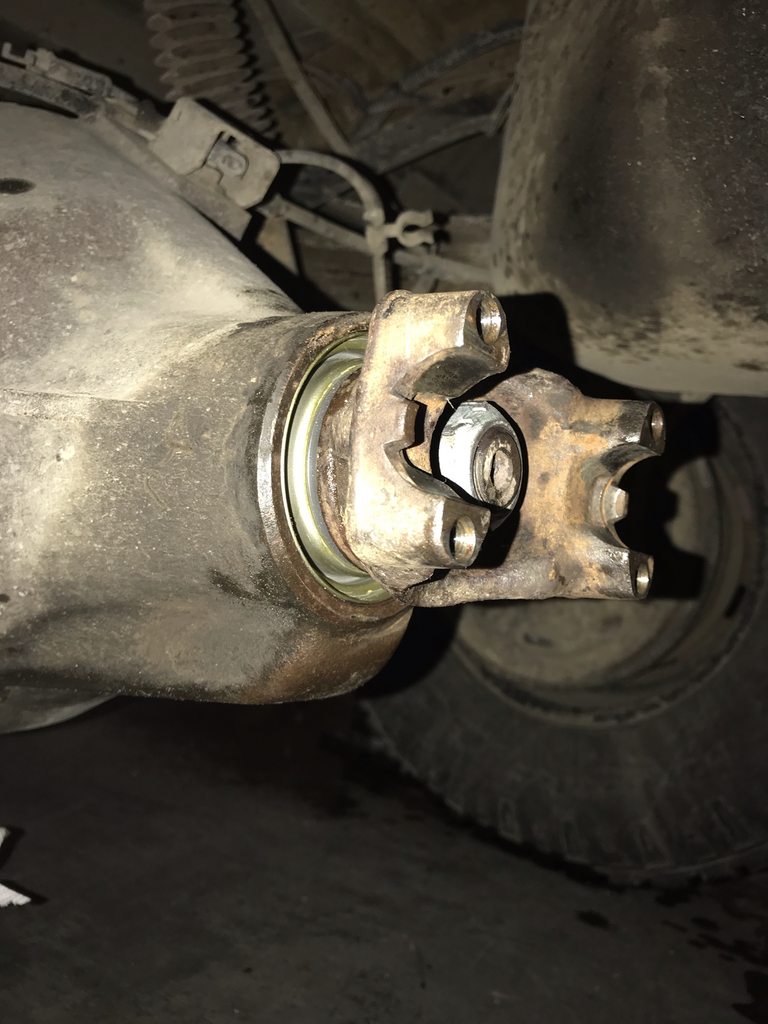
I pulled the drive shafts and then decided since I was under the truck I would do a couple other things as well, pinion seal and new biscuits on the tranny mount. Once the drive shaft was out of the way I did the pinion seal, only been leaking for close to a year now. First time I have done one myself, not too bad of a job but having a big impact would have made it a 15 minute job as opposed to an hour+ struggle.
These are the tools I used for the Re/Re...my grandfather old HD 3/4" drive Socket and wrench set, cheater bar and a pipe wrench.
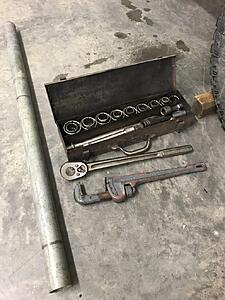
Wedged the pipe wrench around the yolk and against the floor and then heated up the nut with the torch then big ratchet and socket and cheater bar to wrestled it free, once the nut was off it was a pretty simple swap.
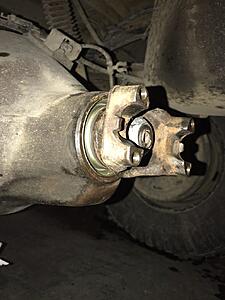
But the carrier bearing has been getting worse and worse and the other day it made a horrible growling sound when I was driving so figured I better suck it up and bring the truck into the shop for some needed maintenance.I pulled the drive shafts and then decided since I was under the truck I would do a couple other things as well, pinion seal and new biscuits on the tranny mount. Once the drive shaft was out of the way I did the pinion seal, only been leaking for close to a year now.
First time I have done one myself, not too bad of a job but having a big impact would have made it a 15 minute job as opposed to an hour+ struggle.These are the tools I used for the Re/Re...my grandfather old HD 3/4" drive Socket and wrench set, cheater bar and a pipe wrench.
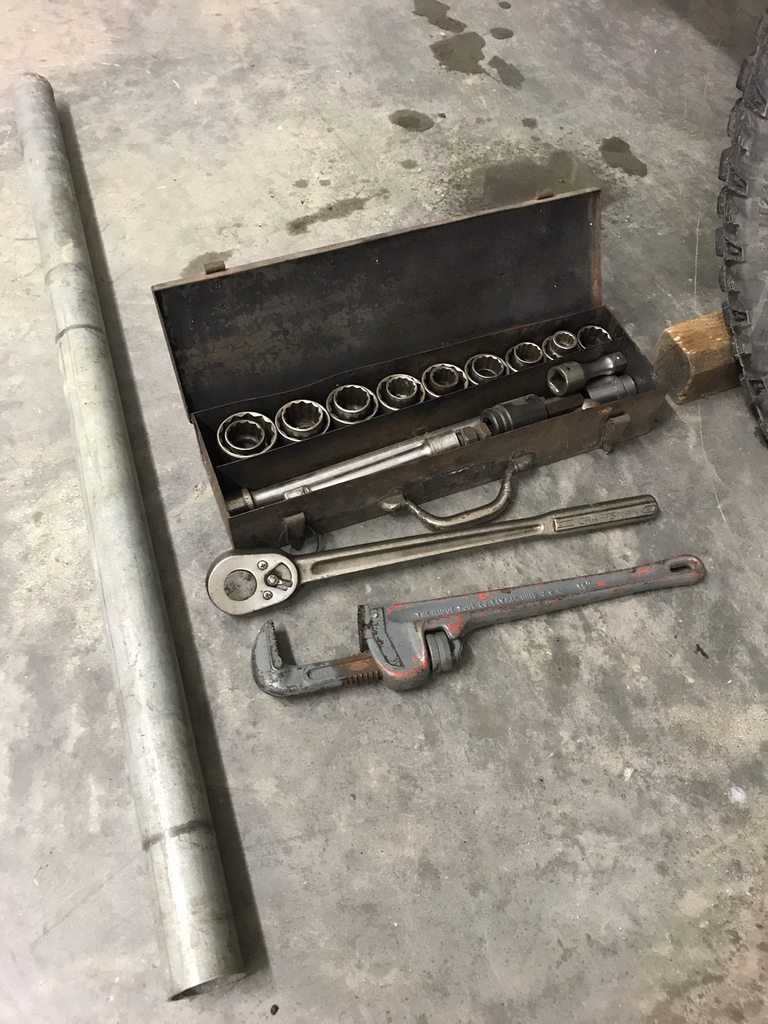
Wedged the pipe wrench around the yolk and against the floor and then heated up the nut with the torch then big ratchet and socket and cheater bar to wrestled it free, once the nut was off it was a pretty simple swap.
Thread Starter
Registered User
Joined: Mar 2010
Posts: 7,265
Likes: 1,346
From: Prince George, BC
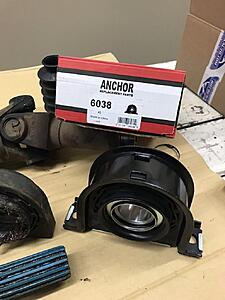
Next was the tranny mount biscuits, I used the Anchor 2667 and 2668 parts.
Forgot to take pics of this but just loosen the nut and bolt holding it tight, then jack up the tranny/TC to give enough clearance to slip the old ones out and slide the new ones in. Once everything it lined up lower the tranny/TC back down and tighten everything back up.
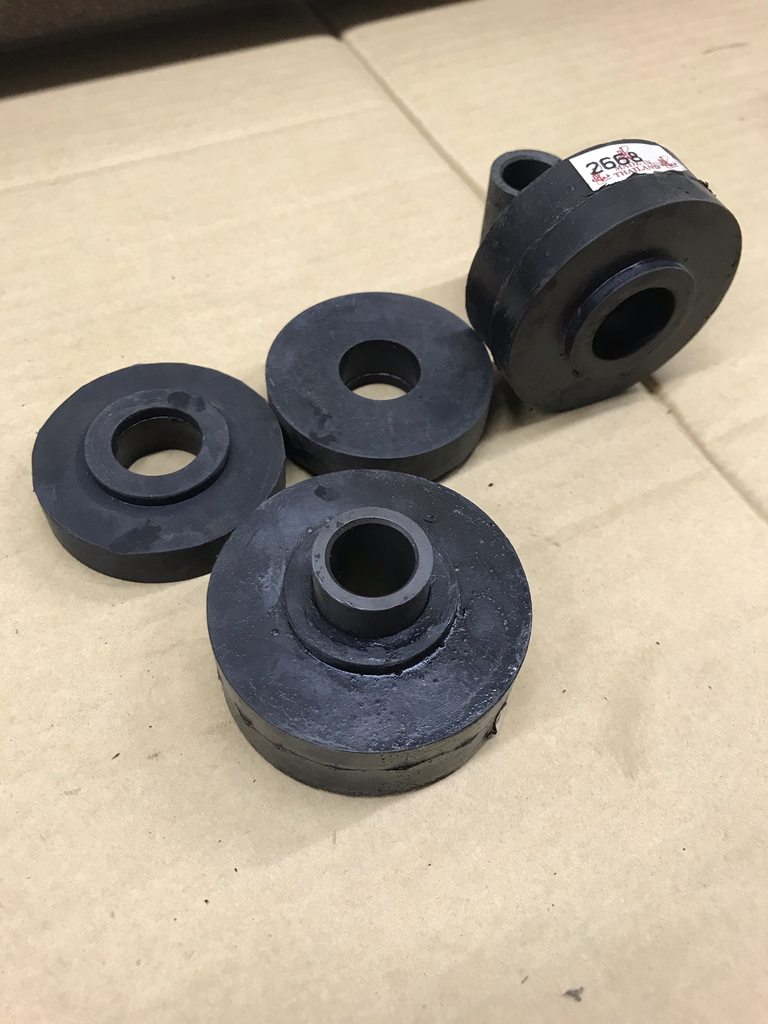
Forgot to take pics of this but just loosen the nut and bolt holding it tight, then jack up the tranny/TC to give enough clearance to slip the old ones out and slide the new ones in. Once everything it lined up lower the tranny/TC back down and tighten everything back up.


Thread Starter
Registered User
Joined: Mar 2010
Posts: 7,265
Likes: 1,346
From: Prince George, BC
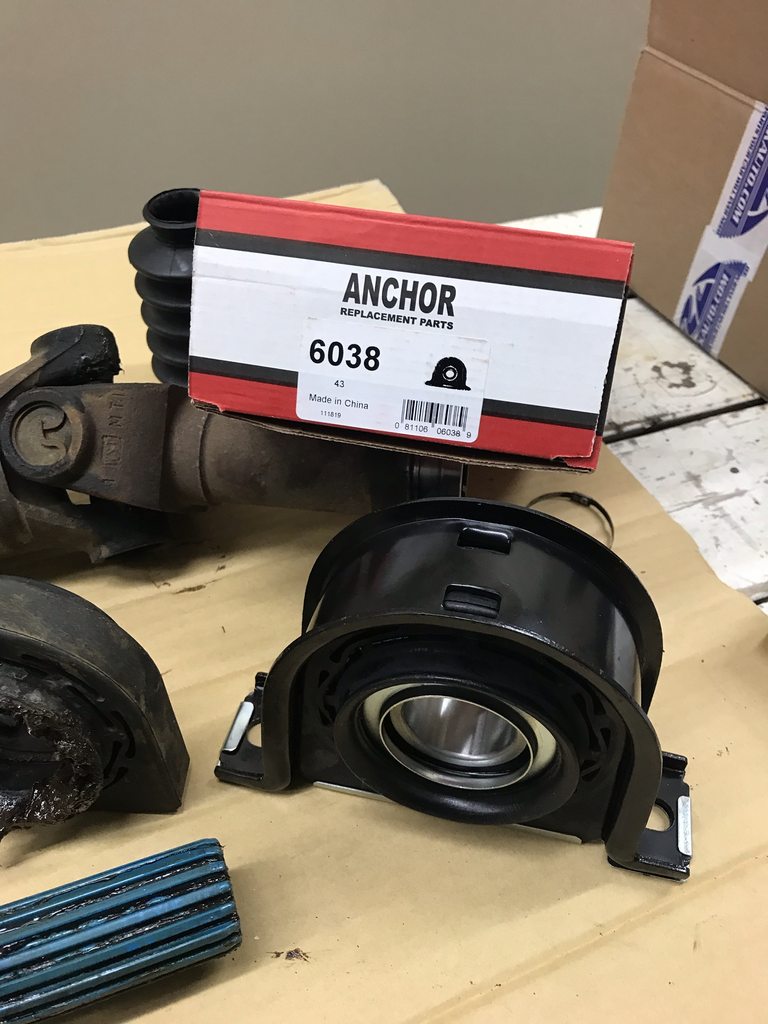
Now the big job of the evening, carrier bearing and 3 u-joints.
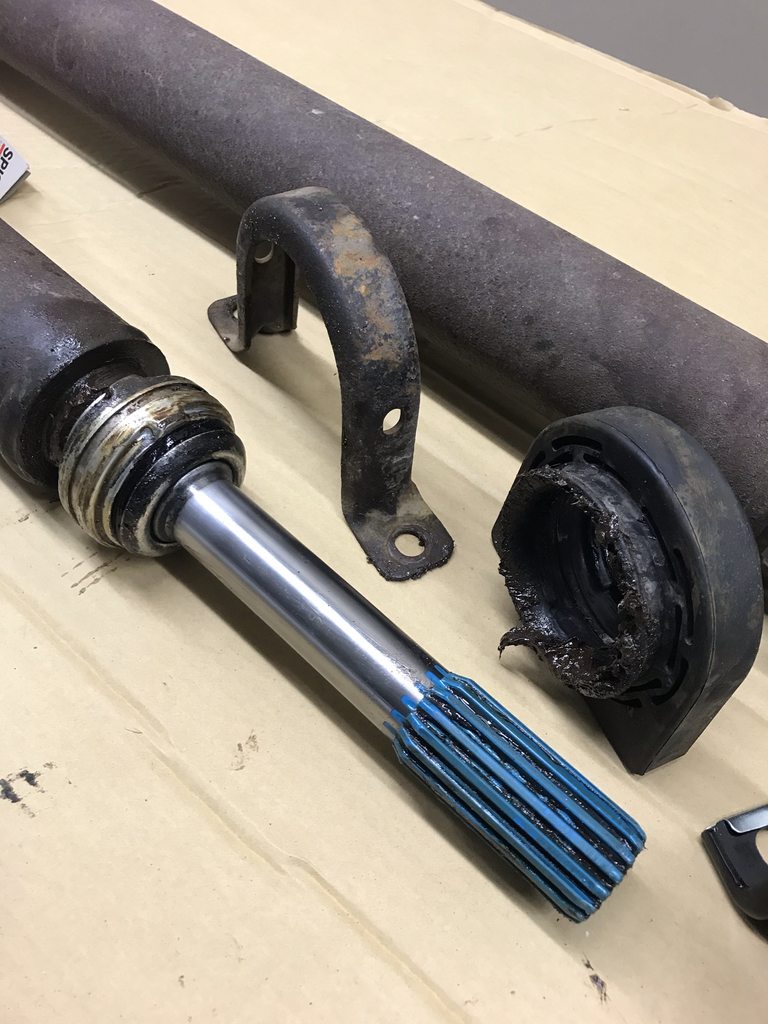
Pulling the carrier bearing apart for removal...
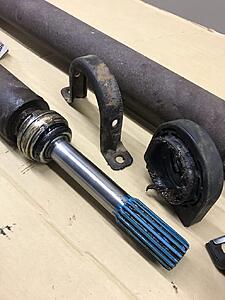
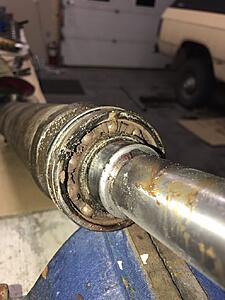
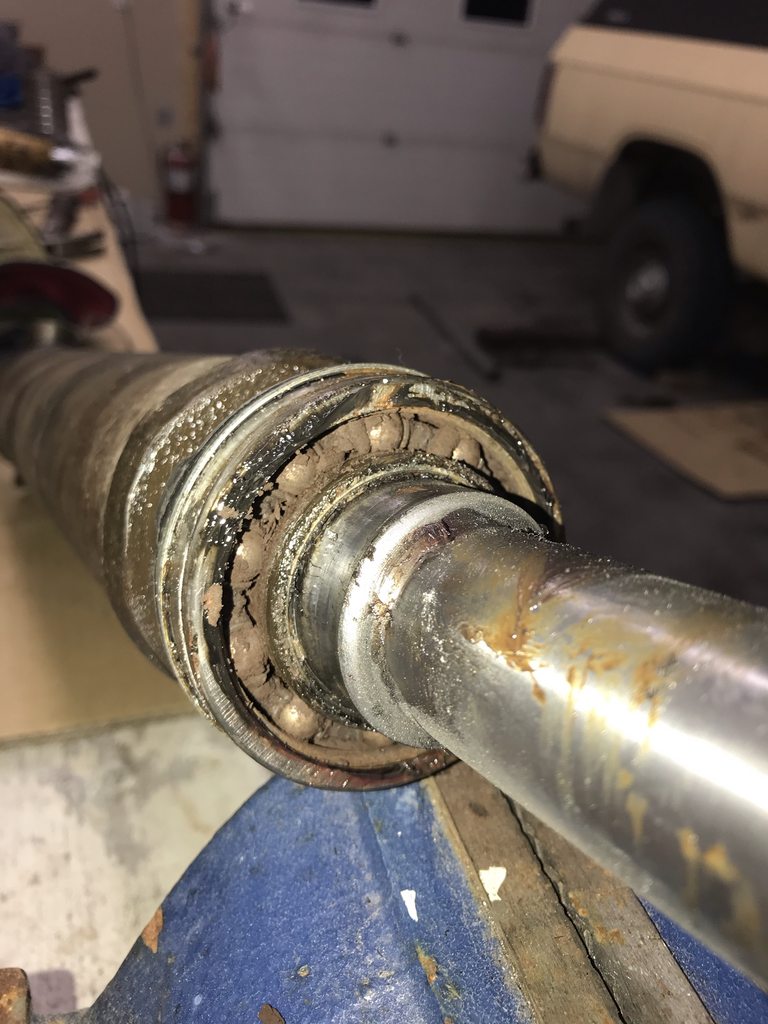
Just used a thin 1/8" cutting wheel on my angle grinder and a couple cold chisels to get it off. Outer shell removed....bearing has seen better days!
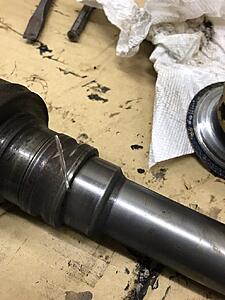
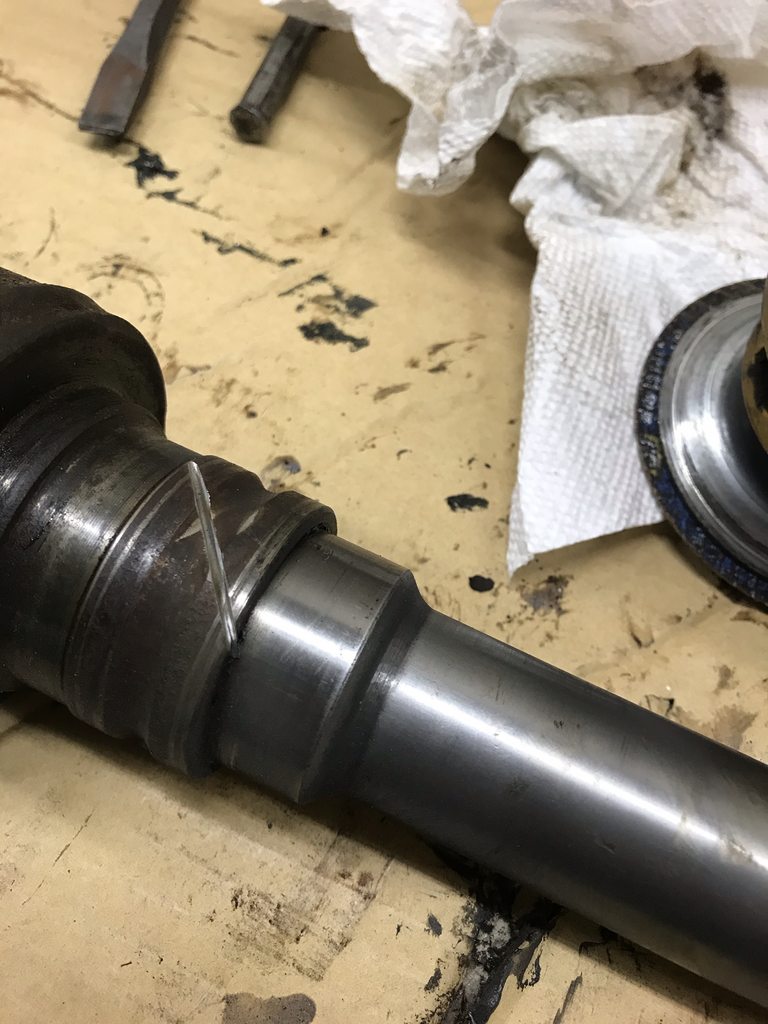
The inner bearing shell I just cut about half way through then use a wide cold chisel in the cut and give it a whack and it cracks and is able to slide off.
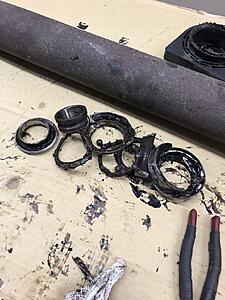
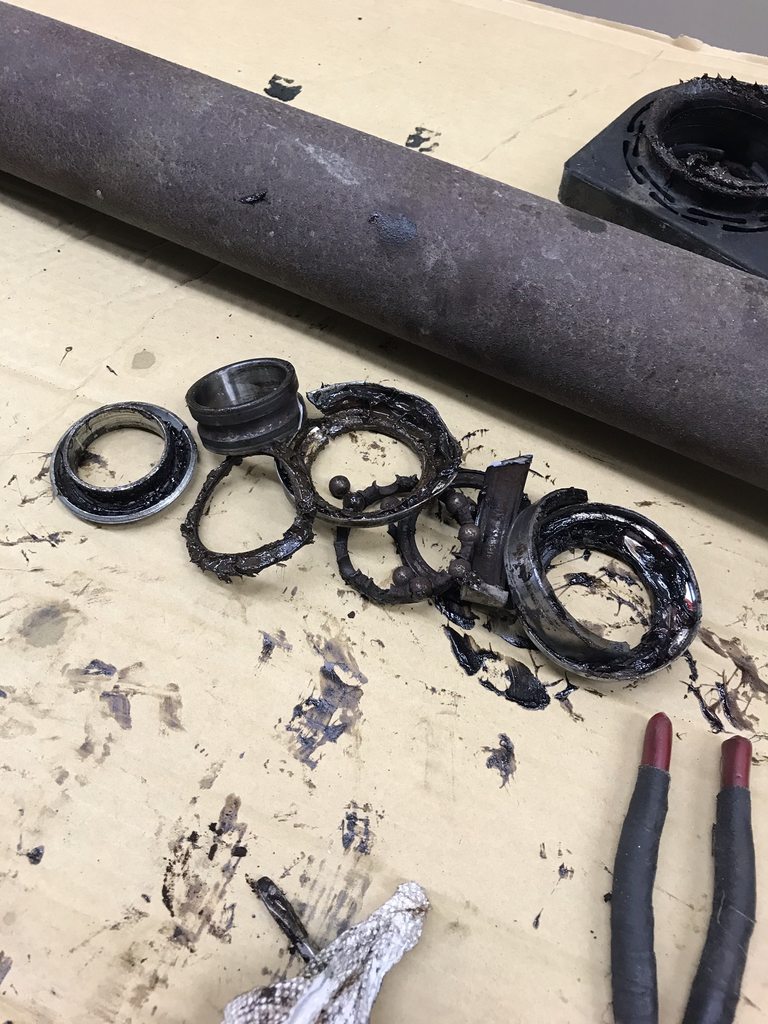
All the ugly pieces...
Pulling the carrier bearing apart for removal...
Just used a thin 1/8" cutting wheel on my angle grinder and a couple cold chisels to get it off. Outer shell removed....bearing has seen better days!
The inner bearing shell I just cut about half way through then use a wide cold chisel in the cut and give it a whack and it cracks and is able to slide off.
All the ugly pieces...
Thread Starter
Registered User
Joined: Mar 2010
Posts: 7,265
Likes: 1,346
From: Prince George, BC
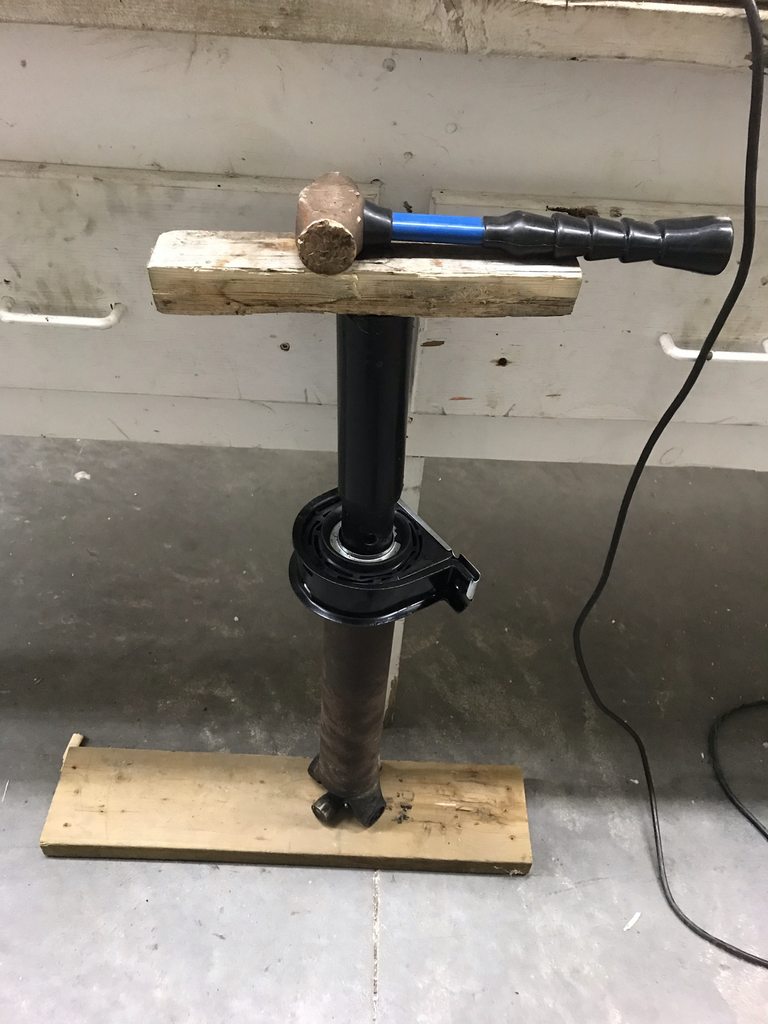
Since I don't have a press I had to come up with a way to install the new carrier bearing, did some digging through my piles of misc stuff and found a piece of pipe/collar for something I picked up in a parking lot, and some 2" black PVC/ABS pipe, then a piece of 2x4 and my 2.5lb brass hammer.
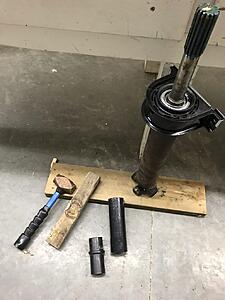
Action shot...Well not really but close enough.
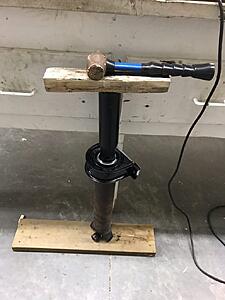
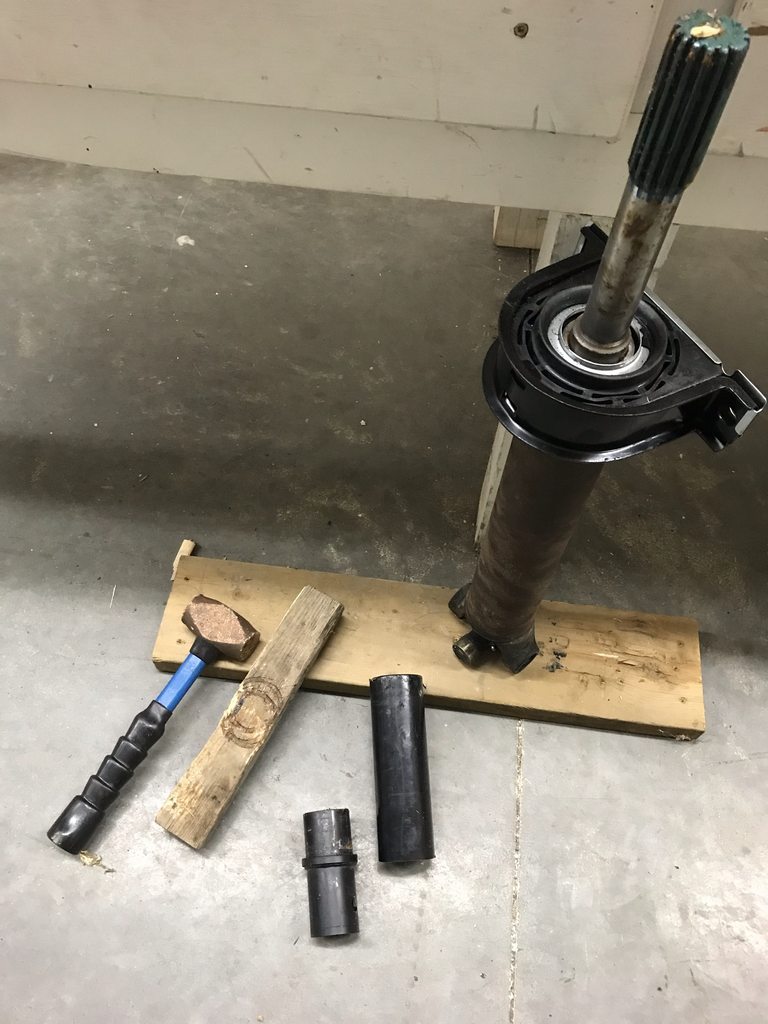
Action shot...Well not really but close enough.
Thread Starter
Registered User
Joined: Mar 2010
Posts: 7,265
Likes: 1,346
From: Prince George, BC
Then it was installing the U-joints, again forgot to take pics of the process but sure most have done them before so use your favorite method for removal and installation.
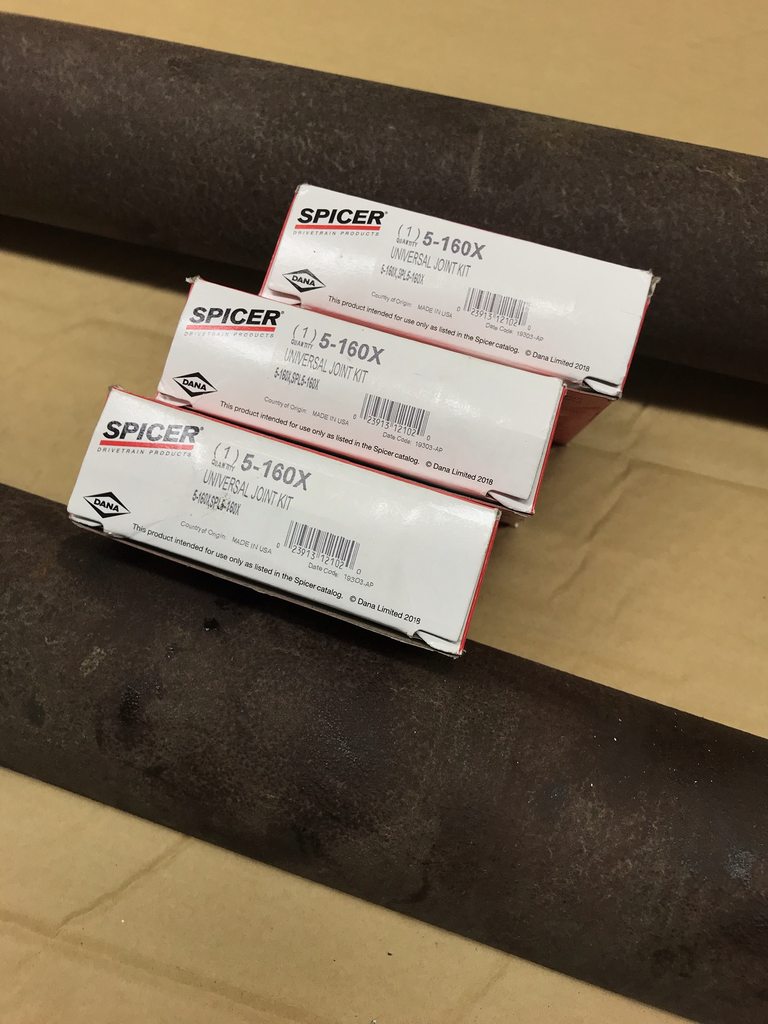
New Spicer U-joints...
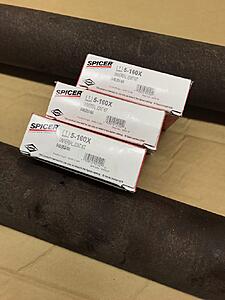
This was the worst U-joint, it was at the diff...

Now Patches is driving nice and smooth again with no more leaking on my nice gravel driveway...
New Spicer U-joints...
This was the worst U-joint, it was at the diff...

Now Patches is driving nice and smooth again with no more leaking on my nice gravel driveway...


Registered User

Joined: Nov 2016
Posts: 258
Likes: 71
cool to see that the rear pinion is as straight forward as it looks. Thinking mine is due though I guess ill also grab a carrier bearing and u-joints since I'll have it down that far. Maybe next winter lol.

Thread Starter
Registered User
Joined: Mar 2010
Posts: 7,265
Likes: 1,346
From: Prince George, BC
Wow have not updated in a few months....
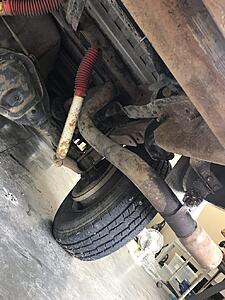
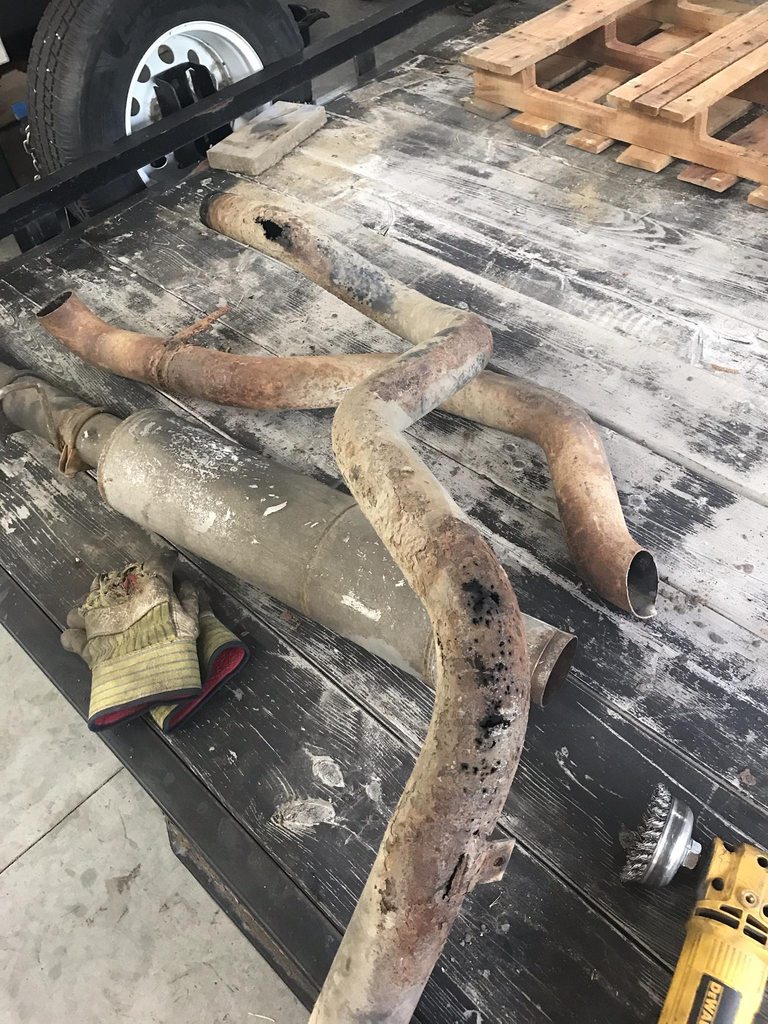
Back in July I had to replace the tail pipe...was leaking really bad and looked like Swiss cheese.
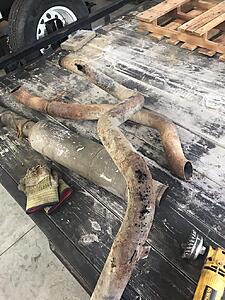
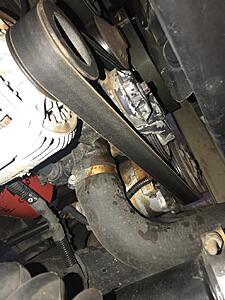
Then in and around August I went through two water pumps, both were used units that had been on the shelf for a bunch of years, in fact I had not installed a new water pump since I bought my crewcab over 10 years ago. First one lasted only a few days before it started leaking, then the next one lasted about a month or so before it started leaking, so I finally bought a NEW water pump and everything has been golden since then.
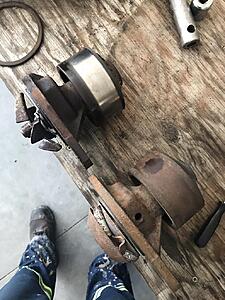
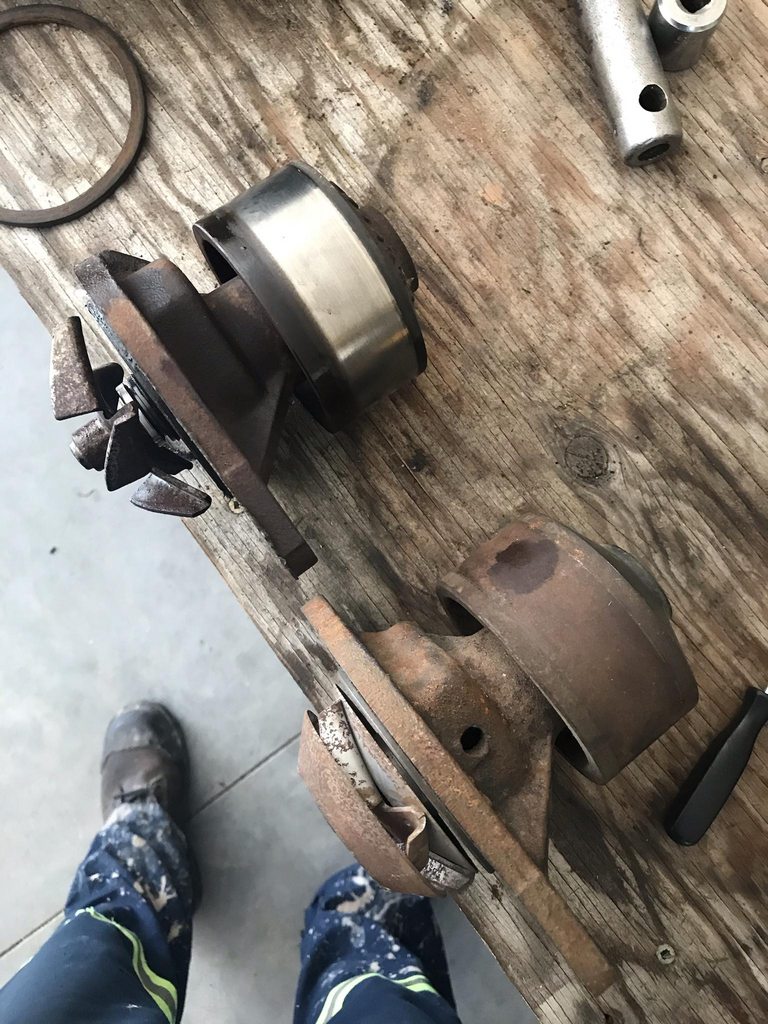
Here you can see the one I had taken off first. I did not know that it was leaking because it had to weep hole, so the only time it would leak was when it was running. The next used one had the weep hole.
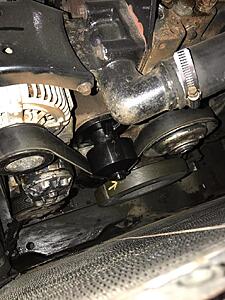
And now with a brand spanking new water pump.
Back in July I had to replace the tail pipe...was leaking really bad and looked like Swiss cheese.
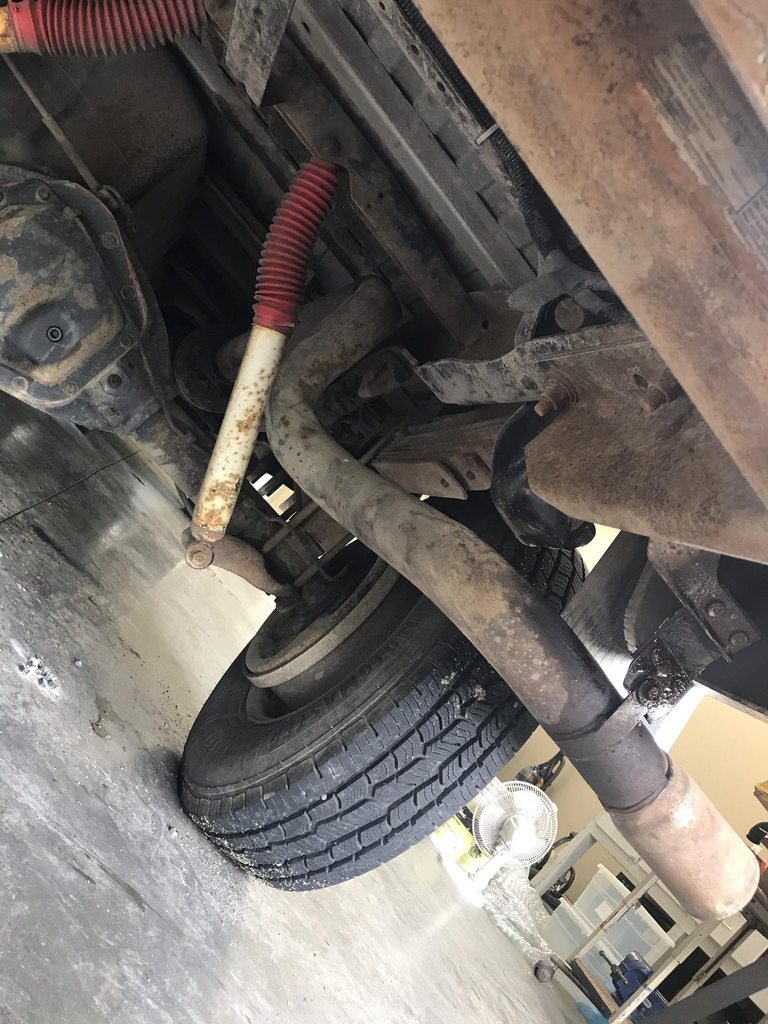
Then in and around August I went through two water pumps, both were used units that had been on the shelf for a bunch of years, in fact I had not installed a new water pump since I bought my crewcab over 10 years ago. First one lasted only a few days before it started leaking, then the next one lasted about a month or so before it started leaking, so I finally bought a NEW water pump and everything has been golden since then.
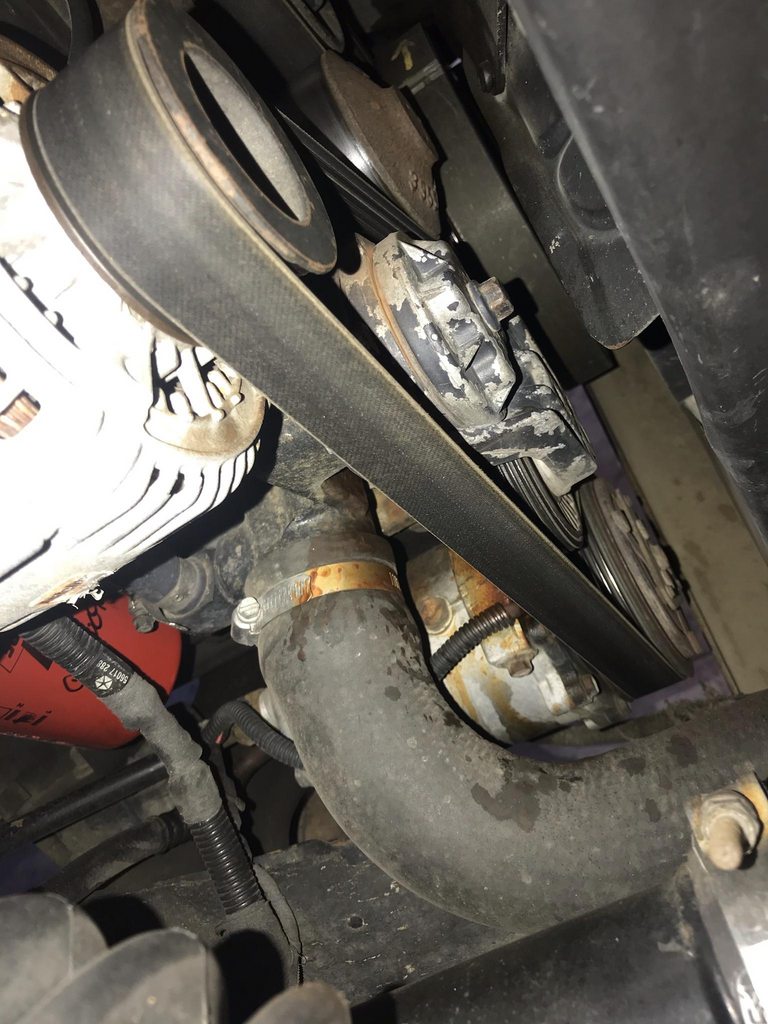
Here you can see the one I had taken off first. I did not know that it was leaking because it had to weep hole, so the only time it would leak was when it was running. The next used one had the weep hole.
And now with a brand spanking new water pump.