Project "Old Man No More"
 07-14-2013, 08:54 PM
#1
Registered User
Thread Starter
Join Date: Jun 2013
Location: Alberta
Posts: 40
Likes: 0
Received 0 Likes
on
0 Posts
Project "Old Man No More"
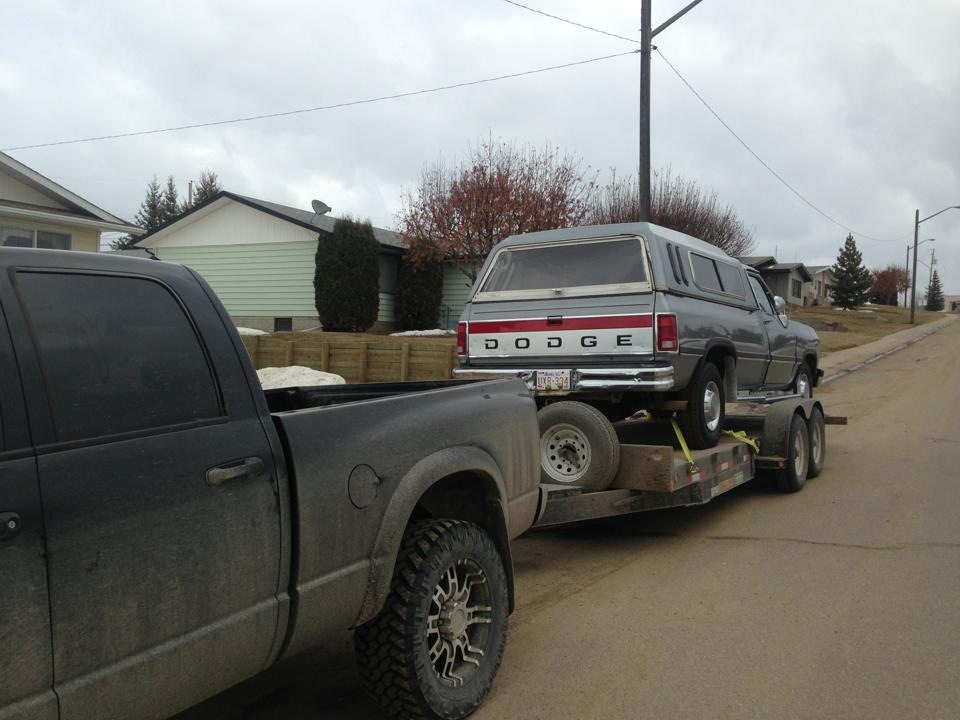
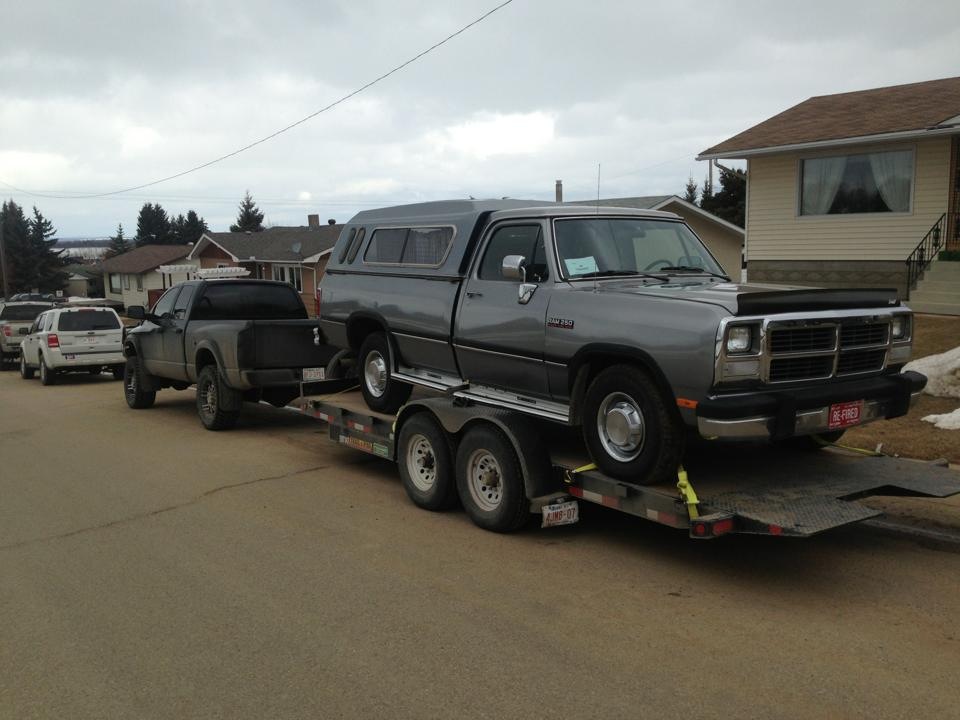
This will be my build and restore thread for my 91 D250 non intercooled automatic. I bought this truck in April 2013 from a nice old lady, and that makes me the third owner. She and her husband owned it since 1996 and used it to pull there 25 ft bumper pull camp trailer during the summer and parked it in the garage during the winter most years. In 2006 they had a new cab and box installed. From 2006 to the summer of 2011 they put almost 12,000 dollars worth of repairs and replacements into the truck, and kept all of the receipts. They were planning on keeping the truck, but in late 2011 her husband passed away and she had no further use for the truck. The interior is in great shape and there was only some minor rust under one of the fender flares on the box. The frame has some rust, but nothing that threatens the structure or strength of the frame. I'm focusing on the body work first and then I will dig into upgrading the engine and drivetrain. This is a budget build as my wife is pregnant and is due next month.
Now for the pictures.
The day I picked it up:
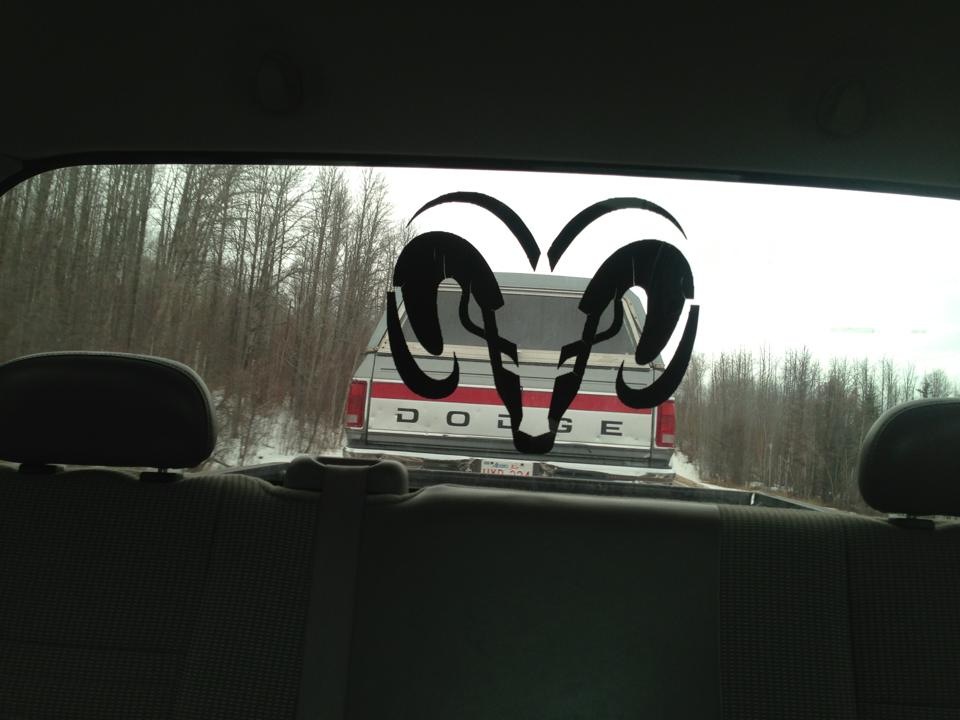
On the way home:
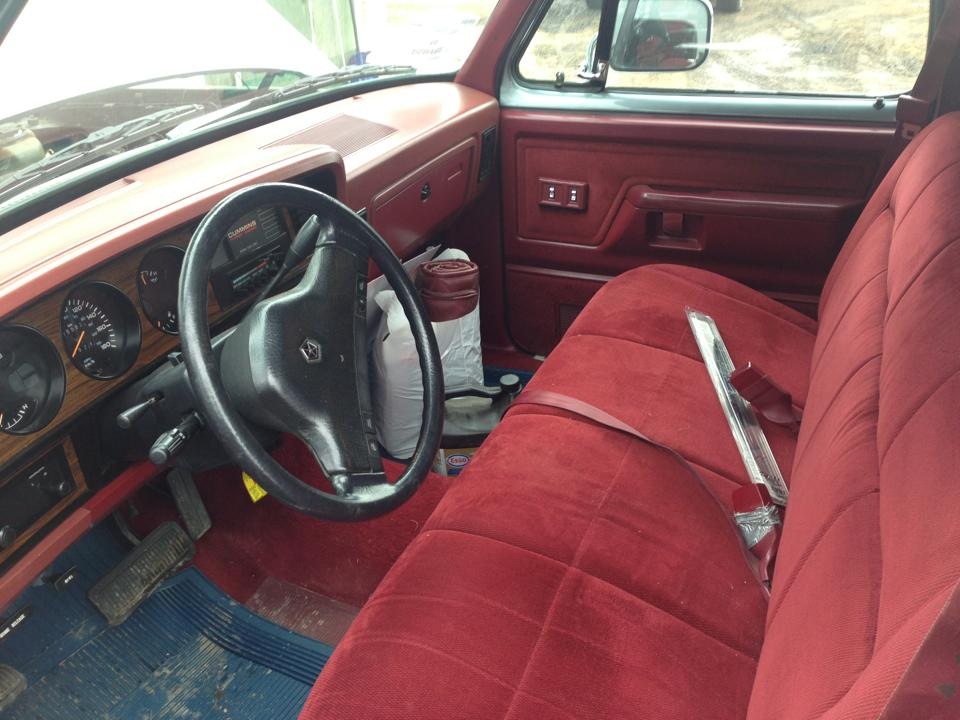
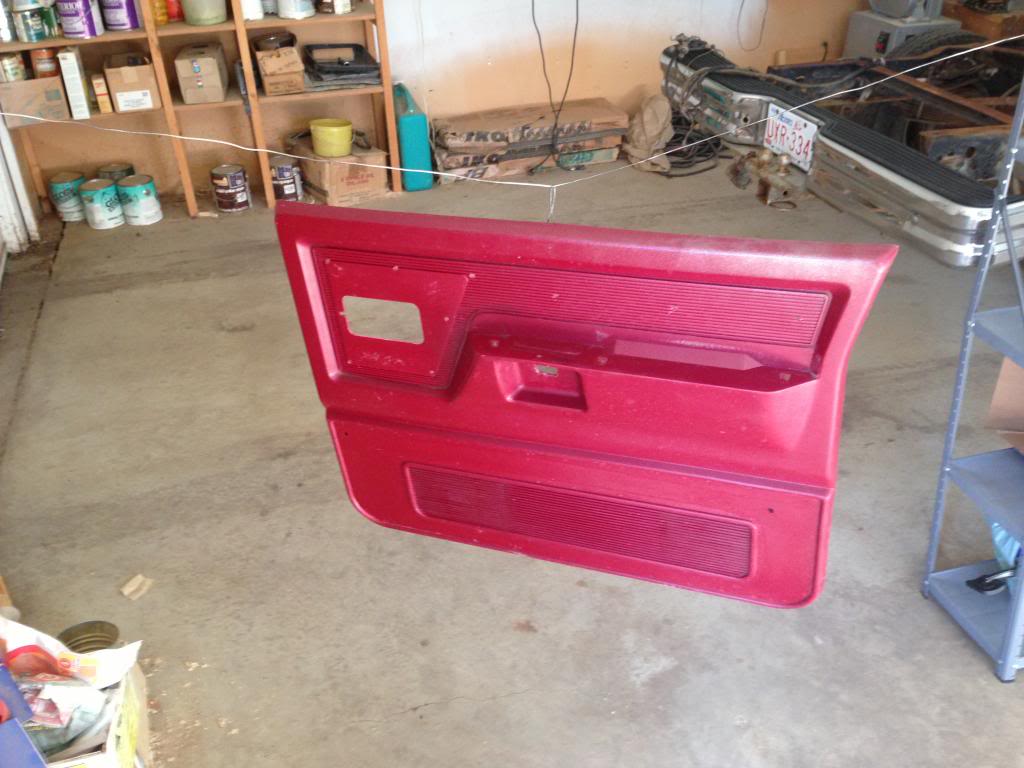
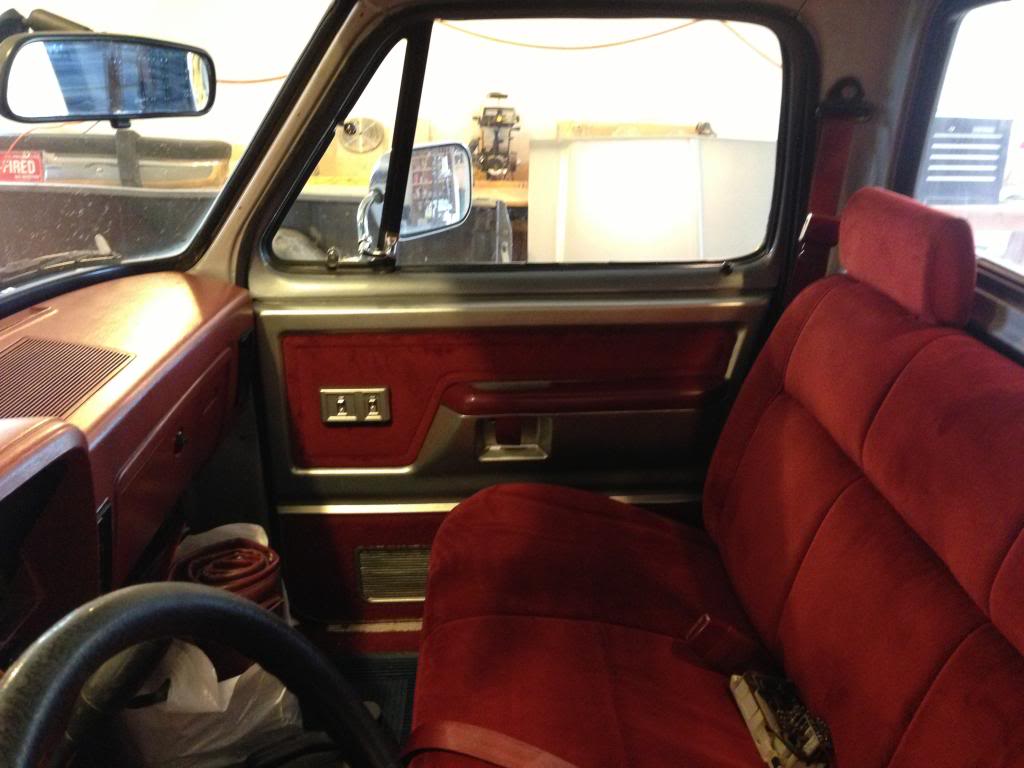
The interior:
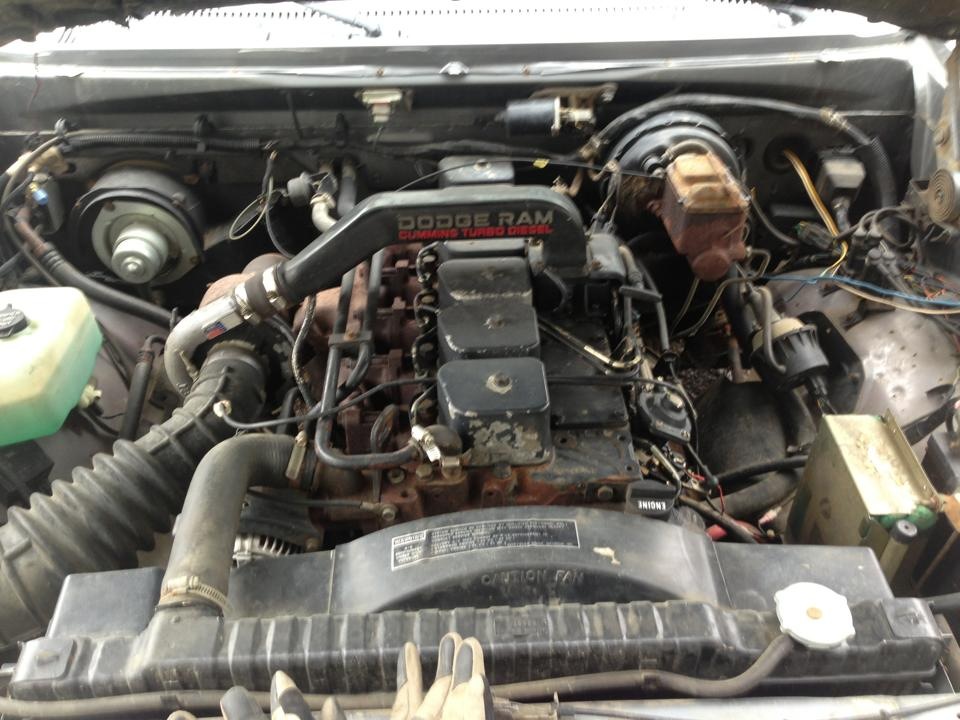
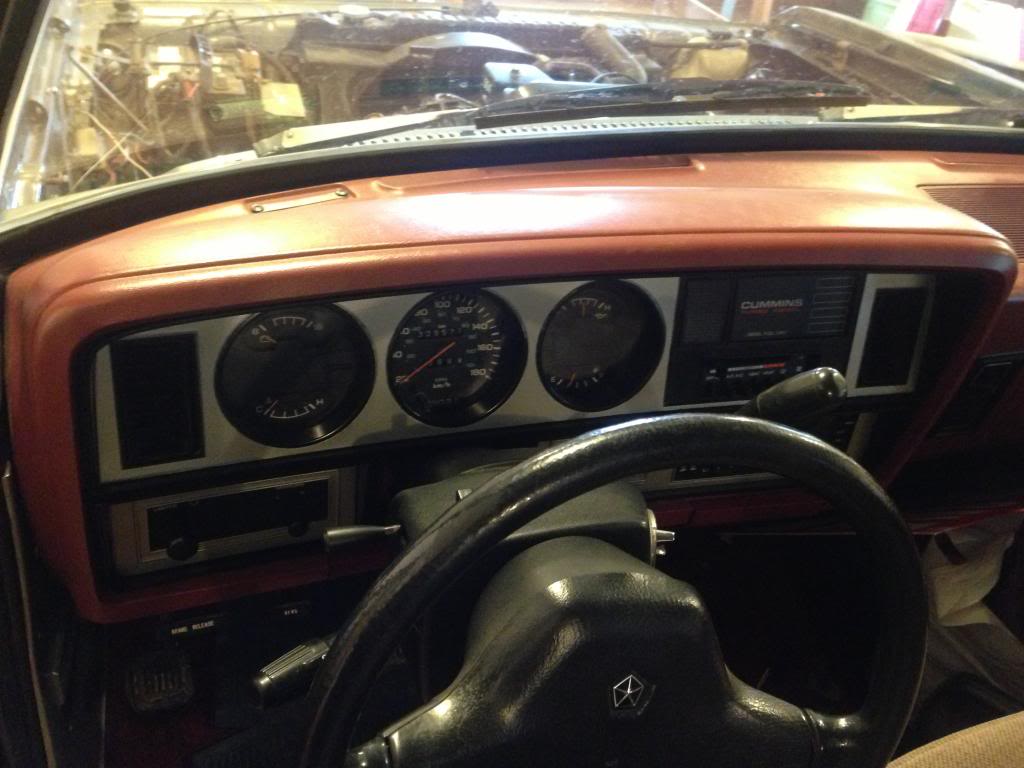
The engine bay:
First thing I did on my next days off was pull the camper shell:

I then pulled the side steps, fender flares, and molding off, but can't seem to find my pictures I took for that. When I pulled the molding off it pulled some of the paint with it. Who ever painted the truck when they installed the new cab, and box didn't do the greatest job.
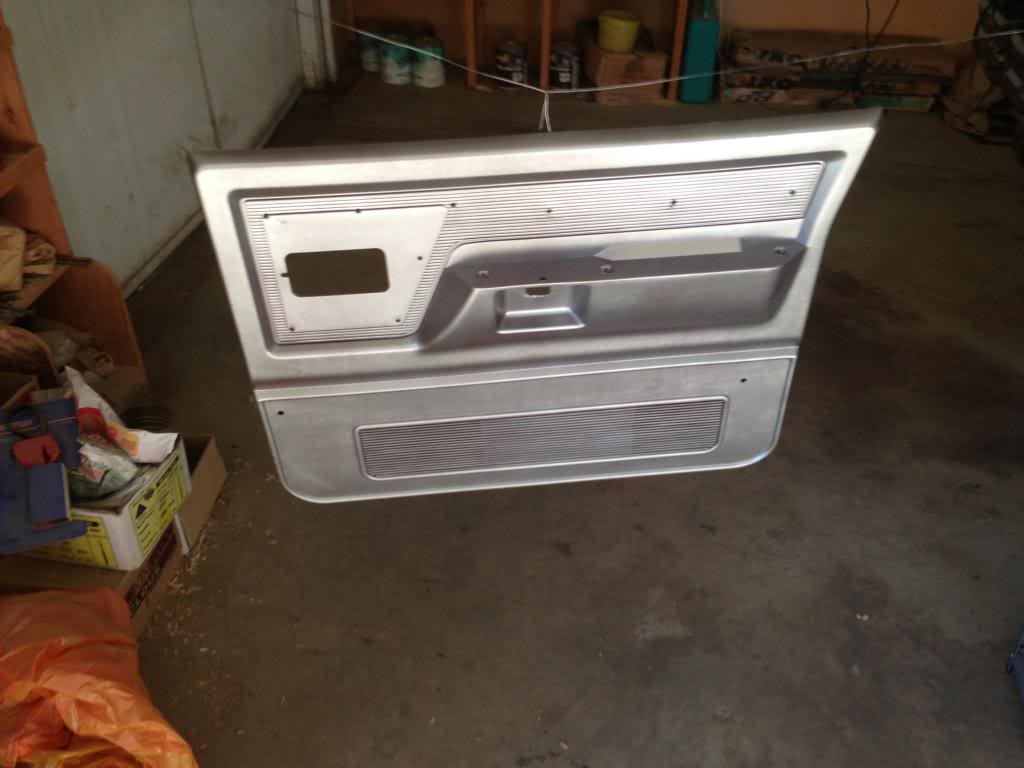
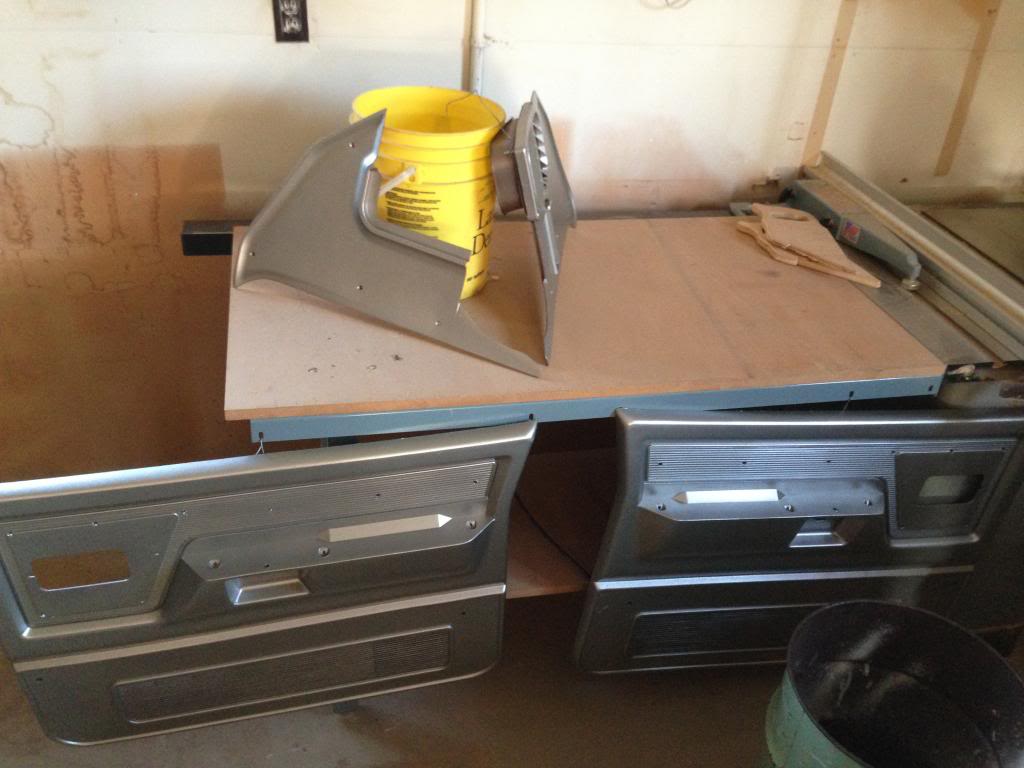
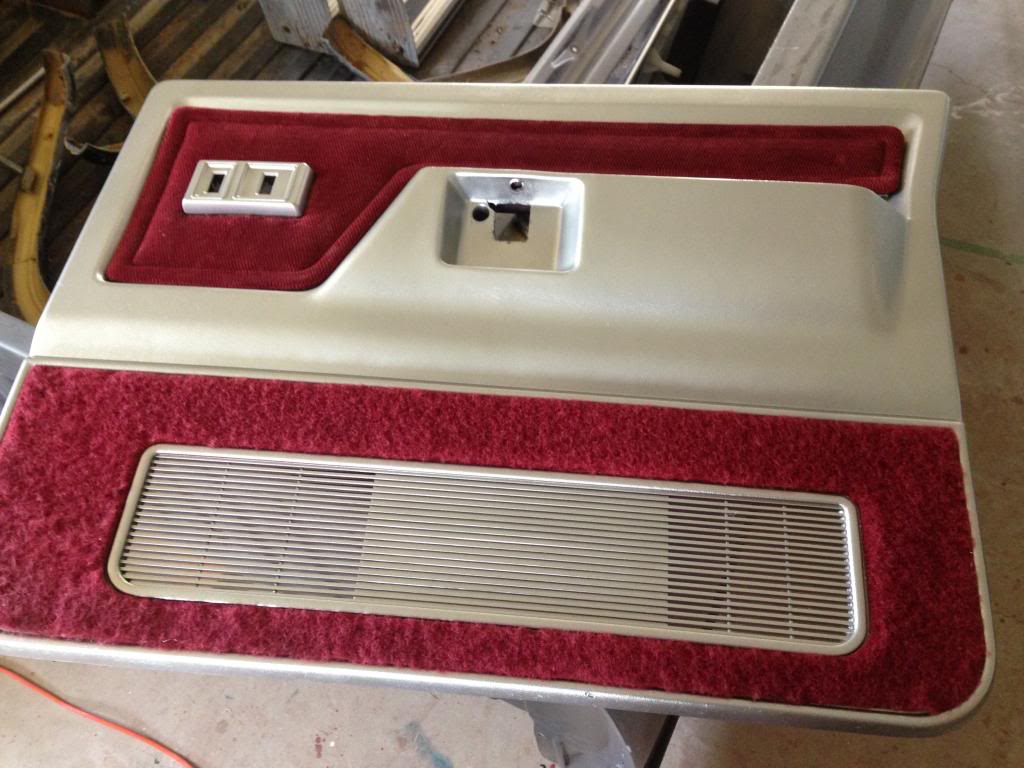
I wasn't a huge fan of the all red interior, so I took the headliner, along with all the trim off and junked it since most of it was cracked. I'm not going to re-install a new headliner as I like the silver metal roof. I then took the door panels, and kick panels out of the truck and tore them apart and painted them silver.
Now for the pictures.
The day I picked it up:


On the way home:

The interior:

The engine bay:

First thing I did on my next days off was pull the camper shell:

I then pulled the side steps, fender flares, and molding off, but can't seem to find my pictures I took for that. When I pulled the molding off it pulled some of the paint with it. Who ever painted the truck when they installed the new cab, and box didn't do the greatest job.
I wasn't a huge fan of the all red interior, so I took the headliner, along with all the trim off and junked it since most of it was cracked. I'm not going to re-install a new headliner as I like the silver metal roof. I then took the door panels, and kick panels out of the truck and tore them apart and painted them silver.


 07-14-2013, 08:55 PM
#2
Registered User
Thread Starter
Join Date: Jun 2013
Location: Alberta
Posts: 40
Likes: 0
Received 0 Likes
on
0 Posts
I then re-installed the red carpet on the door panels.
Door panel installed after the new paint.
I've never been a huge fan of wood grain so that was the next thing to go.
Before:
After:
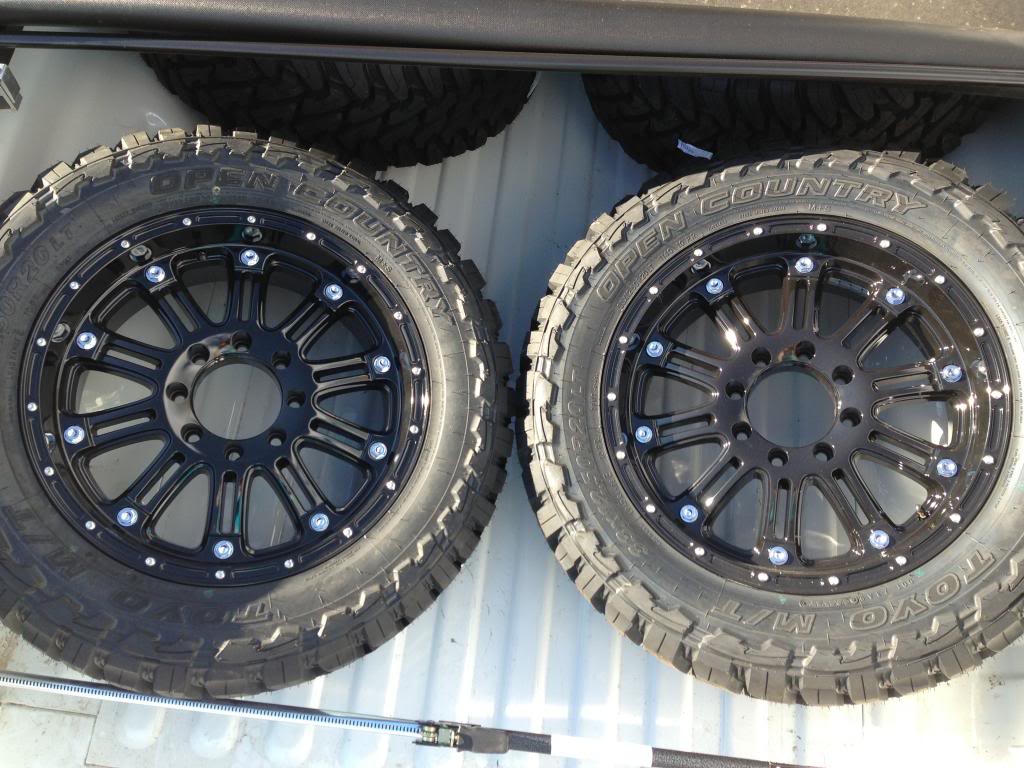
Now comes the good part. Before my wife and I started our budget she let me buy wheels and tires. They are 20x9 XD Hoss with a +18 offset, and the rubber is 33x12.5r20 Toyo MT Open Country's. I bought them knowing I wouldn't be able to turn once they were on but I was surprised once I installed them. Even with the saggy front springs I had very minimal rubbing and after a tiny bit of trimming I can turn from lock to lock without any rubbing unless I hit a good size bump while turning.
Here's a pic before I installed them.
Drivers side. My drivers side coil spring is 1 1/2 more compressed than the passenger side so I will build some cheap coil spacers for now and hopefully get some new coils down the road.
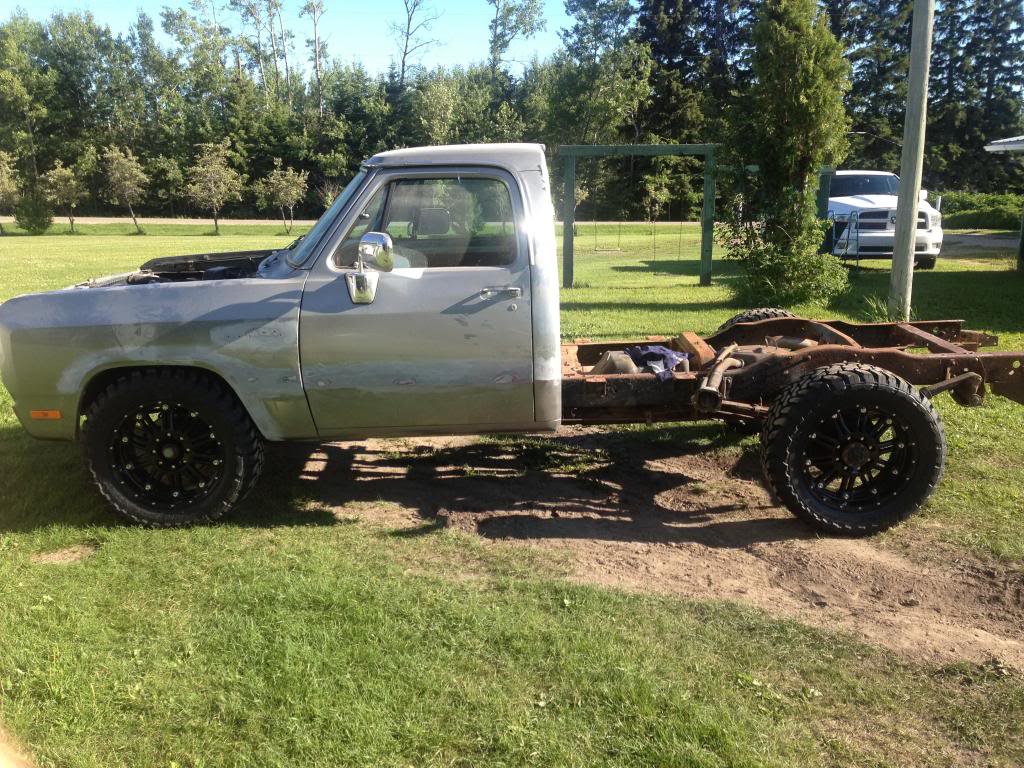
Passenger side.
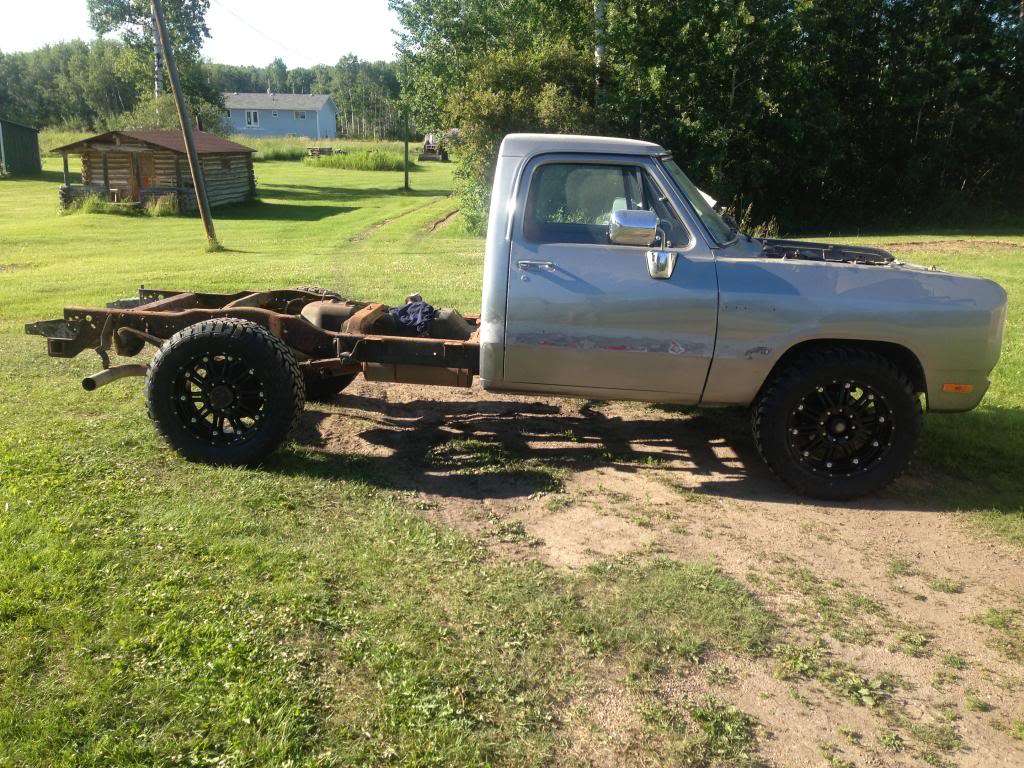
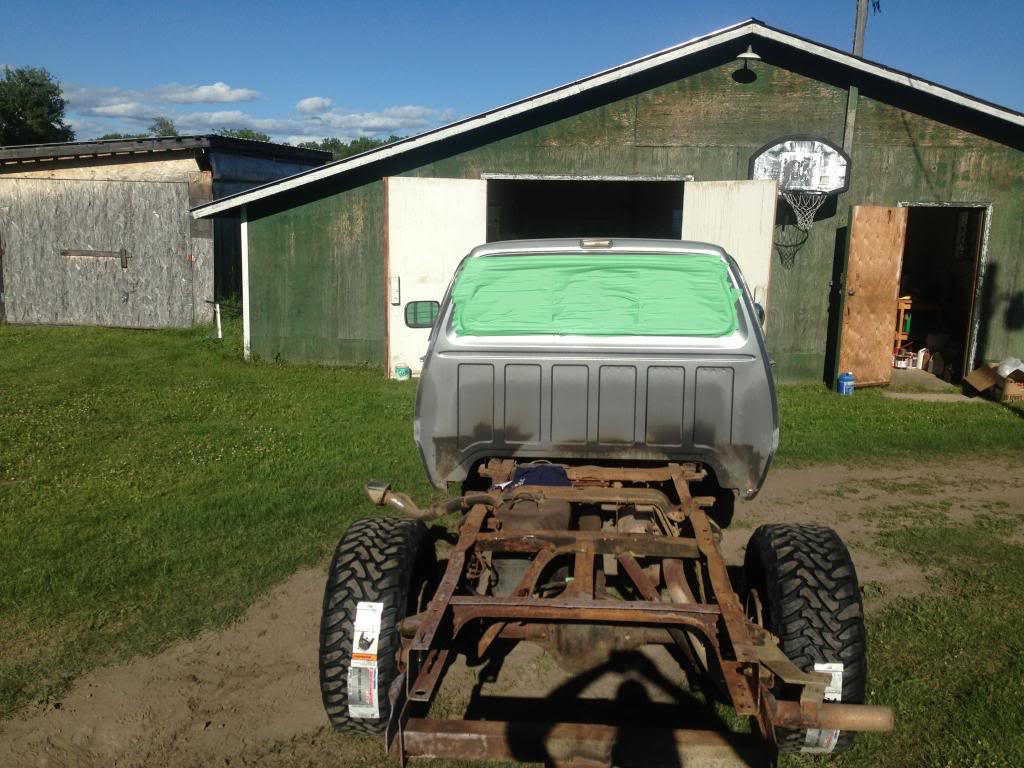
A pic from the back to show how wide the tires are.
And a final pic with the hub caps. I still haven't decided whether I like them or not.
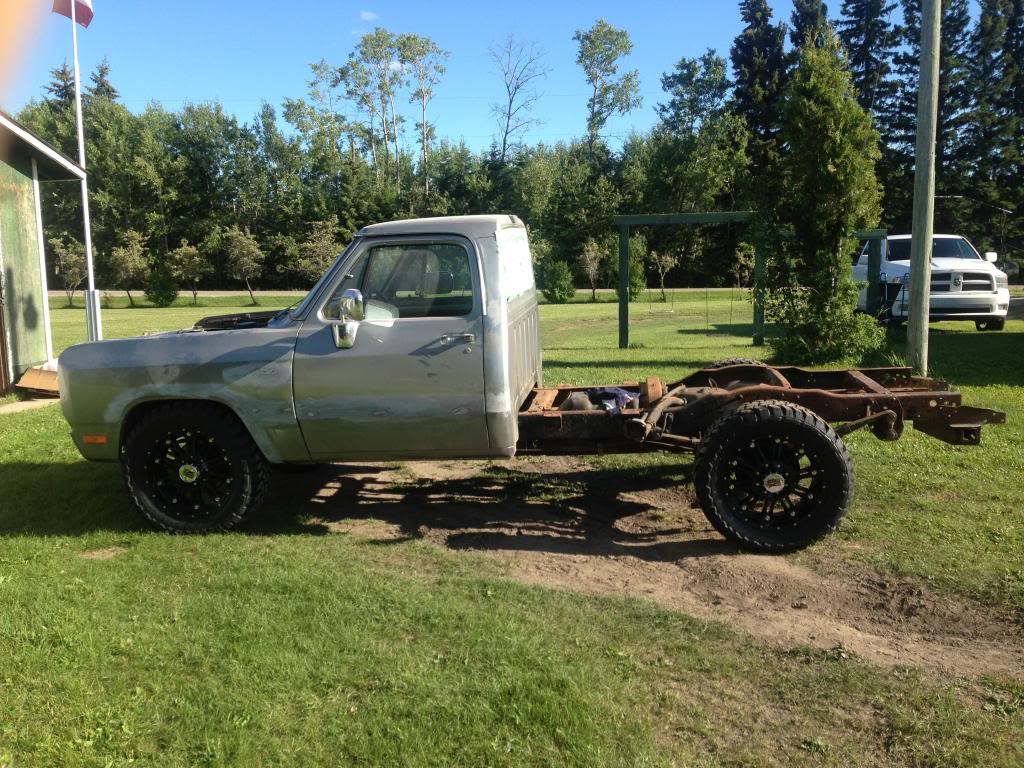
I welcome any comments and I will be looking for suggestions to help me keep this build low budget and cover anything I may over look. I know that by putting fat tires on it that I am ruining a good truck according to some, but I like the way it looks. arty018:

Door panel installed after the new paint.

I've never been a huge fan of wood grain so that was the next thing to go.
Before:

After:

Now comes the good part. Before my wife and I started our budget she let me buy wheels and tires. They are 20x9 XD Hoss with a +18 offset, and the rubber is 33x12.5r20 Toyo MT Open Country's. I bought them knowing I wouldn't be able to turn once they were on but I was surprised once I installed them. Even with the saggy front springs I had very minimal rubbing and after a tiny bit of trimming I can turn from lock to lock without any rubbing unless I hit a good size bump while turning.
Here's a pic before I installed them.

Drivers side. My drivers side coil spring is 1 1/2 more compressed than the passenger side so I will build some cheap coil spacers for now and hopefully get some new coils down the road.

Passenger side.

A pic from the back to show how wide the tires are.

And a final pic with the hub caps. I still haven't decided whether I like them or not.

I welcome any comments and I will be looking for suggestions to help me keep this build low budget and cover anything I may over look. I know that by putting fat tires on it that I am ruining a good truck according to some, but I like the way it looks.
arty018:
07-14-2013, 09:29 PM
#3
Registered User
Join Date: Dec 2010
Location: Land of the Toxic Avenger
Posts: 6,771
Received 1,637 Likes
on
1,112 Posts
Nice Ride, Artie,
I'd de-rust the frame then protect it with a good coating of ..... your choice.
Por 15 seems to be the popular way to travel, but since you have the ability to spray, you might want to go another route. Either way Rust Converter is IMO the best start to keep the enemy at bay.... as it was the first thing I did to my frame upon purchase of my ride.
Don't forget to remove the fuel tank. Notorious for rusting out behind there.
Keep the posts coming, as I'm sure I'm not the only one looking forwards to your resto.
BTW.... Since you're the Frosty man, I'll take a nice Sam Adams in a Frosty glass, thank you !
07-14-2013, 09:32 PM
#4
Registered User
Join Date: Dec 2010
Location: Land of the Toxic Avenger
Posts: 6,771
Received 1,637 Likes
on
1,112 Posts
What is the white box on the drivers side fender near the front ? That's where the battery is in my truck ....
07-14-2013, 09:34 PM
#5
Registered User
Thread Starter
Join Date: Jun 2013
Location: Alberta
Posts: 40
Likes: 0
Received 0 Likes
on
0 Posts
I have Por 15 I plan on brushing on. I'm in the process of removing the bed liner that the previous owner sprayed all over everything. Biggest pain in the butt ever. I'm also going to put new brake lines on and eventually put a new RWAL valve on or just remove the old one.
07-14-2013, 09:39 PM
#6
Registered User
Thread Starter
Join Date: Jun 2013
Location: Alberta
Posts: 40
Likes: 0
Received 0 Likes
on
0 Posts
I have no idea what it is. It has a wire running to the injection pump and then a hose of some sort running to the air intake in front of the turbo. I would guess its some sort of injectable for the air, but I've never seen a setup like it and first thing I did was unplug the wire and it didn't affect the engine at all. My battery is right next to it just out of the frame of the picture.
07-14-2013, 09:41 PM
#7
Registered User
Join Date: Dec 2010
Location: Land of the Toxic Avenger
Posts: 6,771
Received 1,637 Likes
on
1,112 Posts
I have no idea what it is. It has a wire running to the injection pump and then a hose of some sort running to the air intake in front of the turbo. I would guess its some sort of injectable for the air, but I've never seen a setup like it and first thing I did was unplug the wire and it didn't affect the engine at all. My battery is right next to it just out of the frame of the picture.
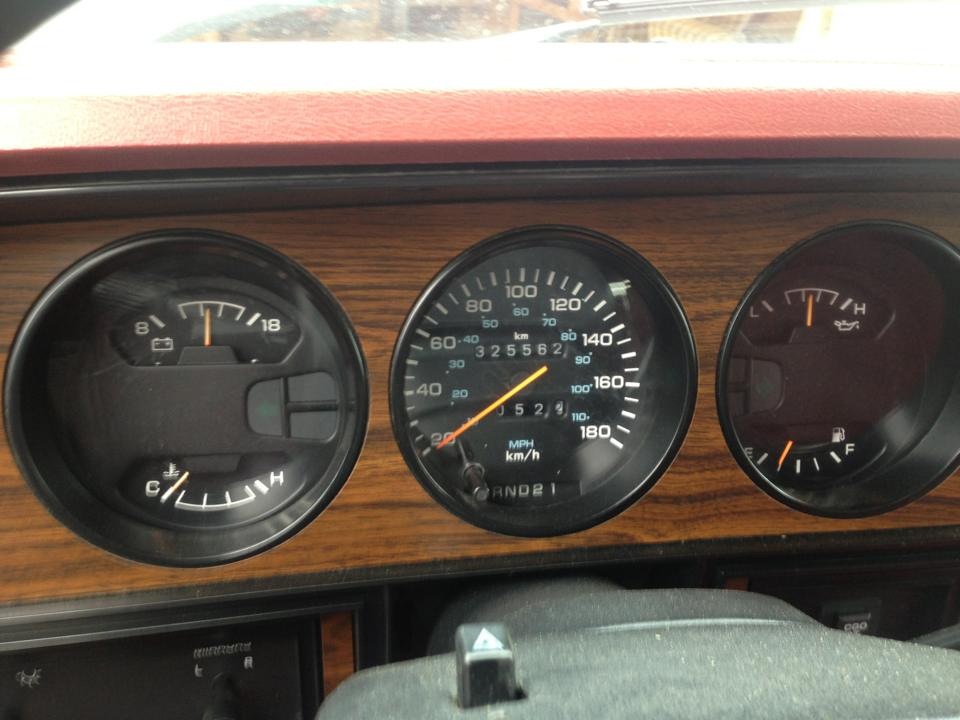
BTW..... 325K kilometers ? Really ??? That's cool !
Trending Topics
07-14-2013, 09:58 PM
#8
Registered User
Thread Starter
Join Date: Jun 2013
Location: Alberta
Posts: 40
Likes: 0
Received 0 Likes
on
0 Posts
This truck barely has more kilometers than my 06 3/4 ton.
07-14-2013, 10:21 PM
#9
Registered User
Nice looking truck you got there...Welcome to the board!
I have to say my personal tastes on rims and tires don't jive with yours...but hey it's YOUR truck and you can do what you want.
Look for a set of "Coil Spring Boosters"....cheap way to raise that sagging DS coil. My old crewcab had them when I got it, and they work fine.
Here's what they look like. They go between the coils, then you turn them 180* and they spread the coil a bit raising the truck.
07-14-2013, 10:42 PM
#10
Registered User
Thread Starter
Join Date: Jun 2013
Location: Alberta
Posts: 40
Likes: 0
Received 0 Likes
on
0 Posts
Nice looking truck you got there...Welcome to the board!
I have to say my personal tastes on rims and tires don't jive with yours...but hey it's YOUR truck and you can do what you want.
Look for a set of "Coil Spring Boosters"....cheap way to raise that sagging DS coil. My old crewcab had them when I got it, and they work fine.
Here's what they look like. They go between the coils, then you turn them 180* and they spread the coil a bit raising the truck.
 07-15-2013, 04:53 AM
#12
Administrator

It could be a home built unit.
Maybe it is a hydrogen snake oil generator
Jim
07-15-2013, 08:18 AM
#13
Registered User
Thread Starter
Join Date: Jun 2013
Location: Alberta
Posts: 40
Likes: 0
Received 0 Likes
on
0 Posts
