
Crewcab update...


Registered User
Joined: Feb 2010
Posts: 1,635
Likes: 59
From: New York
You sure that brace is right? Mine is bolted from the power steering gearbox to the second cross member... or is that not installed yet?
Yes, I have to give a thumbs up to Roy at Quad4x4. After ordering my NP205 case from him, the services was unreal.
Yes, I have to give a thumbs up to Roy at Quad4x4. After ordering my NP205 case from him, the services was unreal.
Thread Starter
Registered User


Joined: Mar 2010
Posts: 7,265
Likes: 1,346
From: Prince George, BC
Been out of town working for a few days...so no work done on the truck, or components. I'm off for a few days now, so will be getting at things.
Would love to have the tranny back together, and the front cross members bolted in and the front diff under the truck by this weekend. See how things go.

Thread Starter
Registered User
Joined: Mar 2010
Posts: 7,265
Likes: 1,346
From: Prince George, BC

Thread Starter
Registered User
Joined: Mar 2010
Posts: 7,265
Likes: 1,346
From: Prince George, BC
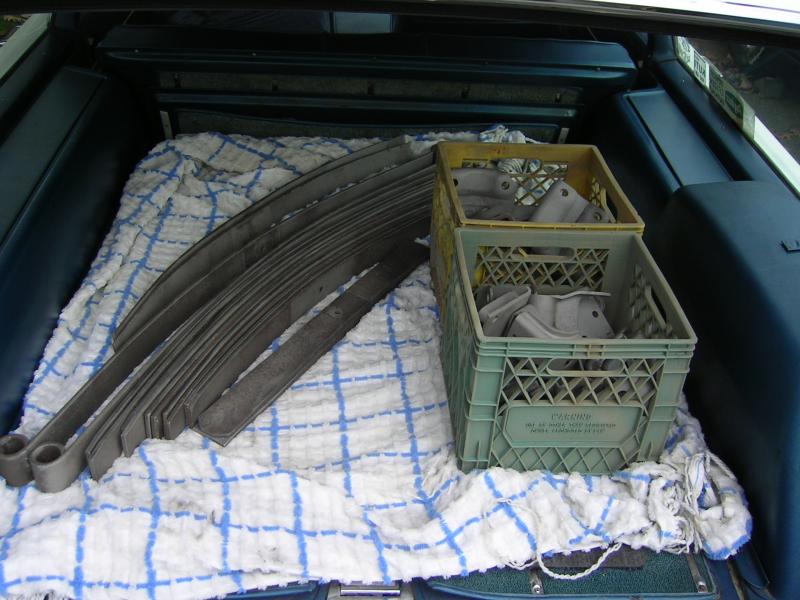
Got all my rear leaf springs, and brackets etc back from the sand blaster.
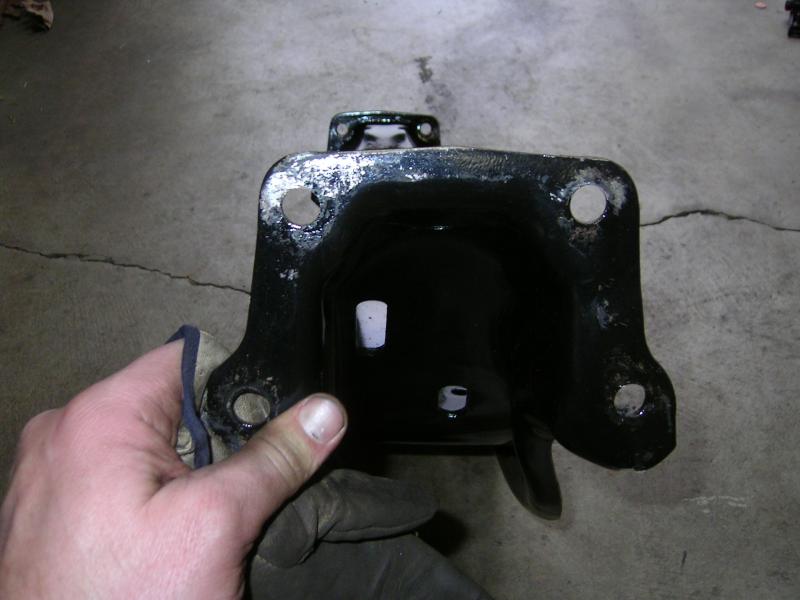
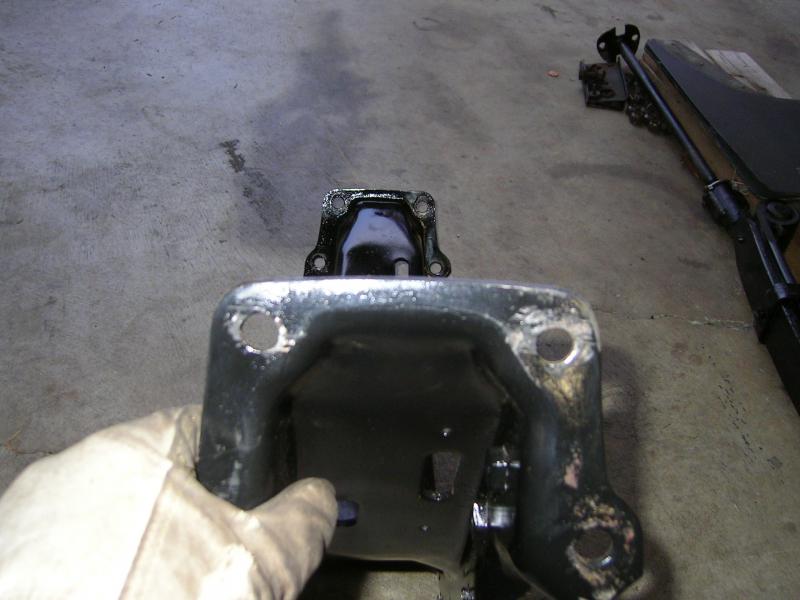
One pf the front spring hanger brackets had a crack in it...V-'d it out good...then welded it up. Ground it down, and rat filed the opening.
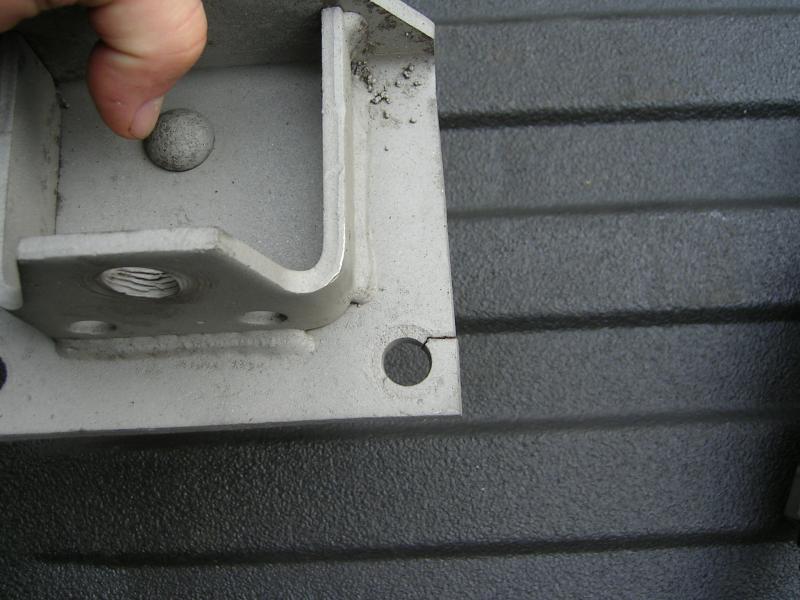
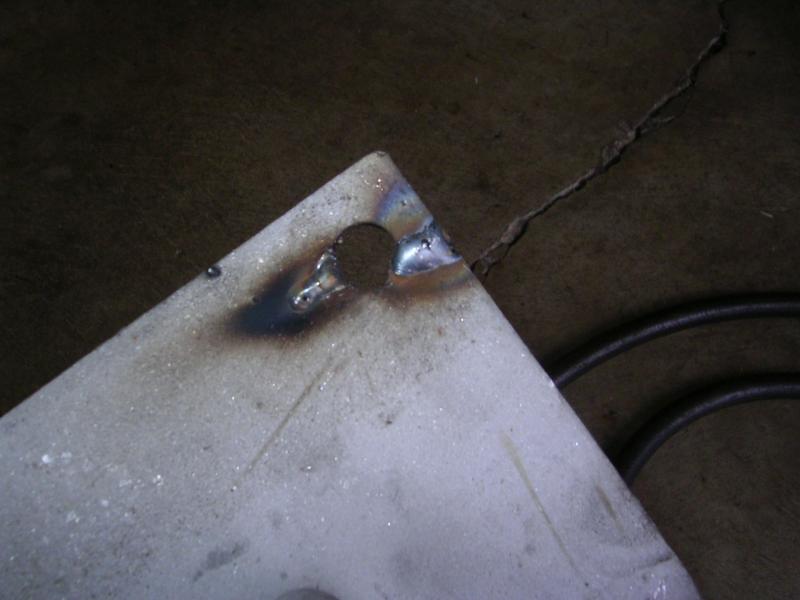

One pf the front spring hanger brackets had a crack in it...V-'d it out good...then welded it up. Ground it down, and rat filed the opening.


Thread Starter
Registered User
Joined: Mar 2010
Posts: 7,265
Likes: 1,346
From: Prince George, BC
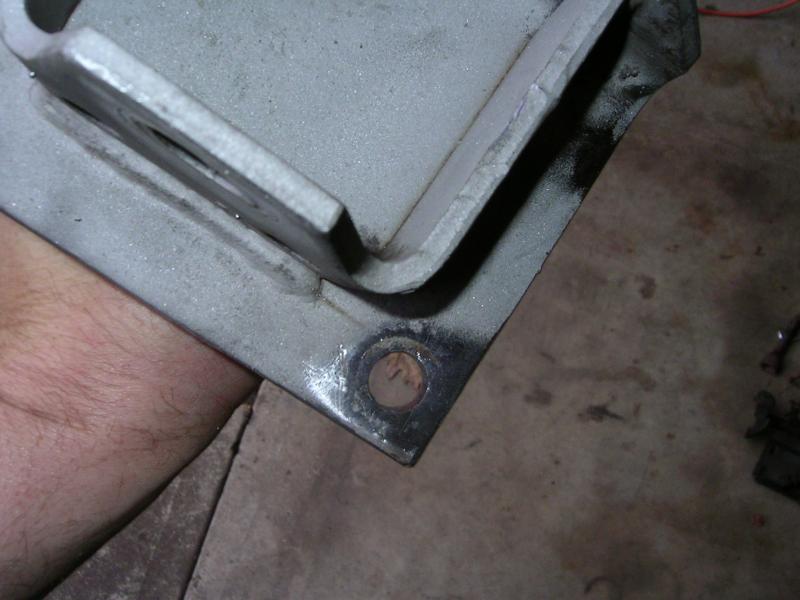
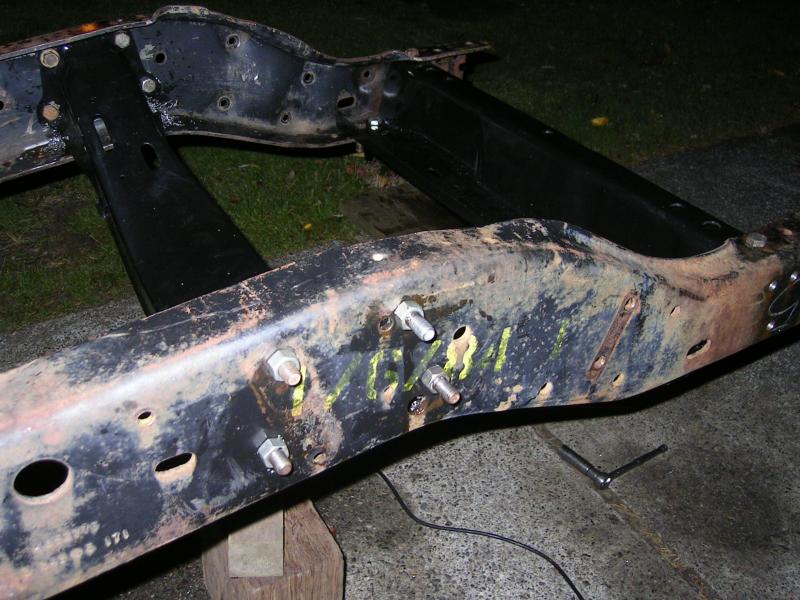
Been measuring, and measuring trying to get the front main cross member located properly. Man what a pain!!
I had to pull out the front cross member to drilled out all the holes to get 1/2" bolts in where the rivets would be. Then re-assembled.
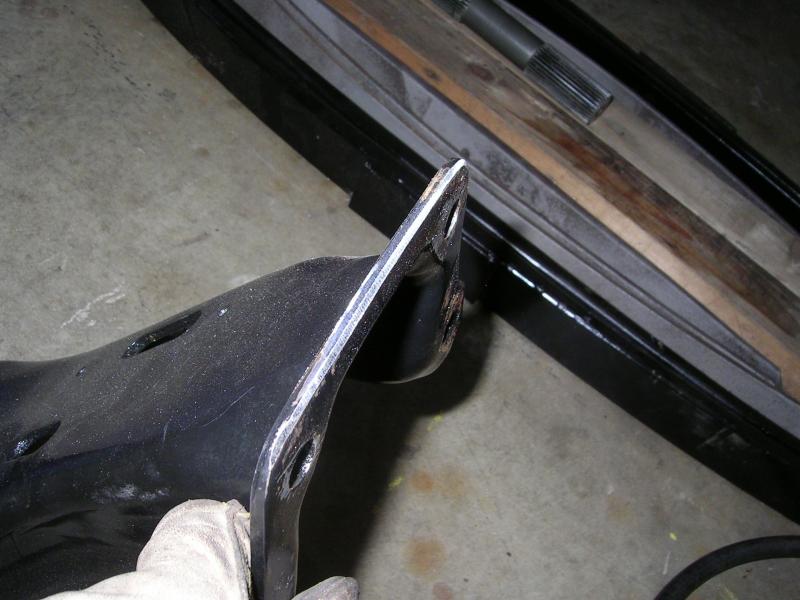
And since the one hole was darn close I decided to use it. But I found I needed just a little more wiggle room on the center cross member. Turns out that it has a slight peek to it.
And once I leveled it out I also beveled the inside edge...since it buts up against the top radius where the frame rail is folded over.
I had to pull out the front cross member to drilled out all the holes to get 1/2" bolts in where the rivets would be. Then re-assembled.
And since the one hole was darn close I decided to use it. But I found I needed just a little more wiggle room on the center cross member. Turns out that it has a slight peek to it.

And once I leveled it out I also beveled the inside edge...since it buts up against the top radius where the frame rail is folded over.


Thread Starter
Registered User
Joined: Mar 2010
Posts: 7,265
Likes: 1,346
From: Prince George, BC
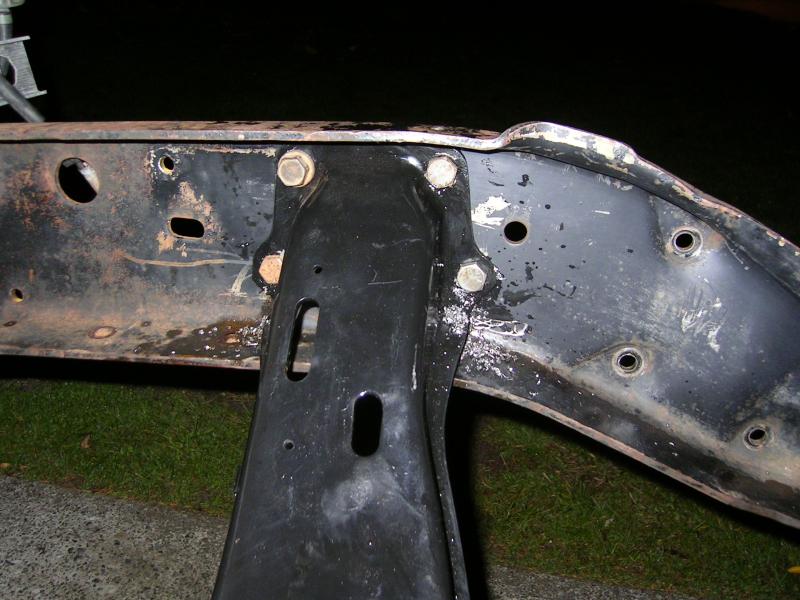
Once I massaged the cross member I was able to get my measurements to within 1/16" to 1/8"...I can live with that.
Then it was carefully drill out the remaining holes. Only had one go crooked on me...had to stop at 7/16" and rat file the rest of the way to 1/2".
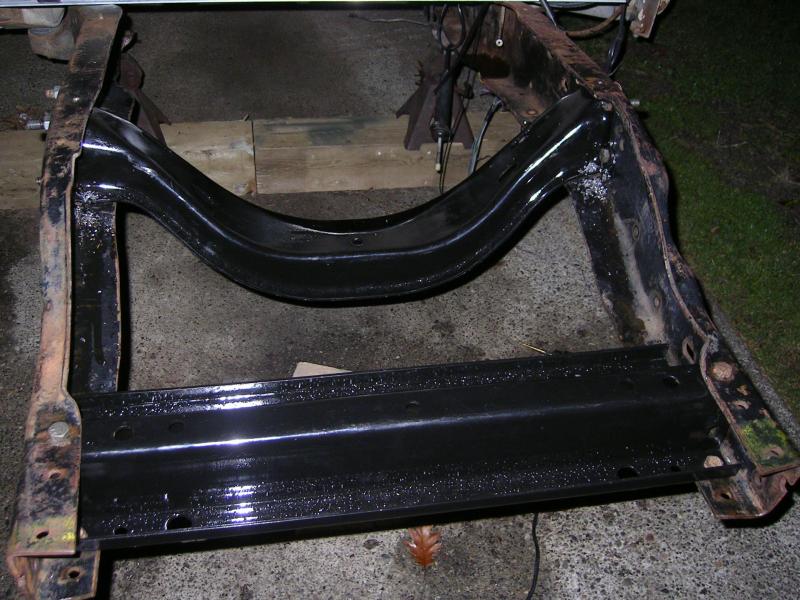
The nuts and bolts I used are just random pieces from my buckets of misc. Will have to buy proper grade 8 nuts/bolts and washers. Cross members have to come back out so I can paint the frame and brackets again.
Now I have to finish getting the rear most spring bracket positioned and drilled out.
Then it was carefully drill out the remaining holes. Only had one go crooked on me...had to stop at 7/16" and rat file the rest of the way to 1/2".


The nuts and bolts I used are just random pieces from my buckets of misc. Will have to buy proper grade 8 nuts/bolts and washers. Cross members have to come back out so I can paint the frame and brackets again.
Now I have to finish getting the rear most spring bracket positioned and drilled out.
Thread Starter
Registered User
Joined: Mar 2010
Posts: 7,265
Likes: 1,346
From: Prince George, BC
Rear top spring and brackets are down getting new bushing installed. And due to the rust on my top springs, because of the void in the cast blocks between the top spring and the over load, I need to get solid pieces made up to replace the cast units.
The spring shop recommended this or I might end up with a broken top spring at the corrosion area. So I will take the old cast blocks down to my machinist and get him to make up a couple new pieces for me.
The spring shop recommended this or I might end up with a broken top spring at the corrosion area. So I will take the old cast blocks down to my machinist and get him to make up a couple new pieces for me.
Thread Starter
Registered User
Joined: Mar 2010
Posts: 7,265
Likes: 1,346
From: Prince George, BC
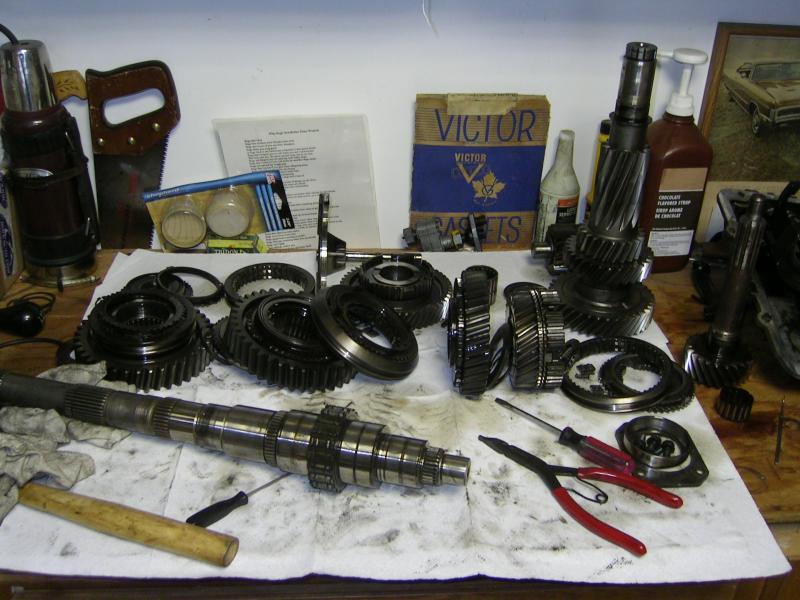
I brought the NV4500 pieces down to my friends shop, and he removed all the bearing for me. So finally got the rest of the tranny torn down. Now just waiting on a few pieces and I can start re-assembly.
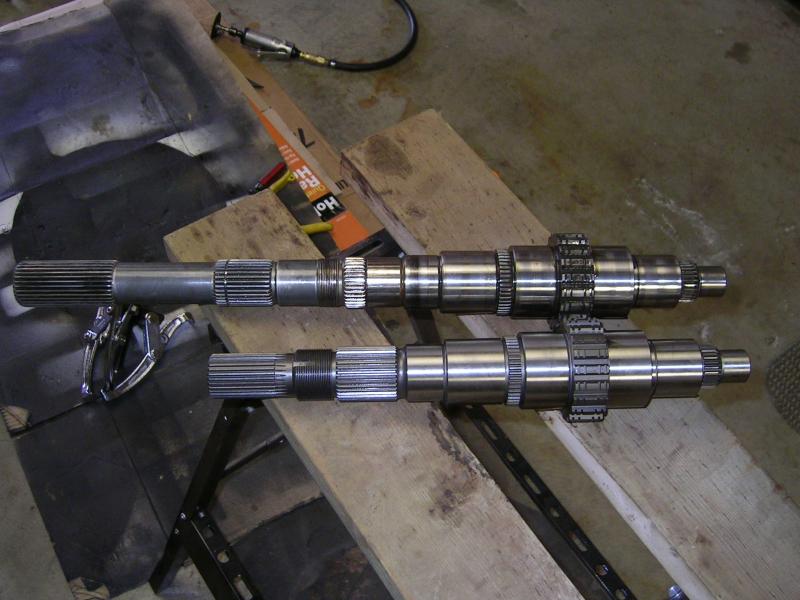
Difference in the 2wd vs 4wd mainshafts....

Difference in the 2wd vs 4wd mainshafts....


Registered User

Joined: Apr 2002
Posts: 1,602
Likes: 93
From: Richmond, VA
The crossmembers look good. More work than it looks when you are done.
I'm not sure what your plans are for the permanent fasteners, but grade 8 fine threaded frame bolts with flanged self locking nuts are the way to go. I helped build a log forwarder out of a 5 ton 6x6 Army truck about 20 years ago, and we had to swap around a lot of frame hangers & brackets. We replaced the original 1/2 rivets with 1/2 bolts, and after much abuse, did not have any trouble with the bolts. Installed at 100 lb ft of torque with blue loctite as lubricant/sealant. You don't want washers or serrated heads, or anything that increases opportunities for creep or wear in the assembly. Fine threads give a slightly higher clamping force, and are less prone to loosening from vibration.
Did you think about doing a shackle flip, lowered front hanger & block delete for the rear springs, BTW?
Registered User
Joined: Feb 2010
Posts: 1,635
Likes: 59
From: New York
The crossmembers look good. More work than it looks when you are done.
I'm not sure what your plans are for the permanent fasteners, but grade 8 fine threaded frame bolts with flanged self locking nuts are the way to go. I helped build a log forwarder out of a 5 ton 6x6 Army truck about 20 years ago, and we had to swap around a lot of frame hangers & brackets. We replaced the original 1/2 rivets with 1/2 bolts, and after much abuse, did not have any trouble with the bolts. Installed at 100 lb ft of torque with blue loctite as lubricant/sealant. You don't want washers or serrated heads, or anything that increases opportunities for creep or wear in the assembly. Fine threads give a slightly higher clamping force, and are less prone to loosening from vibration.
Did you think about doing a shackle flip, lowered front hanger & block delete for the rear springs, BTW?
I'm not sure what your plans are for the permanent fasteners, but grade 8 fine threaded frame bolts with flanged self locking nuts are the way to go. I helped build a log forwarder out of a 5 ton 6x6 Army truck about 20 years ago, and we had to swap around a lot of frame hangers & brackets. We replaced the original 1/2 rivets with 1/2 bolts, and after much abuse, did not have any trouble with the bolts. Installed at 100 lb ft of torque with blue loctite as lubricant/sealant. You don't want washers or serrated heads, or anything that increases opportunities for creep or wear in the assembly. Fine threads give a slightly higher clamping force, and are less prone to loosening from vibration.
Did you think about doing a shackle flip, lowered front hanger & block delete for the rear springs, BTW?

Registered User
Joined: Aug 2013
Posts: 4,918
Likes: 603
From: Tulsa, OK
Mine were in a little better shape but I made new ones from parts cut from a out of a 5/16" thick log truck reach.
Thread Starter
Registered User
Joined: Mar 2010
Posts: 7,265
Likes: 1,346
From: Prince George, BC
Where would I find those? I'm all about using the right parts.
Thread Starter
Registered User
Joined: Mar 2010
Posts: 7,265
Likes: 1,346
From: Prince George, BC

