
Crew Cab Project has Started


Thread Starter
Registered User
Joined: Nov 2010
Posts: 268
Likes: 13
From: Bradenton, Fla
Crew Cab Project has Started
Hi All,
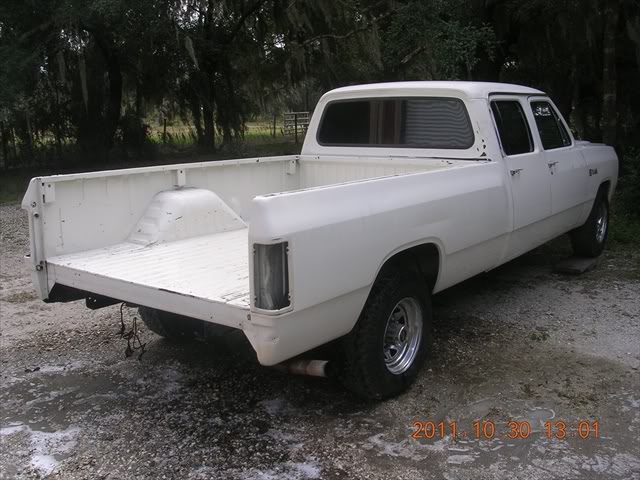
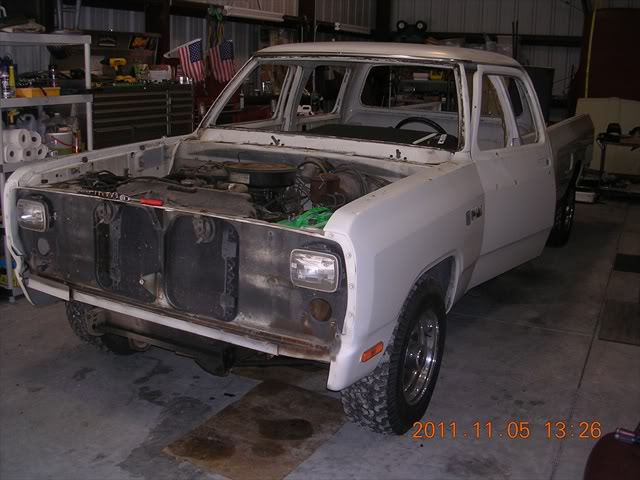
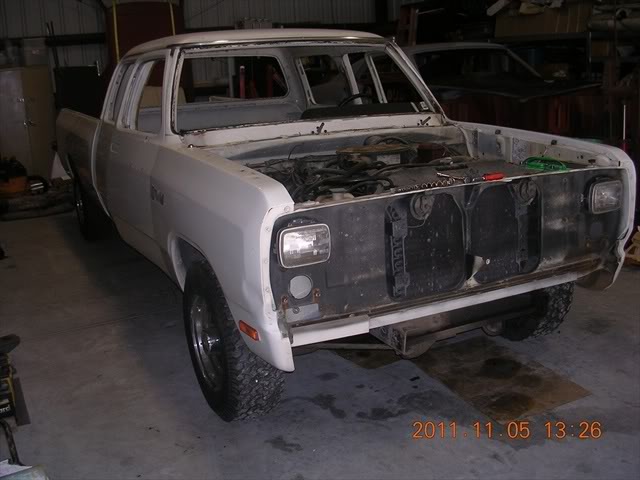
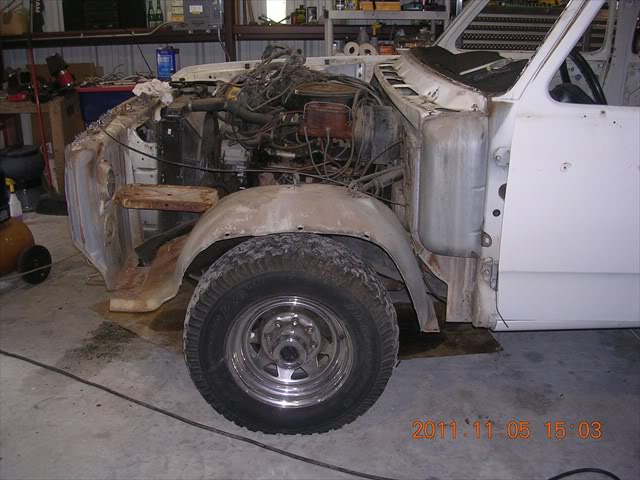
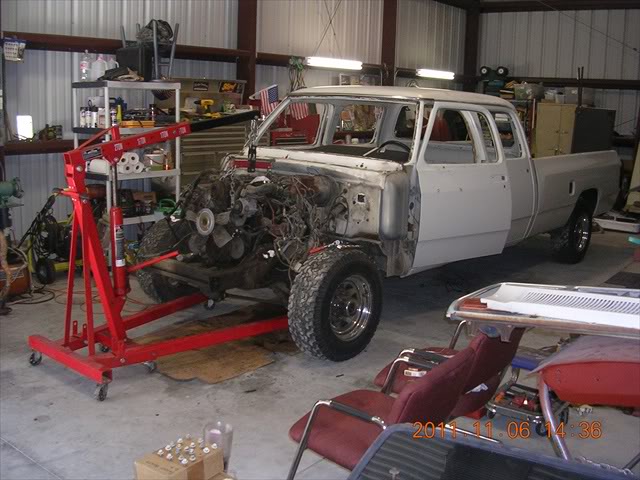
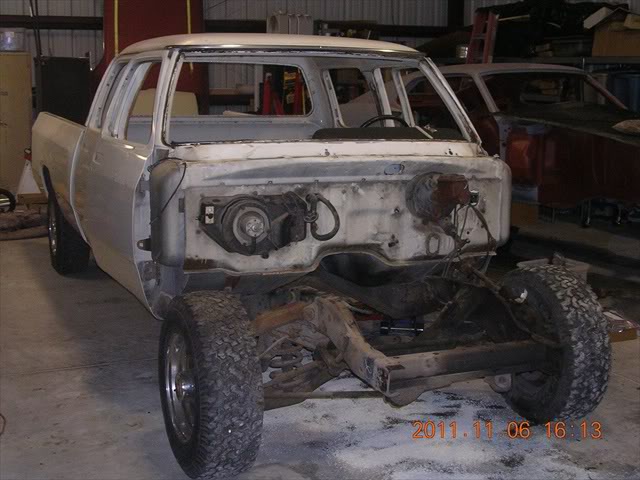
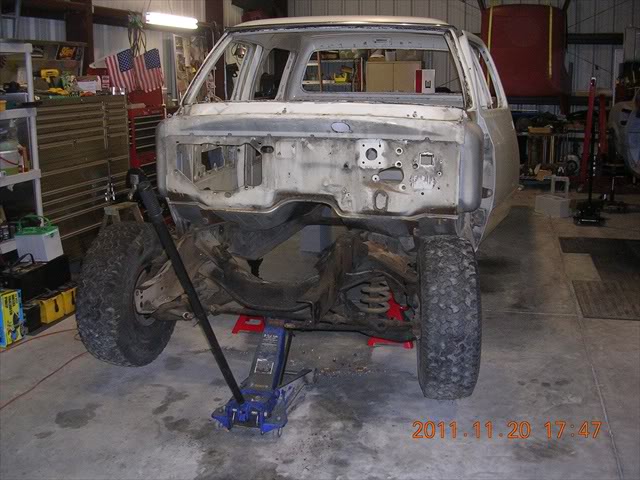
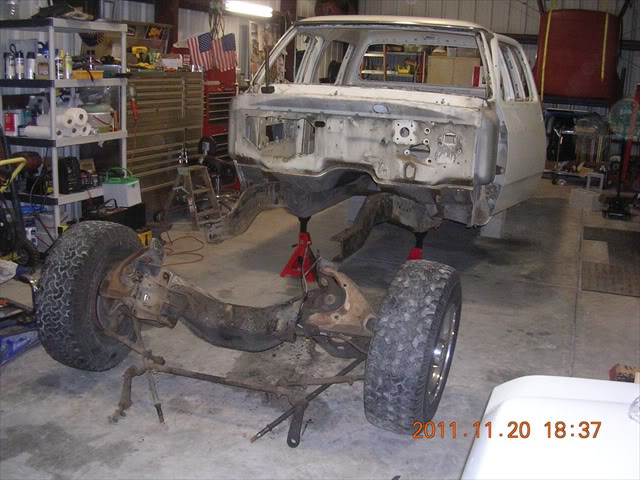
The Crew Cab CTD W-350 longbed conversion has started. I was able to get her pulled into my shop this last weekend and I wanted to share.
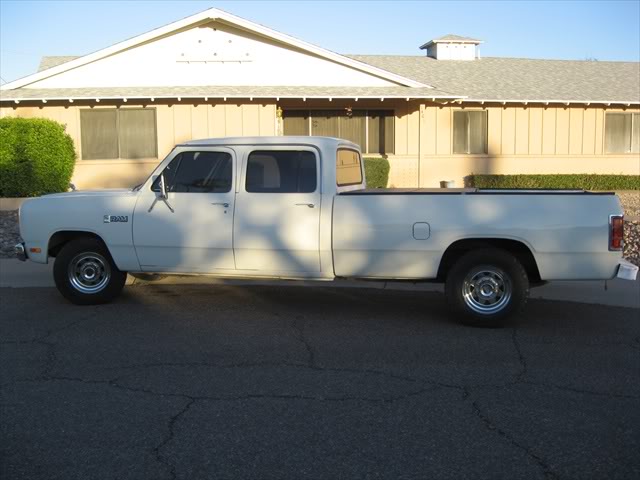
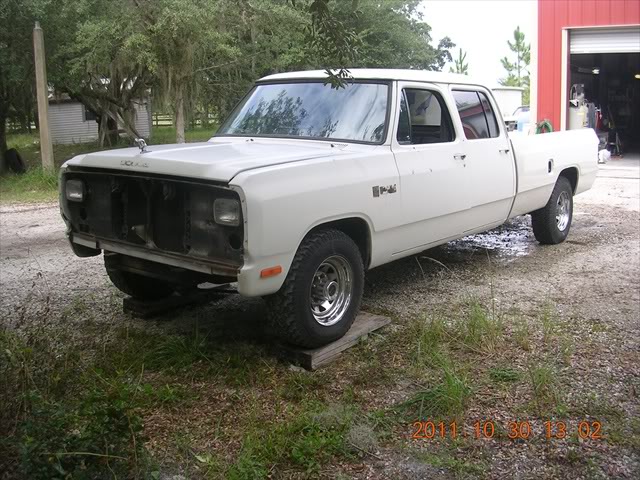
Here she is all ready for the conversion.
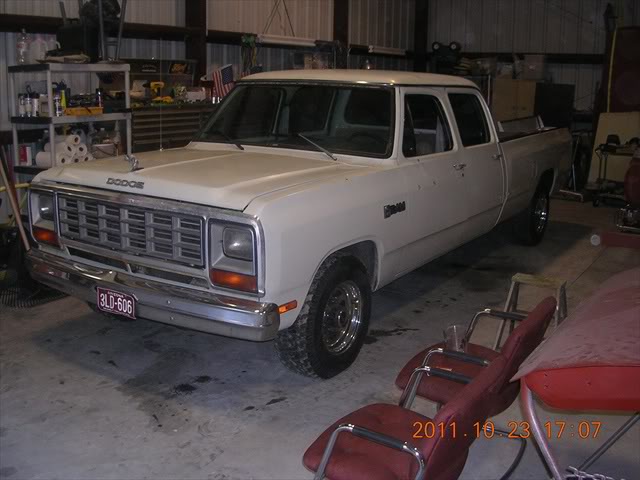
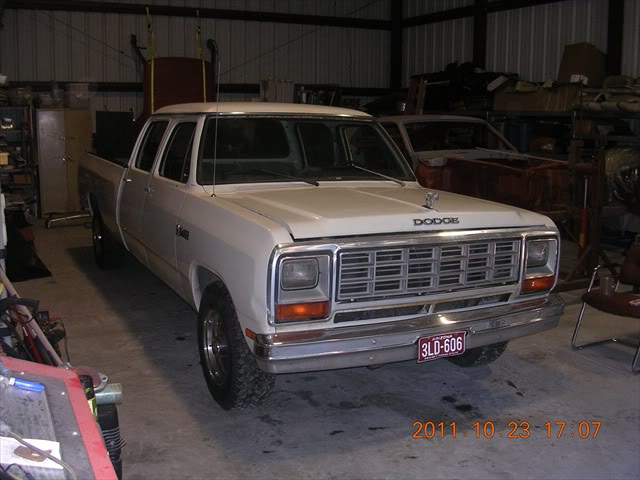
Here's my CTD I'll be using for my conversion.
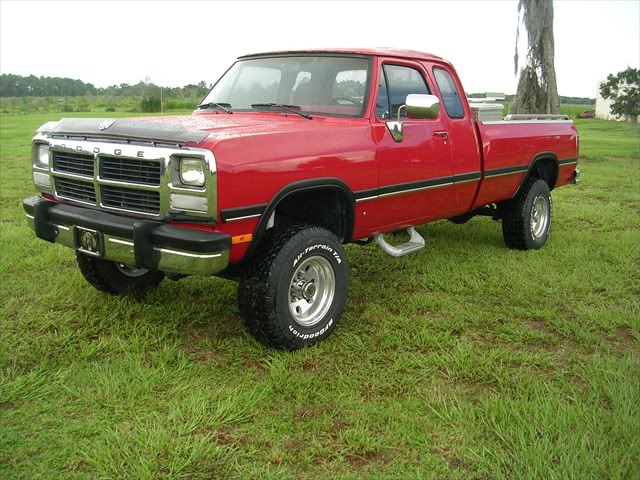
I've been following the crossover steering thread for the conversion to CC. I only want to lift it 2 inches max.
I will post more picks as progress continues. I would like some input on help with safely removing the Crews driprail mouldings for polishing.
Thanks, Ron
The Crew Cab CTD W-350 longbed conversion has started. I was able to get her pulled into my shop this last weekend and I wanted to share.
Here she is all ready for the conversion.
Here's my CTD I'll be using for my conversion.
I've been following the crossover steering thread for the conversion to CC. I only want to lift it 2 inches max.
I will post more picks as progress continues. I would like some input on help with safely removing the Crews driprail mouldings for polishing.
Thanks, Ron

Banned
Joined: Jun 2007
Posts: 2,273
Likes: 2
From: Apple Valley Ca.
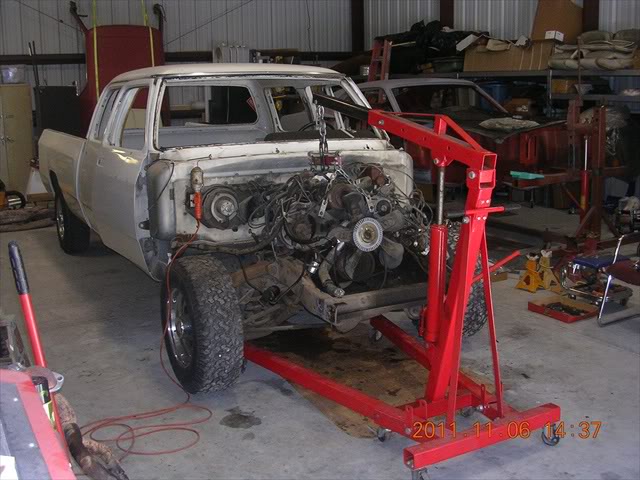
Useing the Crewcab frame is your best bet and just swap it to 4xis simple I just started on mine other day pulled front clip n dropped the motor n trans out to get it ready for my diesel good luck n feel free to ask question's when you run into troubles
Registered User


Joined: Mar 2010
Posts: 7,265
Likes: 1,346
From: Prince George, BC
I recently picked up a "Mopar Action" magazine and it had a little spot on how to remove your drip rail moldings. The issue was Dec 2011 if you can still find it.
Anyway here's what they said..
There are a couple pics as well with tech below them. It appears they use electrical tape on the top part of the pliers. Also they state that you should start at the back edge and move forward. And then the re-installation is the opposite...start at the front and work your way back. You place the top of the molding over the top edge of the drip rail, and pushing down towards the floor you snap the bottom edge of the molding in place by pushing in with your other hand.
Hope this helps....
Anyway here's what they said..
The drip rail moldings, however, simply suck. No magic on this, sorry! You need a small pair of ChannelLock pliers wrapped with tape. Use this to pry up slowly from the bottom, max one inch at a time. Do not attempt to even totally free up that one inch section all at once - move it out maybe 1/16", move along the entire length, then repeat again from the starting point. Still, expect some minor damage - the good part is that being stainless, it can be easily straightened and buffed back to look like new.
Hope this helps....
Thread Starter
Registered User
Joined: Nov 2010
Posts: 268
Likes: 13
From: Bradenton, Fla
Thanx for the moulding removal tech help and the article.
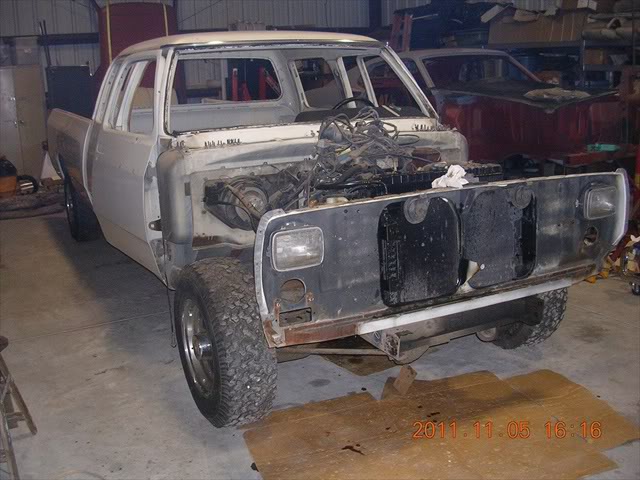
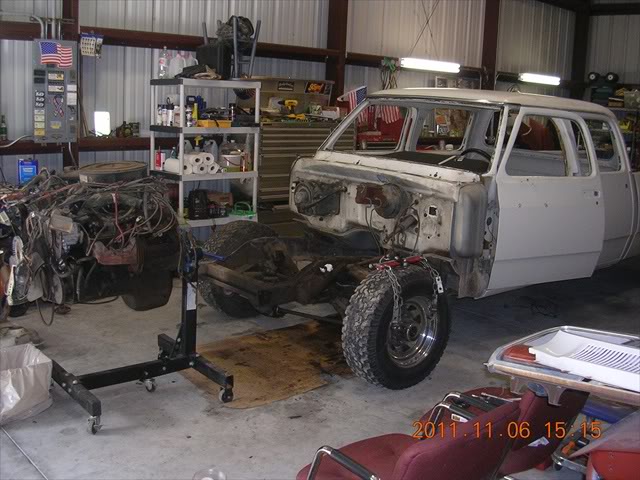
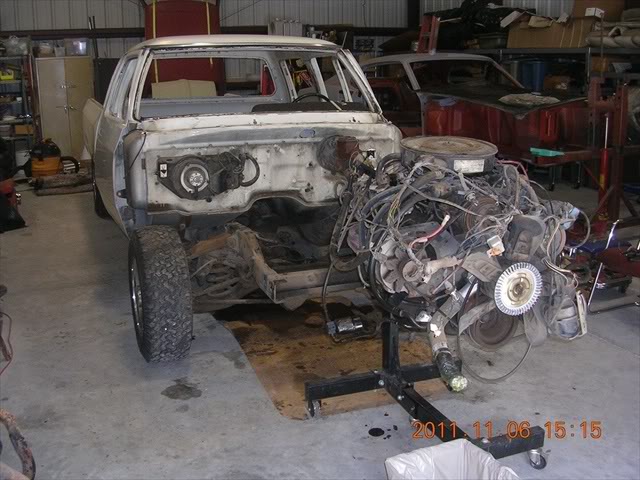
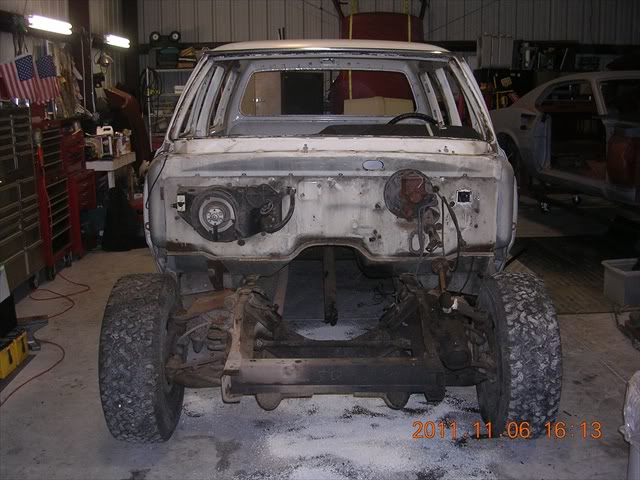
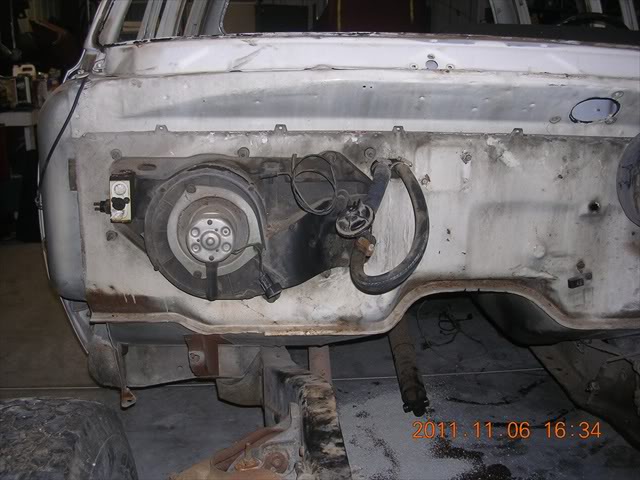
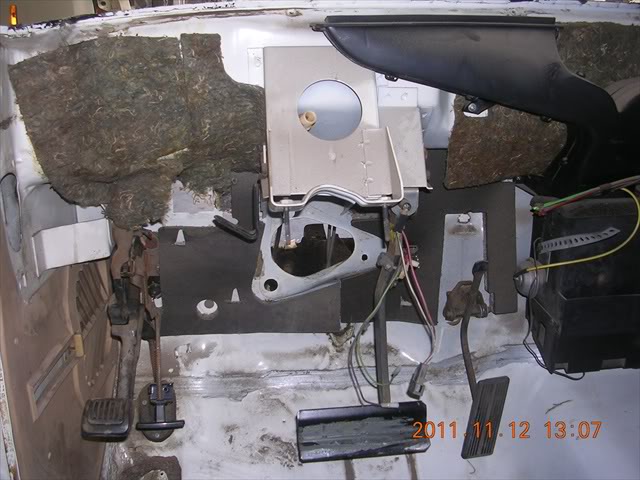
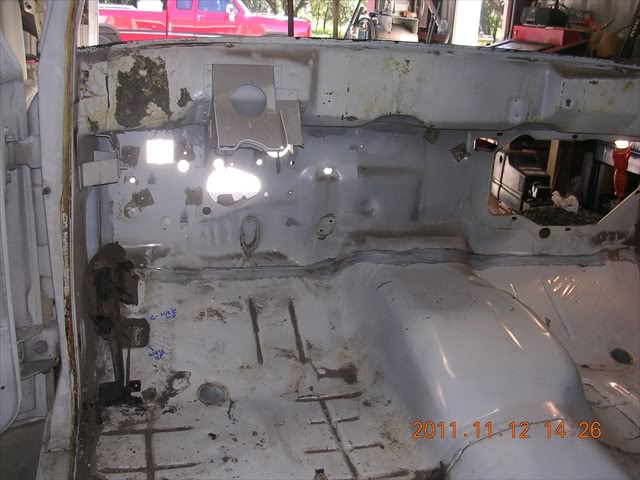
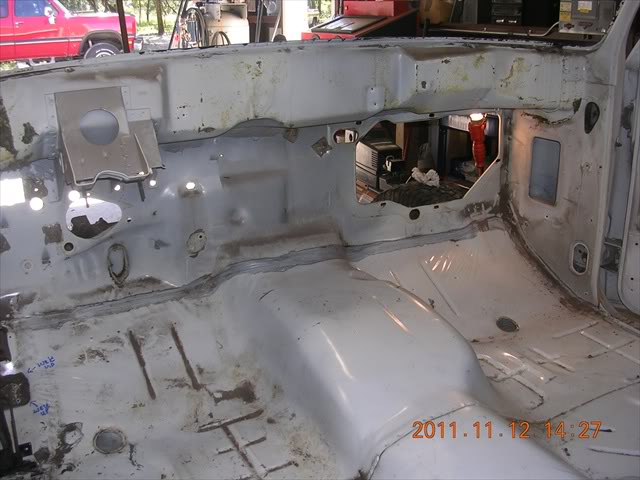
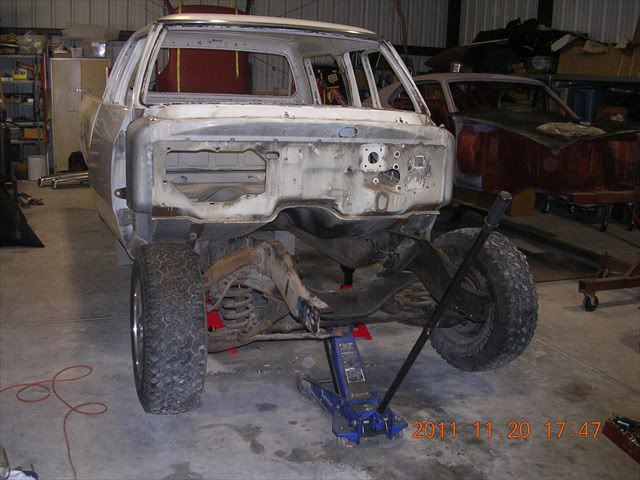
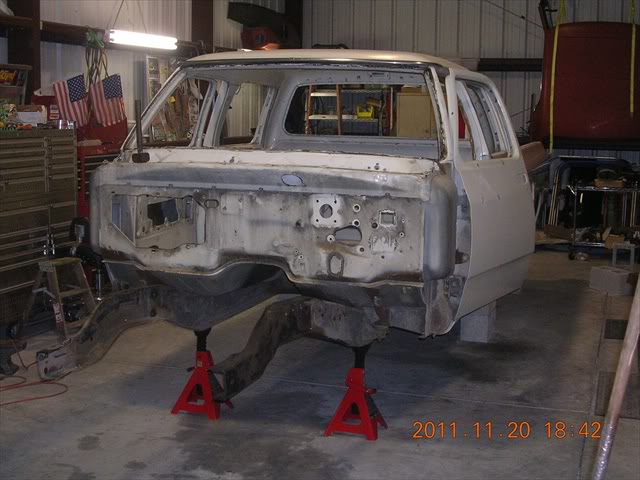
Here's some of this afternoon's progress.
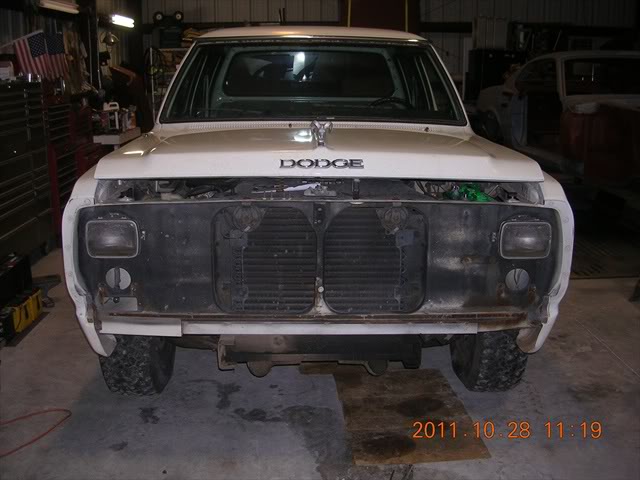
The reason I'm using my club cab is that the drip rail above the windshield has begun to rust. In order to repair it the way I repair things. IE take it all apart so nothing gets burned when I reweld new sheetmetal in. I decided to convert it to a crew cab and then fix the club and sell it. That way I end up with a cool crew and no rust.
Here's some of this afternoon's progress.
The reason I'm using my club cab is that the drip rail above the windshield has begun to rust. In order to repair it the way I repair things. IE take it all apart so nothing gets burned when I reweld new sheetmetal in. I decided to convert it to a crew cab and then fix the club and sell it. That way I end up with a cool crew and no rust.
Thread Starter
Registered User
Joined: Nov 2010
Posts: 268
Likes: 13
From: Bradenton, Fla
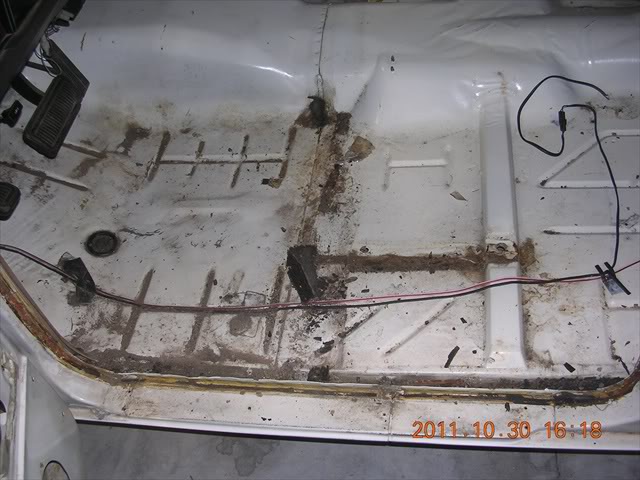
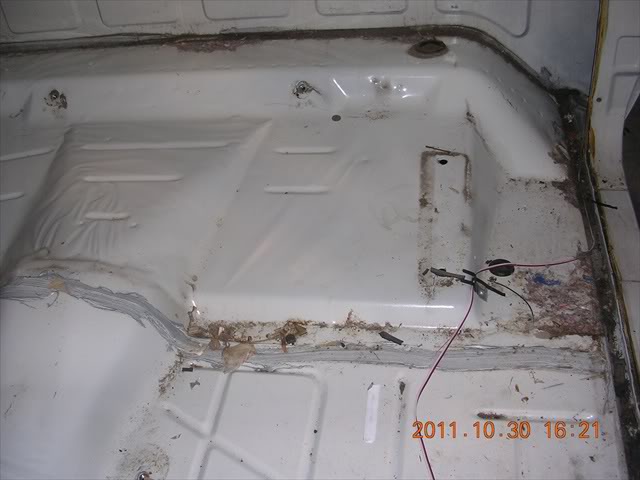
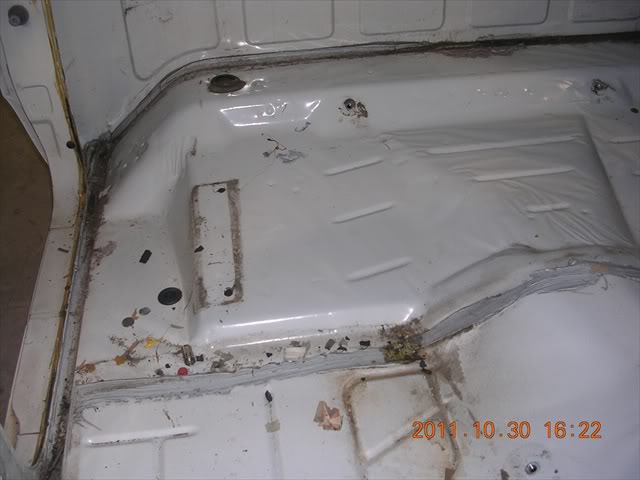
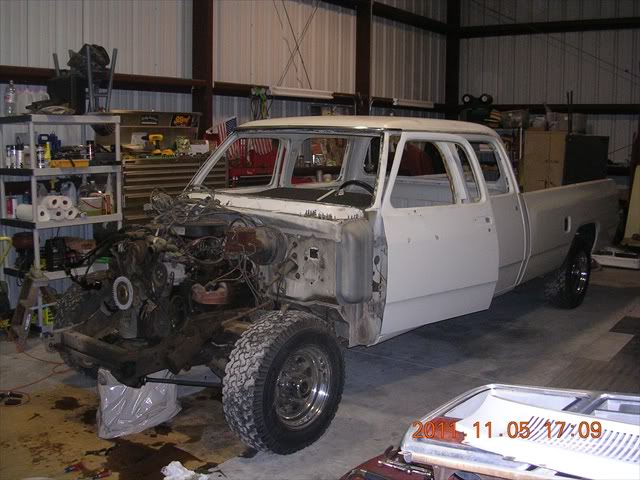
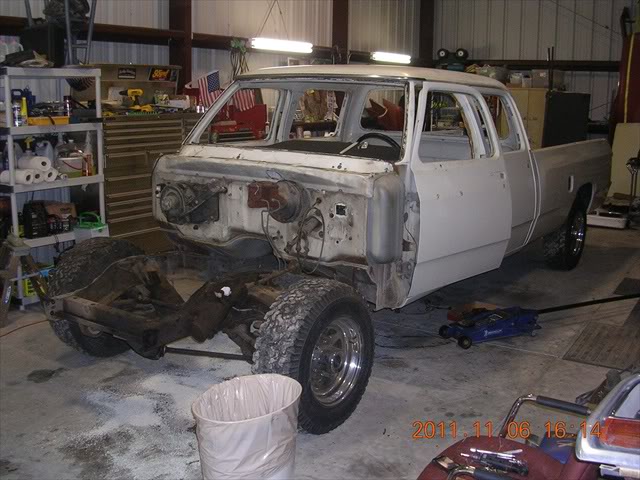
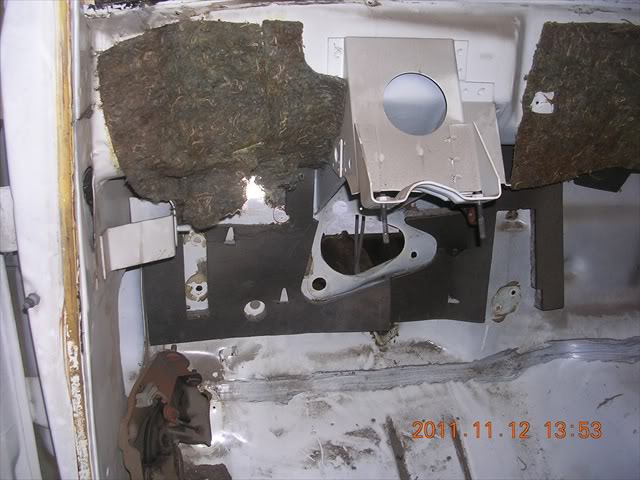
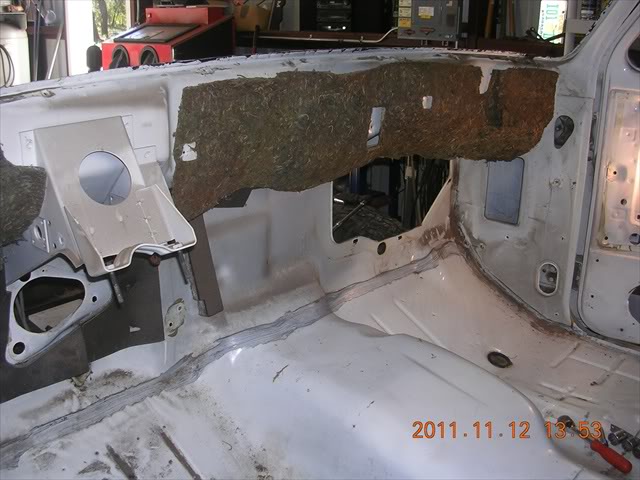
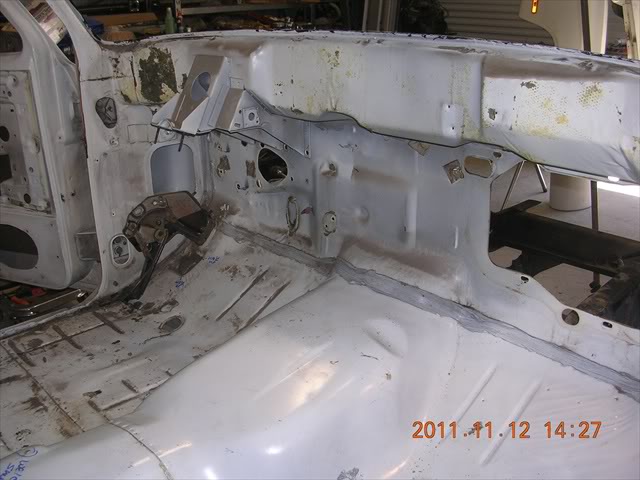
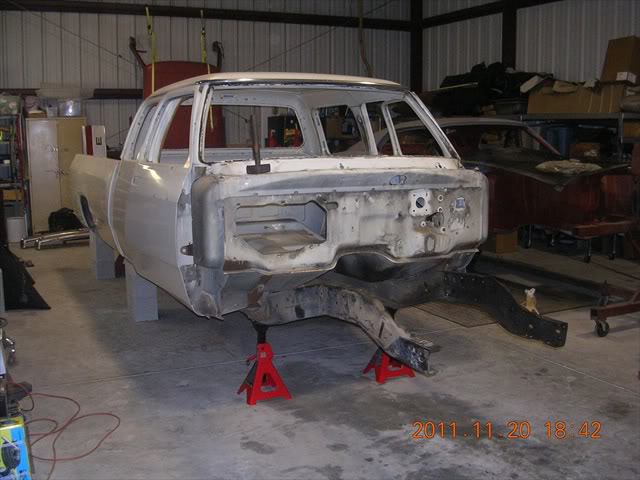
This last weeks progress.
Thought I would share the Crew's progress this past week.
I also want to mention that the paint can can opener idea for the drip rail mouldings worked like a charm.
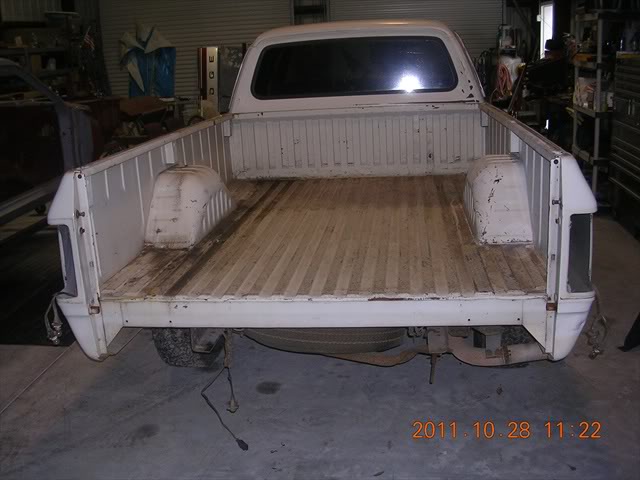
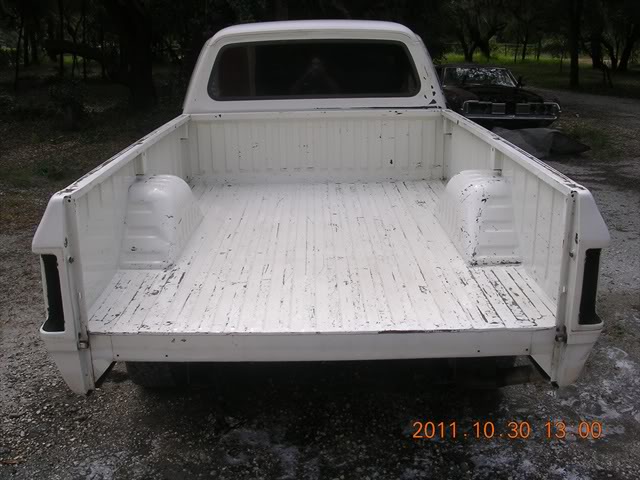
The bed after I cleaned it up is in super shape. It's scratched up but not a single dent. Amazing for a 27 year ols truck.
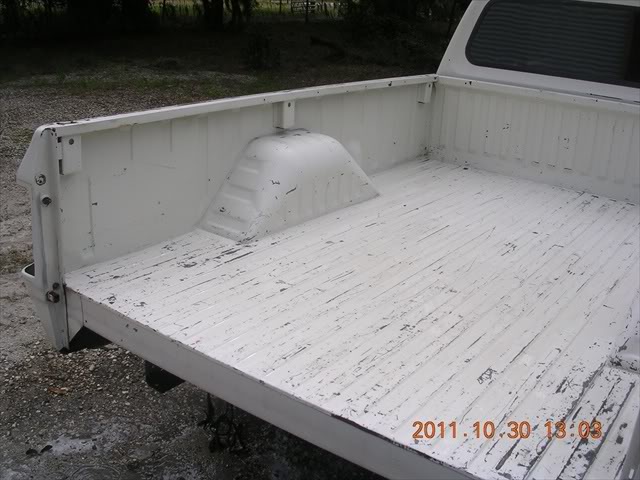
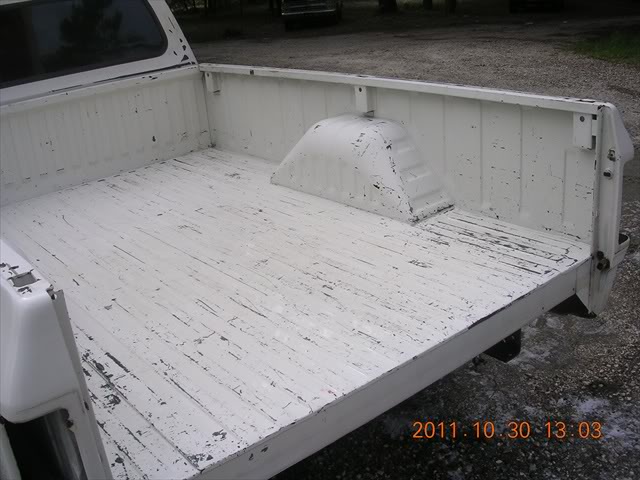

I also want to mention that the paint can can opener idea for the drip rail mouldings worked like a charm.
The bed after I cleaned it up is in super shape. It's scratched up but not a single dent. Amazing for a 27 year ols truck.

Trending Topics
Thread Starter
Registered User
Joined: Nov 2010
Posts: 268
Likes: 13
From: Bradenton, Fla
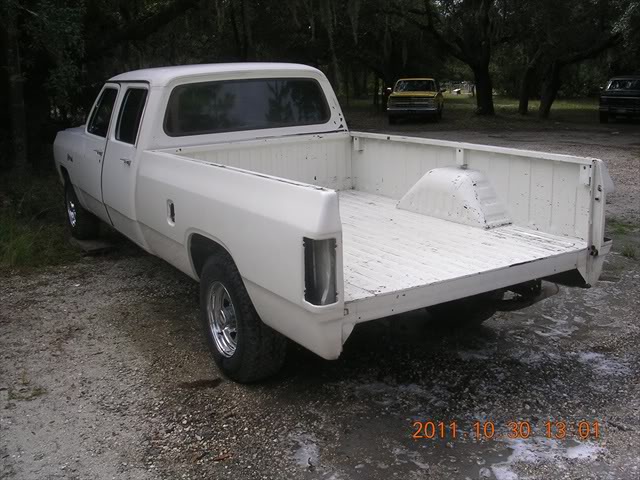
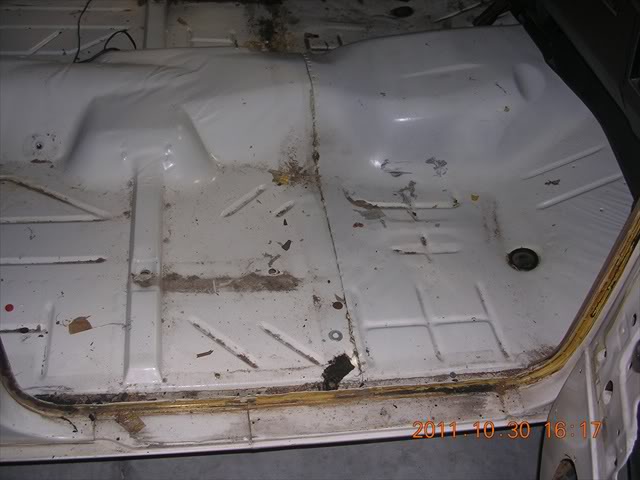
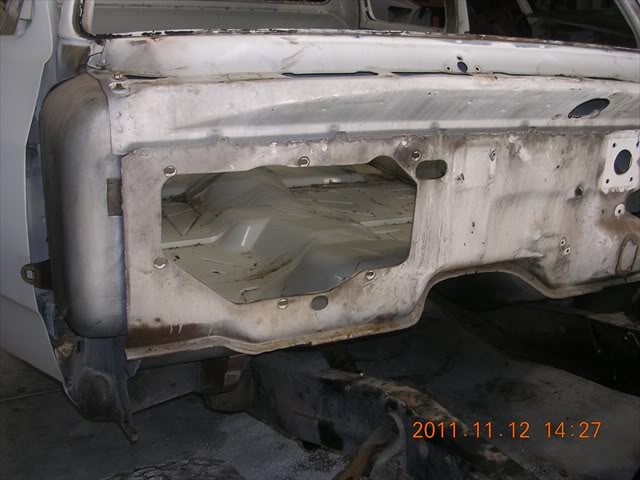
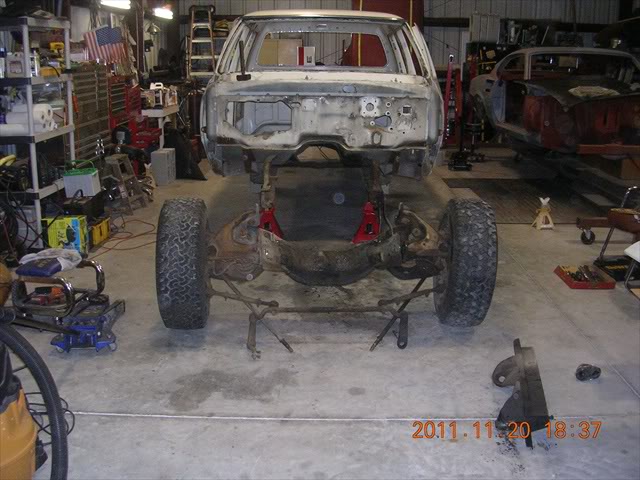
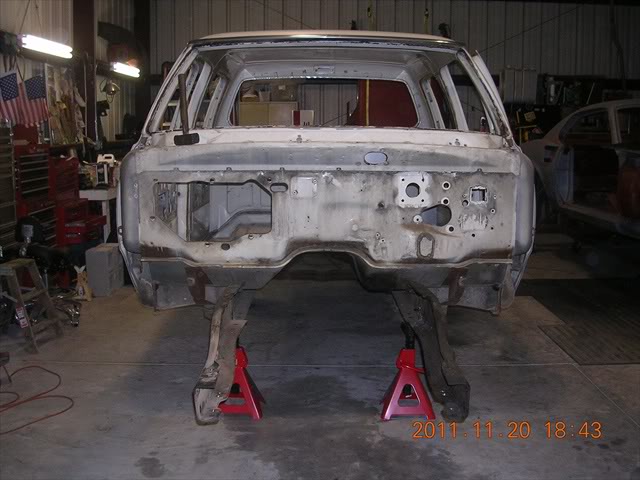
And some more progress
So far so good, the body is in super shape.
I wanted to mention that the can opener has to be bent to get past the upper windshield lip to grap the sriprail moulding. Just thought I would pass that along.
I wanted to mention that the can opener has to be bent to get past the upper windshield lip to grap the sriprail moulding. Just thought I would pass that along.


Thread Starter
Registered User
Joined: Nov 2010
Posts: 268
Likes: 13
From: Bradenton, Fla
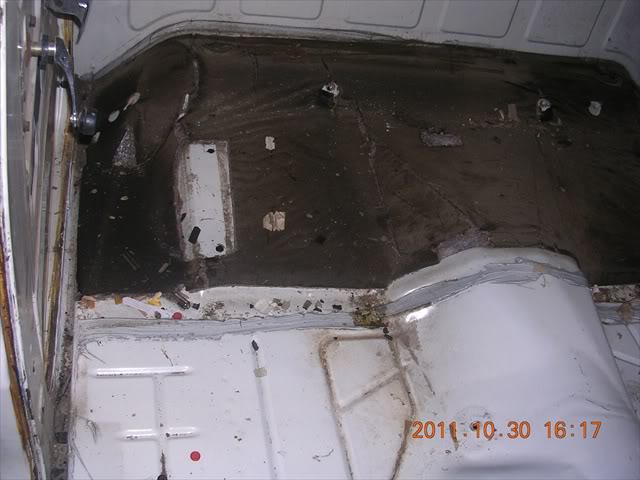
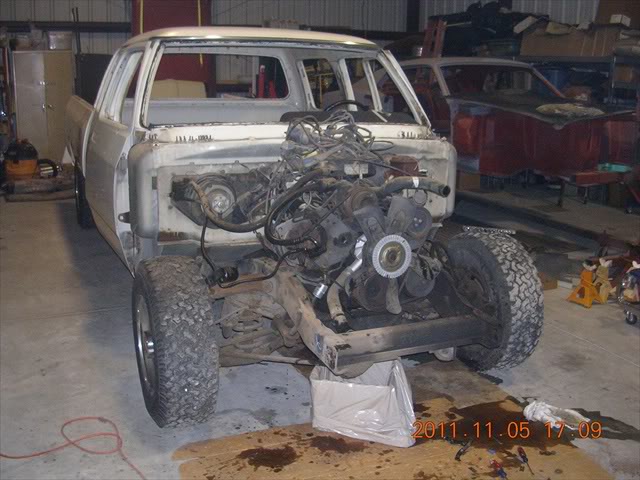
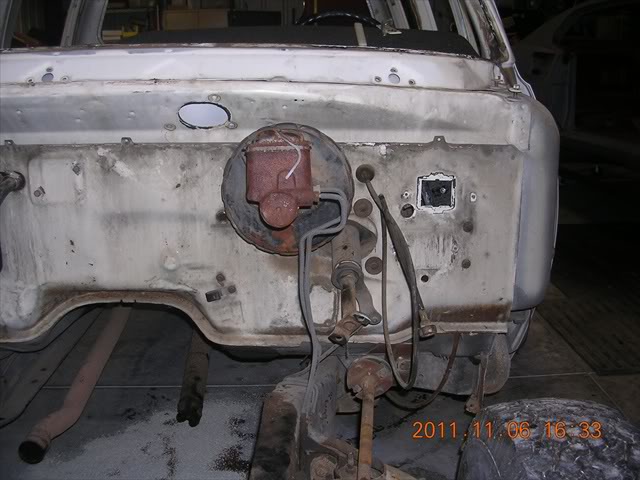
More Progress
Hi All, Sharing this last Saturdays progress on the Crew. Gotta love those factory rivets, what a bear.
I used a come along to put just a little tension and used my 25 lb sledge hammer to slide the crossmember out. Since I am reusing this on the club cab I didn't want to cut it out.

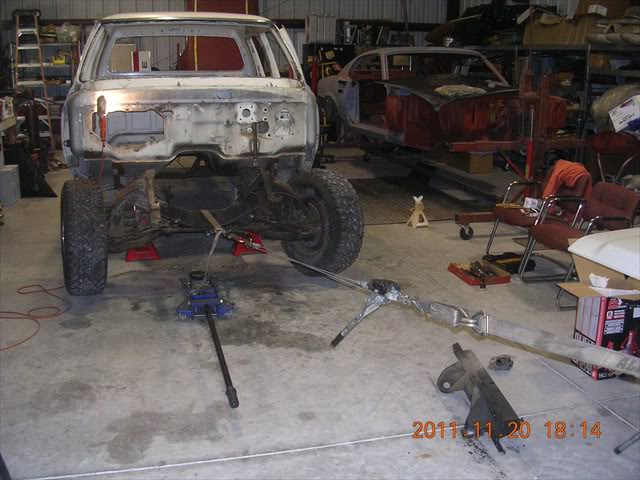
I used a come along to put just a little tension and used my 25 lb sledge hammer to slide the crossmember out. Since I am reusing this on the club cab I didn't want to cut it out.