
Cummins Ramcharger

Thread Starter
Registered User
Joined: Mar 2007
Posts: 890
Likes: 4
From: Salem, OR

Thread Starter
Registered User
Joined: Mar 2007
Posts: 890
Likes: 4
From: Salem, OR
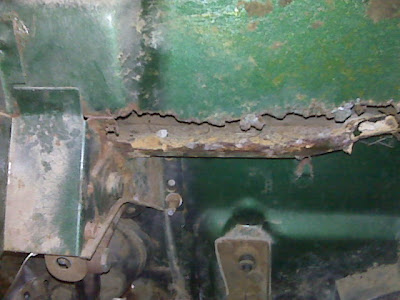
I found out about this rust when I sucked a couple of inches of silt out of the cowel area. There are more extensive pics on my blog. This is a shot of the inside with the dash removed, above the fuel petal.
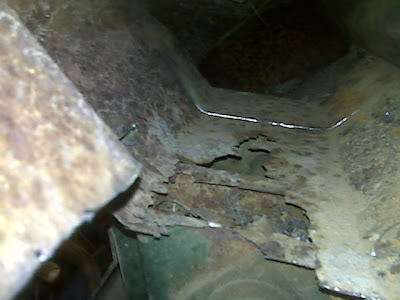
I am almost done cutting the rust out. Tomorrow I will cut similar pieces out of a partial cab from one of my donors. Getting behind the column support/brake pedal hanger is the tricky part.
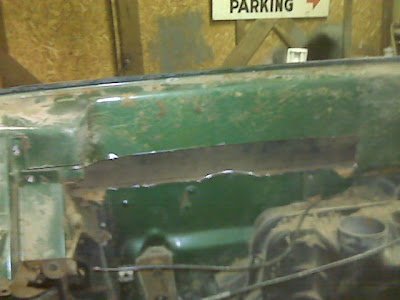
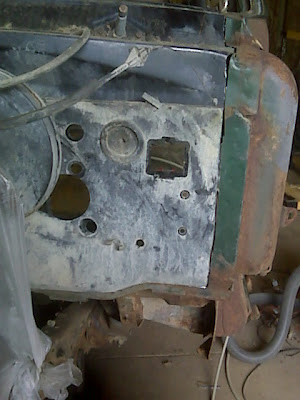
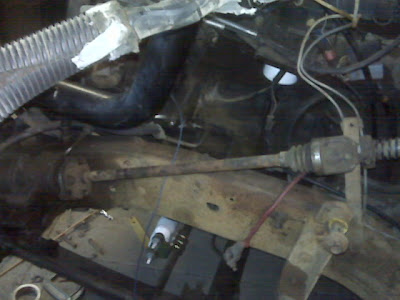
This shot is in the cowel looking behind the culumn/pedal box.
I am almost done cutting the rust out. Tomorrow I will cut similar pieces out of a partial cab from one of my donors. Getting behind the column support/brake pedal hanger is the tricky part.
This shot is in the cowel looking behind the culumn/pedal box.
Thread Starter
Registered User
Joined: Mar 2007
Posts: 890
Likes: 4
From: Salem, OR
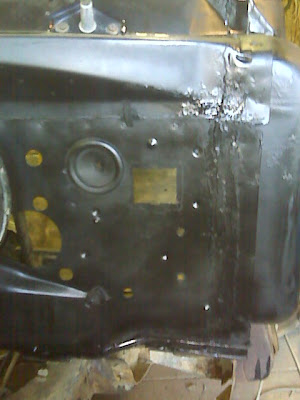
I got the rest of the rust out today and fashioned a patch panel out of what was left of my other cab. It is not welded yet in the pic, but I do have it welded about half way now. I will finish it up tomorrow and get some POR 15on it.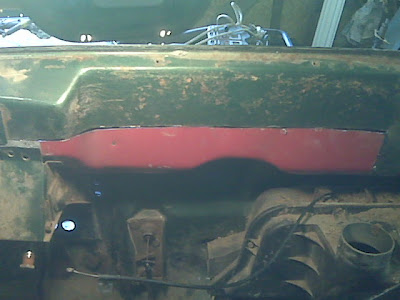
Thread Starter
Registered User
Joined: Mar 2007
Posts: 890
Likes: 4
From: Salem, OR
I thought about cutting it out big and overlapping it and spot-welding it in place, then goop the whole mess up with body pucky, but I thought this would be good general body patch practice. The fact that nobody will see it ia an added bonus.")
Its a toss-up. The red firewall was crumpled a bit on the pass. side. I would have had to flatten it. Then, when I was done, I would have to rely on my meager welding skills because it would have been structural rather than merely waterproof.
Its a toss-up. The red firewall was crumpled a bit on the pass. side. I would have had to flatten it. Then, when I was done, I would have to rely on my meager welding skills because it would have been structural rather than merely waterproof.
Thread Starter
Registered User
Joined: Mar 2007
Posts: 890
Likes: 4
From: Salem, OR
Updated the ramcharger blog. www.cumminsramchrger.blogspot.com
Ditched the patch job and went for the whole firewally enchilada.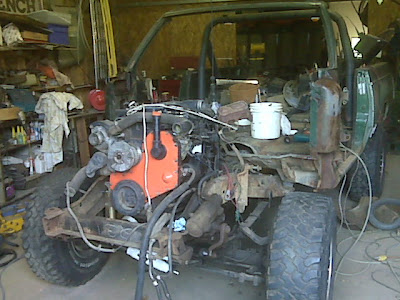
The donor
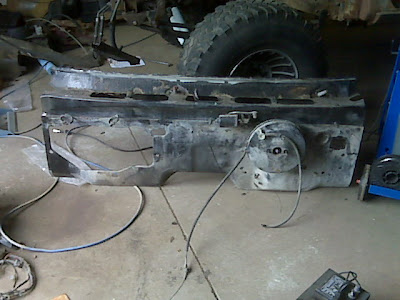
Almost ready to weld.
Ditched the patch job and went for the whole firewally enchilada.
The donor
Almost ready to weld.
Registered User
Joined: Dec 2005
Posts: 912
Likes: 0
From: cornelius oregon
here i thought making a couple of cowl crack replacement panels were going to be a pain. wow. after i get my hay up i going to come down that way to survey the carnage. just think how nice it will be to have a solid ride, instead of something with rust issues. keep your chin up and don't loose confidence your doing the right thing.
Thread Starter
Registered User
Joined: Mar 2007
Posts: 890
Likes: 4
From: Salem, OR
update
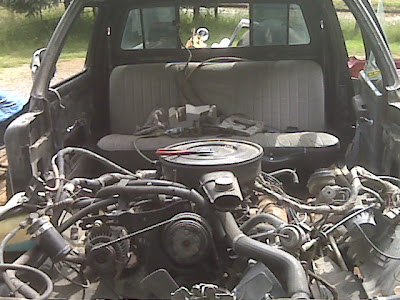
Lots done on this thing lately. Got the new firewall in.
Installed the heater box.

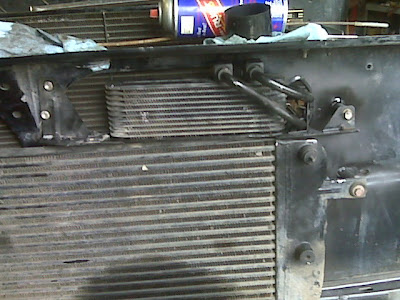
Installet the core support, radiator, intercooler, and tranny cooler. If you want to see how all this was done with an non-intercooled non-ctd core support, check out the blog in my sig. Lots of pictures and measurements.
Got the dash mostly in.
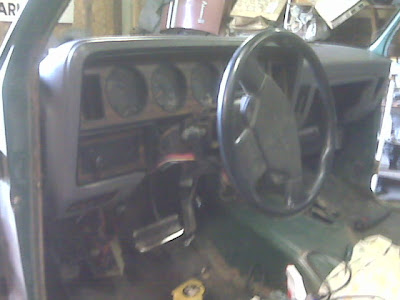
Steering hook-up is complete.
This was another head scratcher, but if you are doing the newer column and the older steering box, I have it figured out in the blog.
Getting closer all the time. Hope to drive it while it is still sunny.
Installed the heater box.
Installet the core support, radiator, intercooler, and tranny cooler. If you want to see how all this was done with an non-intercooled non-ctd core support, check out the blog in my sig. Lots of pictures and measurements.
Got the dash mostly in.
Steering hook-up is complete.
This was another head scratcher, but if you are doing the newer column and the older steering box, I have it figured out in the blog.
Getting closer all the time. Hope to drive it while it is still sunny.