
Crewcab update...

Thread Starter
Registered User


Joined: Mar 2010
Posts: 7,265
Likes: 1,346
From: Prince George, BC
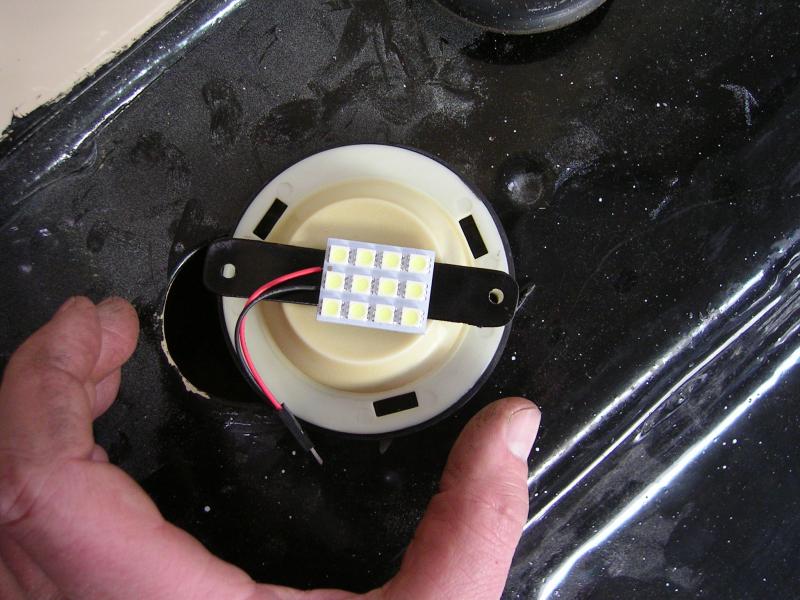
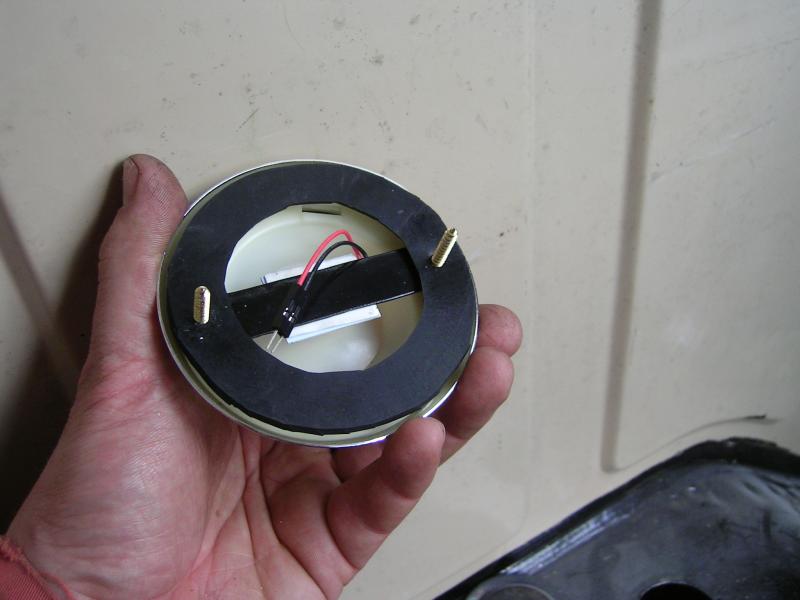
Then I had to figure out how I was going to mount the LED panels within the light housings. I ended up making a couple sheet metal plates that would go between the gasket, and the lens. Then I could mount the LED panels and run the wiring back into the hole.
And installed.
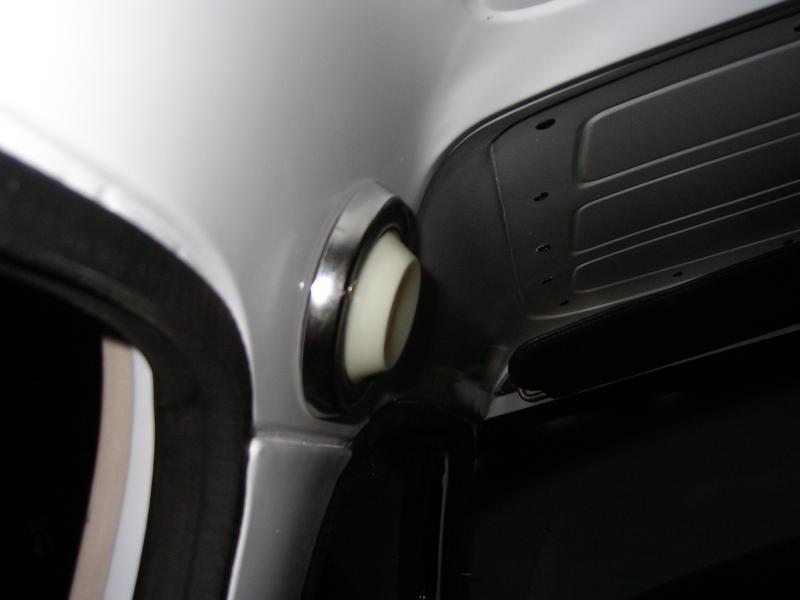
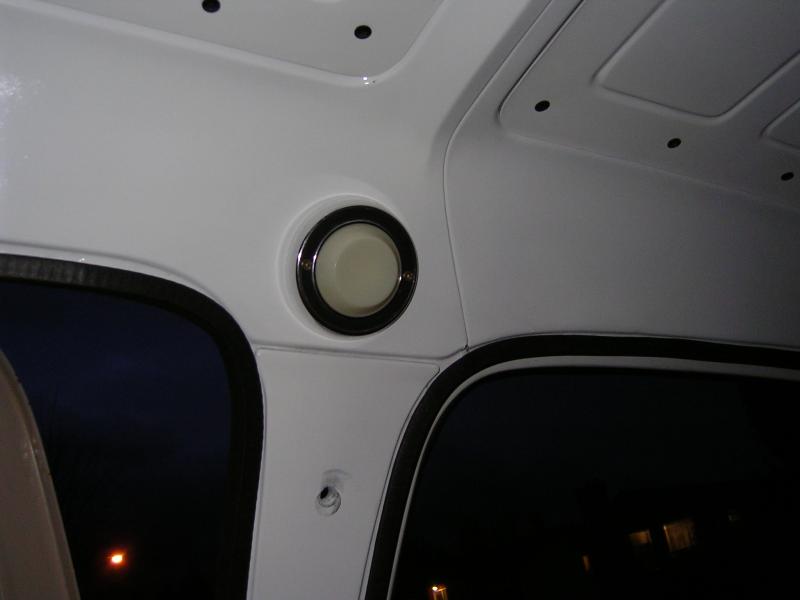
Man is it bright in the cab now at night. Almost like day time when you pop the door open!


And installed.


Man is it bright in the cab now at night. Almost like day time when you pop the door open!
Thread Starter
Registered User
Joined: Mar 2010
Posts: 7,265
Likes: 1,346
From: Prince George, BC
Sorry I didn't always take a lot of pics while I was working. But did snap a few here and there.
I went to install the steering column. I needed a new column gasket. I made my own out of the neoprene foam gasket material. I cut out two gaskets...mirror images of each other and then installed. Worked great!

I went to install the steering column. I needed a new column gasket. I made my own out of the neoprene foam gasket material. I cut out two gaskets...mirror images of each other and then installed. Worked great!

Thread Starter
Registered User
Joined: Mar 2010
Posts: 7,265
Likes: 1,346
From: Prince George, BC
Since I'm running the 2nd Gen rims I needed to modify a couple caps to go over the front 4wd hubs. I didn't want to cut up a dodge ram logo head cap, so I bought a pair of generic aftermarket units.
I heated up an old hacksaw blade with a torch, and slowly melted my way around the 5" hole I marked out.

Then I used a flapper disc on my air rotary tool to clean up the edges, and open the hole up a bit more.

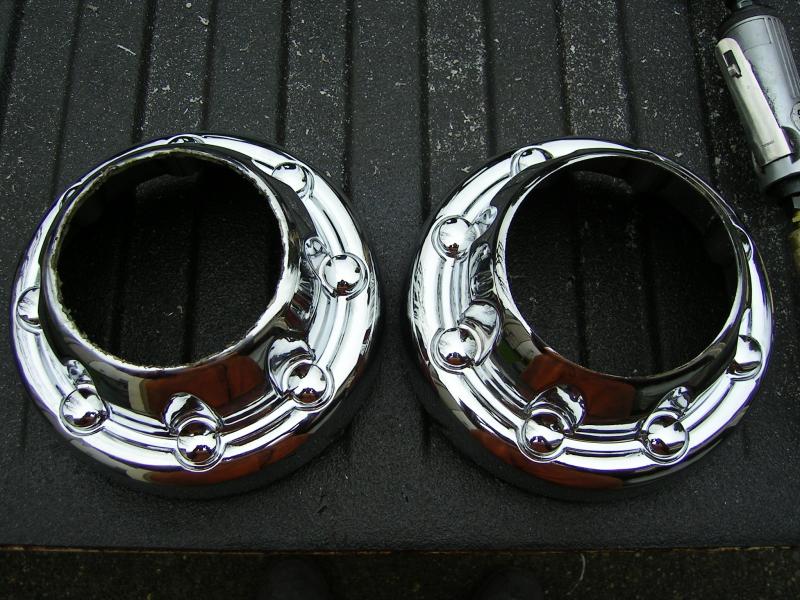
They are a little tough to get off the front rims...but look good.
I heated up an old hacksaw blade with a torch, and slowly melted my way around the 5" hole I marked out.

Then I used a flapper disc on my air rotary tool to clean up the edges, and open the hole up a bit more.


They are a little tough to get off the front rims...but look good.
Thread Starter
Registered User
Joined: Mar 2010
Posts: 7,265
Likes: 1,346
From: Prince George, BC
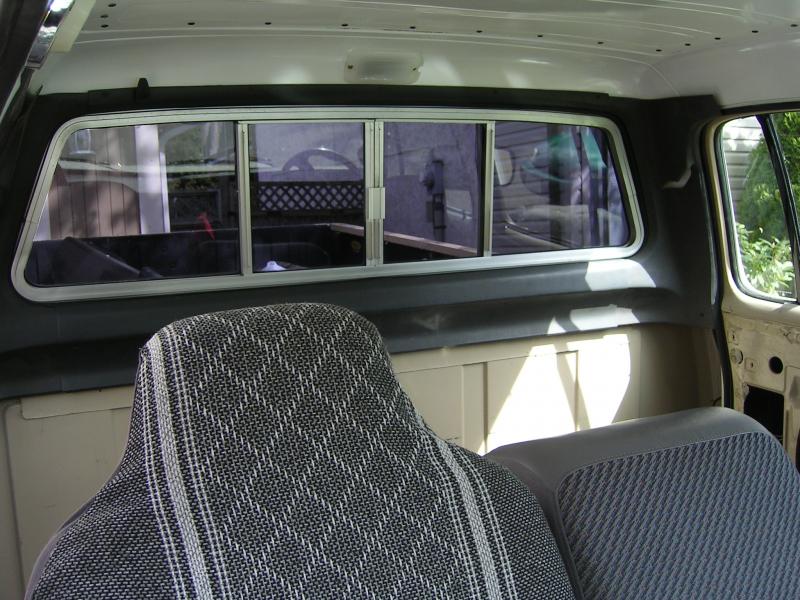
I then got the rear plastic trim installed around the back window.
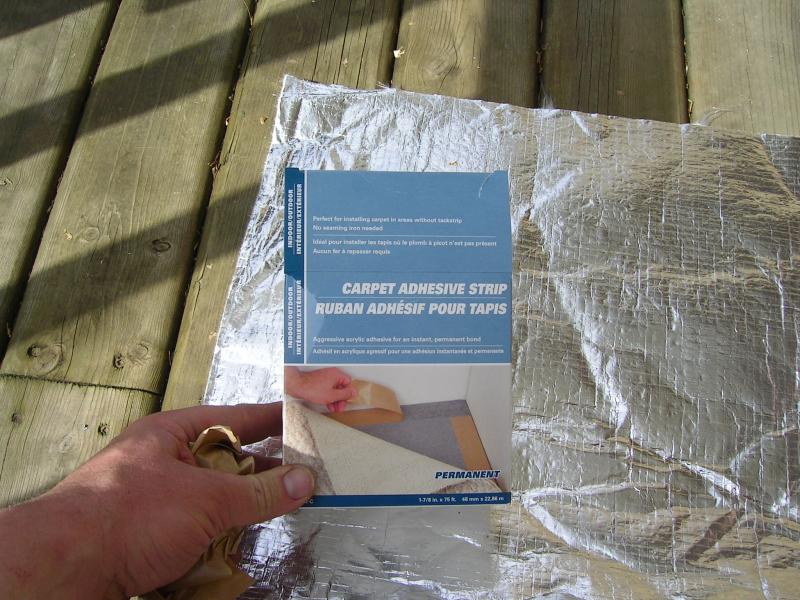
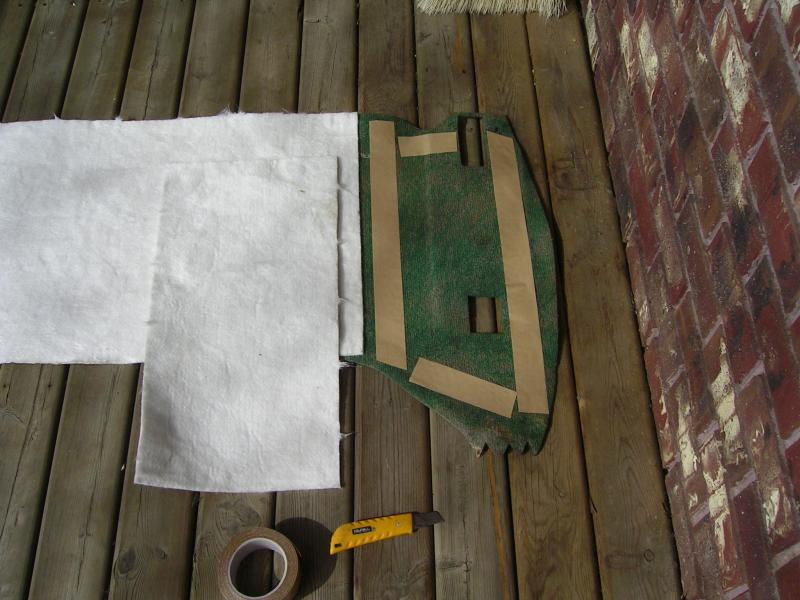
Then I could install the rear carpet that mounted on the back wall of the cab. But I first added a bit if the mighty mat. Used some thin, super adhesive two sided carpet tape to hold the mighty mat to the back side of the carpet.
And installed.
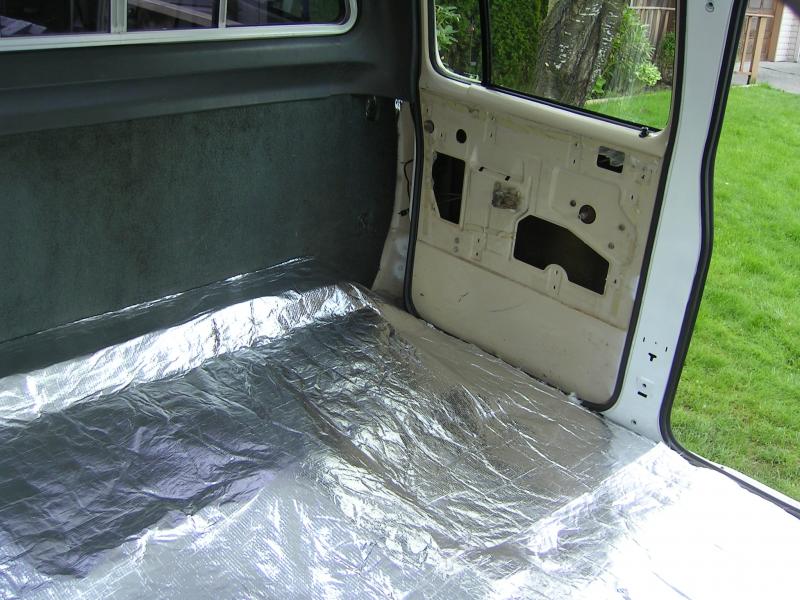

Then I could install the rear carpet that mounted on the back wall of the cab. But I first added a bit if the mighty mat. Used some thin, super adhesive two sided carpet tape to hold the mighty mat to the back side of the carpet.


And installed.


Registered User
Joined: Feb 2010
Posts: 68
Likes: 0
From: Pyeongtaek, South Korea
Great work as always, TC! I love the courtesy light idea, and I think I'll use some in my crew cab. Will any 66-67 C-body work, or just Chryslers? Where did you find the reproduction lenses?


Thread Starter
Registered User
Joined: Mar 2010
Posts: 7,265
Likes: 1,346
From: Prince George, BC
You can get a complete reproduction set...bezels and new lenses off E-bay for about $65.
Thread Starter
Registered User
Joined: Mar 2010
Posts: 7,265
Likes: 1,346
From: Prince George, BC
Thread Starter
Registered User
Joined: Mar 2010
Posts: 7,265
Likes: 1,346
From: Prince George, BC
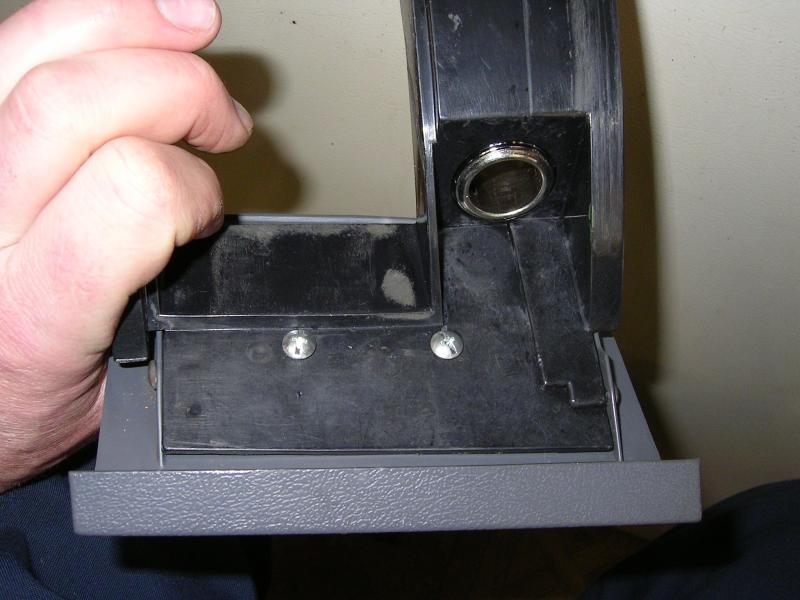
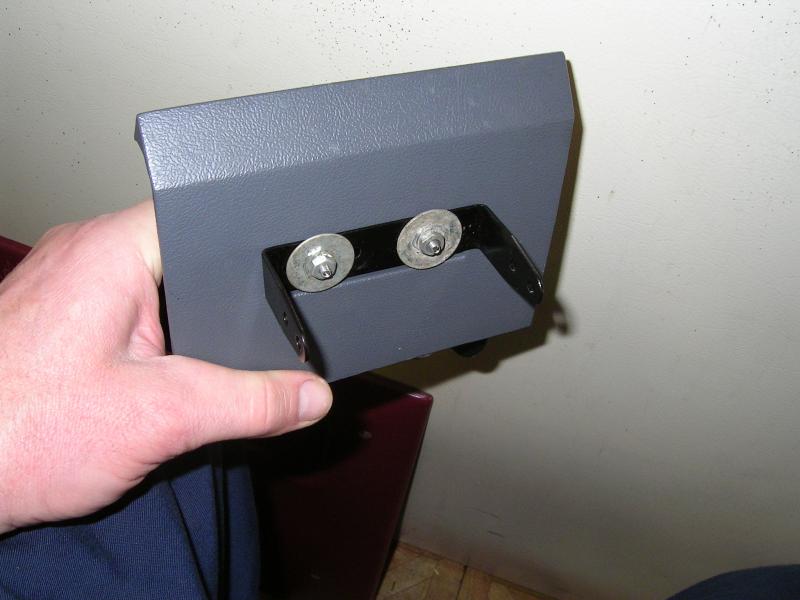
I wanted to install my new brake controller...it's a prodigy controller BTW... And didn't want to drill holes in the dash...so I was looking for a way to mount it in the least intrusive way. I finally decided to use my ash tray cover as the mounting point.
Here's what I did....
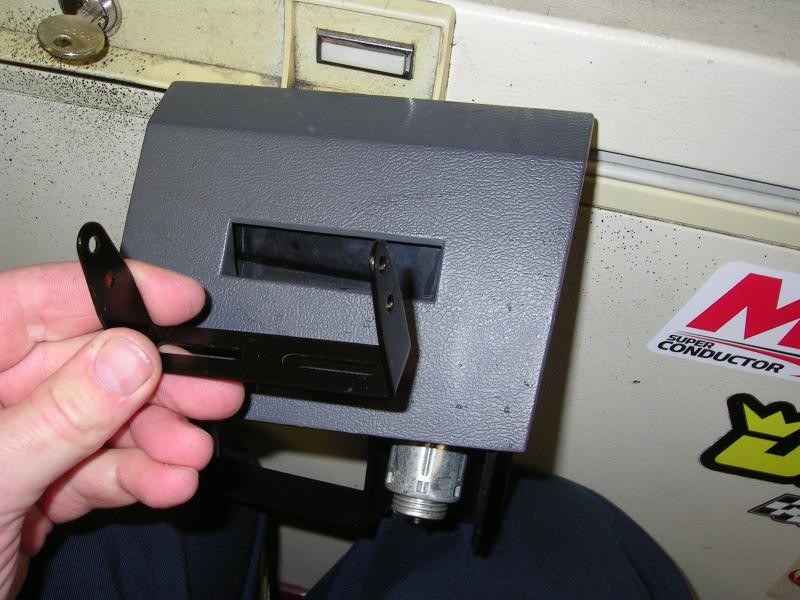

Then mark and drill the holes...
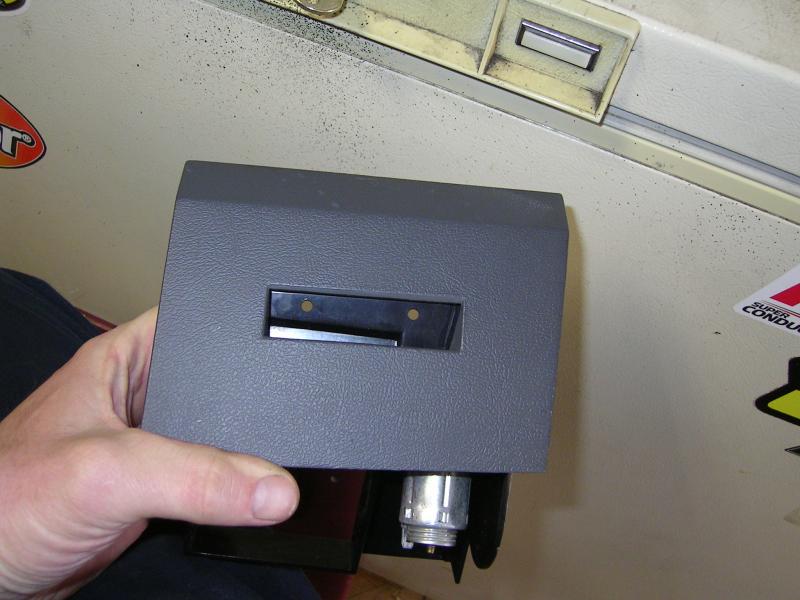
Couple long screws, and washers and nuts and it was done....
And didn't want to drill holes in the dash...so I was looking for a way to mount it in the least intrusive way. I finally decided to use my ash tray cover as the mounting point.Here's what I did....


Then mark and drill the holes...

Couple long screws, and washers and nuts and it was done....


Thread Starter
Registered User
Joined: Mar 2010
Posts: 7,265
Likes: 1,346
From: Prince George, BC
The donor doors were missing the covers that go over the speakers. Luckily I had a set I grab out of the junk yard a number of years ago.
So i needed new gaskets to seat against the door, and the speakers. Again I went back to my neoprene foam gasket material. Cut a bunch of long thin strips and attached them. The neoprene material i got has one side with adhesive on it it, so you can peel and stick where needed.
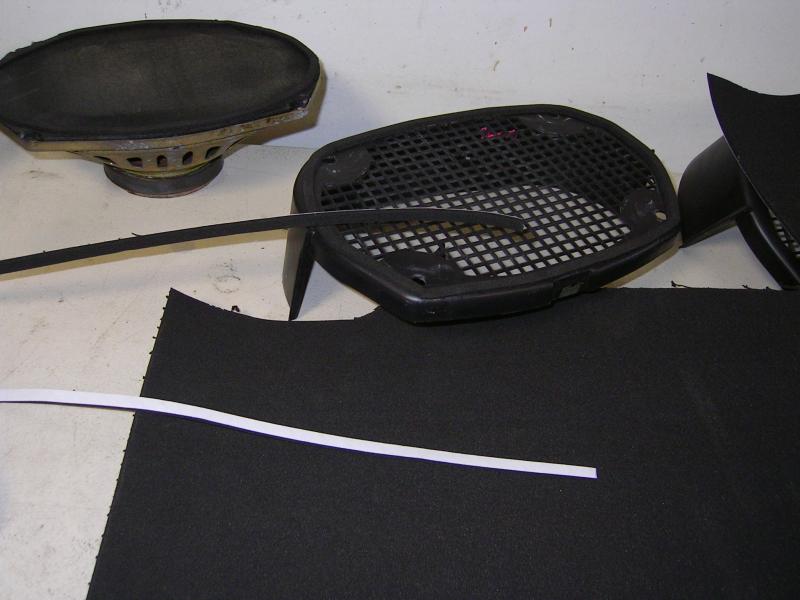
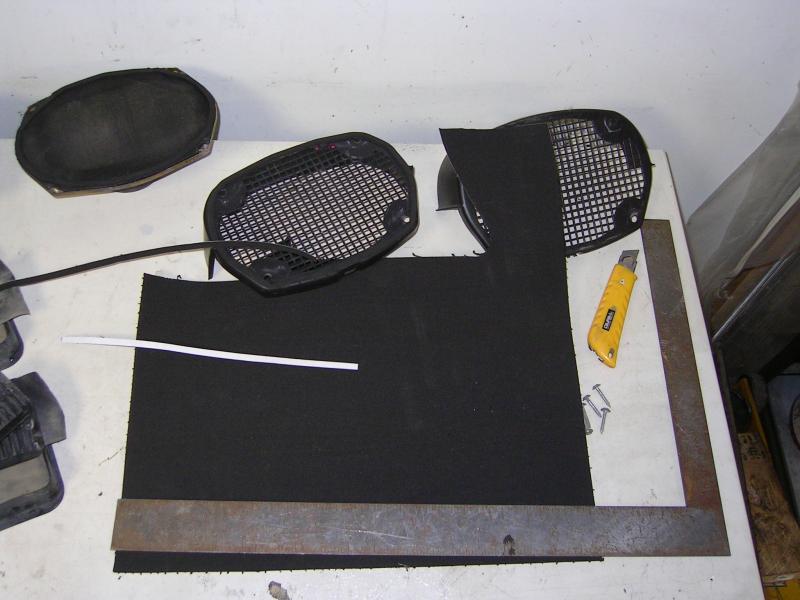
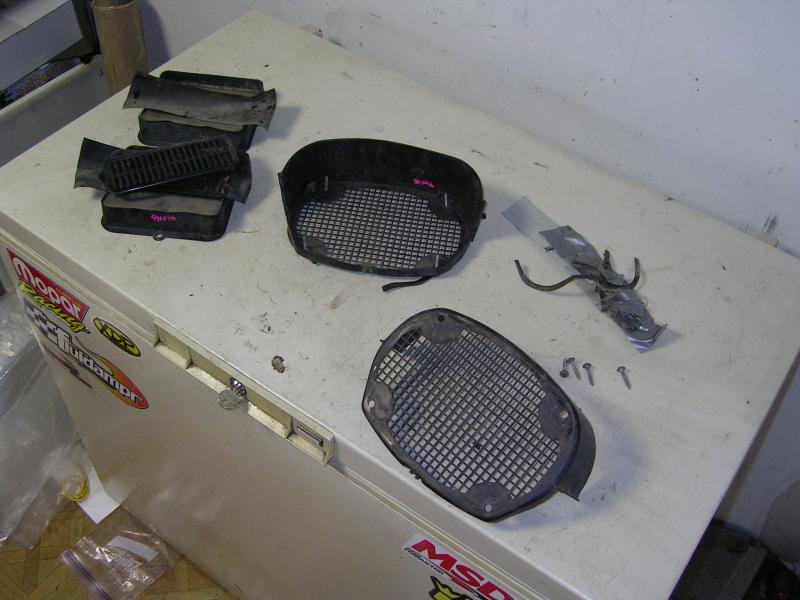
So i needed new gaskets to seat against the door, and the speakers. Again I went back to my neoprene foam gasket material. Cut a bunch of long thin strips and attached them. The neoprene material i got has one side with adhesive on it it, so you can peel and stick where needed.


Thread Starter
Registered User
Joined: Mar 2010
Posts: 7,265
Likes: 1,346
From: Prince George, BC
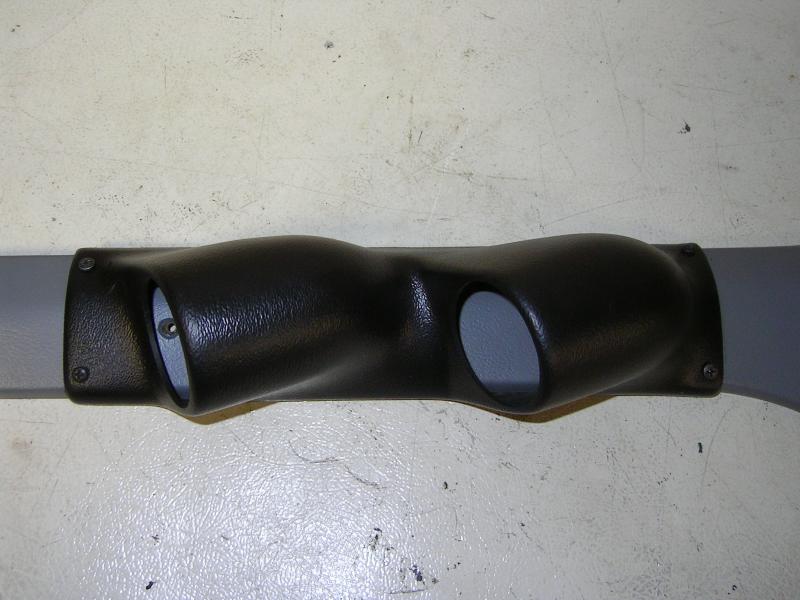
I decided I didn't want my boost, and EGT gauges on the dash. So I painted up a spare LH pillar post cover grey. Then went about installing an Autometer 2 pod cover.
I didn't like the way the instructions said to install it. So I decided to make my own version. I ended up cutting some small pieces of sheet metal. Then I bent them to the contours of the back side of the trim. Drilled holes and mounted the sheet metal, along with a generous amount of Marine Goop. Let that dry for a couple days and voila!! A removable 2 pod trim!


So now I can install the pillar cover. Instal the gauges and wiring, then screw them in place. Only issue now though is that the screws by the windshield, and lower corner of the dash are a bit tight to get to, and tighten up. But the use of a short 90* phillips head wrench worked fine.
Thread Starter
Registered User
Joined: Mar 2010
Posts: 7,265
Likes: 1,346
From: Prince George, BC
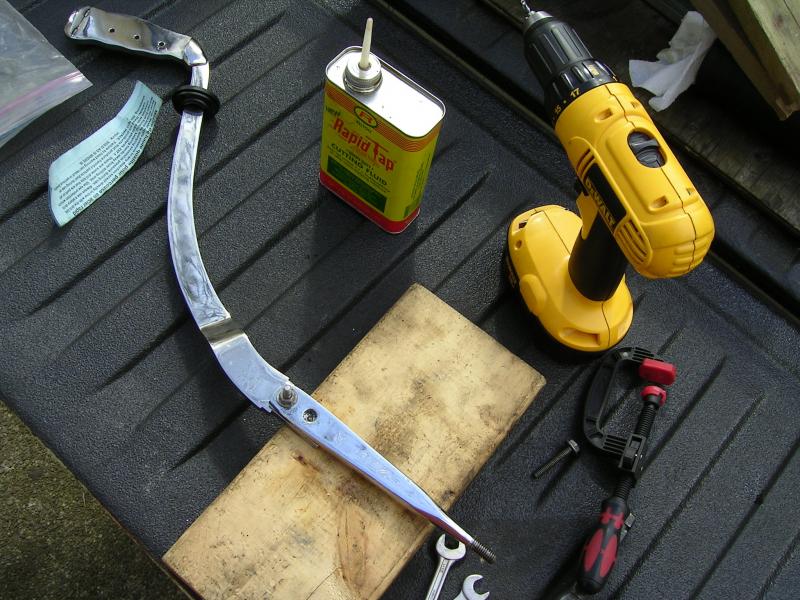
Now it was time for the shifter. I had picked up this shifter nearly 20 years ago. It was done as a barter trade for a 6 way manual adjustable seat track I had for a 69/70 B-body. The guy I traded with made these shifters out of stainless steel, and with custom hand made wood grips.
So here it is.....
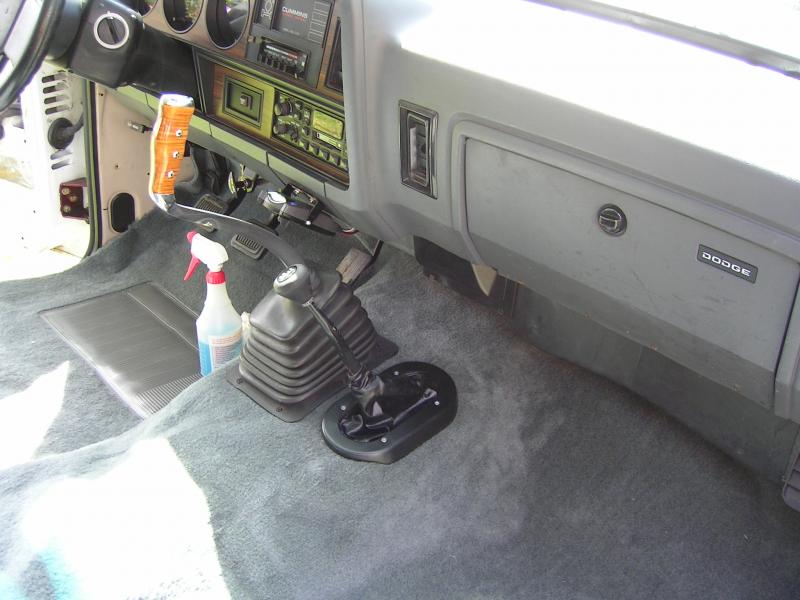
It's a 70 B-body (roadrunner, charger, coronet) pistol grip style shifter.
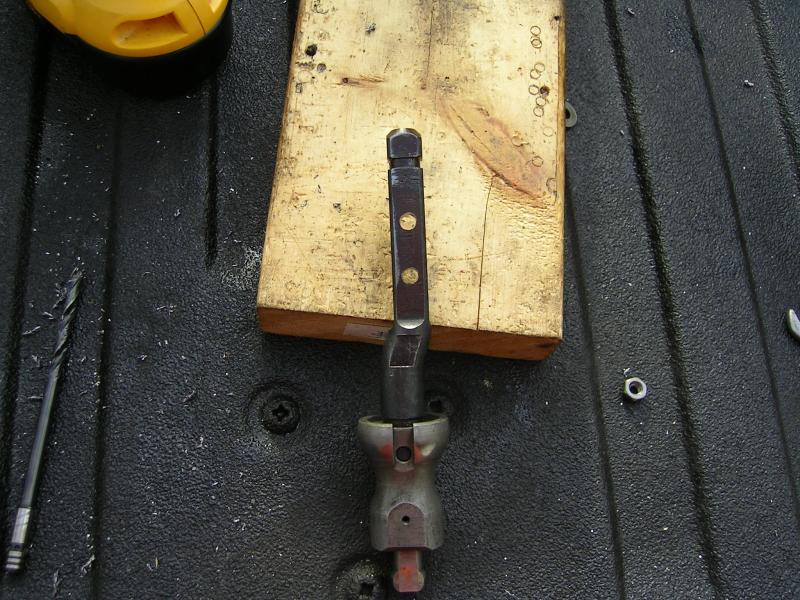
To get things to work, I had to drill an additional hole in the shifter, and then the corresponding hole in the old shift tower stub.
I had been looking for a vehicle to use this in for many years, and since after the redo on the truck I figured this would be the perfect place to use it.
So here it is.....

It's a 70 B-body (roadrunner, charger, coronet) pistol grip style shifter.
To get things to work, I had to drill an additional hole in the shifter, and then the corresponding hole in the old shift tower stub.


I had been looking for a vehicle to use this in for many years, and since after the redo on the truck I figured this would be the perfect place to use it.

