
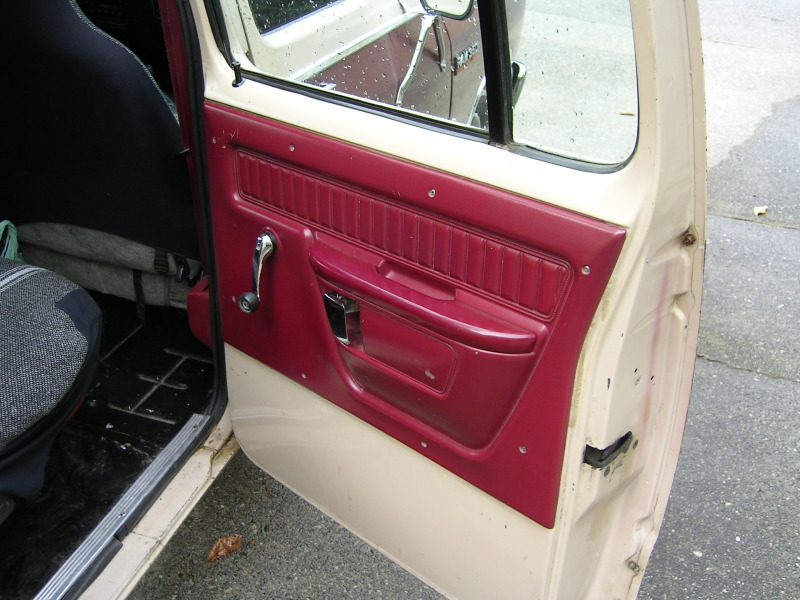
Crewcab rear door weatherstrip....

Thread Starter
Registered User


Joined: Mar 2010
Posts: 7,265
Likes: 1,346
From: Prince George, BC
Crewcab rear door weatherstrip....install
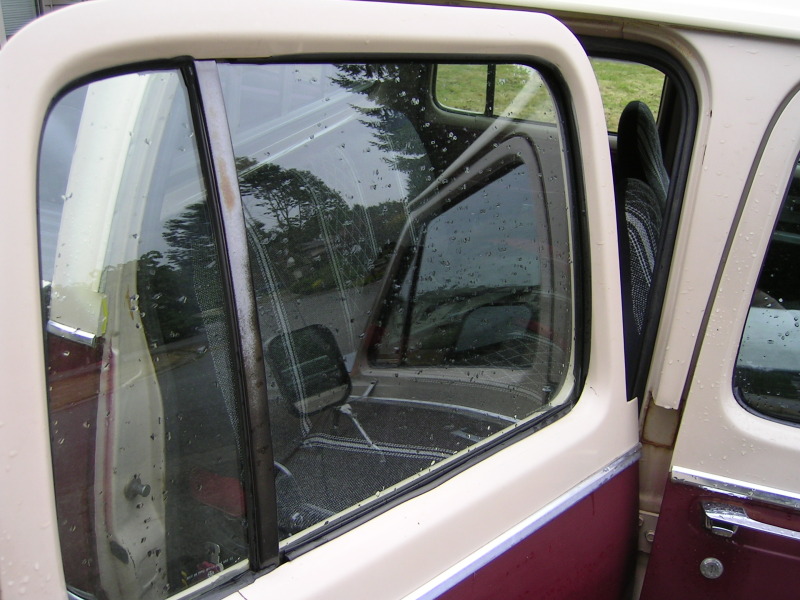
Well today I thought I'd tackle the window seals on the back doors...turned out to be a bit more of a job then I planned so only got the one door done today.
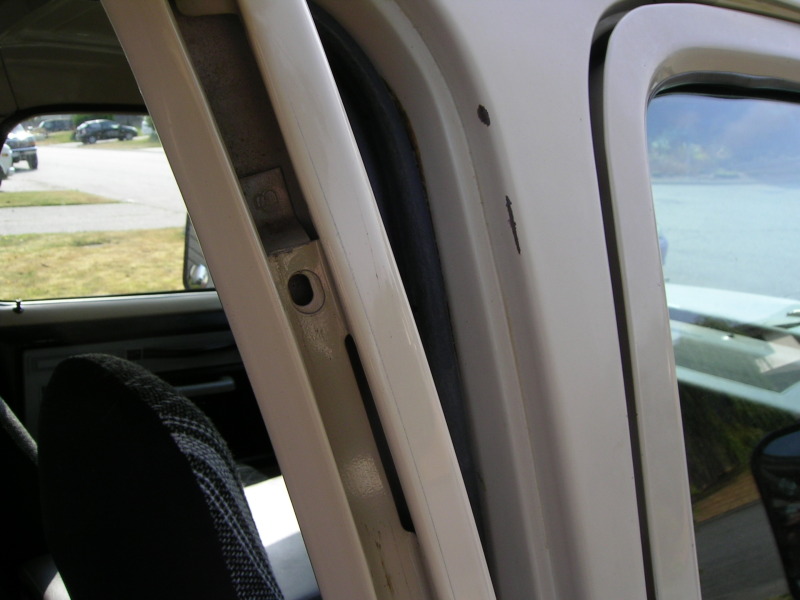
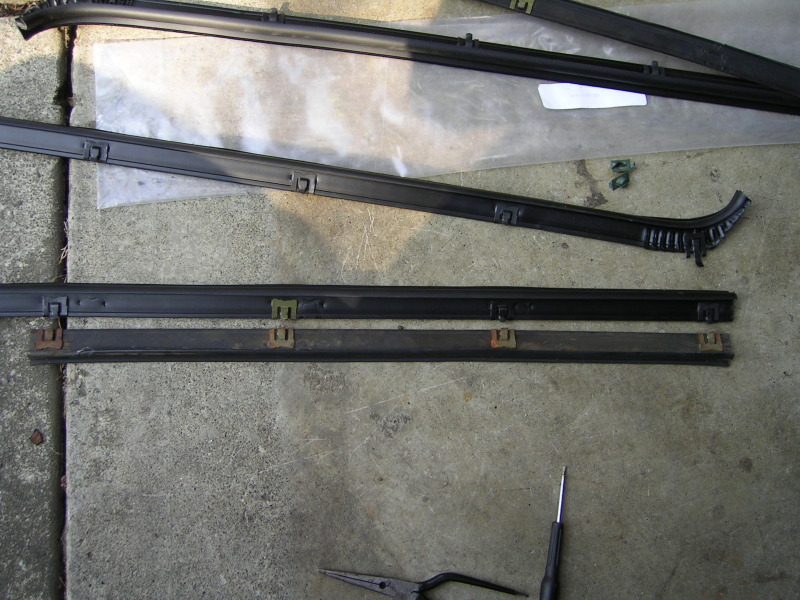
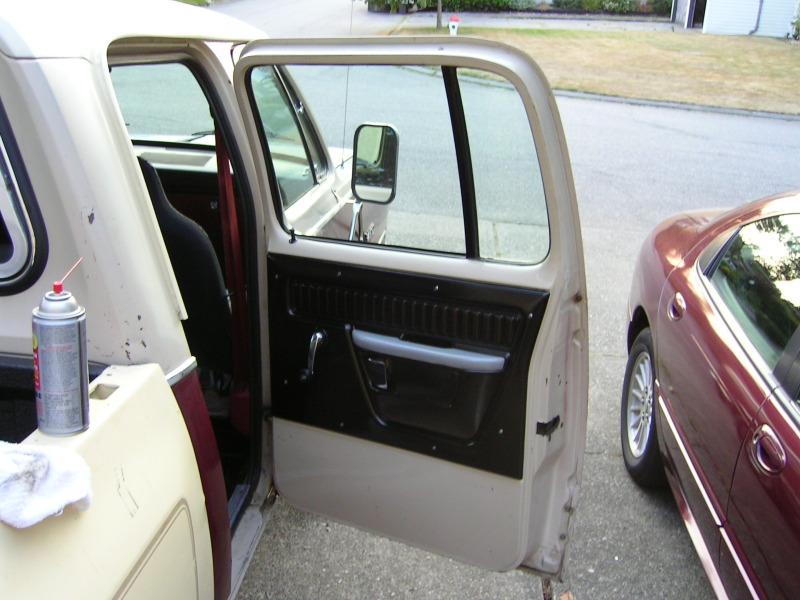
Here's how the fun went....The old seals were so cooked and dry that the windows would only roll down a little. It took a lot of chipping and breaking to get the old seals out.
Old seals in place...
My snap-on pick I use so often...little piece by little piece the seals came out...
After about an hour I finally got everything out of the way.
Thread Starter
Registered User
Joined: Mar 2010
Posts: 7,265
Likes: 1,346
From: Prince George, BC
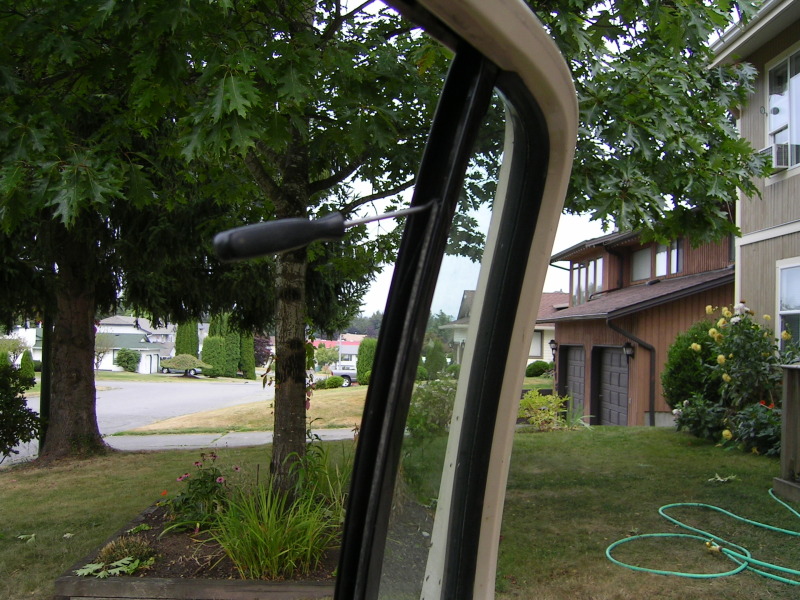
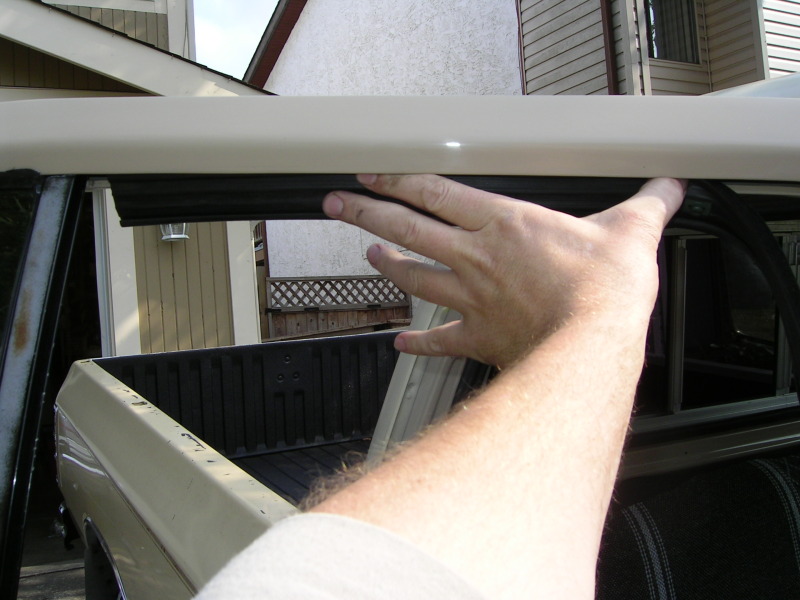
The outer window seals were a bit of a job since the glass was still in place..the upright seal by the little fixed window went in not bad, but the other one was a bit more work.
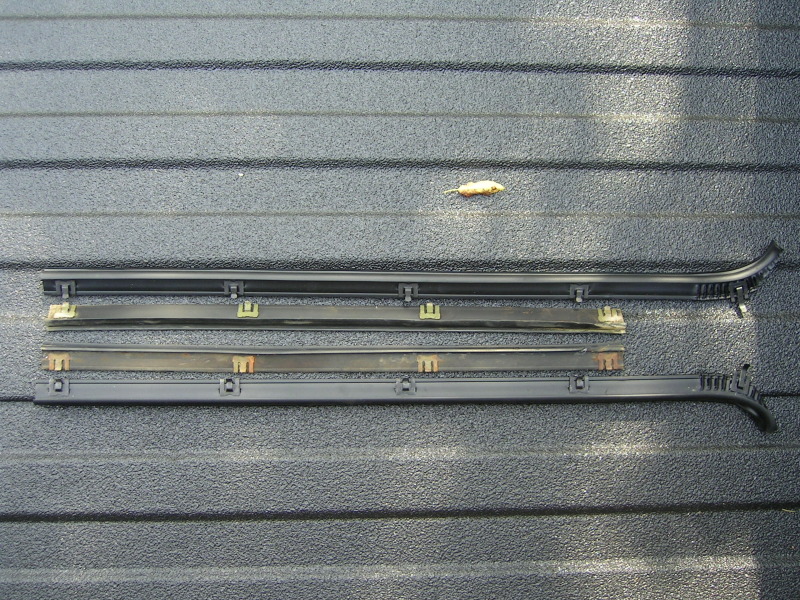
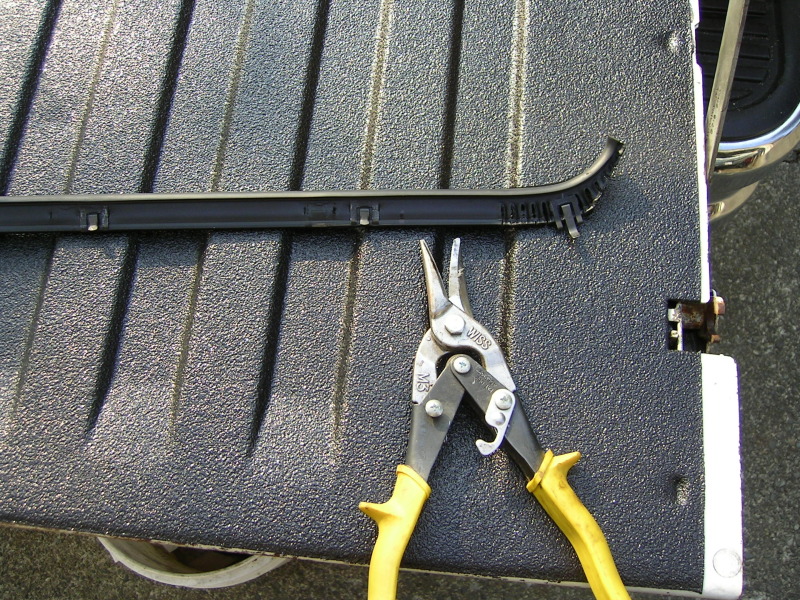
First off the new seal had 2 pins attached to it..but since I'm using seals for front doors..no kit available for dodge crewcab rear doors...these pins had to be removed. Guess you could try and install them in the right location but the seals I removed never had these anyway.
Seal with tabs to be removed...
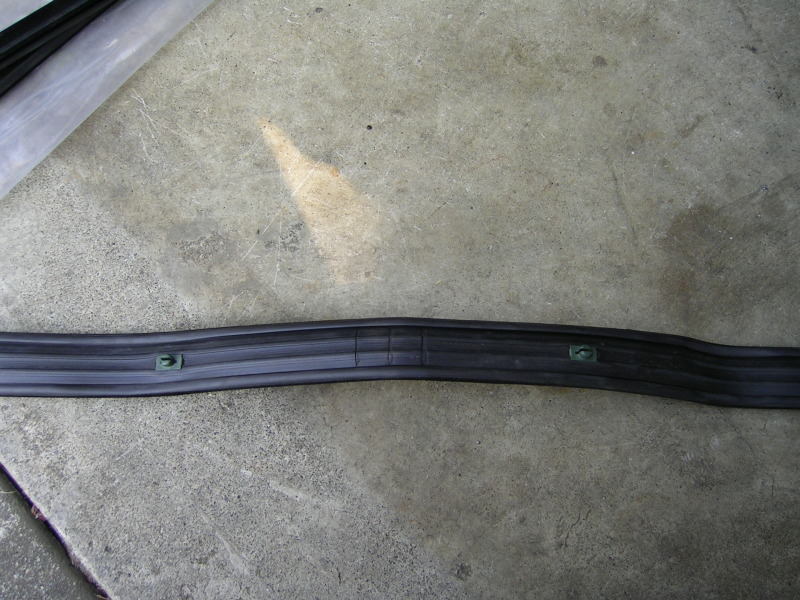
Here is one of the locations for the pins. You can see it was never used.
And here you can see if I lined up the pins as installed it would leave a 1" gap.
First off the new seal had 2 pins attached to it..but since I'm using seals for front doors..no kit available for dodge crewcab rear doors...these pins had to be removed. Guess you could try and install them in the right location but the seals I removed never had these anyway.
Seal with tabs to be removed...
Here is one of the locations for the pins. You can see it was never used.
And here you can see if I lined up the pins as installed it would leave a 1" gap.
Thread Starter
Registered User
Joined: Mar 2010
Posts: 7,265
Likes: 1,346
From: Prince George, BC
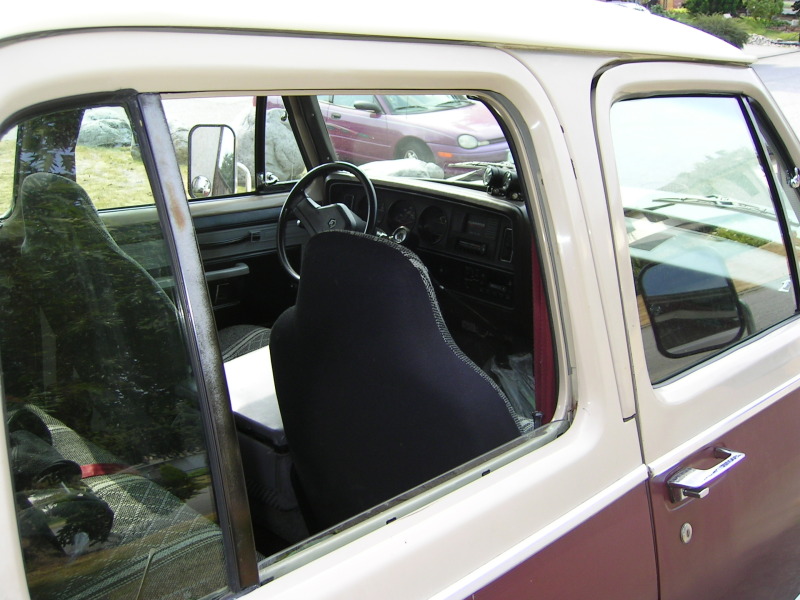
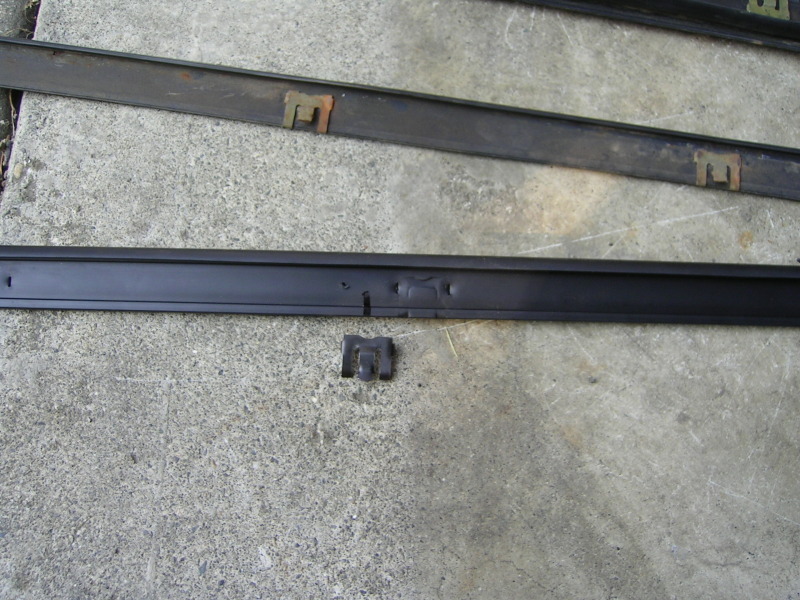
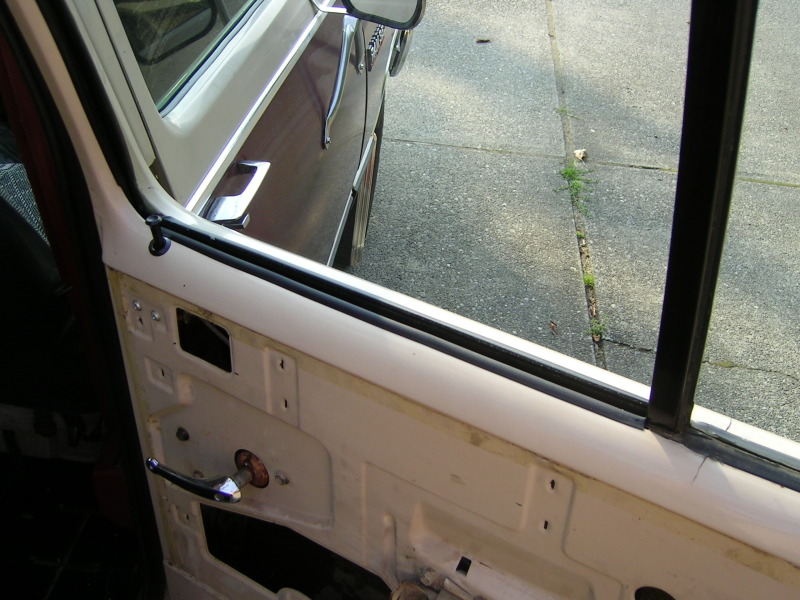
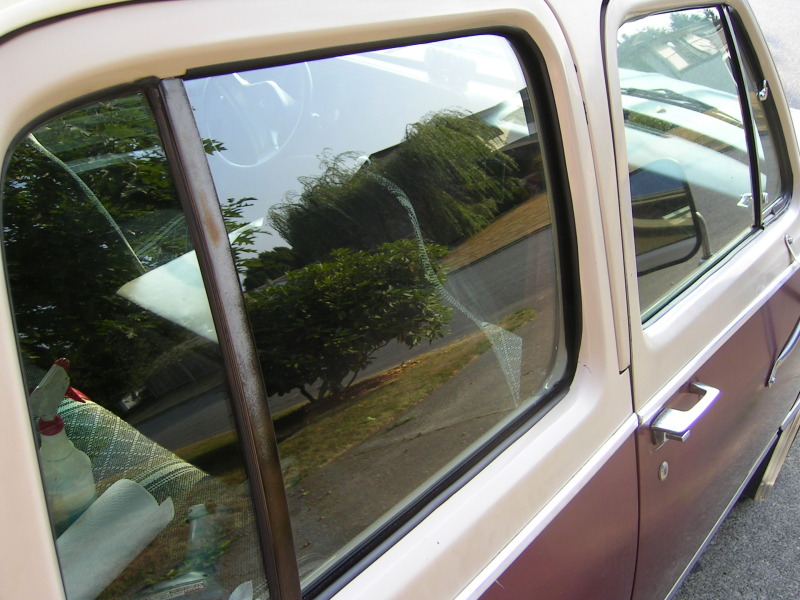
Once I got the outer seals installed I moved on to the window felts/sweepers. I had hoped they would be a simple trim and install, but no luck there. 
Here you can see the differences...
Little bit of work to do. I carefully used a small screwdriver to bend over the tabs on the clips. But be careful since they tend to break off due to the thin spring steel they are made from. The used a fine set of needle nose pliers to wiggle them free.
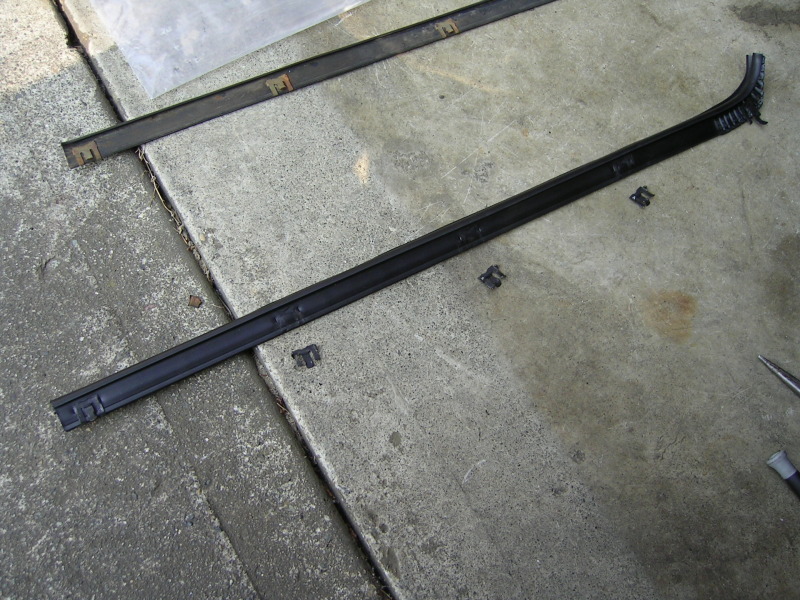
I left the one clip in place and removed the other three.
Here you can see the differences...
Little bit of work to do. I carefully used a small screwdriver to bend over the tabs on the clips. But be careful since they tend to break off due to the thin spring steel they are made from. The used a fine set of needle nose pliers to wiggle them free.
I left the one clip in place and removed the other three.
Thread Starter
Registered User
Joined: Mar 2010
Posts: 7,265
Likes: 1,346
From: Prince George, BC
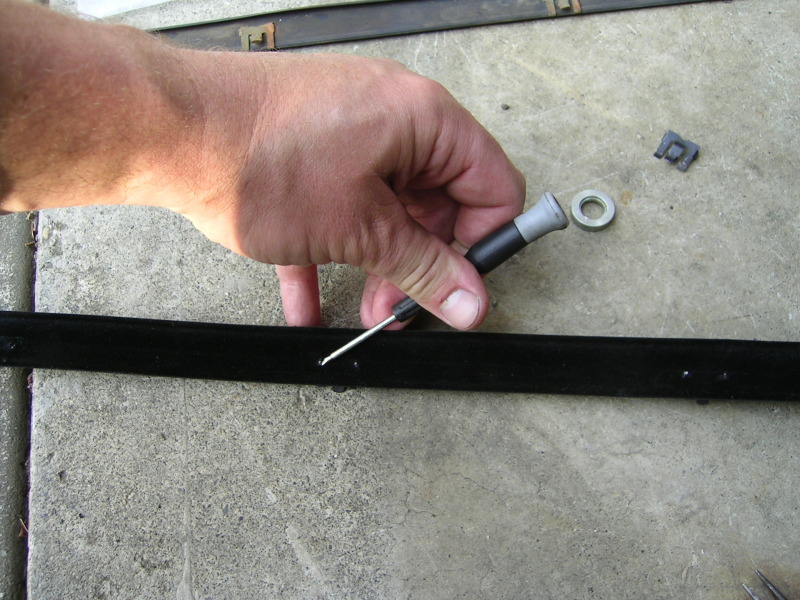
Then I measured the original clip location and marked the new location on the new seal.
Then I put the clip in place and pushed it down firmly. This left and indentation in the soft outer layer.

Then I used a small drill bit to drill through the seal...it has a metal core. As well it gave the new clip a starting area to get pushed through.
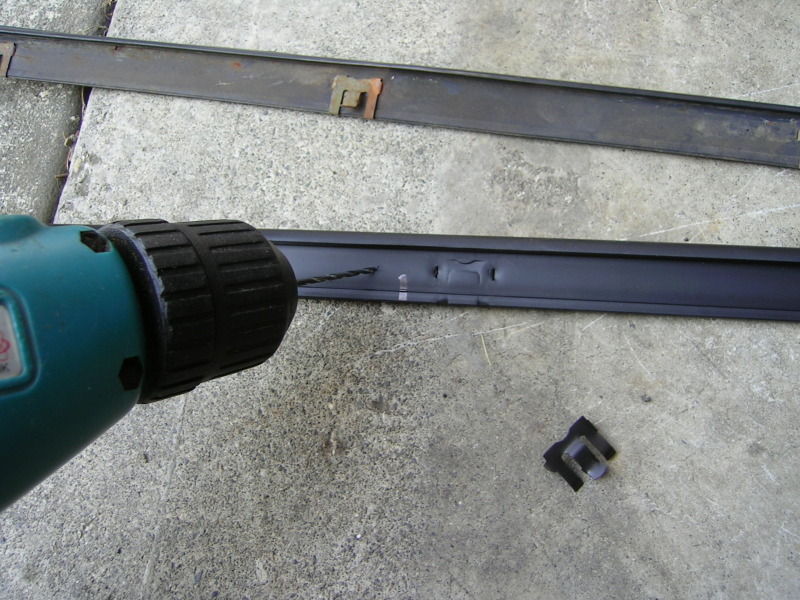
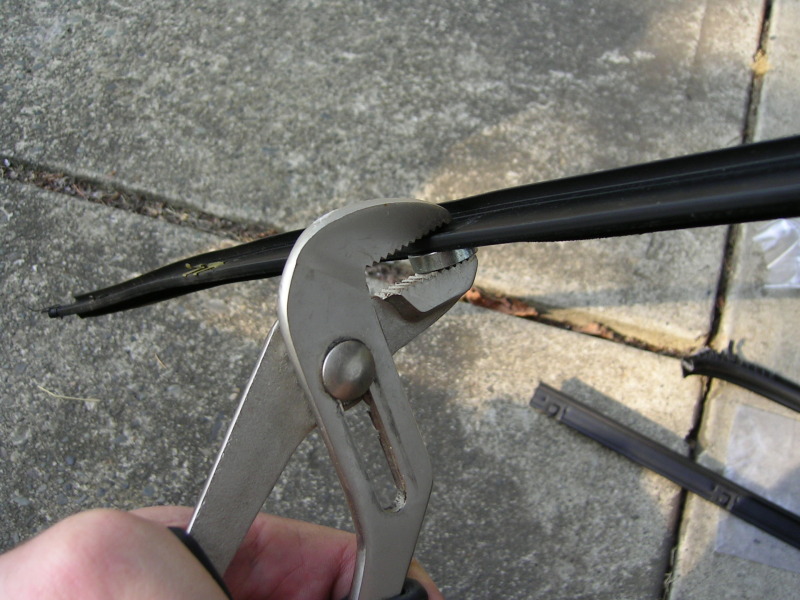
Once the holes were drilled I used a big set of channel lock pliers, and a thick washer to push the clips through the seal. I then held the clip in place with the channel locks and carefully bent the little tabs over. Again it is likely that you will break a few of these tabs. Use the old ones from the original seals as spares.
Then I put the clip in place and pushed it down firmly. This left and indentation in the soft outer layer.
Then I used a small drill bit to drill through the seal...it has a metal core. As well it gave the new clip a starting area to get pushed through.
Once the holes were drilled I used a big set of channel lock pliers, and a thick washer to push the clips through the seal. I then held the clip in place with the channel locks and carefully bent the little tabs over. Again it is likely that you will break a few of these tabs. Use the old ones from the original seals as spares.


Trending Topics
Registered User
Joined: Jun 2011
Posts: 549
Likes: 1
I see this in my near future. Great writeup. I ordered the same stuff for my back doors also. The one thing im stumped on is how to re do the little windows trim. Mine is not bad but i wish it was new
Sent from my DROID4 using Tapatalk 2
Sent from my DROID4 using Tapatalk 2
Thread Starter
Registered User
Joined: Mar 2010
Posts: 7,265
Likes: 1,346
From: Prince George, BC

Registered User
Joined: May 2007
Posts: 1,437
Likes: 208
From: Saskatchewan
Ha ha ok thanks, shouldn't need it till the weekend.
I did my replacements almost exactly the same as you, I did have problems with the rear window scrapers staying in after and ended up using weather strip adhesive to hold them in place. The clips just didn't seem to do it.
I did my replacements almost exactly the same as you, I did have problems with the rear window scrapers staying in after and ended up using weather strip adhesive to hold them in place. The clips just didn't seem to do it.
Registered User
Joined: Dec 2010
Posts: 6,838
Likes: 1,683
From: Land of the Toxic Avenger
I had the same issue replacing the wipers on my front windows. I had to remove them, squeeze the crap out of the clips, and put them back in. THey finally stayed after tweaking the metal bent down section with all the holes in it, on the inside of the door. I found that if you don't push down far enough on those wipers to get the clips to seat properly, they just push up and out with use of the window. I also rain-x'd the window to help make the window more slippery, which stopped the lifting completely.
Nice job, TC. Truck looks great.
