
Crew Cab Project has Started


Registered User
Joined: Sep 2010
Posts: 1,059
Likes: 0
From: Sedgewick, AB

Thread Starter
Registered User
Joined: Nov 2010
Posts: 268
Likes: 13
From: Bradenton, Fla
Well I had to go back to the drawing board for the rear section removable roof panel. The 2 front skins for the rear just didnt have the correct contour to work.
So this is what I did. I made a flange.
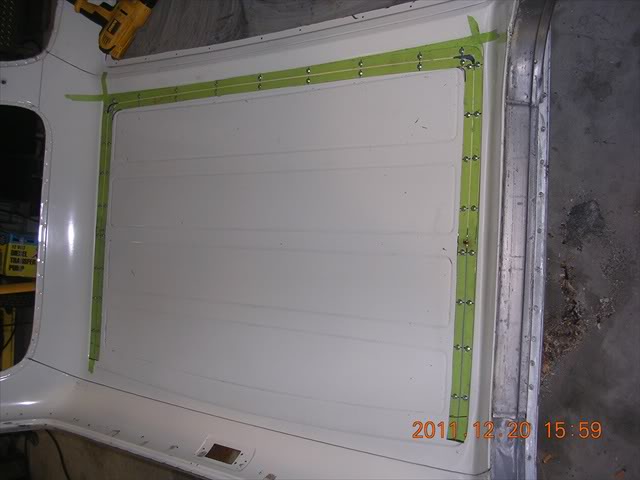
This flange lip will be attached to the back side of the skin to hold the kin in place. I attached it to the outside first so all the screw holes would line up perfectly befor any cutting was done.
So this is what I did. I made a flange.
This flange lip will be attached to the back side of the skin to hold the kin in place. I attached it to the outside first so all the screw holes would line up perfectly befor any cutting was done.
Thread Starter
Registered User
Joined: Nov 2010
Posts: 268
Likes: 13
From: Bradenton, Fla
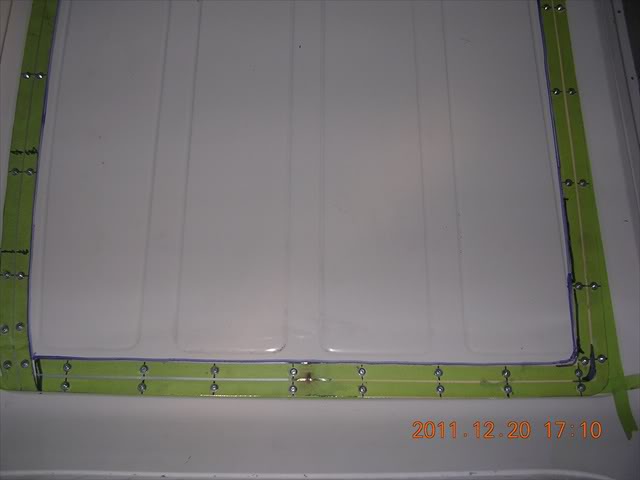
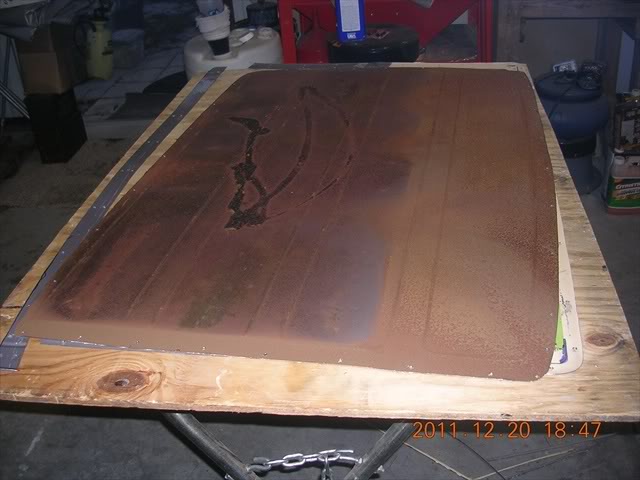
Next I cut the rear skin out. Carefully of course. No surprise I found another moisture absorbing fiberboard under the skin. Nice of dodge huh ???
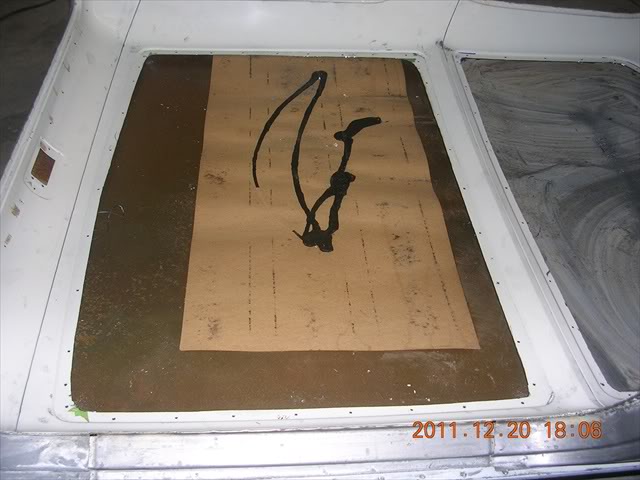
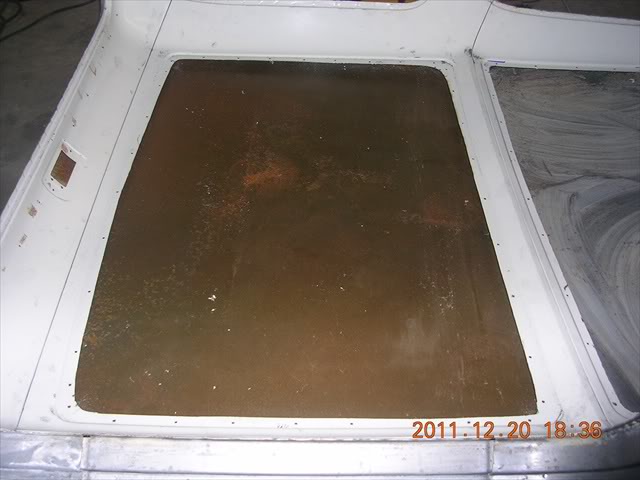
Now the boards out you can see our friend the surface rust monster !!!
!!!
Here's the skin I cut out and the flange.
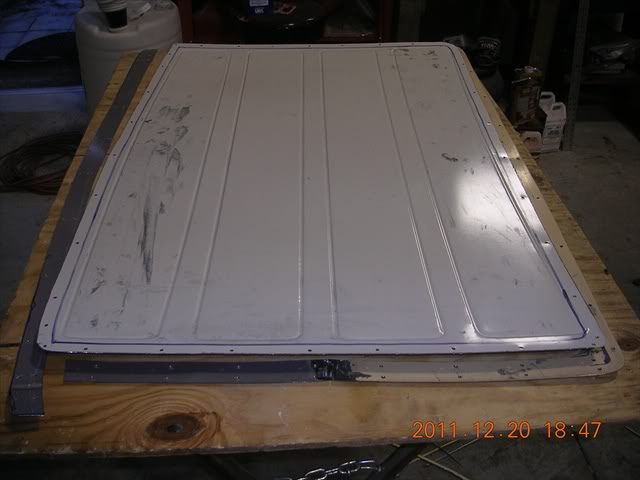
Here's the backside of the skin showning more of the surface rust monster !!!!!
Now I can sleep at night knowing I've addressed the commy rust pig that was eating at my truck.
Now I'll be able to add dynamatt and some jute padding to stop any oil canning as well.
Hope you all enjoyed my little roof panel making cutting adventure ??
Now the boards out you can see our friend the surface rust monster
!!!Here's the skin I cut out and the flange.
Here's the backside of the skin showning more of the surface rust monster
!!!!!Now I can sleep at night knowing I've addressed the commy rust pig that was eating at my truck.
Now I'll be able to add dynamatt and some jute padding to stop any oil canning as well.
Hope you all enjoyed my little roof panel making cutting adventure ??

Registered User
Joined: Sep 2010
Posts: 1,059
Likes: 0
From: Sedgewick, AB


Thread Starter
Registered User
Joined: Nov 2010
Posts: 268
Likes: 13
From: Bradenton, Fla
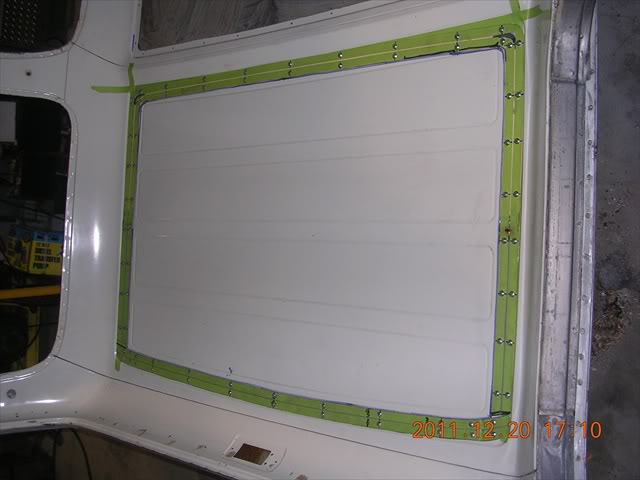
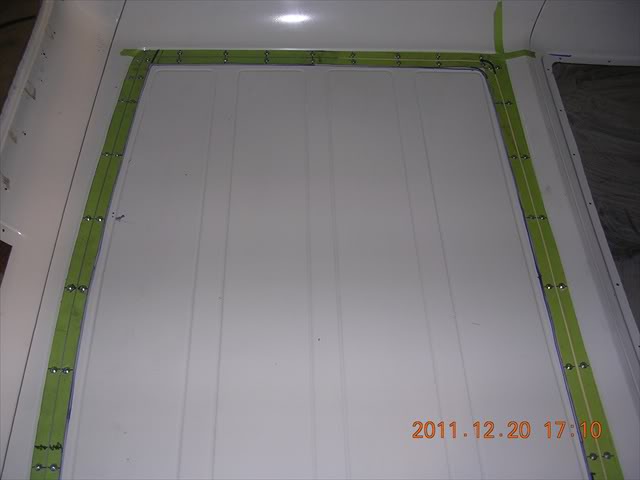
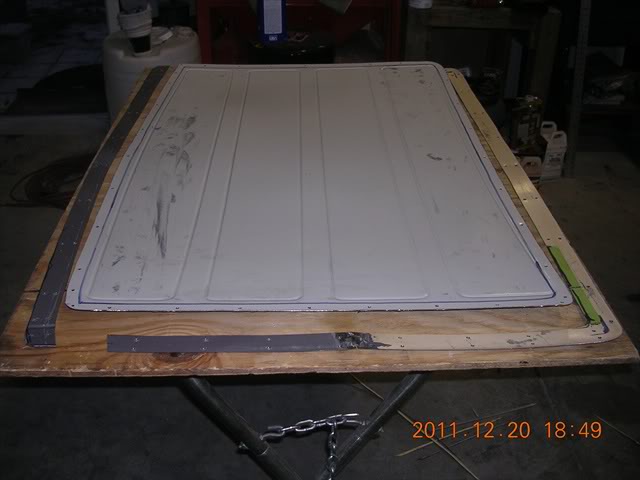
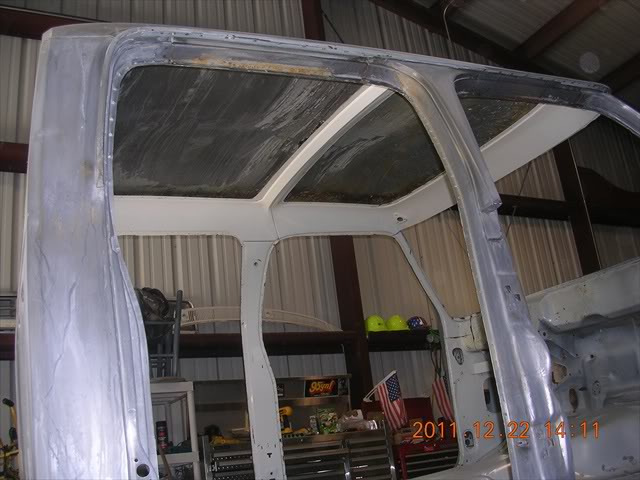
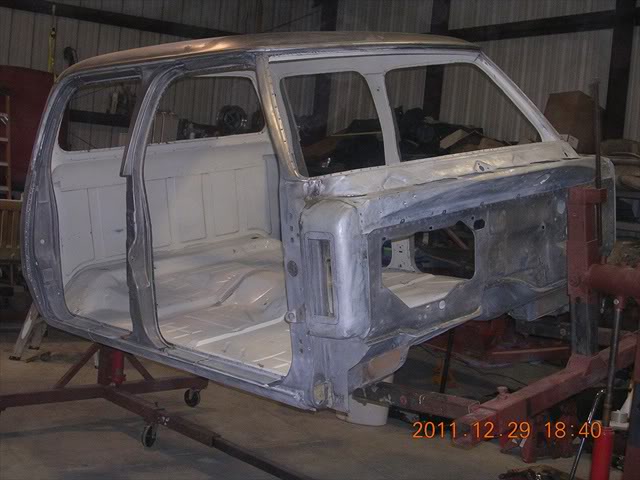
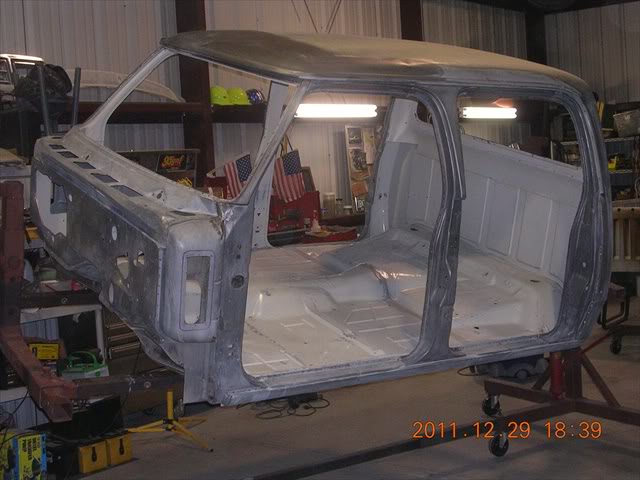
Here's a pic showing the removable panel sectin of the roof.
All of the bare metal on the whole cab has been treated with the metal prep pickle X 20 so it won't rust. Every nook and cranny.
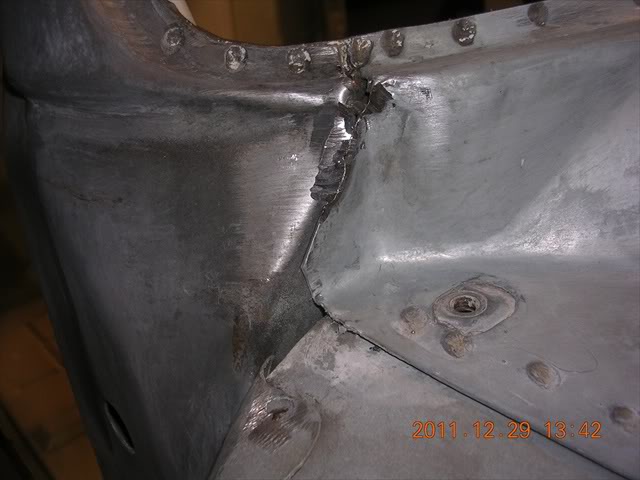
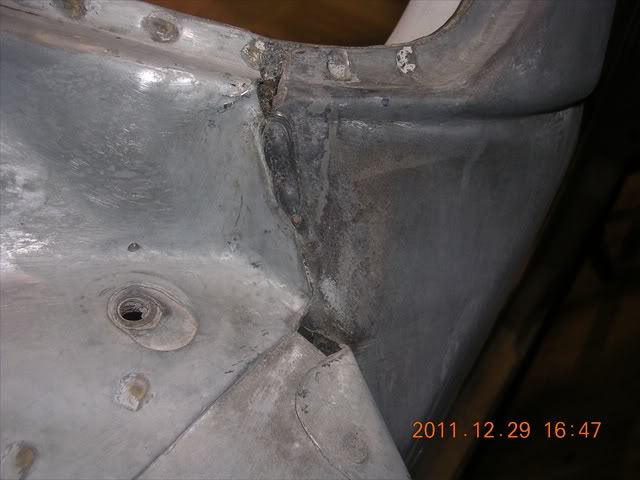
Here's the passenger side cowl where it cracked. It's hard to see but it cracked at the weld.

Here you cab see the crack better after I ground down the factory weld.
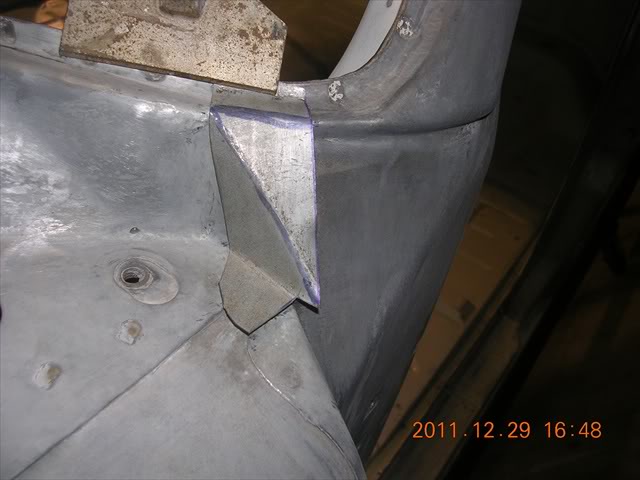
My batteries died. But I did reweld the factory welds before I added the reinforcement metal patch.
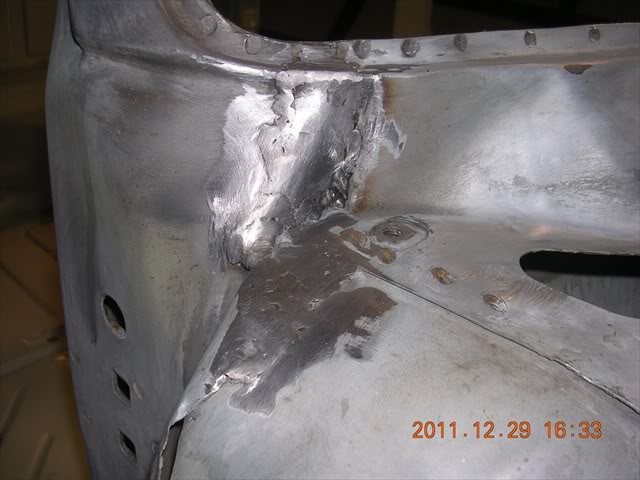

A little hard to grind it down perfect. But I think it turned out pretty good. Shouldn't crack again. Fingers crossed.
All of the bare metal on the whole cab has been treated with the metal prep pickle X 20 so it won't rust. Every nook and cranny.
Here's the passenger side cowl where it cracked. It's hard to see but it cracked at the weld.
Here you cab see the crack better after I ground down the factory weld.
My batteries died. But I did reweld the factory welds before I added the reinforcement metal patch.
A little hard to grind it down perfect. But I think it turned out pretty good. Shouldn't crack again. Fingers crossed.
Thread Starter
Registered User
Joined: Nov 2010
Posts: 268
Likes: 13
From: Bradenton, Fla
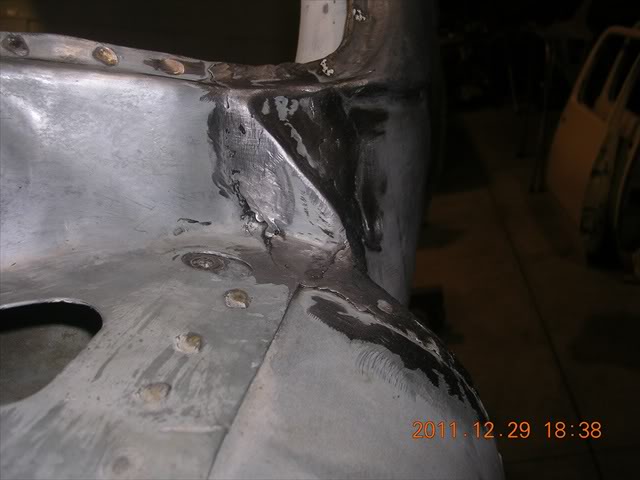
Here's the driver's side cowl area. This factory weld hadn't cracked at all.
Here's the reinforcement patch I cut out.
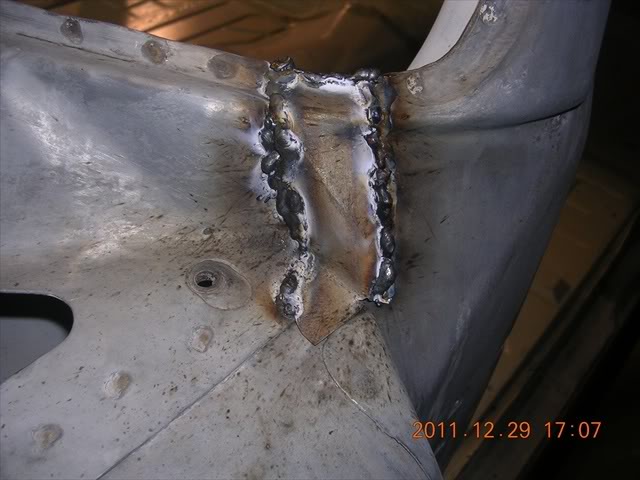
Here it is mostly welded in.
Here it is cleaned up.
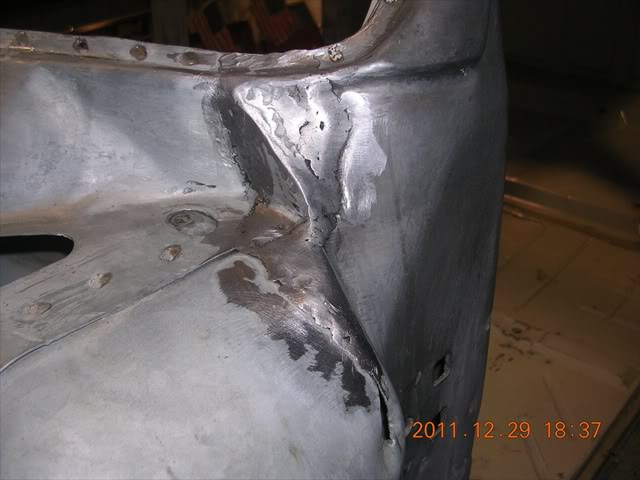

She is now completely officially ready for primer. The cab is all sanded, repaired and cleaned. Took awhile but I wanted everything perfect. A little nutty but I didn't want to have to do it again for along time.
Here's the reinforcement patch I cut out.
Here it is mostly welded in.
Here it is cleaned up.
She is now completely officially ready for primer. The cab is all sanded, repaired and cleaned. Took awhile but I wanted everything perfect. A little nutty but I didn't want to have to do it again for along time.
Registered User
Joined: Sep 2010
Posts: 1,059
Likes: 0
From: Sedgewick, AB