
1982 Dodge CTD 5spd

Thread Starter
Registered User
Joined: May 2007
Posts: 1,437
Likes: 208
From: Saskatchewan
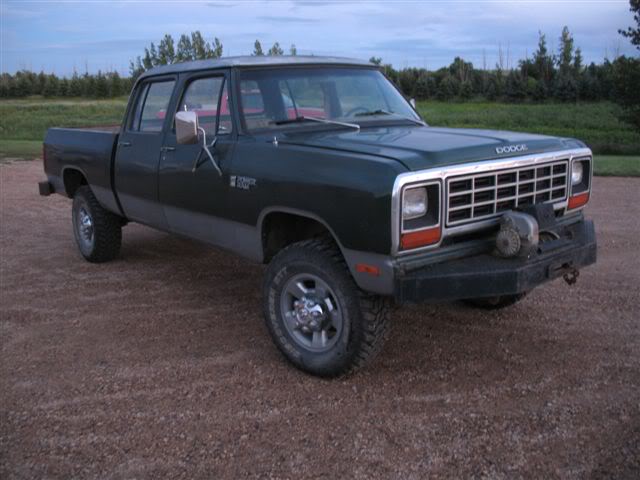
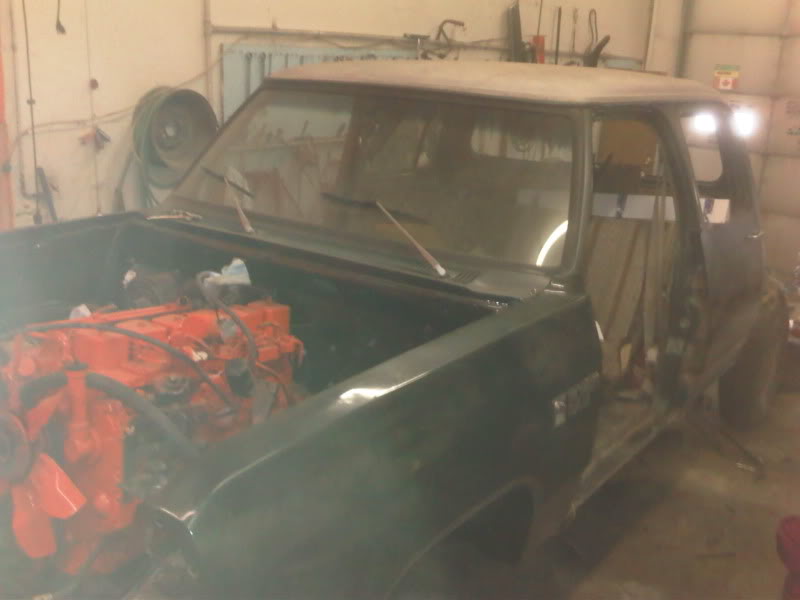
1982 Dodge crew CTD 5spd
Another crew in progress, hopefully with enough time (and money) it will be as nice as some of these ones on here.
Here's getting it home last summer, 2800km round trip from Kamloops, B.C:
Getting boosted by the donor truck

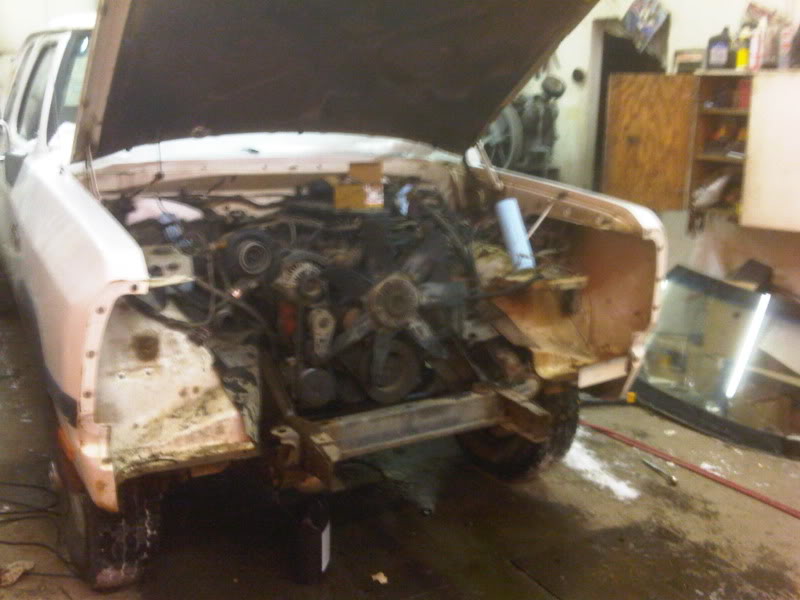
Stripped the ladder rack off and bolted on 3rd gen wheels
Donor runs for the last time:
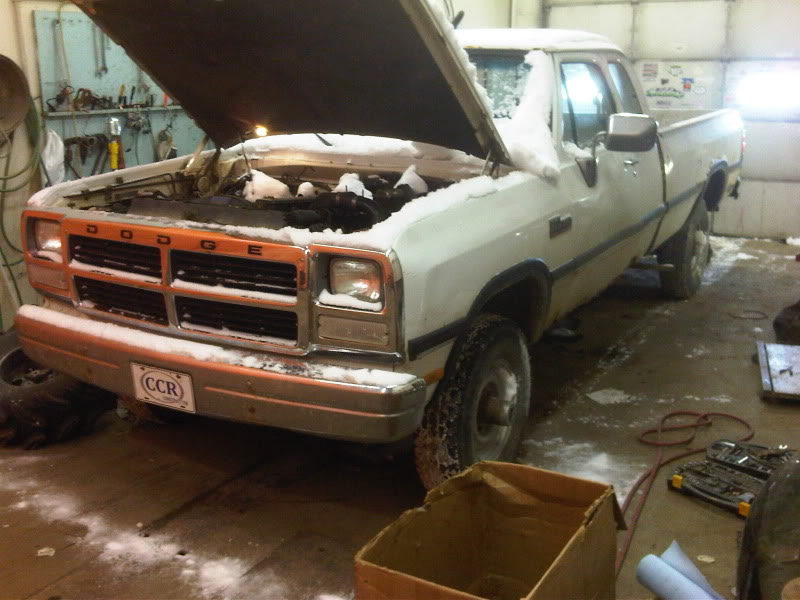
Here's getting it home last summer, 2800km round trip from Kamloops, B.C:
Getting boosted by the donor truck
Stripped the ladder rack off and bolted on 3rd gen wheels
Donor runs for the last time:
Thread Starter
Registered User
Joined: May 2007
Posts: 1,437
Likes: 208
From: Saskatchewan
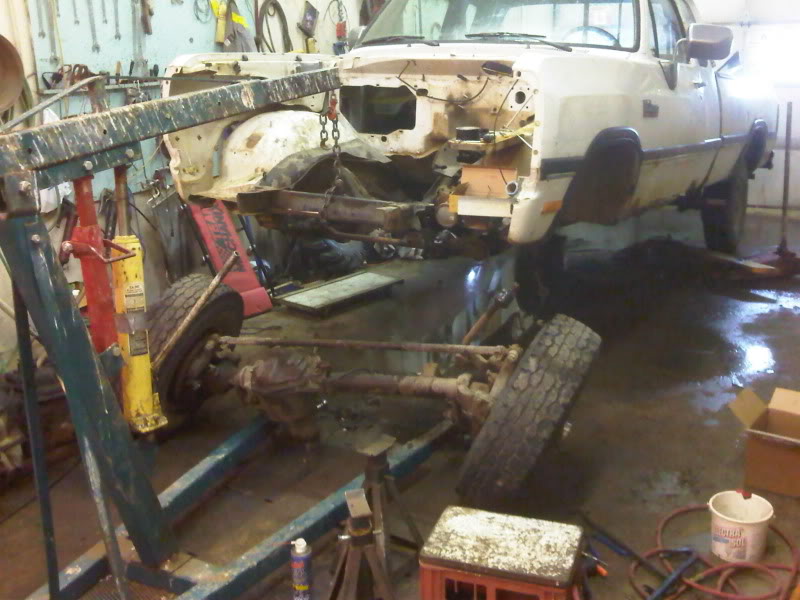
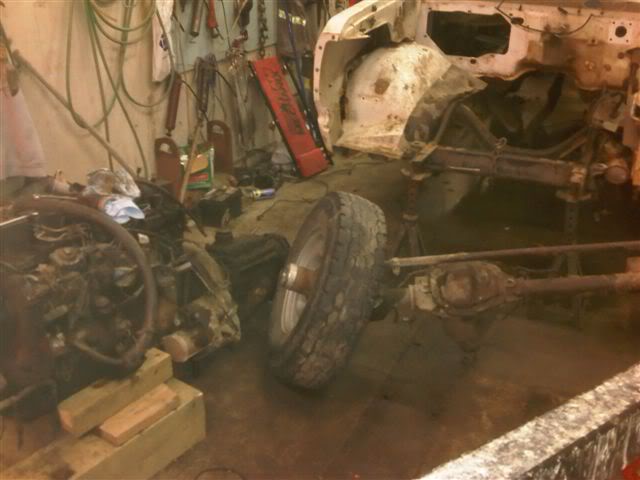
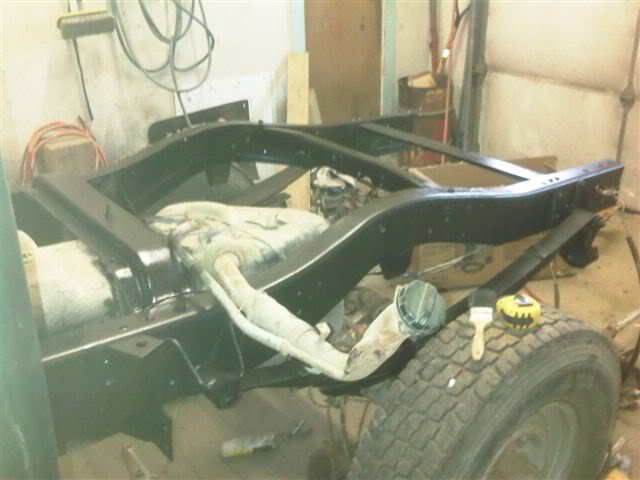
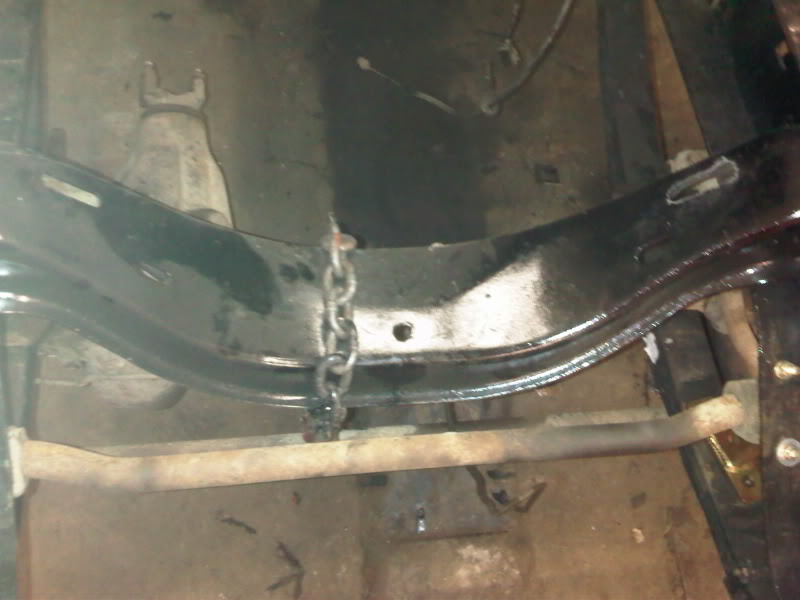
'92 D60 with 3:55's bolts in with 4" skyjacker lift
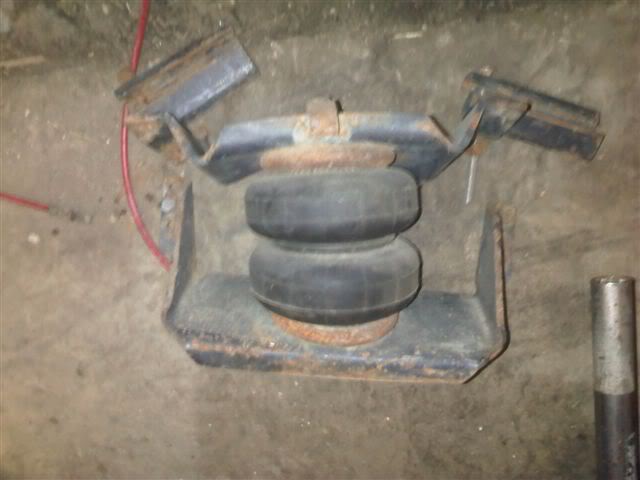
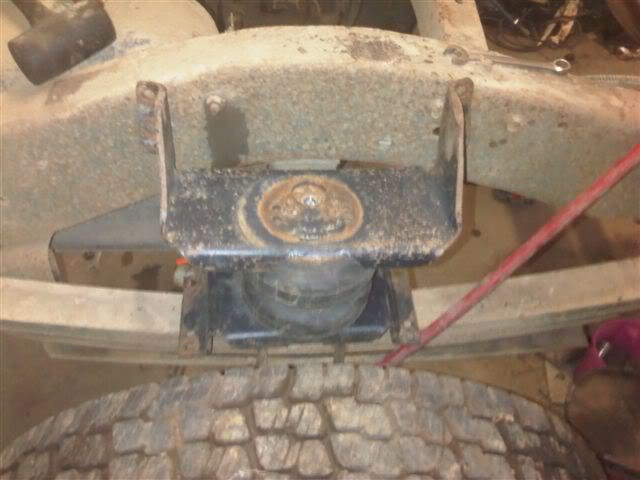
Rear diff goes in with skyjacker add a leaf and salvaged air bags off a superduty
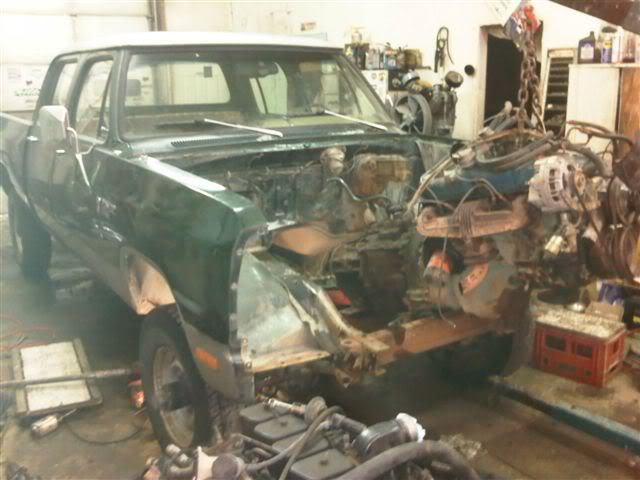
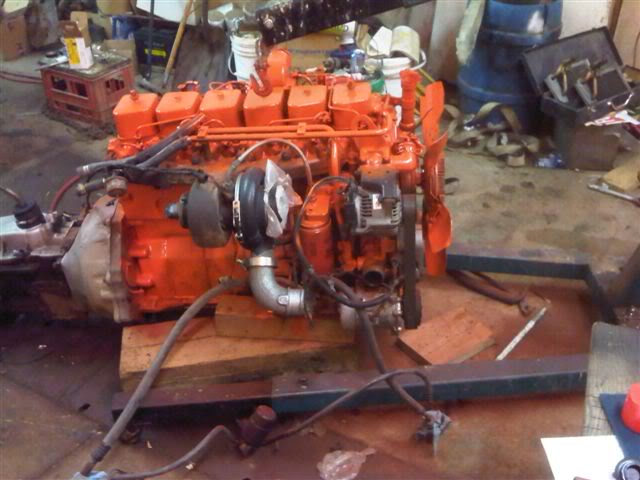
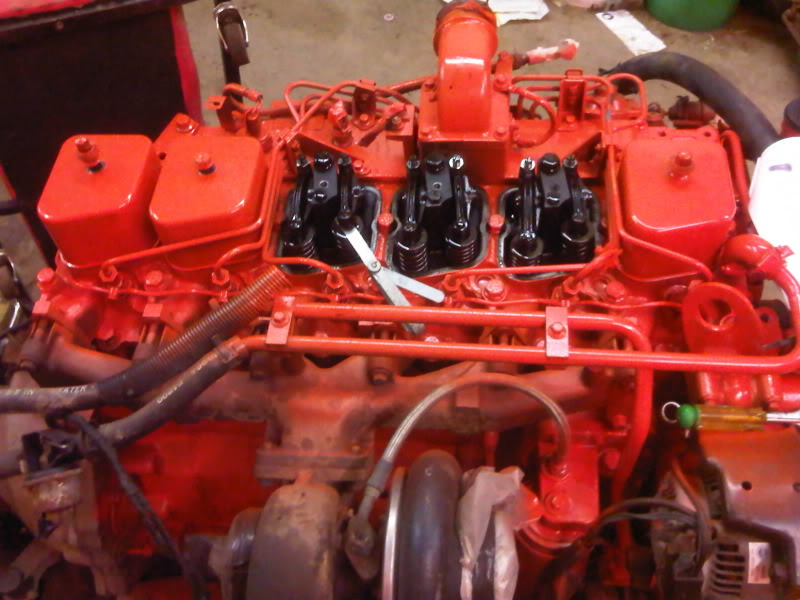
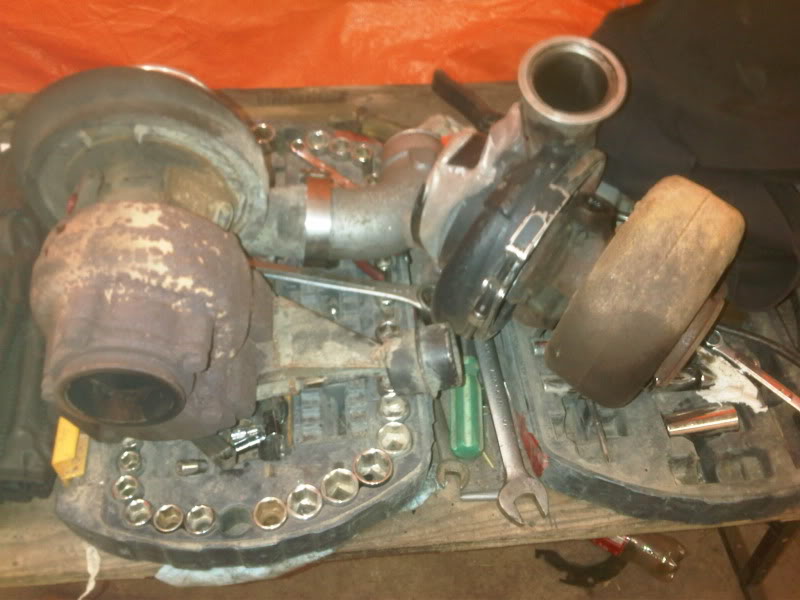
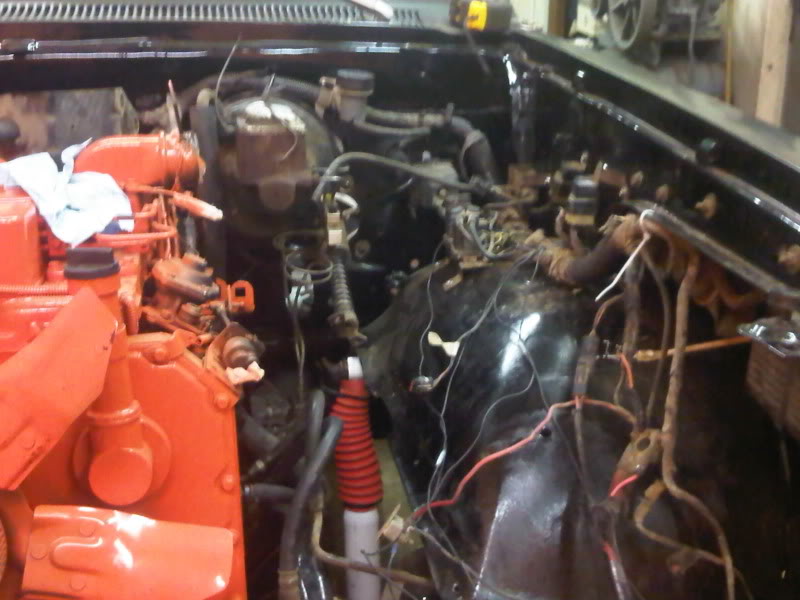
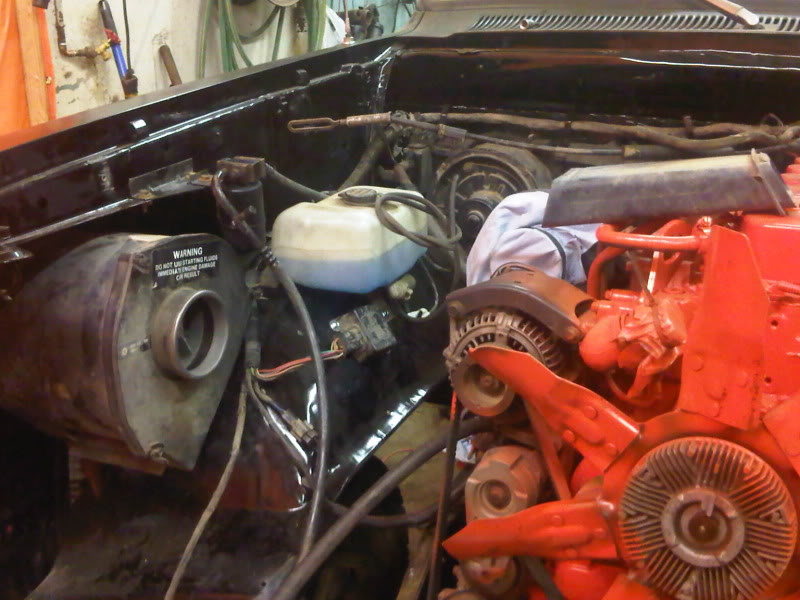
Getting engine ready for paint, valves and turbo swap

Rear diff goes in with skyjacker add a leaf and salvaged air bags off a superduty
Getting engine ready for paint, valves and turbo swap
Thread Starter
Registered User
Joined: May 2007
Posts: 1,437
Likes: 208
From: Saskatchewan
Link to the photobucket album with many more pictures
http://s222.photobucket.com/albums/d...%20crew%20cab/
http://s222.photobucket.com/albums/d...%20crew%20cab/
Trending Topics


Thread Starter
Registered User
Joined: May 2007
Posts: 1,437
Likes: 208
From: Saskatchewan

Registered User
Joined: Dec 2005
Posts: 339
Likes: 0
From: Manitoba
Hey Ashley.....................looking good. Can hardly wait for the finished product. We'll have to meet halfway for coffee or something!!!
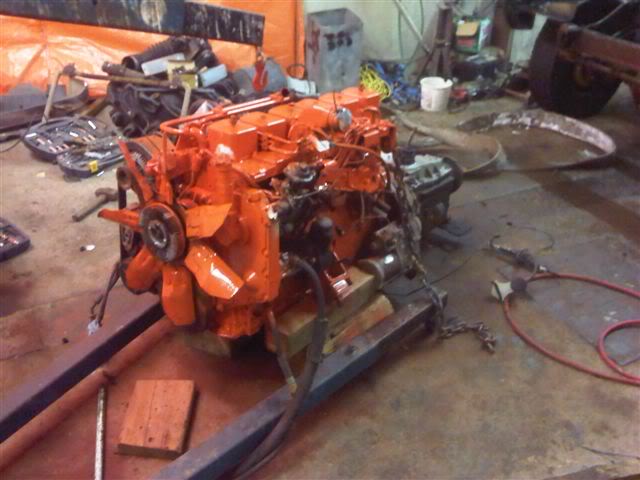
Is that Hemi orange?
With the 4 inch lift, what are planning for tires and wheels?
Ron
Is that Hemi orange?
With the 4 inch lift, what are planning for tires and wheels?
Ron
Thread Starter
Registered User
Joined: May 2007
Posts: 1,437
Likes: 208
From: Saskatchewan
Its Chrysler orange which is very close to C5 ford/arctic cat orange which will be part of the exterior.
Going with 35x12.5x17 tires mounted on ATX artillery chrome wheels. Tires will either be kumho venture Mt's or Toyo open country Mt's
Thread Starter
Registered User
Joined: May 2007
Posts: 1,437
Likes: 208
From: Saskatchewan
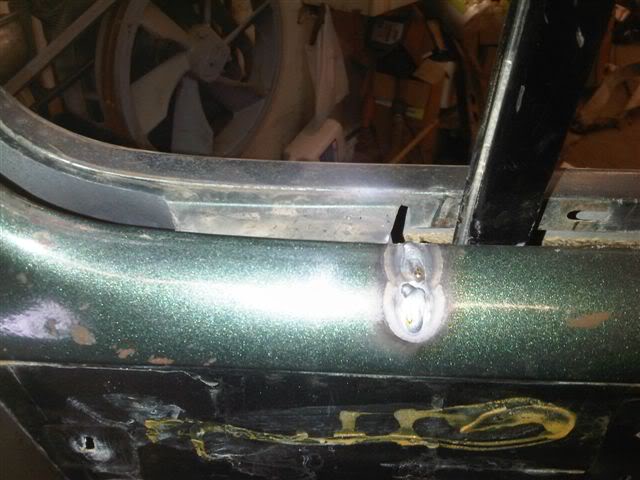
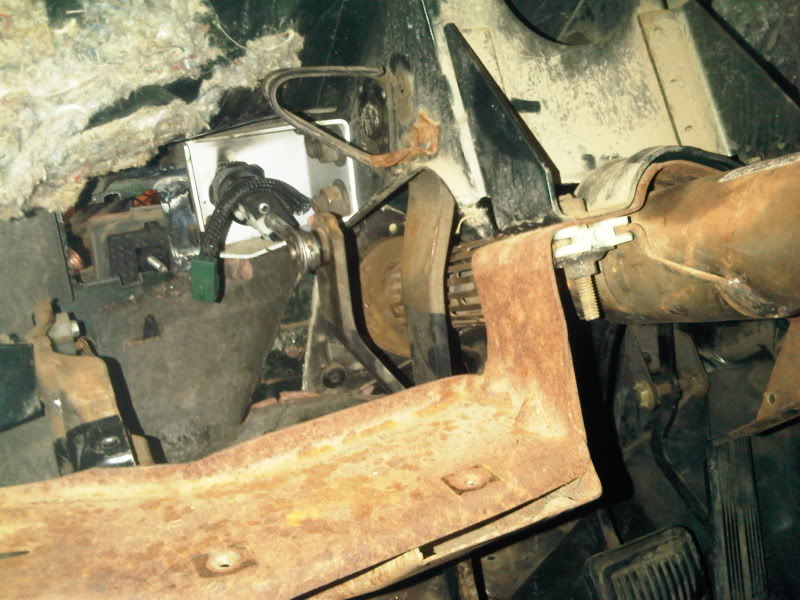
Used a right angle drill to attach the clutch bracket, worked perfectly.
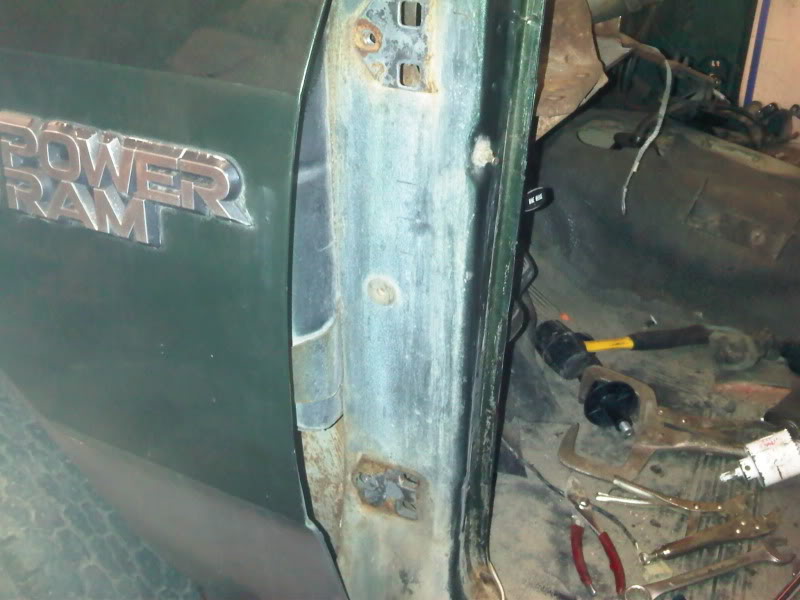
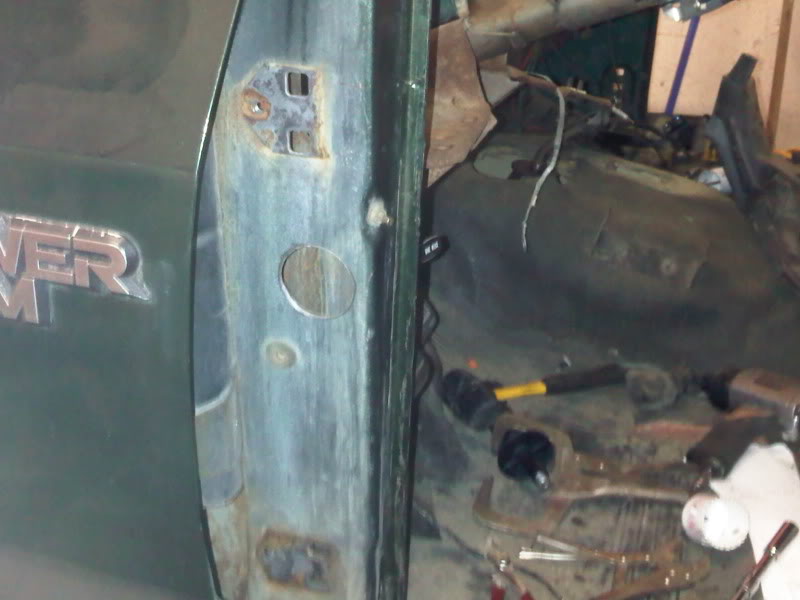
The old gas tank
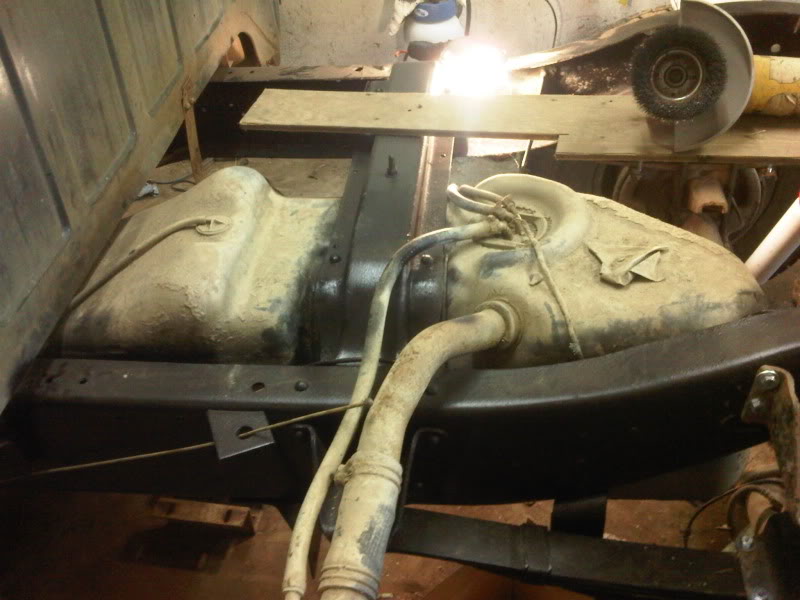
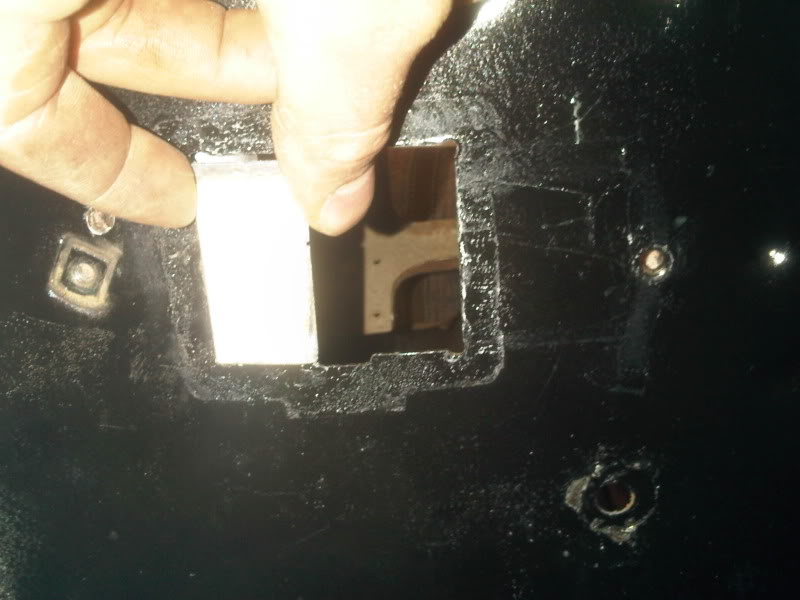
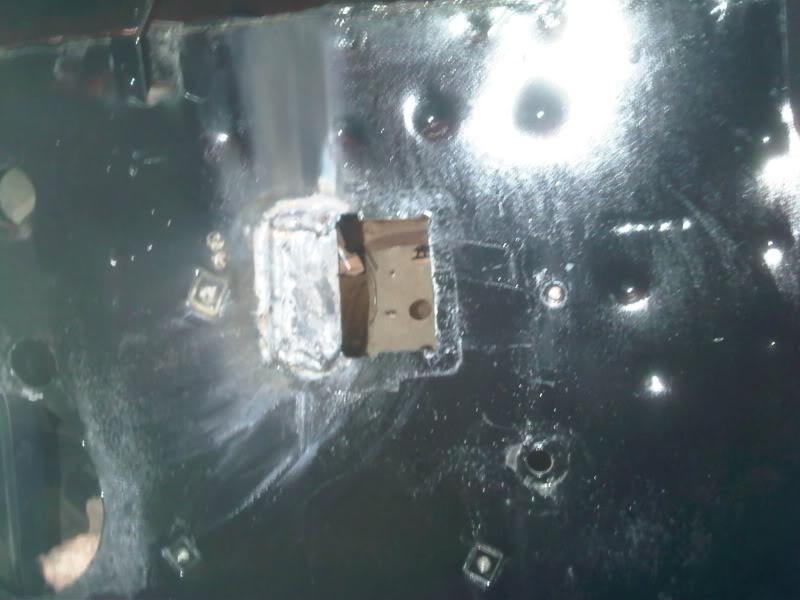
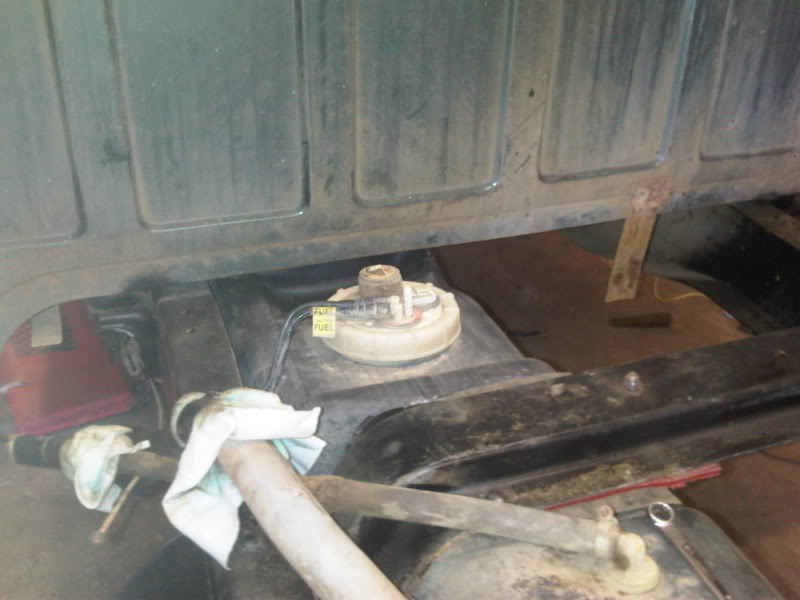
New tank installed, had to use heat to re-mold the top of the tank to avoid conflicting with the cab. Also dropped the tank 1/2" to help clearance. Redrilled mount holes on the front bracket and molded a plastic shim for the back bracket to drop it.
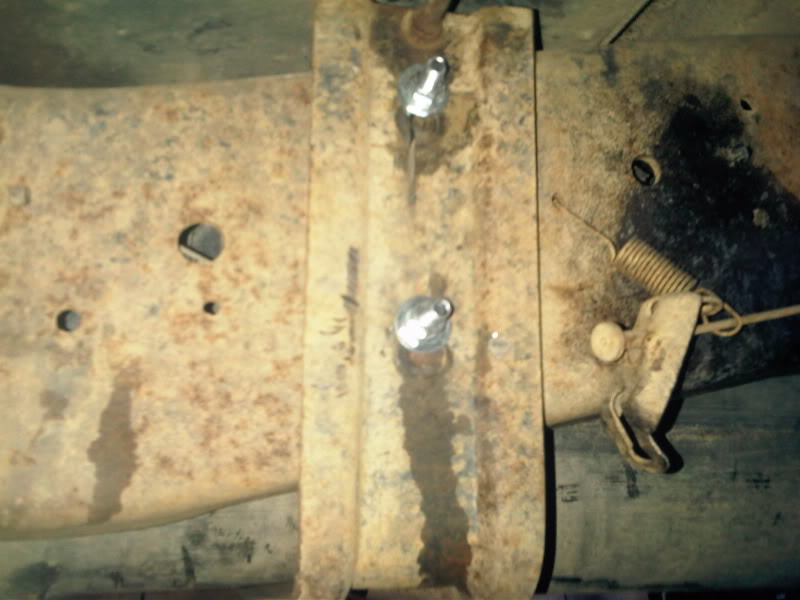
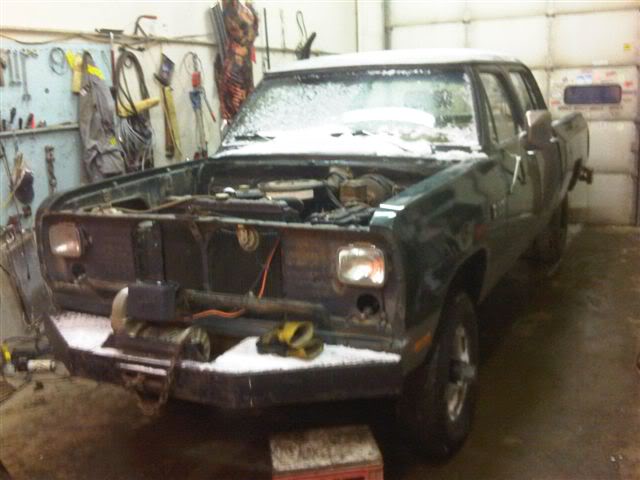
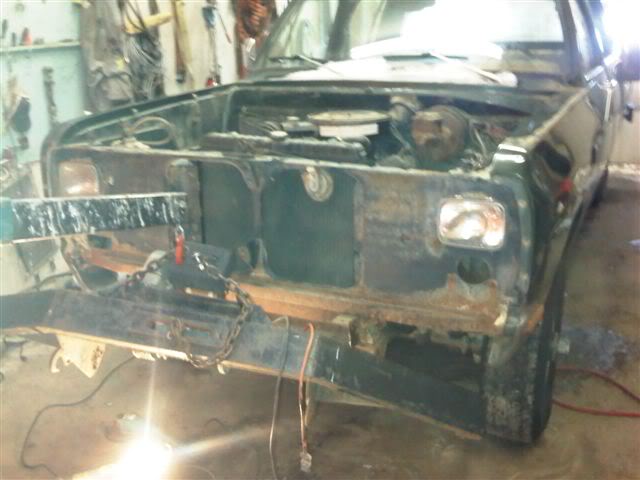
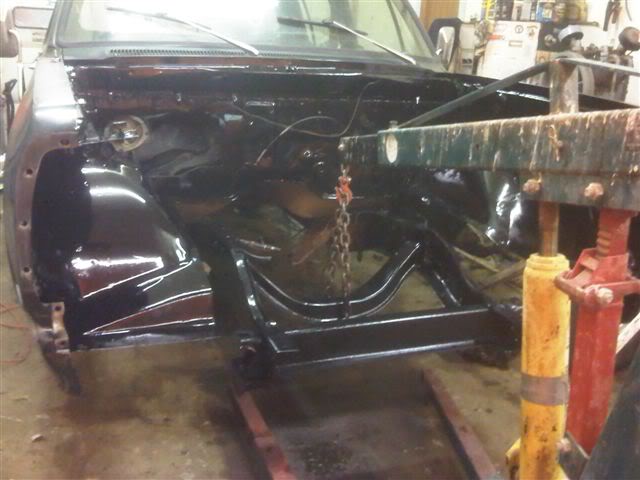
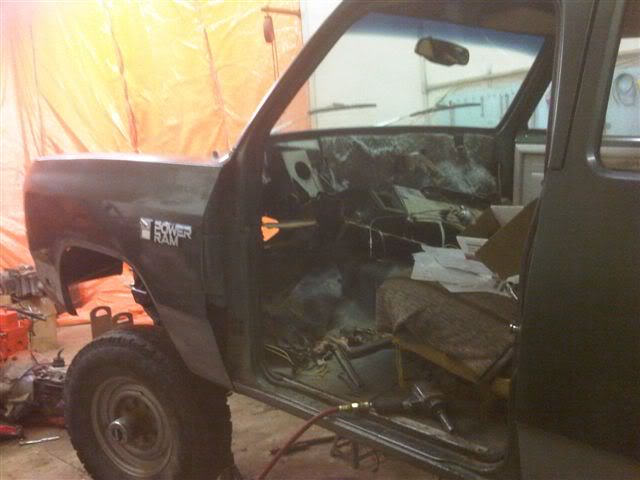
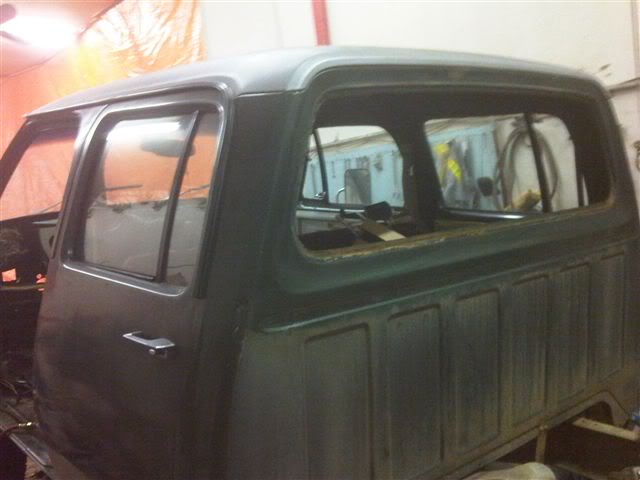
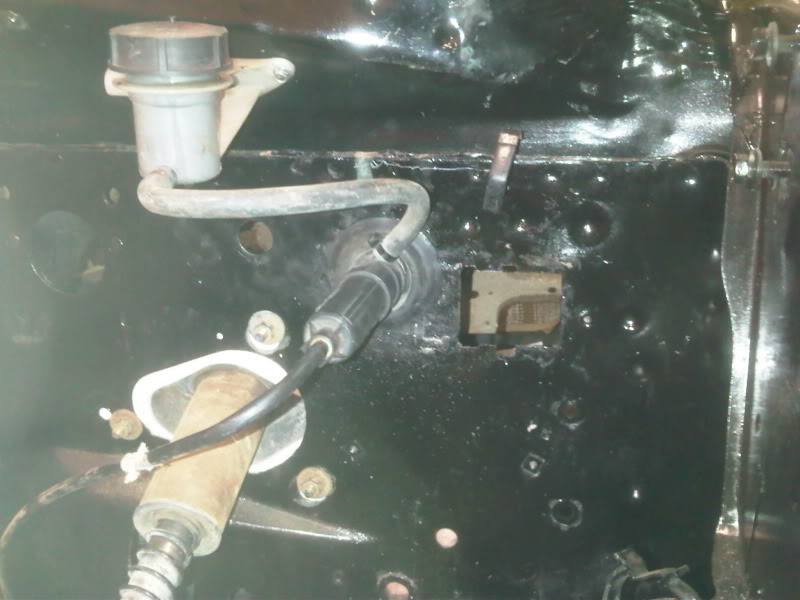
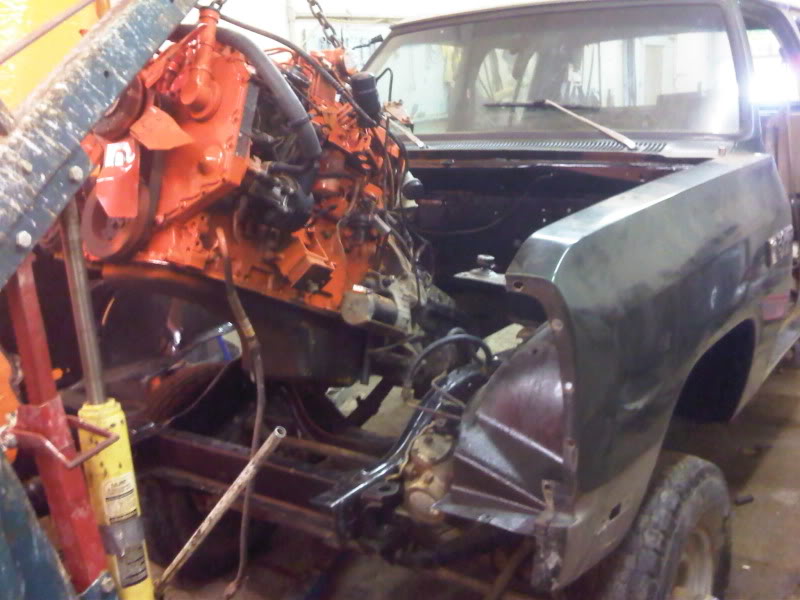
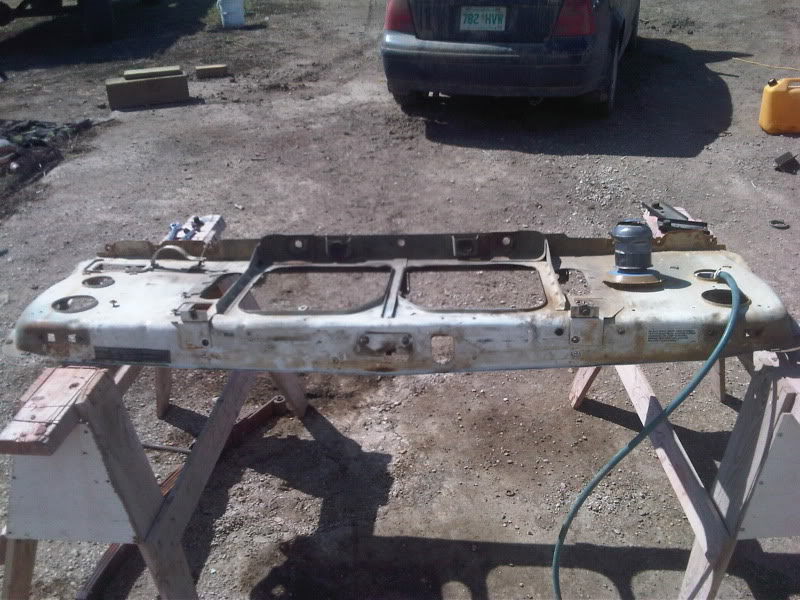
Stripped down the rad support while waiting for help to hang the doors today, did get the LE doors hung but no pictures yet. Tried to install front driveshaft but the 5spd shaft I bought turned out to be for a auto. Tried to install new rear carrier bearing but had the wrong size, always something!
The old gas tank
New tank installed, had to use heat to re-mold the top of the tank to avoid conflicting with the cab. Also dropped the tank 1/2" to help clearance. Redrilled mount holes on the front bracket and molded a plastic shim for the back bracket to drop it.
Stripped down the rad support while waiting for help to hang the doors today, did get the LE doors hung but no pictures yet. Tried to install front driveshaft but the 5spd shaft I bought turned out to be for a auto. Tried to install new rear carrier bearing but had the wrong size, always something!
Thread Starter
Registered User
Joined: May 2007
Posts: 1,437
Likes: 208
From: Saskatchewan
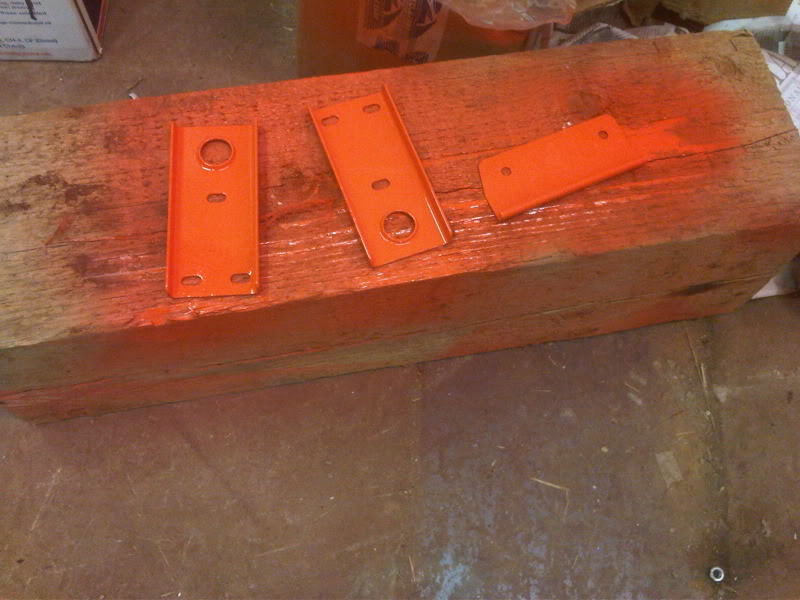
Painted a few intercooler brackets and a few other things
Painted the dash
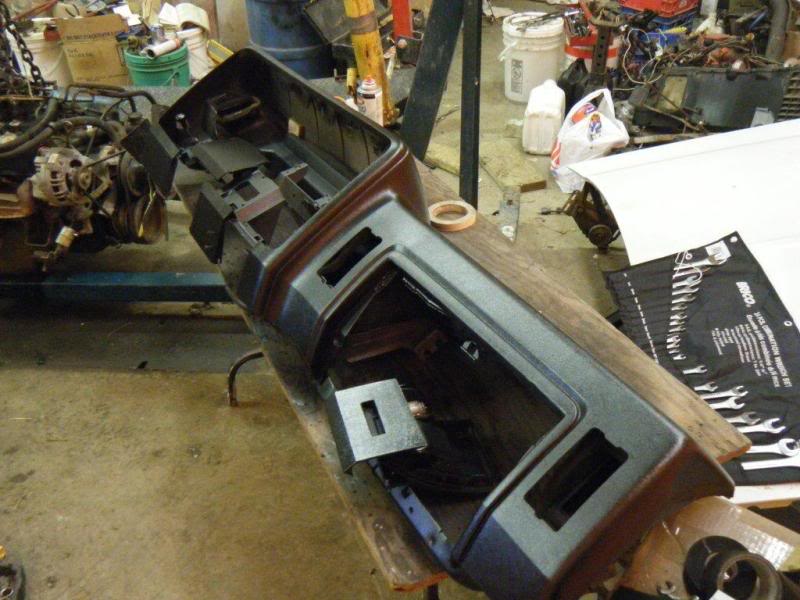
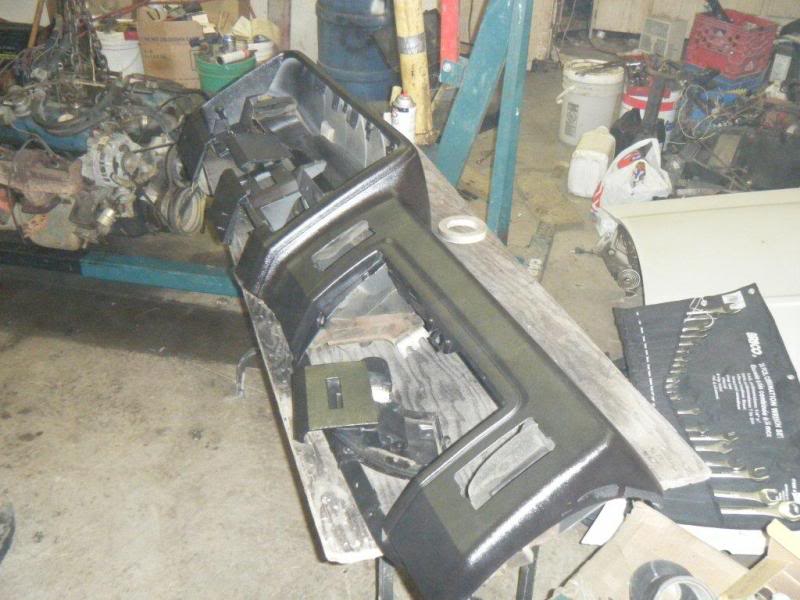
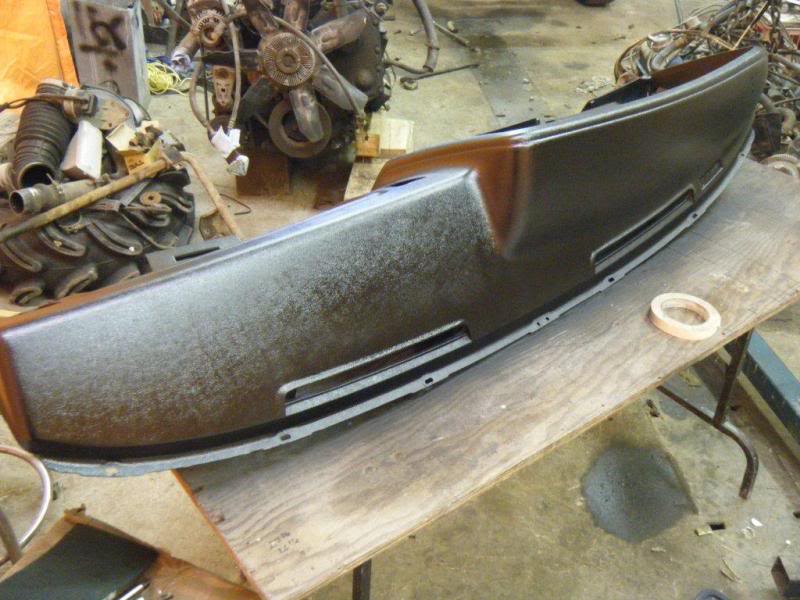
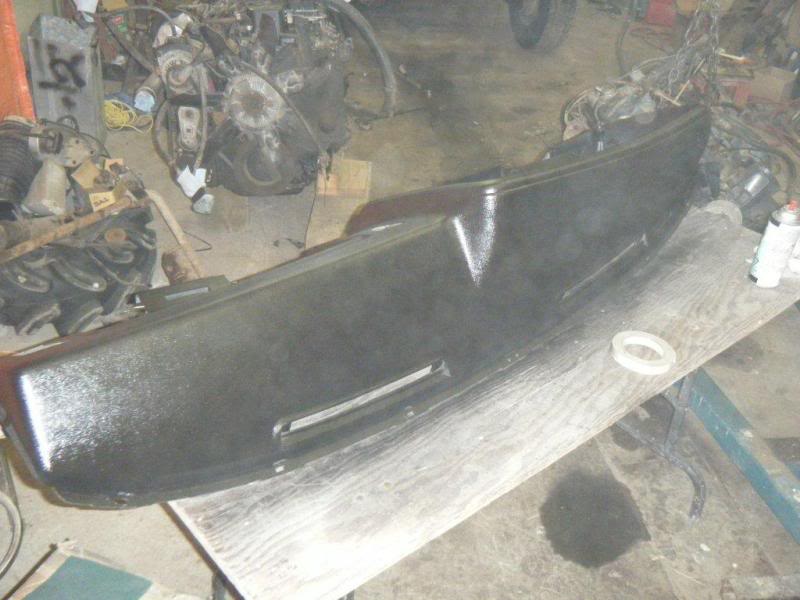
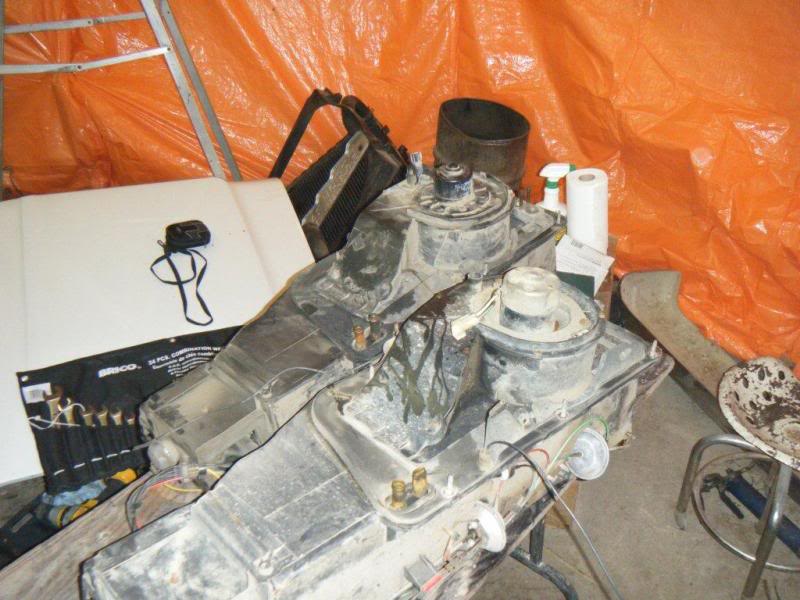
Installing new heater core into the 82 box with the 92 lid. Cut the lid to install the 92 resistor into the box and the 92 heater motor
Painted the dash
Installing new heater core into the 82 box with the 92 lid. Cut the lid to install the 92 resistor into the box and the 92 heater motor