
Dash install

Thread Starter
Chapter President
Joined: Aug 2004
Posts: 3,481
Likes: 2
From: Kingsville, MD
Dash install
I'm gonna try to explain this as best as i can. It's not too hard but 2 people are required.
As far as the Passenger side Air bag the way i removed it is not the safest so do so at your own risk! Actually my Bro in-law did it he is a mehanic.
Start by removing all the below.
Glove box, instrument bezel, both kick panels, pass side grab handle, head light switch, the little pocket under the air bag key switch. lower kick panel, panel below pass side air bag, latch for the glove box, plastic cover on trans tunnel. I also removed my gauge pod.
Now take out the 2 nuts and 2 bolts off the bracket under the plastic cover & remove the bracket.
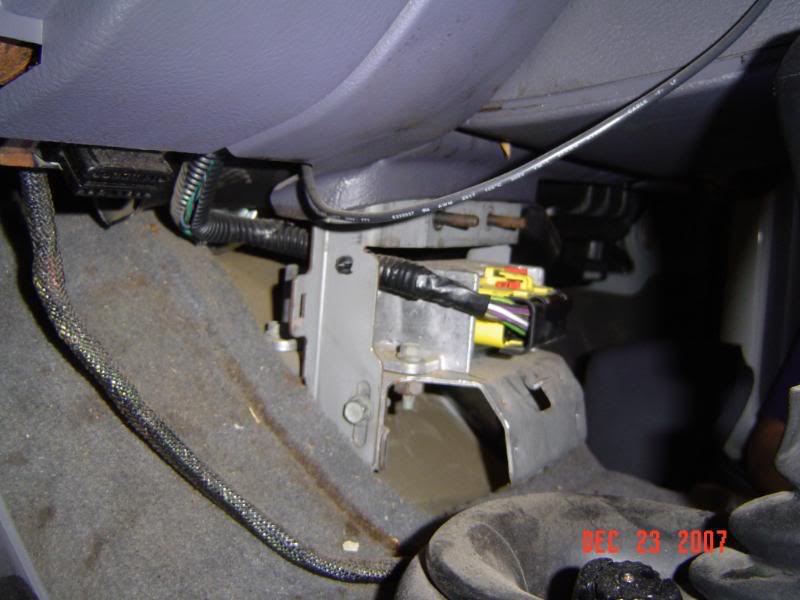
Remove the pass side Air bag per the manufacturers instructions.
Air bag removal
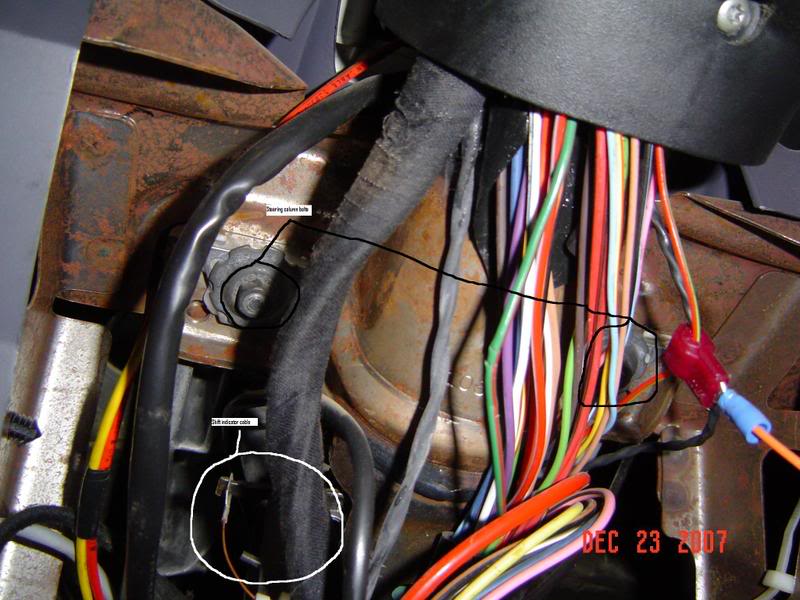
If you have an automatic you need to remove the shift indicator cable located on the bottom of the steering column. Then remove the 2 nuts holding the column and let it sit on the seat.
Now take out the screws 8mm on top of the dash by the windshield.
take out all the screws on front of the dash there are a lot of them.
Loosen the 2 bolts under the kick panel and tilt the dash down.
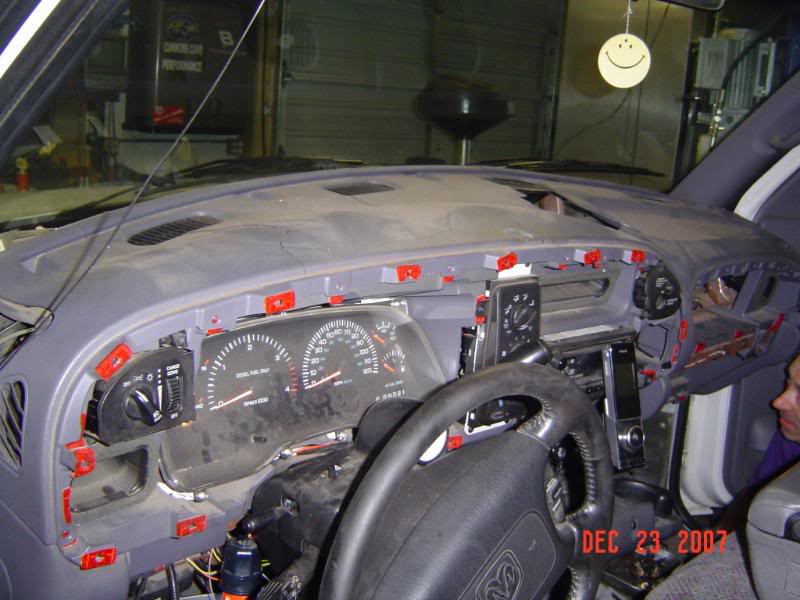
Remove the 2 screws on either side of the dash that secure the upper to the lower dash, drivers side is by the fuse panel. you'll need a 9/32" wrench for them.
There are 14 hidden screws holding the dash. One can be accessed through the hole where the light switch was and one in the same location on the other side, all the others are up by the windshield.
The 2 screws near the center of the dash require a phillips #1 bit to get out the others are 8mm.
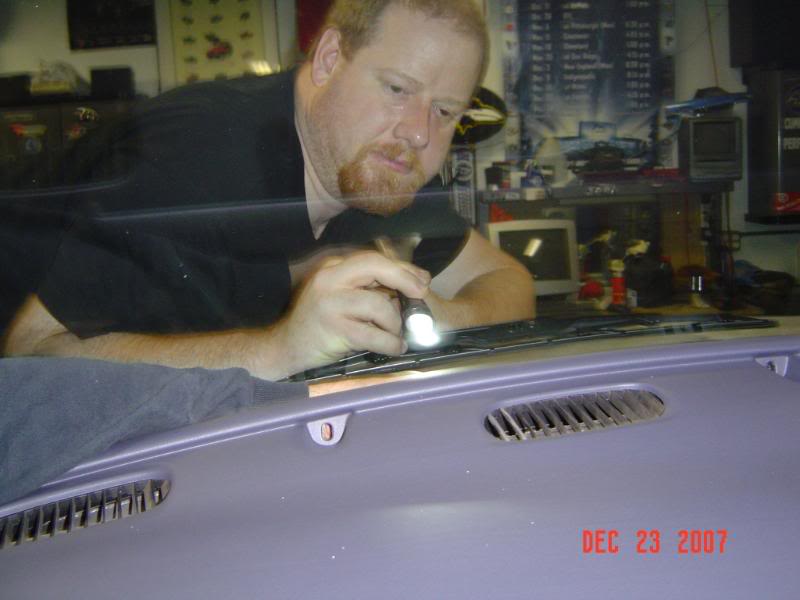
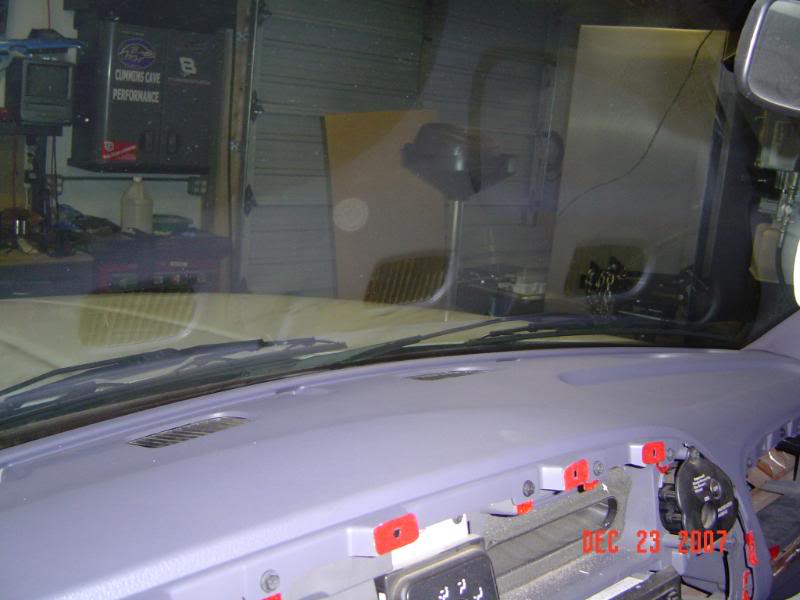
Take out all the screws and remove the old dash. Install the new dash in reverse order, i had John spotting me because you can't see where the screws go in by yourself. It's a really tight fit.
here is my new dash
All in All it's not too hard took about 3 hours, just be careful with the Air bag and new dash. Don't over tighten any of the screws or you might have a new cracked dash.
As far as the Passenger side Air bag the way i removed it is not the safest so do so at your own risk! Actually my Bro in-law did it he is a mehanic.
Start by removing all the below.
Glove box, instrument bezel, both kick panels, pass side grab handle, head light switch, the little pocket under the air bag key switch. lower kick panel, panel below pass side air bag, latch for the glove box, plastic cover on trans tunnel. I also removed my gauge pod.
Now take out the 2 nuts and 2 bolts off the bracket under the plastic cover & remove the bracket.
Remove the pass side Air bag per the manufacturers instructions.
Air bag removal
If you have an automatic you need to remove the shift indicator cable located on the bottom of the steering column. Then remove the 2 nuts holding the column and let it sit on the seat.
Now take out the screws 8mm on top of the dash by the windshield.
take out all the screws on front of the dash there are a lot of them.
Loosen the 2 bolts under the kick panel and tilt the dash down.
Remove the 2 screws on either side of the dash that secure the upper to the lower dash, drivers side is by the fuse panel. you'll need a 9/32" wrench for them.
There are 14 hidden screws holding the dash. One can be accessed through the hole where the light switch was and one in the same location on the other side, all the others are up by the windshield.
The 2 screws near the center of the dash require a phillips #1 bit to get out the others are 8mm.
Take out all the screws and remove the old dash. Install the new dash in reverse order, i had John spotting me because you can't see where the screws go in by yourself. It's a really tight fit.
here is my new dash
All in All it's not too hard took about 3 hours, just be careful with the Air bag and new dash. Don't over tighten any of the screws or you might have a new cracked dash.
Registered User
Joined: Oct 2007
Posts: 75
Likes: 1
From: Bethel Acres, Oklahoma
Great write-up and great pictures. It looks like one of those jobs that's time-consuming but not too difficult overall.
I have one concern about replacing my crappy factory dash with a new factory dash. The factory dash is crap, correct? Have they reformulated the plastic or otherwise corrected the problem?
I have one concern about replacing my crappy factory dash with a new factory dash. The factory dash is crap, correct? Have they reformulated the plastic or otherwise corrected the problem?

Registered User
Joined: Jan 2006
Posts: 1,163
Likes: 0
From: texas
Good post - FYI - soon as you finish the replacement, hit jcwhitneydotcom for a protective dash cover - the entire upper\lower dash is ABS material, easily damaged by UV\infrared radiation from direct sunlite, but which material easily repaired with ABS\PVC\CPVCC glue from yer local hardware emporium
My cover is the gray carpet, exactly matching my gray interior - once a month, you slide it out, give it a good shake to remove the dust - you can even wash it to get the coor's stain and coffee stain and red man\bandit stains out, if necessary
My cover is the gray carpet, exactly matching my gray interior - once a month, you slide it out, give it a good shake to remove the dust - you can even wash it to get the coor's stain and coffee stain and red man\bandit stains out, if necessary

Thread
Thread Starter
Forum
Replies
Last Post
NoSparkplugs
3rd Generation Ram - Non Drivetrain - All Years
17
May 17, 2009 10:36 PM
snowmanx
3rd Gen High Performance and Accessories (5.9L Only)
4
Sep 19, 2006 08:25 AM
RenegadeT
Performance and Accessories 2nd gen only
8
Dec 27, 2005 03:44 PM
Walt L
Performance and Accessories 2nd gen only
15
May 27, 2005 01:00 PM
sstengler
3rd Generation Ram - Non Drivetrain - All Years
7
Nov 21, 2003 08:35 PM