


My Crewcab grill upgrade....


Thread Starter
Registered User


Joined: Mar 2010
Posts: 7,265
Likes: 1,346
From: Prince George, BC
My Crewcab grill upgrade....
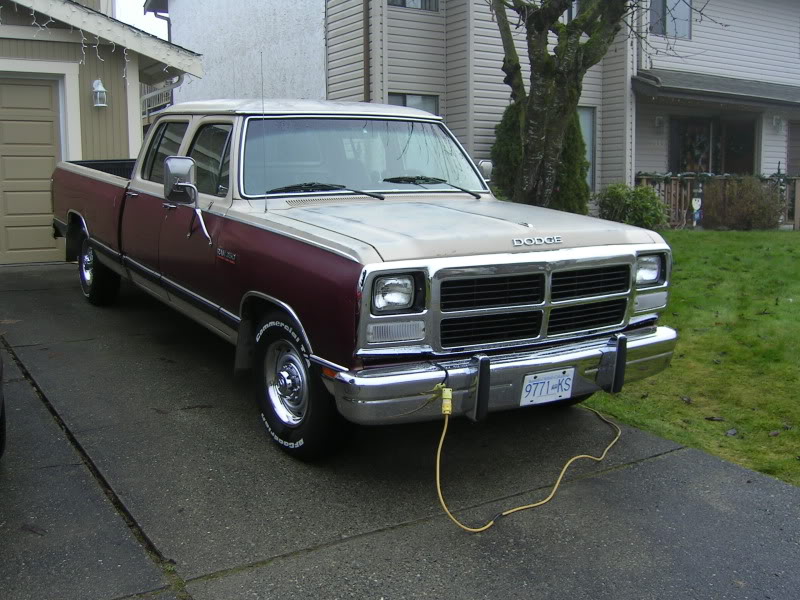
Well I did my grill upgrade over the weekend...to the 91.5-93 style grill. But I'll start from the beginning.
I bought the grill pieces off e-bay many months ago for fairly cheap. But a couple of them were busted up and cracked, and one grill insert was missing a chunk as well.
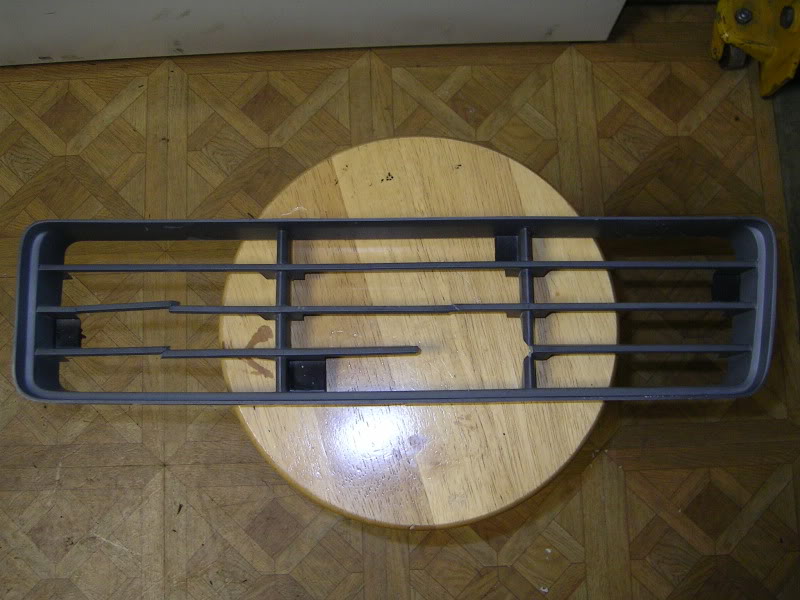
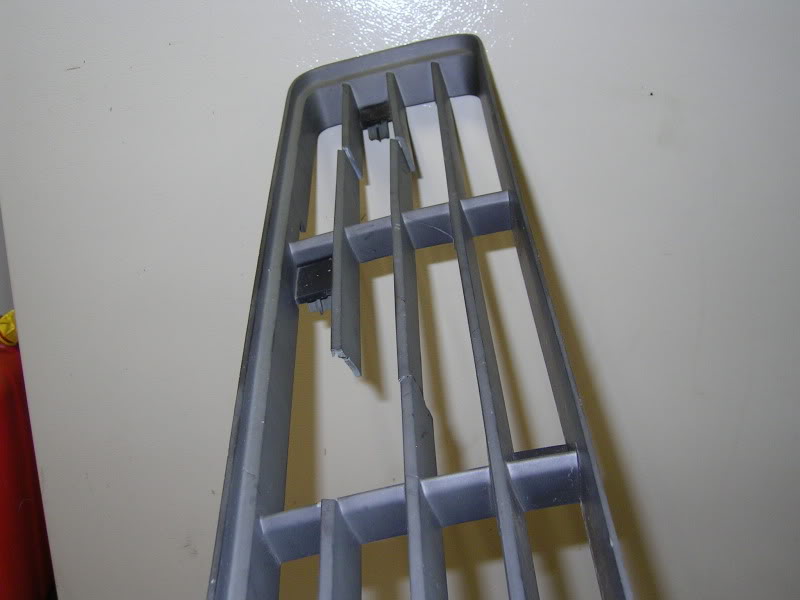
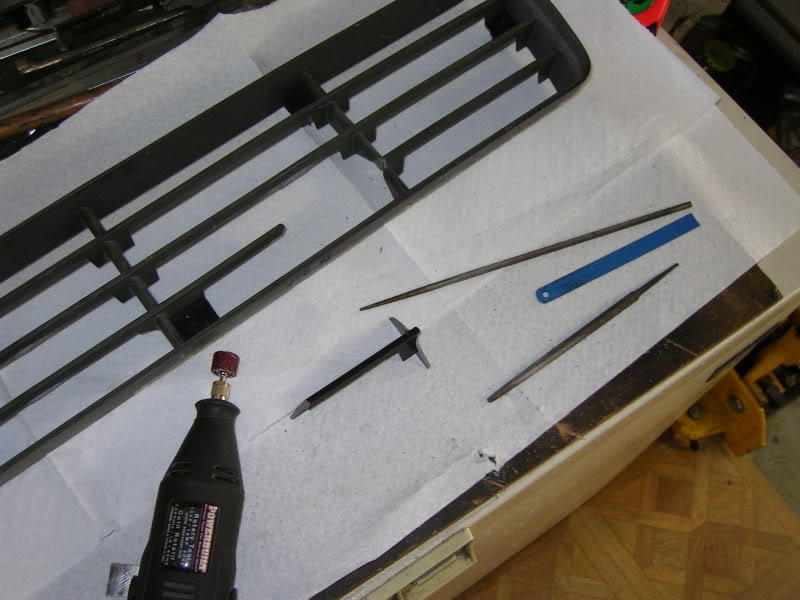
I decided that I would fix them myself. So I happened to find a busted up grill at the wreckers that I was able to scavenge the missing piece from. I then carefully trimmed the broken area and cut a piece to fit. Then cut, filed and sanded it until it was an almost perfect fit.
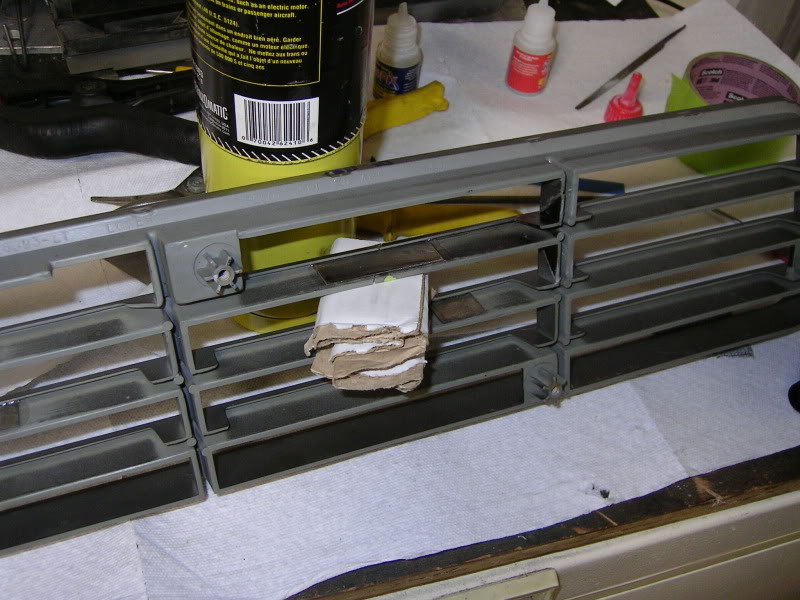
Then I cut small pieces of sheet metal as backing supports and glued them in place. I like to use the "Marine Goop". This stuff is almost impossible to break free once set-up...great stuff.
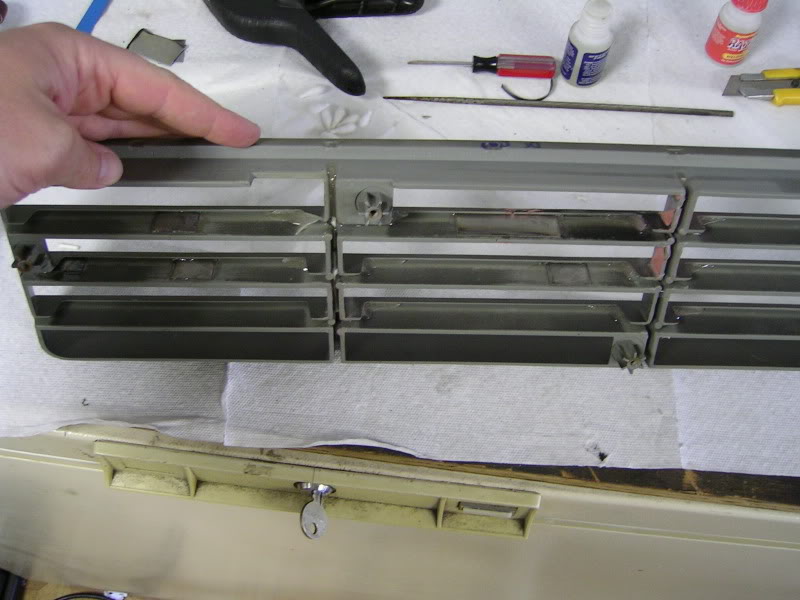
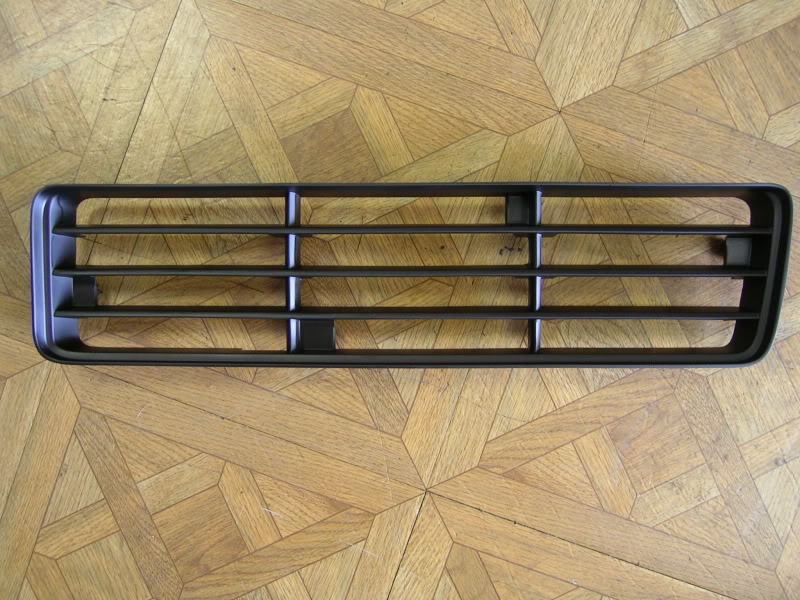
After all was in place a cured I putty filled and sanded everything, then used a sandable primer and sanded some more. Then a few coats of flat black and all was good.
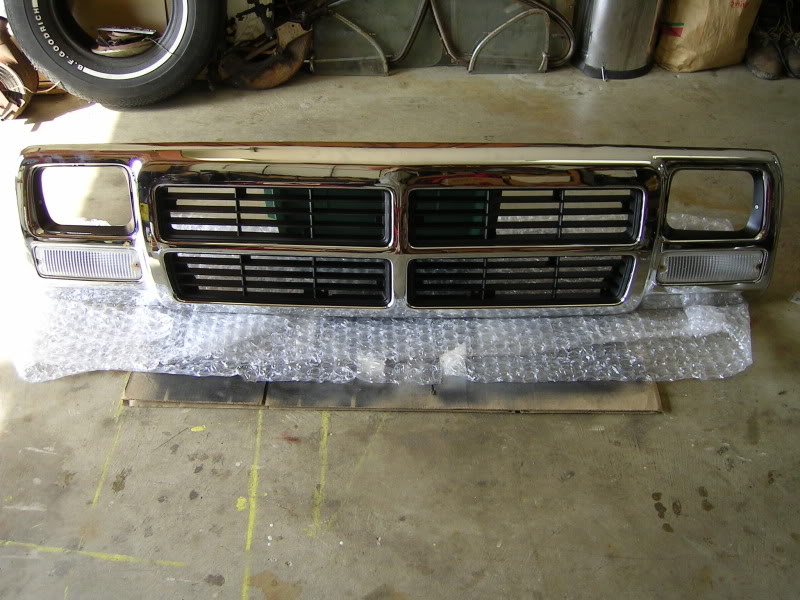
I got the chrome grill through E-bay as well. Just a couple bucks over a hundred shipped.
I bought the grill pieces off e-bay many months ago for fairly cheap. But a couple of them were busted up and cracked, and one grill insert was missing a chunk as well.
I decided that I would fix them myself. So I happened to find a busted up grill at the wreckers that I was able to scavenge the missing piece from. I then carefully trimmed the broken area and cut a piece to fit. Then cut, filed and sanded it until it was an almost perfect fit.
Then I cut small pieces of sheet metal as backing supports and glued them in place. I like to use the "Marine Goop". This stuff is almost impossible to break free once set-up...great stuff.
After all was in place a cured I putty filled and sanded everything, then used a sandable primer and sanded some more. Then a few coats of flat black and all was good.
I got the chrome grill through E-bay as well. Just a couple bucks over a hundred shipped.
Thread Starter
Registered User
Joined: Mar 2010
Posts: 7,265
Likes: 1,346
From: Prince George, BC
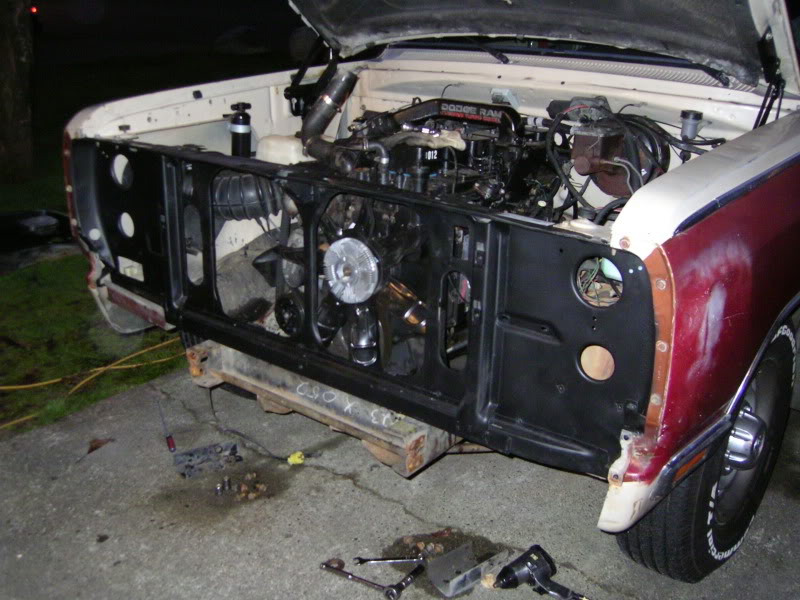
So up to the weekend....I pulled everything off the front.
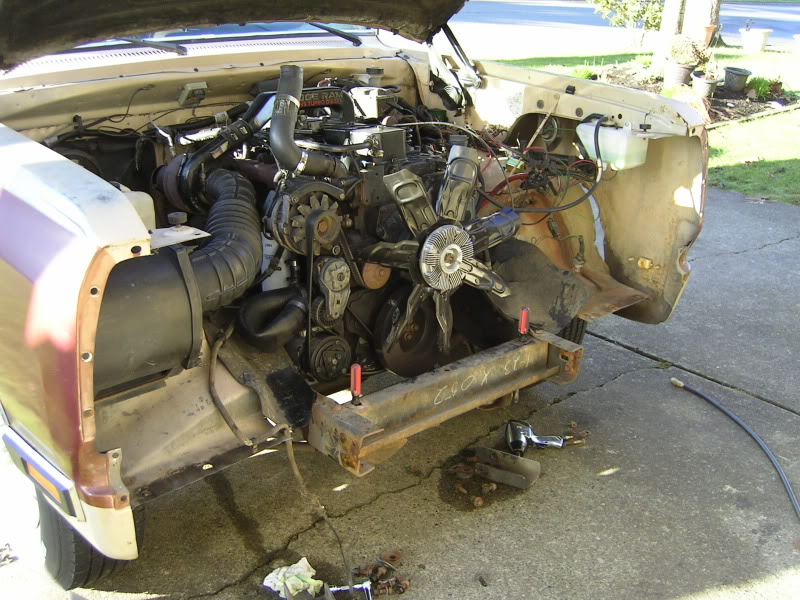
Then installed my new rad support.
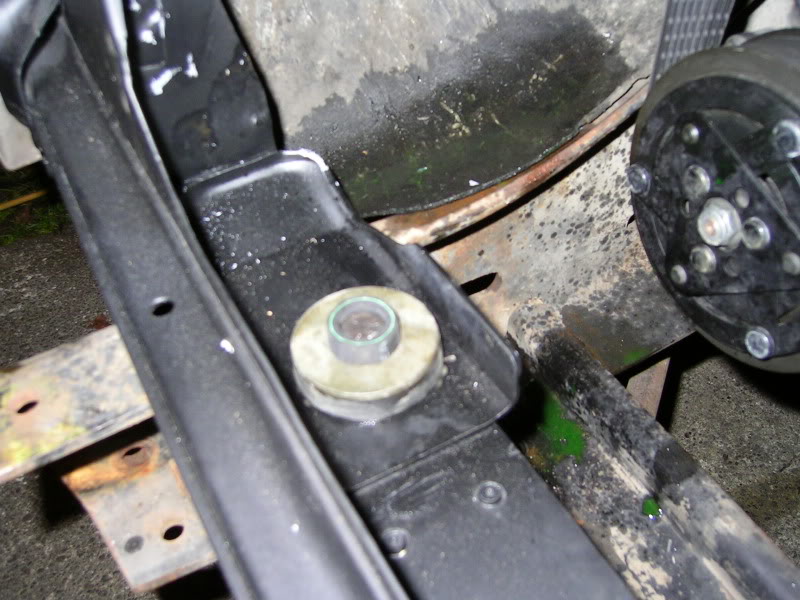
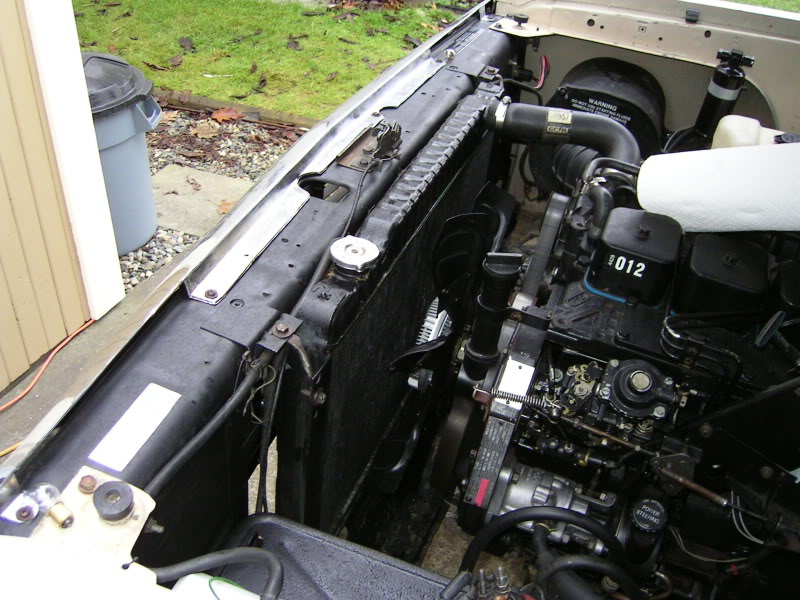
And if you recall I modified my rad support just a little to fit my Non-IC, down flow rad. I only needed to add a small "bushing" on the bottom bolts below the rad, I used some 5/8" heater hose. Now I don't have to worry about it hitting those bolts and rubbing through the lower tank.
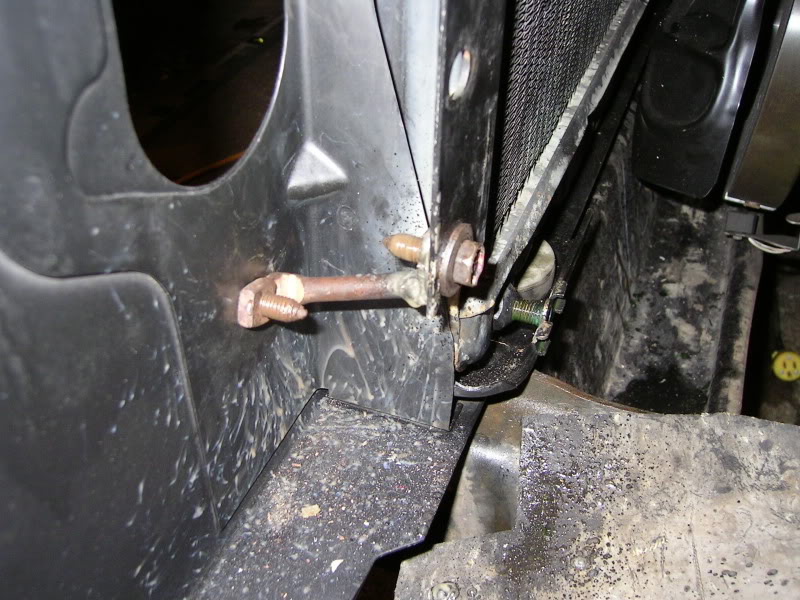
I then had to make up some brackets to hold the rad in place. I used some box braces from a mid 90's chevy pick-up. I liked theses because the ends were threaded and ran a good sized bolt.
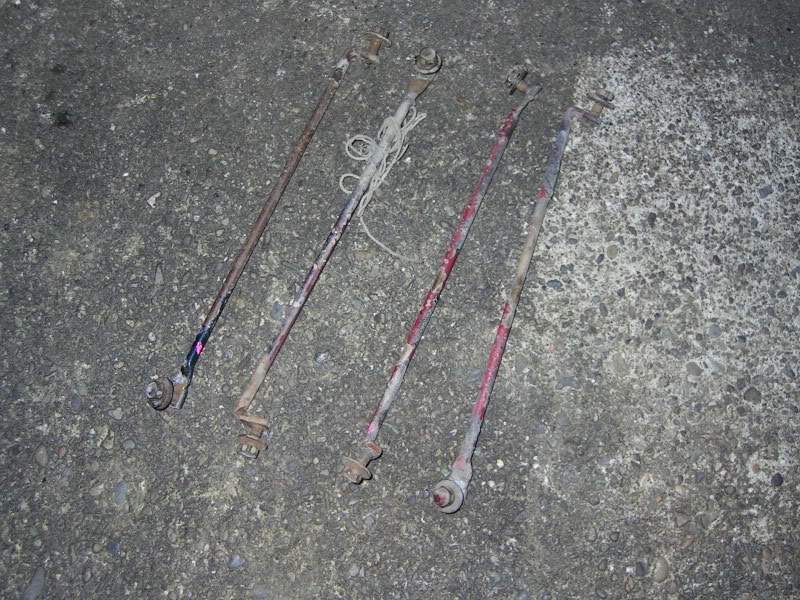
I then had to cut, bend and modify the pieces to get them where I wanted. A little welding and grinding had them ready to go.
Then installed my new rad support.
And if you recall I modified my rad support just a little to fit my Non-IC, down flow rad. I only needed to add a small "bushing" on the bottom bolts below the rad, I used some 5/8" heater hose. Now I don't have to worry about it hitting those bolts and rubbing through the lower tank.
I then had to make up some brackets to hold the rad in place. I used some box braces from a mid 90's chevy pick-up. I liked theses because the ends were threaded and ran a good sized bolt.
I then had to cut, bend and modify the pieces to get them where I wanted. A little welding and grinding had them ready to go.
Thread Starter
Registered User
Joined: Mar 2010
Posts: 7,265
Likes: 1,346
From: Prince George, BC
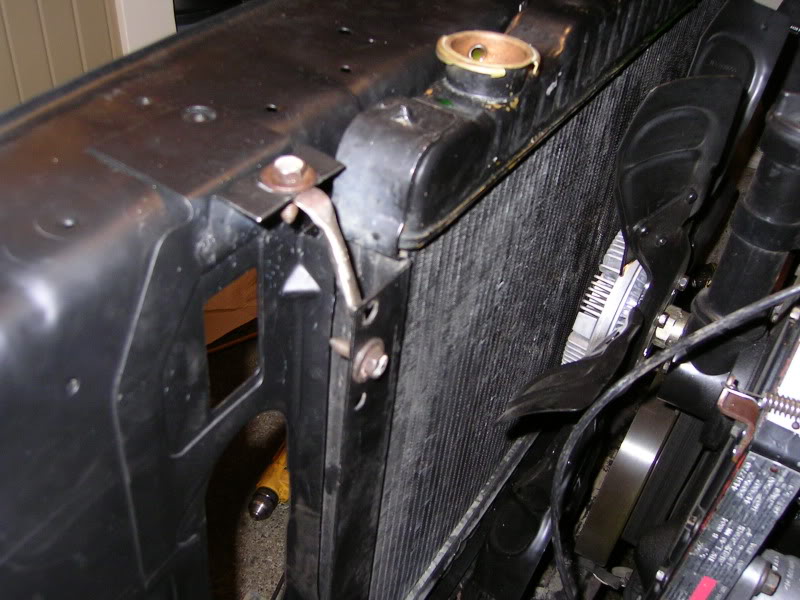
The lower mounts I had to drill a new hole in the rad support, then make the brackets. But I had to run an additional washer on the bracket so that the lower mounting mount, that usually slips down over an already threaded bolt, would not bend and twist out of the way....I figured this out the hard way.
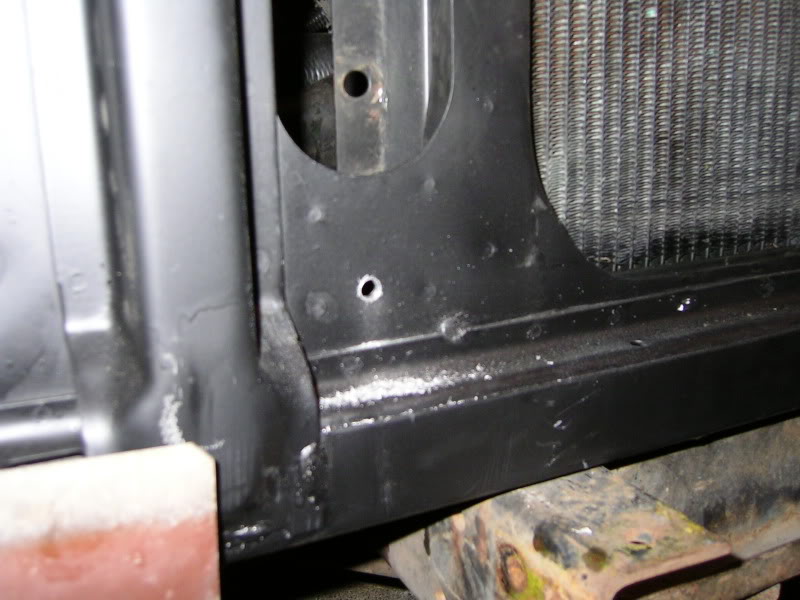
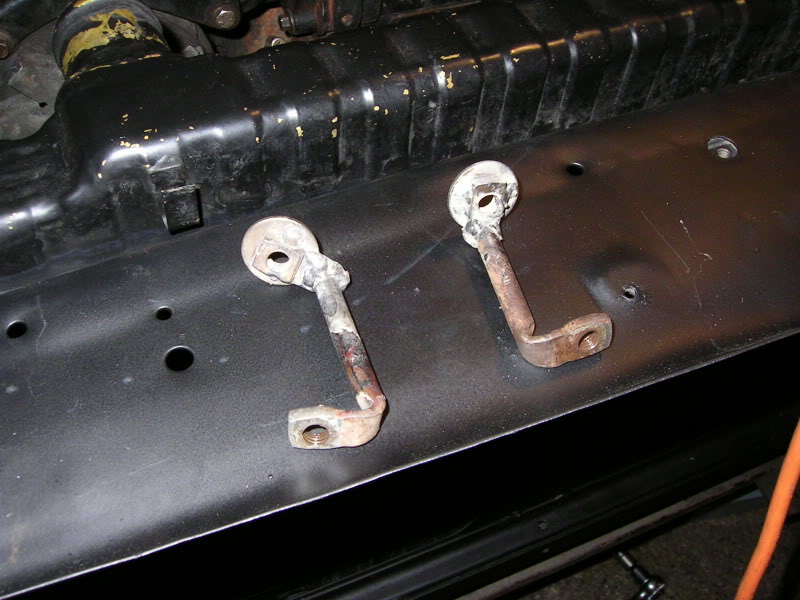
And a couple more pics of the rad all installed and ready to go.

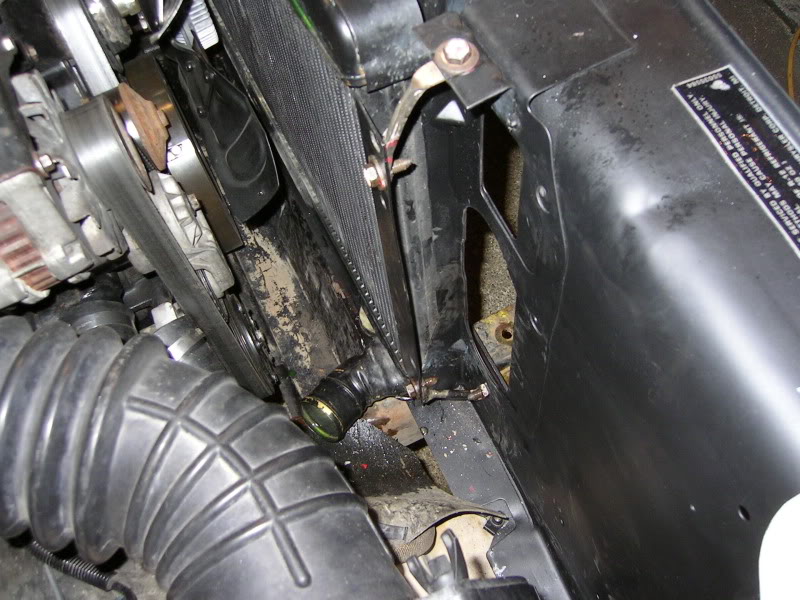
And the final pic...all done.
And a couple more pics of the rad all installed and ready to go.
And the final pic...all done.


Trending Topics


Thread Starter
Registered User
Joined: Mar 2010
Posts: 7,265
Likes: 1,346
From: Prince George, BC
I'll see what I can find and PM you.


Registered User
Joined: Aug 2011
Posts: 103
Likes: 0
From: Canada
I think i know why my belt is close on the a/c compressor swap. I have a smaller alternator pulley then the one on your truck.
Thread Starter
Registered User
Joined: Mar 2010
Posts: 7,265
Likes: 1,346
From: Prince George, BC
Smaller pulley should not affect the A/C Compressor swap. It would only affect how much tension was on the belt, and/or the location of the tensioner once loaded on the belt.