How to lower your D250/D350
 05-03-2015, 04:23 PM
#1
Registered User
Thread Starter
How to lower your D250/D350
So there have been many people asking HOW to lower their D250/D350 trucks. Most have lowered fronts due to saggy springs. My springs were not saggy, in fact a couple people asked how I lifted the truck. So I spent this last weekend lowering the truck and took a few pics. This is by no means a step-by-step instruction, more of a tips and tricks post.
Sorry for the blurry pics, I didn't notice my phone's camera lens had grease on it.
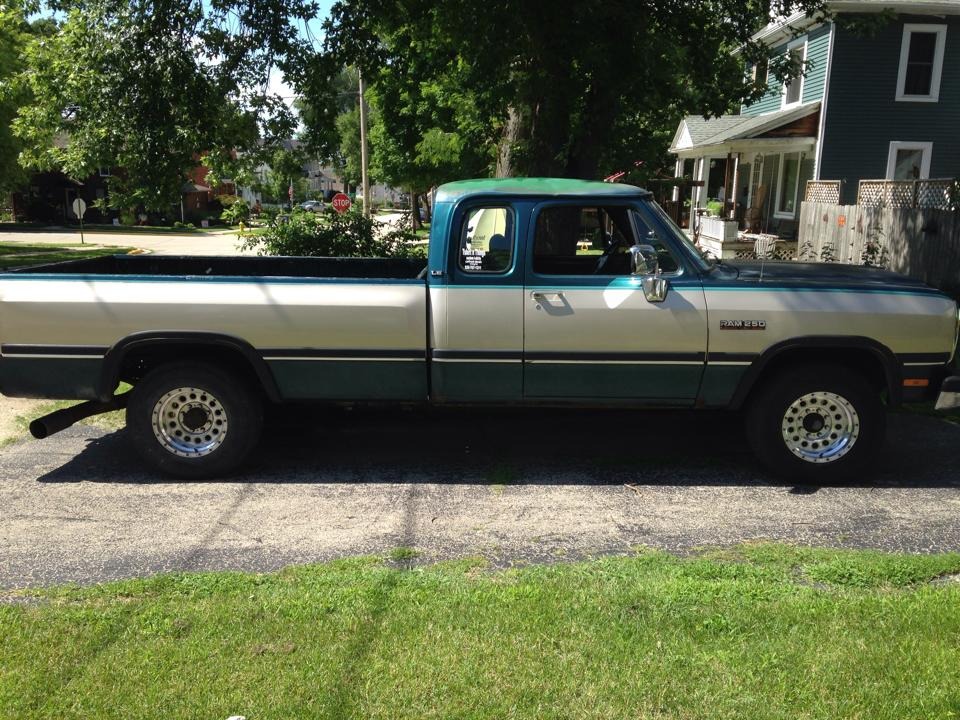
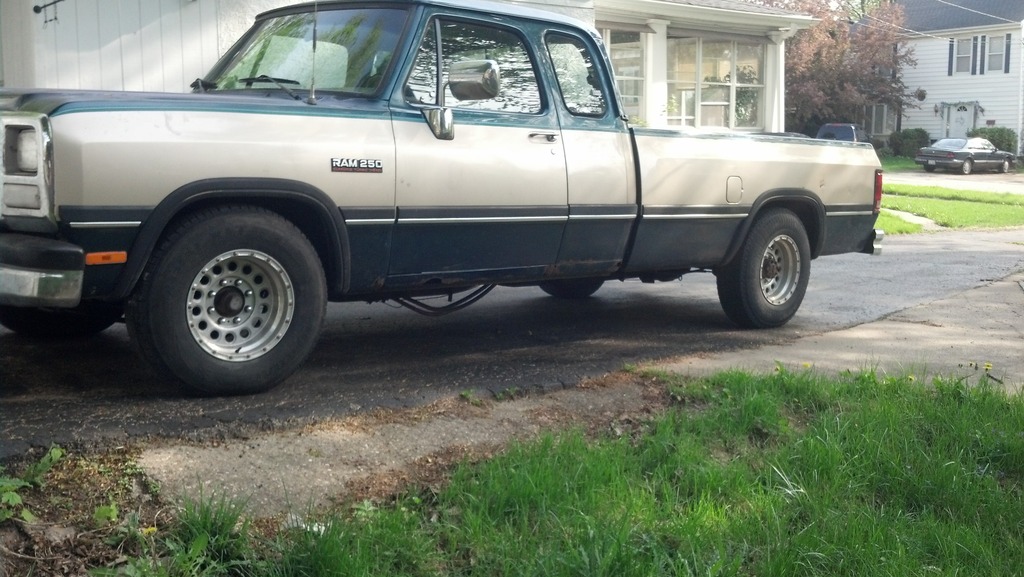
Here is the truck before I started messing with it.
Now to do the front. I followed Jim Lane�s How To on replacing your front balljoints. Now, I have replaced the upper control arms around 3-5 months ago so it came apart real easy. A tip for popping off the lower balljoint to move the knuckle out of your way when you go to pull the spring. I have an old, useless �� drive ratchet. The handle fit perfectly into the top balljoint hole. The steering rod lays on top of the strut rod. I put my jack under the balljoint and left a �� gap. I put the ratchet handle into the top balljoint hole and gave it around 6 sharp whacks with a 16oz claw hammer. Popped them both off. This would also be a good time to change out your balljoints.
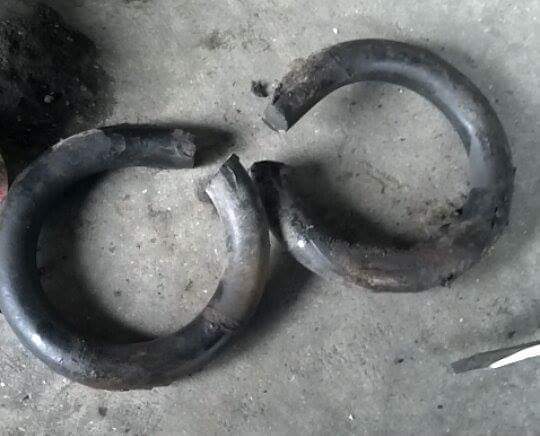
Now to remove the spring. I lowered the jack until I could remove it. I took that claw hammer and hooked the bottom of the spring. I used a leg and pushed the lower control arm down. The spring should pop out. Now take it over to your angle grinder and find the thinnest cutoff wheel you use. Go lightly and slowly. Each coil I cut was around 2� lower. Each cut also took around 5 minutes. I would cut one a little, then cut the other. When all said and done, I could grasp the coil within �� and not get burned. Here is how much I cut off.
Now to put it back together, it is reverse. There, the front is done!
Now on to the rear. This was much more problematic as there isn�t a good write-up for replacing the rear shackles. So if you want to save your shackles, you are going to need to do stuff different.
You WILL need:
Tools:
Angle grinder
Sawzall
1-⅛� Socket
1-⅛� off-set Wrench
�� Torque Wrench
�� Breaker Bar
Hammer
Punch (I abuse my screwdivers)
�� drill bit in a drill press
Vise
Parts:
PB Blaster
2 �� x 4-�� bolts
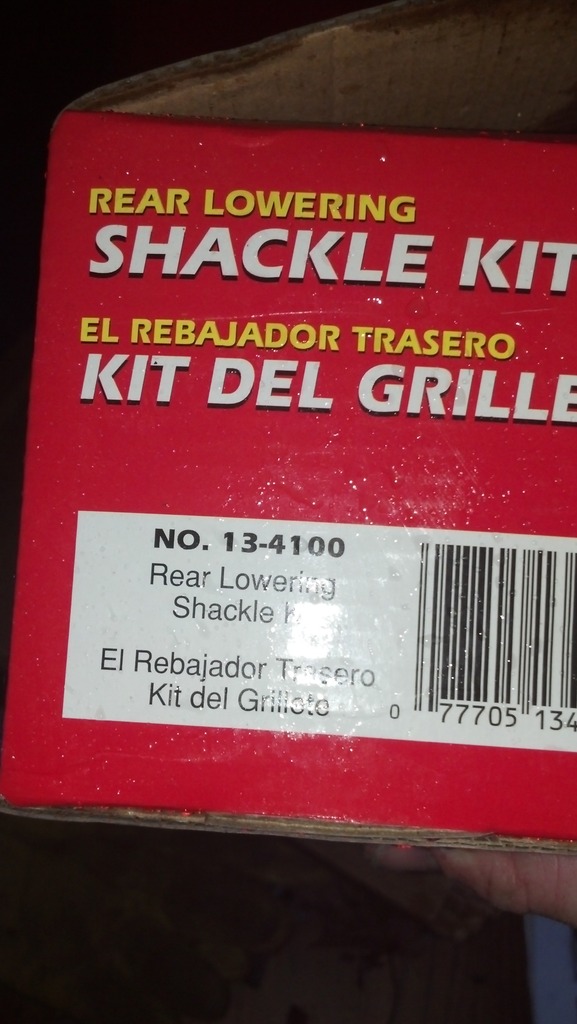
13-4100 Rear lowering shackle kit, I found this at Autozone
Tools if you want to keep the old shackle and just replace bushings:
Oxy/Ace torch setup
So you want to level or lower your rear end but want to keep your springs pack? This is for you.
Jack up your truck until the leaf springs are at full extension. I jacked up the frame via the receiver hitch. Then I put jack stands under the frame and lowered the jack. I had the wheels about �� above the floor.
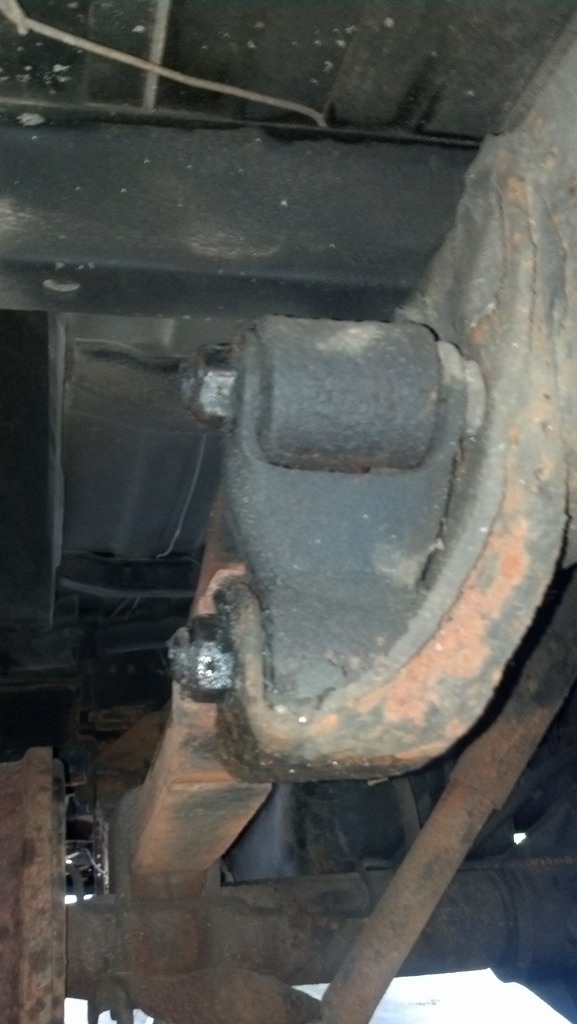
First thing to do is soak the nuts in PB Blaster. Next step I did was check the bolt the leaf spring uses on the shackle. If It spins, you�re in luck. Now test the lower one. Both of mine were rusted in the bushings. If you wanted to save these shackles, now is the time to crack open that torch and use it. For me, I wasn�t keeping them so I cut them off. I first removed the nut and saved it.
Now take your jack and compress the springs ever so slightly.This helps your saw blade from becoming caught when you cut through. IMPORTANT: Cut as close to the bottom bushing as possible. You are going to want to rotate it.

I could not use my 4� Makita grinder to get the inside bend of the shackle so that is where you need your Sawzall. Yes, I have a Milwaukee.
Now that it is loose, jack up the spring pack until it hits the bottom of the bed. This is important. Break the bolt loose by putting your off-set wrench on the bolt head and your breaker bar on the nut.
Once removed, tap the bolt out. If the spring pack is any less than hitting the bottom of the bed, you cannot get this bolt tapped out.
Now, on to the bottom of the shackle. I cut the bolt with a grinder on the INSIDE of the shackle mount.
Now the back part is harder. If you listened, you should have cut this down to pretty much the bushing. Now take your 4� cut-off wheel and cut through the rubber (gonna be smokey) and into the bolt. My angle grinder couldn�t get it all so I rotated it. Eventually it popped off and I could pull the rest of the shackle out.
Now take your brand new shackle kit and modify it. It is meant for a Chevy but it worked well for our springs. At the end the spring bolts to is a 9/16� hole. There are 2, one for 1� lower and one for 2� lower. Select which one you want and drill it out to a �� hole. Now for the bushing. Knock the metal sleeve out. The hole that it is in is �� big. Couple of people who I have read about using these knock them out. So I did so. Sorry, no pics as I got excited getting this far and I needed to hurry up so my wife could leave for work. I torqued the nut to 85ft lbs.
Now bolt it to the spring FIRST. Then lower the axle until you can get the bottom bolt lined up. Torque to 85 ft lbs.
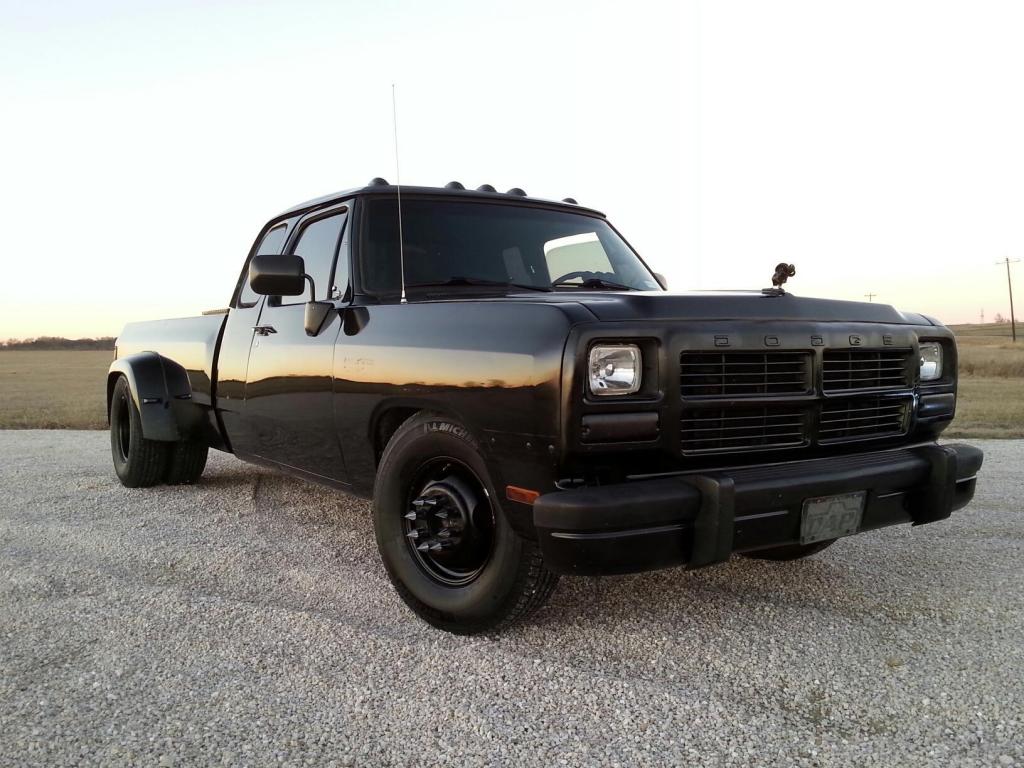
There you have it, a lowered rear. When it stops raining, I will get some after pics. Overall it is 2" lower. I can fit into my garage now where before it was a very (1/4") tight fit. It is easier to get into now too!
Sorry for the blurry pics, I didn't notice my phone's camera lens had grease on it.
Here is the truck before I started messing with it.
Now to do the front. I followed Jim Lane�s How To on replacing your front balljoints. Now, I have replaced the upper control arms around 3-5 months ago so it came apart real easy. A tip for popping off the lower balljoint to move the knuckle out of your way when you go to pull the spring. I have an old, useless �� drive ratchet. The handle fit perfectly into the top balljoint hole. The steering rod lays on top of the strut rod. I put my jack under the balljoint and left a �� gap. I put the ratchet handle into the top balljoint hole and gave it around 6 sharp whacks with a 16oz claw hammer. Popped them both off. This would also be a good time to change out your balljoints.
Now to remove the spring. I lowered the jack until I could remove it. I took that claw hammer and hooked the bottom of the spring. I used a leg and pushed the lower control arm down. The spring should pop out. Now take it over to your angle grinder and find the thinnest cutoff wheel you use. Go lightly and slowly. Each coil I cut was around 2� lower. Each cut also took around 5 minutes. I would cut one a little, then cut the other. When all said and done, I could grasp the coil within �� and not get burned. Here is how much I cut off.
Now to put it back together, it is reverse. There, the front is done!
Now on to the rear. This was much more problematic as there isn�t a good write-up for replacing the rear shackles. So if you want to save your shackles, you are going to need to do stuff different.
You WILL need:
Tools:
Angle grinder
Sawzall
1-⅛� Socket
1-⅛� off-set Wrench
�� Torque Wrench
�� Breaker Bar
Hammer
Punch (I abuse my screwdivers)
�� drill bit in a drill press
Vise
Parts:
PB Blaster
2 �� x 4-�� bolts
13-4100 Rear lowering shackle kit, I found this at Autozone
Tools if you want to keep the old shackle and just replace bushings:
Oxy/Ace torch setup
So you want to level or lower your rear end but want to keep your springs pack? This is for you.
Jack up your truck until the leaf springs are at full extension. I jacked up the frame via the receiver hitch. Then I put jack stands under the frame and lowered the jack. I had the wheels about �� above the floor.
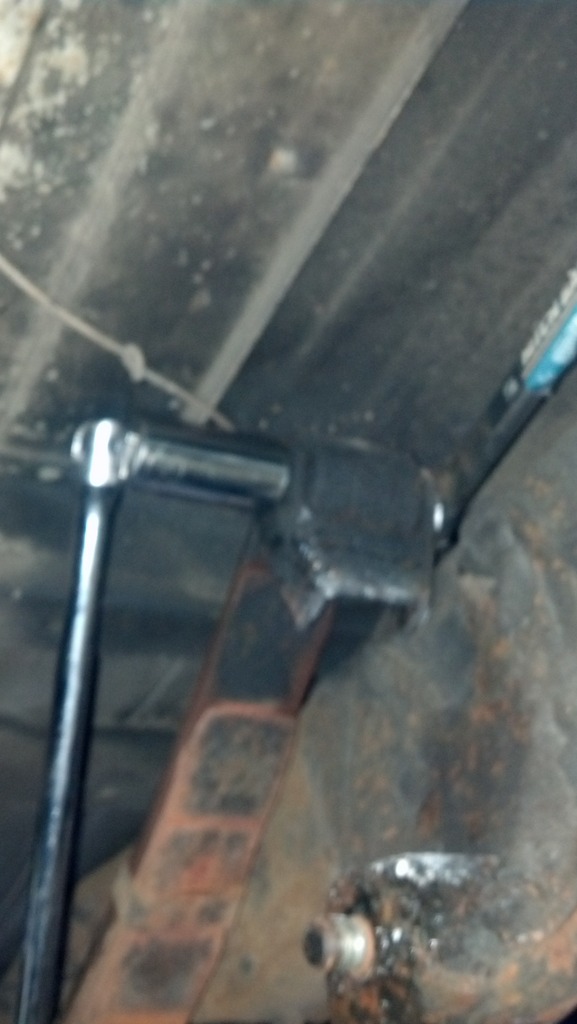
First thing to do is soak the nuts in PB Blaster. Next step I did was check the bolt the leaf spring uses on the shackle. If It spins, you�re in luck. Now test the lower one. Both of mine were rusted in the bushings. If you wanted to save these shackles, now is the time to crack open that torch and use it. For me, I wasn�t keeping them so I cut them off. I first removed the nut and saved it.
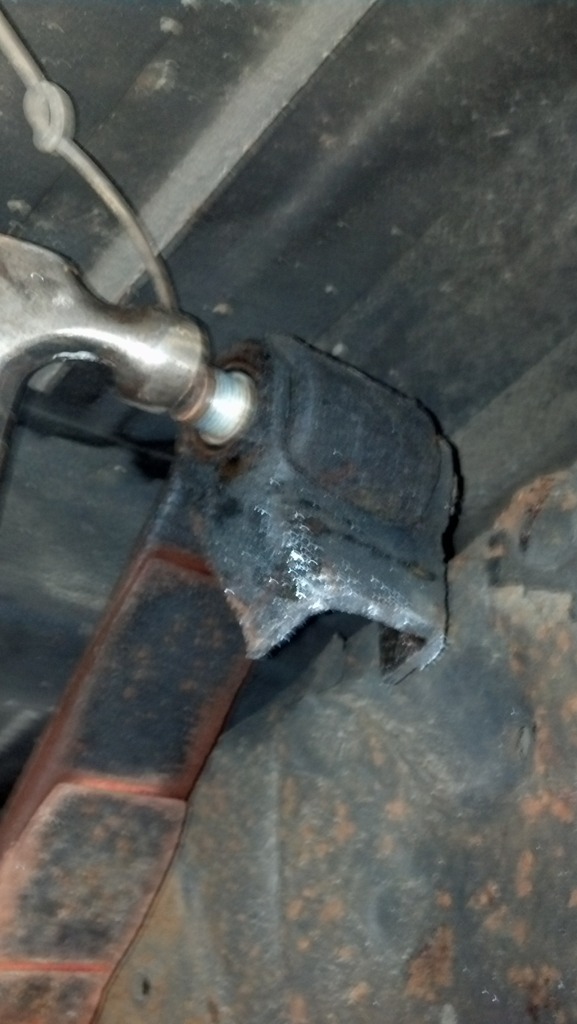
Now take your jack and compress the springs ever so slightly.This helps your saw blade from becoming caught when you cut through. IMPORTANT: Cut as close to the bottom bushing as possible. You are going to want to rotate it.
I could not use my 4� Makita grinder to get the inside bend of the shackle so that is where you need your Sawzall. Yes, I have a Milwaukee.
Now that it is loose, jack up the spring pack until it hits the bottom of the bed. This is important. Break the bolt loose by putting your off-set wrench on the bolt head and your breaker bar on the nut.
Once removed, tap the bolt out. If the spring pack is any less than hitting the bottom of the bed, you cannot get this bolt tapped out.
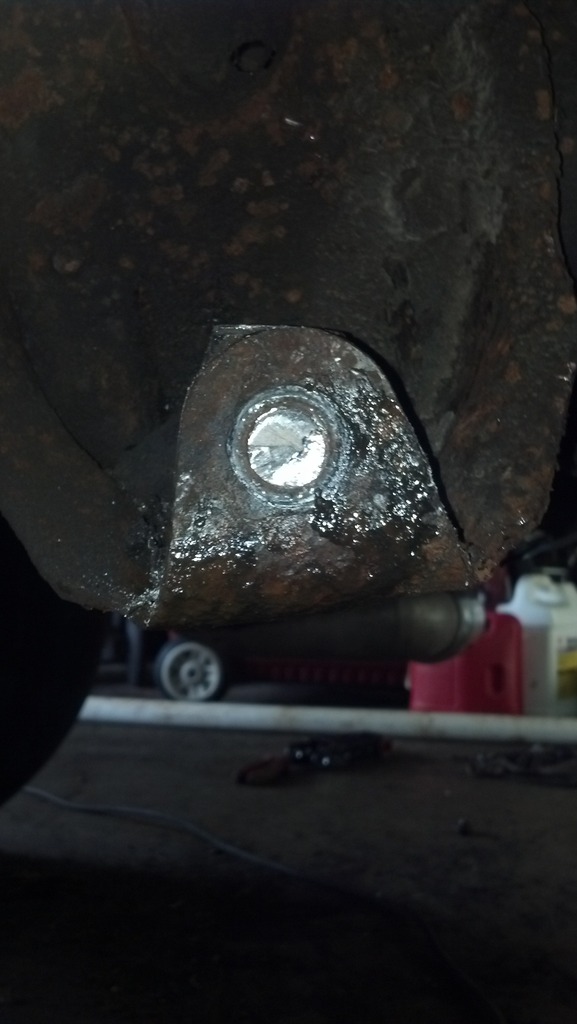
Now, on to the bottom of the shackle. I cut the bolt with a grinder on the INSIDE of the shackle mount.
Now the back part is harder. If you listened, you should have cut this down to pretty much the bushing. Now take your 4� cut-off wheel and cut through the rubber (gonna be smokey) and into the bolt. My angle grinder couldn�t get it all so I rotated it. Eventually it popped off and I could pull the rest of the shackle out.
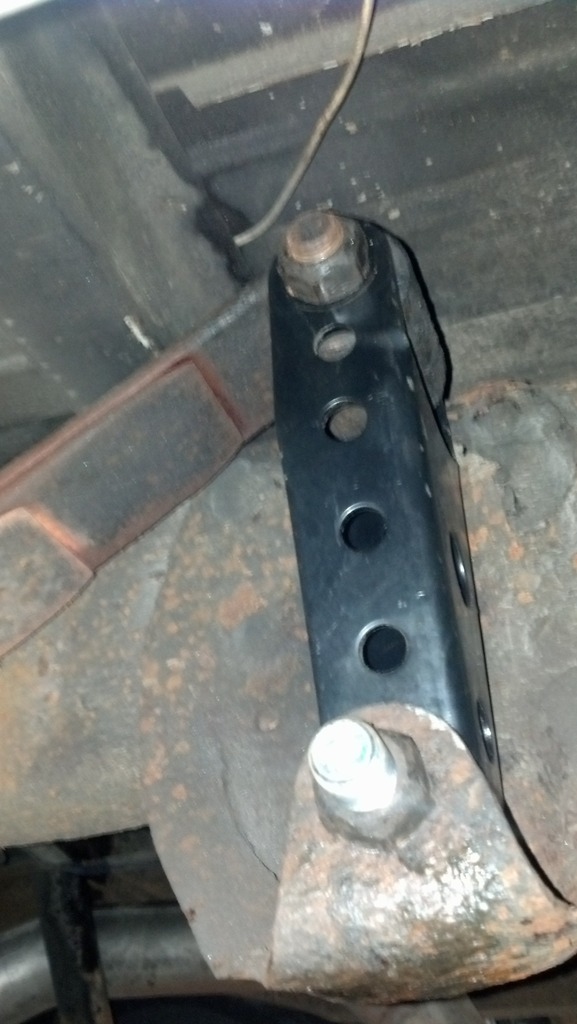
Now take your brand new shackle kit and modify it. It is meant for a Chevy but it worked well for our springs. At the end the spring bolts to is a 9/16� hole. There are 2, one for 1� lower and one for 2� lower. Select which one you want and drill it out to a �� hole. Now for the bushing. Knock the metal sleeve out. The hole that it is in is �� big. Couple of people who I have read about using these knock them out. So I did so. Sorry, no pics as I got excited getting this far and I needed to hurry up so my wife could leave for work. I torqued the nut to 85ft lbs.
Now bolt it to the spring FIRST. Then lower the axle until you can get the bottom bolt lined up. Torque to 85 ft lbs.
There you have it, a lowered rear. When it stops raining, I will get some after pics. Overall it is 2" lower. I can fit into my garage now where before it was a very (1/4") tight fit. It is easier to get into now too!
 05-04-2015, 12:57 AM
#2
Registered User
That's about how i did my truck. I also flipped the front shackle mount and bolted it back in. On the front i took the socks off as well and cut the threads off, took about 2" out of the shaft and welded them back on so the socks would in essence have the same travel. Just need to redo my brackets for my rear air lift bags so i can tow a decent load. Great writeup sir
05-05-2015, 08:44 PM
#7
Registered User
Thread Starter
Trending Topics
05-06-2015, 05:21 PM
#9
Registered User
Thread Starter
Good question... I don't like the price of 22s... I will look. That said...
150 mile update.
Hoe. Lee. Crap. Best mod yet. It no longer crashes over/into road imperfections like pot holes that our great state of Illinois doesn't fix. It drives a bit more sturdy. More controlled. Toe changed from 3/16" inward to dead straight. It handles much better. Part of this is due to the spring rate change with less spring. The rear is rides just as it did before, a bit stiff but still controlled.
05-07-2015, 06:51 PM
#10
Registered User
Nice work, Jon! I've been contemplating lowering the rear of mine 1" or 2" to level it out. Sounds like it might improve the ride a little bit as well. That's always a bonus!
12-11-2015, 11:28 PM
#11
Registered User

Join Date: Dec 2015
Posts: 15
Likes: 0
Received 0 Likes
on
0 Posts
I actually just bought this truck that you did the write up on. And I am planing on putting it in the weeds. Got drop spindles and bags ordered. Can't wait to have it slammed to the ground. Couldn't belive it when I found this thread. I'll try to post pics foe you guys. Just thought I would share, small world lol.
12-12-2015, 06:32 PM
#13
Registered User
I actually just bought this truck that you did the write up on. And I am planing on putting it in the weeds. Got drop spindles and bags ordered. Can't wait to have it slammed to the ground. Couldn't belive it when I found this thread. I'll try to post pics foe you guys. Just thought I would share, small world lol.
Congrats on picking up this truck.
12-19-2015, 12:03 PM
#14
Registered User
Thread Starter
12-23-2015, 10:47 PM
#15
Registered User
Join Date: Dec 2015
Posts: 15
Likes: 0
Received 0 Likes
on
0 Posts
Thrashing, you are correct. They do not make drop spindles for these trucks. The salesman told me he had them but he was mistaken. I've heard that some other guys have used drop spindles for a chevy and made them work on these trucks. But I dont feel like messing with all of that. I'm going to get it on the ground with what comes on the truck.
Like alot of guys on here I don't have much funding and am doing this on a tight budget. So far I have cut away the pockets the springs went into to make room for the bags. Plasma cutter made quick work of this. Then I used a grinder to clean up from cutting. After that ill glue on some rubber hose to protect the bag from the steel edges.
As far as mounting the bags it's actually pretty easy to do on these trucks. They sell on ebay pretty cheap basic bag mounting plates that you can modify or weld. For the bottom control arm I'm just going to fabricate a plate to weld in with a hole to bolt the bag to.
For the top I'll use one of the plates you can purchase and some thick wall pipe that will be long enough to fully compress the bag when deflated to get the maximum travel out of the bag possible. Then a long stud in the center of the plate will go through the old top shock mount hole to hold it all in place. Pretty simple, then I will just fab up new shock mounts.