Crewcab update...
 10-10-2012, 08:59 PM
#31
Registered User
Thread Starter
SO I did the rear door weather stripping a few weeks ago....Here's the link to the thread I made at that time.
https://www.dieseltruckresource.com/...p-t306620.html
https://www.dieseltruckresource.com/...p-t306620.html
 10-10-2012, 09:01 PM
#32
Registered User
Thread Starter
Well I finally got around to installing a muffler on my truck. The straight pipe was fun for a while...but it was starting to annoy me.
Funny story on how I ended up with the muffler. I was working on the truck one day when an older couple, out for a walk around the neighborhood, stopped and asked me if my truck was a cummins. I told them "Yes it is." The man then asks me if it had a mufler...I was a little uneasy on where this line of questioning was going....did this guy have a beef with me and my straight pipe? But my fears were for not. He asks if I wanted a free muffler. He had just put a new exhaust system on his 03? Cummins and had this 4" muffler just taking up space. SO I said I was actually thinking about putting a muffler on the truck so drop it off anytime.
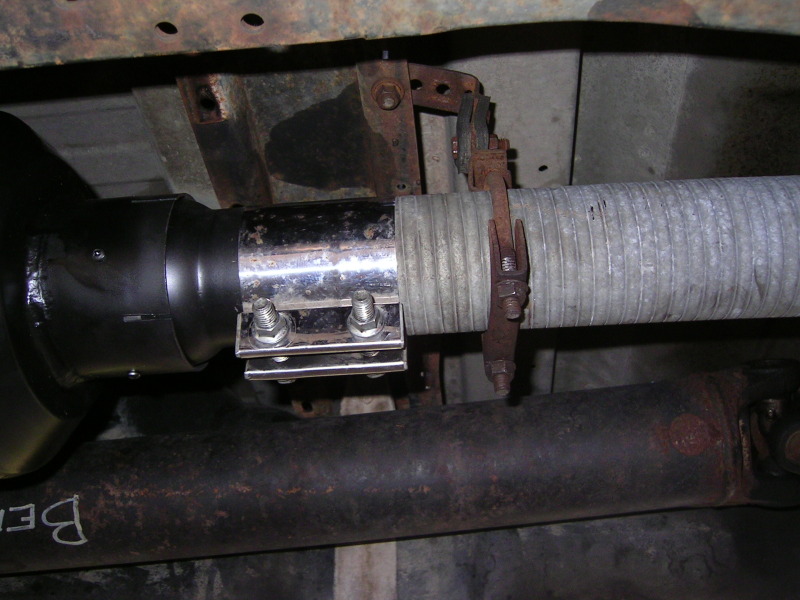
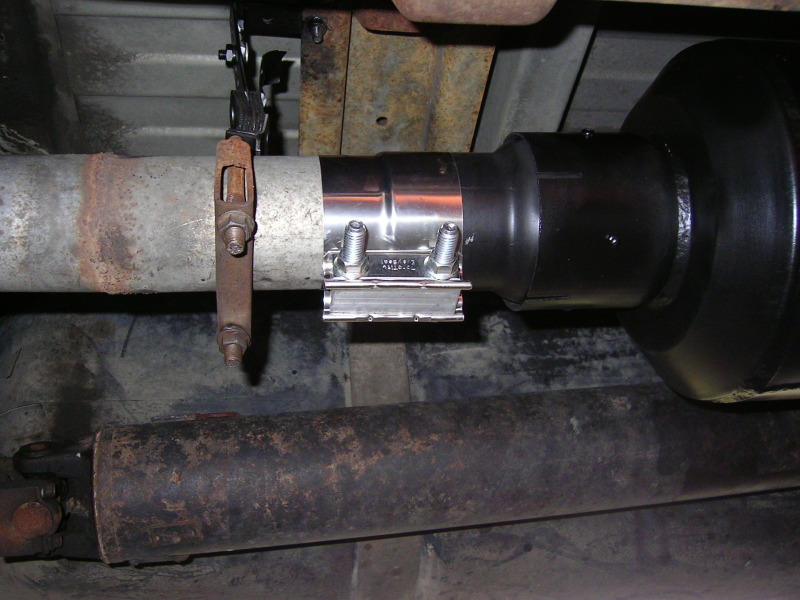
So that is how I ended up with this 4" muffler. It was in great shape, gave it a good cleaning and then painted it black. Then I got a couple 4" to 3" reducers and screwed them in place. Didn't want to weld it since I will eventually be going to a full 4" system and wanted to be able to re-use the muffler easily.
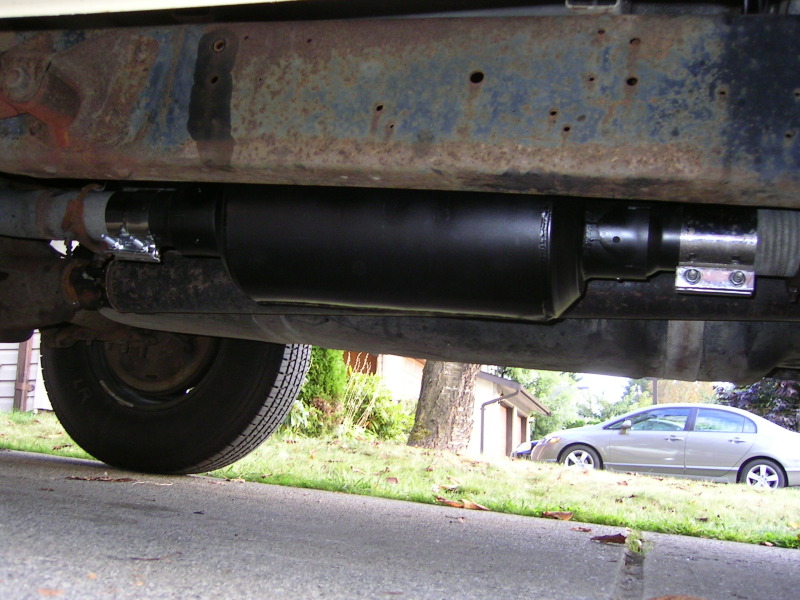
Anyway a couple hours and it was in. Had to redo all the exhaust hangers, but I keep enough spare exhaust parts around it cost me nothing. I'm into the whole muffler for about $50. That makes my whole exhaust from turbo to tailpipe at about $100.
Few pics...
Inlet...
Outlet...
And installed...
Funny story on how I ended up with the muffler. I was working on the truck one day when an older couple, out for a walk around the neighborhood, stopped and asked me if my truck was a cummins. I told them "Yes it is." The man then asks me if it had a mufler...I was a little uneasy on where this line of questioning was going....did this guy have a beef with me and my straight pipe? But my fears were for not. He asks if I wanted a free muffler. He had just put a new exhaust system on his 03? Cummins and had this 4" muffler just taking up space. SO I said I was actually thinking about putting a muffler on the truck so drop it off anytime.
So that is how I ended up with this 4" muffler. It was in great shape, gave it a good cleaning and then painted it black. Then I got a couple 4" to 3" reducers and screwed them in place. Didn't want to weld it since I will eventually be going to a full 4" system and wanted to be able to re-use the muffler easily.
Anyway a couple hours and it was in. Had to redo all the exhaust hangers, but I keep enough spare exhaust parts around it cost me nothing. I'm into the whole muffler for about $50. That makes my whole exhaust from turbo to tailpipe at about $100.
Few pics...
Inlet...
Outlet...
And installed...
 10-10-2012, 09:35 PM
#34
Registered User
Thread Starter
I have to say that the muffler did quiet it down a little...but still has a nice deep, throaty sound. It took off a lot of the harshness the straight pipe produced. Much less drone in the cab too. And I have noticed no increase in my EGT's either.
10-11-2012, 07:03 AM
#35
Registered User
i reduced mine from 4" straight pipe to the similar 3 chamber muffler, and same complaint, too quiet, i took a 2' extention drill bit, and popped 3-2" holes, through the chambers, to get it just right, and still deep in sound.
10-11-2012, 11:53 AM
#36
Registered User
Thread Starter
Actually this muffler was not chambered. It is a straight shot through the muffler. It just has baffles and protrusions sticking out into the projected exhaust flow to help eliminate some of the resonance.
10-11-2012, 01:15 PM
#37
Registered User
Maybe when you crawled out from under the truck and looked 2ft down at him he realized he better not complain and just give you something instead??
10-12-2012, 04:34 AM
#38
Registered User
Join Date: Dec 2010
Location: Land of the Toxic Avenger
Posts: 6,770
Received 1,637 Likes
on
1,112 Posts

IMO linex was the way to go......
Truck looks great. Thanks for the tip on the drip rails, as I need to do that this spring......yuk, I'm not looking forwards to it.
 10-14-2012, 12:44 AM
#39
Registered User
Thread Starter
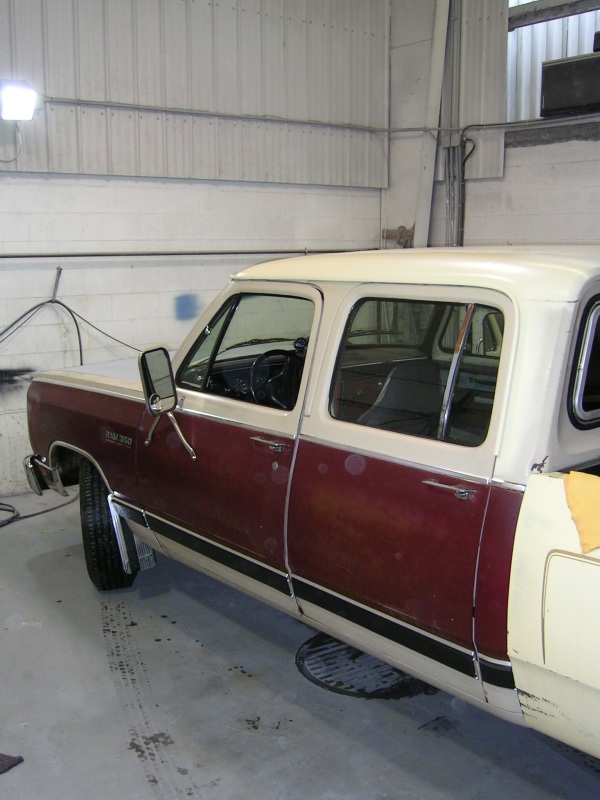
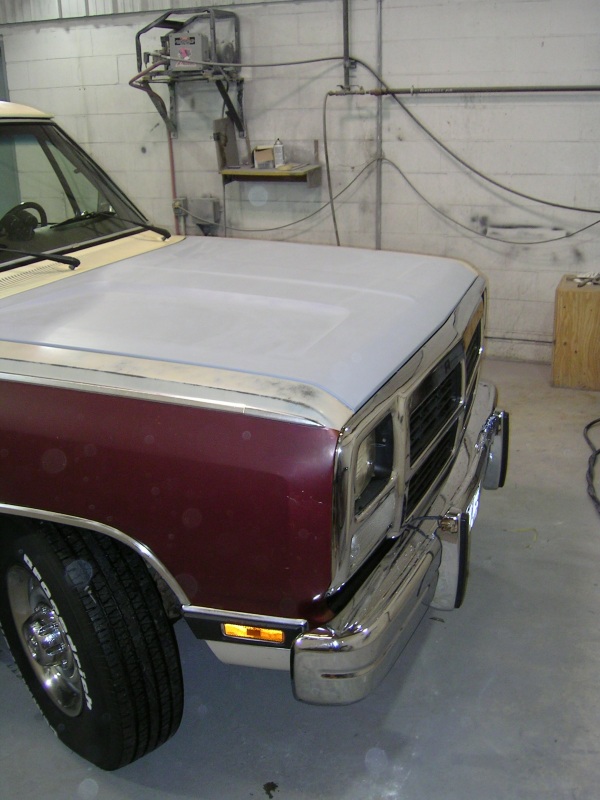
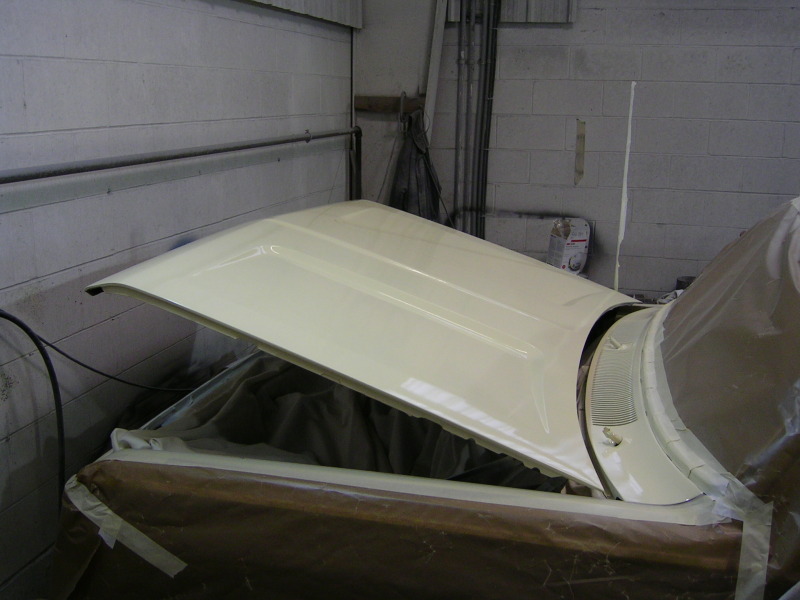
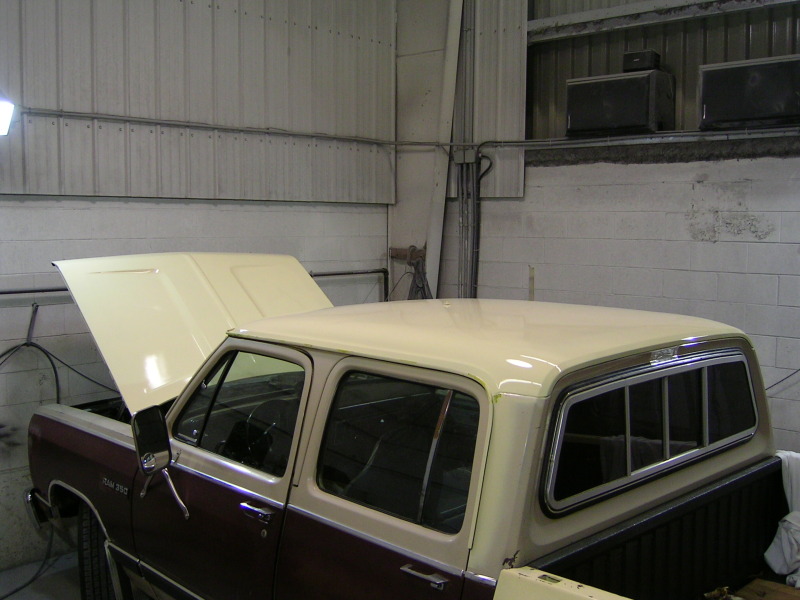
So today I painted the hood and roof. Been waiting for a time that worked for my neighbour, and his work, to let us use their wash bay to do some painting. The wash bay was anything but clean...they pressure wash industrial fiberglass pieces...so there is a ton of dust and dirtin the room. I wasn't looking for a show finish so whatever. It was dry, with heat, and a desert dry air system.
Anyway here are some pics....
Nosed in...not much room for a 22+ foot long truck...
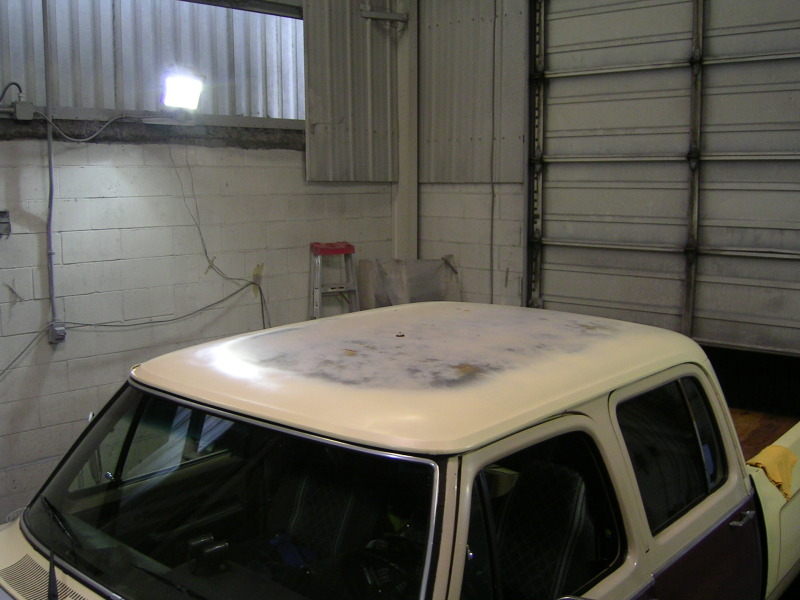
Pic of the paint bare roof...
Anyway here are some pics....
Nosed in...not much room for a 22+ foot long truck...
Pic of the paint bare roof...
10-14-2012, 12:47 AM
#40
Registered User
Thread Starter
Now masked off and ready for the 1983 Toyota #557 Creme....
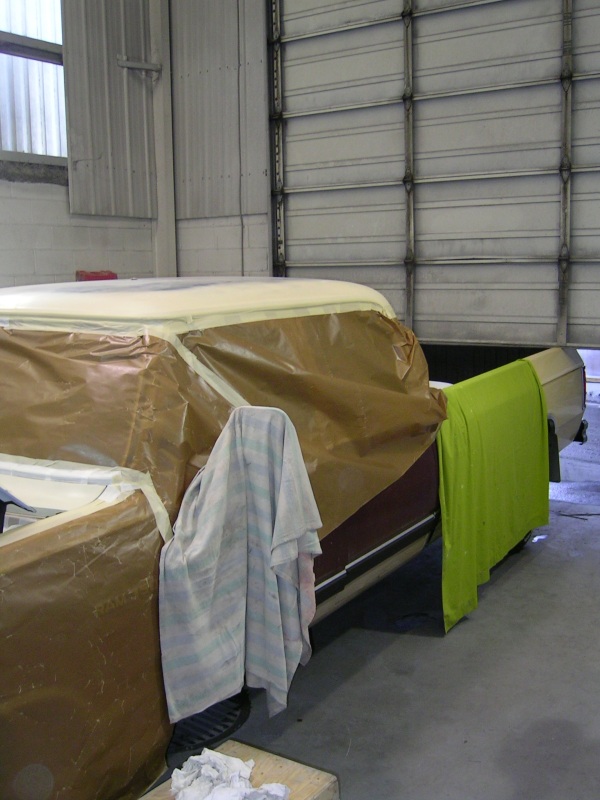
I had never sprayed anything with a gun before, so this was new to me. Used a HVLP gun and did 3 coats.
I had never sprayed anything with a gun before, so this was new to me. Used a HVLP gun and did 3 coats.
10-14-2012, 12:54 AM
#42
Registered User
Thread Starter
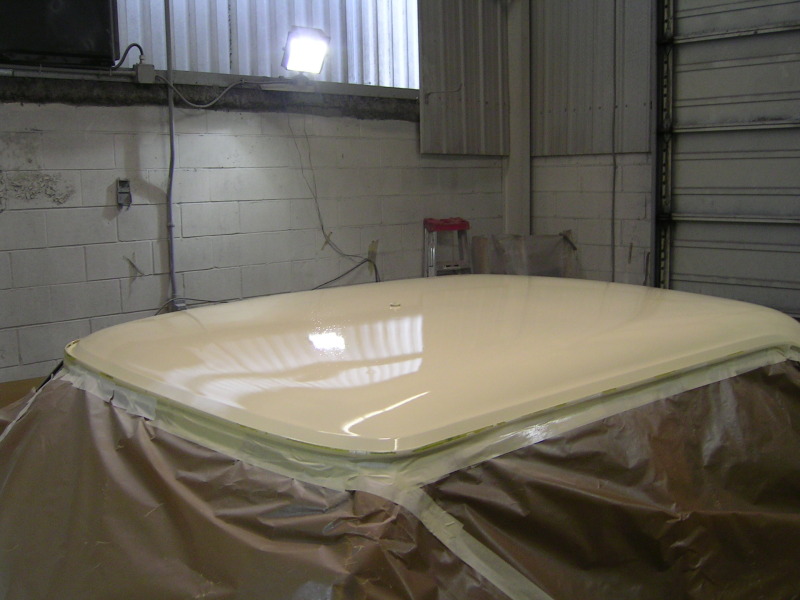
Shoved the truck almost to the front wall and had just enough room to shut the big door. We let it sit for about 10 your in the heat to dry up. Came back...pulled the masking and I drove it home. Like I said, lots of dust in the paint, but it is a lot better then it was.
 10-14-2012, 11:19 AM
#45
Registered User
Thread Starter
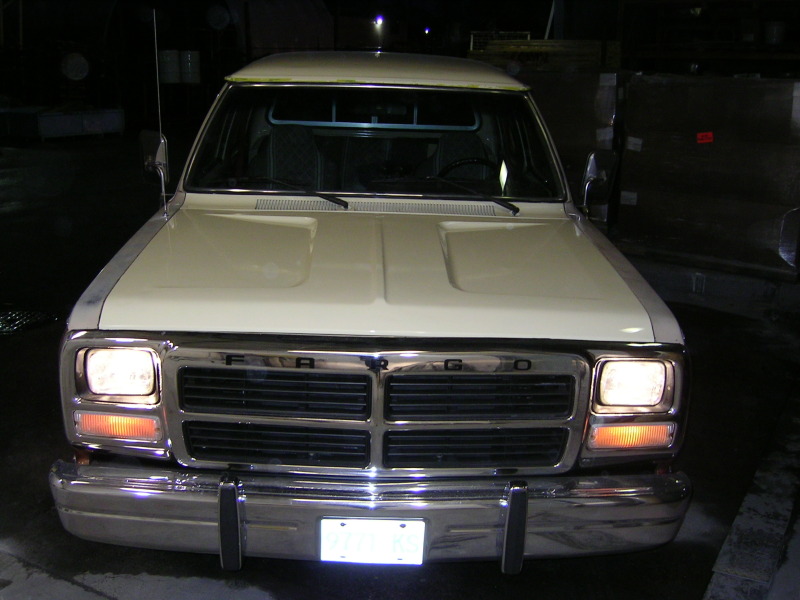
Thanks guys...I'm pretty pleased with the out come...but I wonder now why I didn't paint the tops of the fenders while I was at it...
Will the 2000 grit work on a single stage enamel paint?
Will the 2000 grit work on a single stage enamel paint?