When you click on links to various merchants on this site and make a purchase, this can result in this site earning a commission. Affiliate programs and affiliations include, but are not limited to, the eBay Partner Network.
1st Gen. Ram - All TopicsDiscussion for all Dodge Rams prior to 1994. This includes engine, drivetrain and non-drivetrain discussions. Anything prior to 1994 should go in here.
Thanks guys! I'll do a thread on it when I get some time.
Ollie you were 100% right about the large amount of R/D time involved. I only had to re-cut a few pieces...lol.
I got more done on the frame. The bad section is cut out. The "new" section is a piece I cut out of the top side of the parts truck frame. The frame and the new section have been fitted up and all of the edges beveled. If weather and time permit I'll sand blast the area around the cuts and get it tacked up. Might even get it welded. Then I'll grind down the welds and fish plate the inside of the frame repair.
I used the top side of the parts truck frame because of the rivet holes. I figured they'd make good drain holes to keep it from rotting out again.
I also cut out the cracked sections at the very back of the frame and welded in some "new" frame sections. I'll throw up some pics soon.
Well.. I wouldn't say "them" since only one is done. I have the pieces cut for the other one. I'm guessing around 8-10 hours total so far. Couple hours here couple hours there.
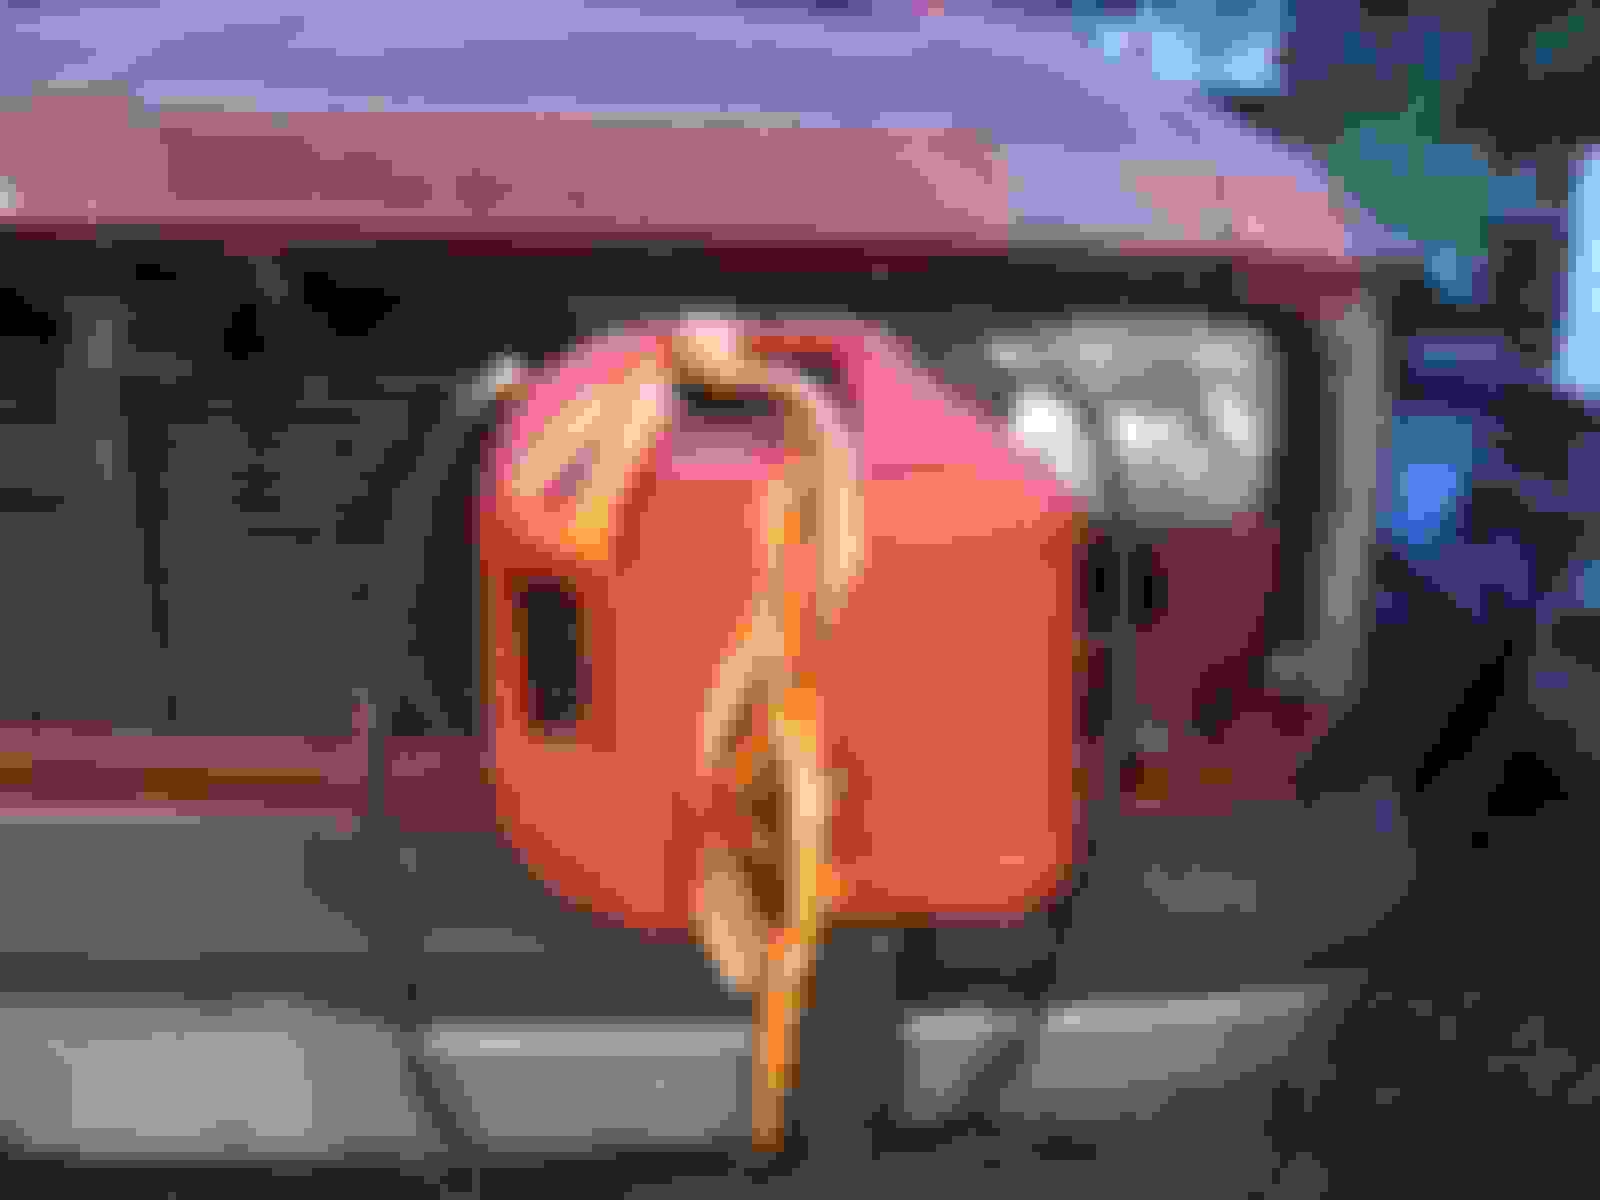
I got my temporary fuel tank plumbed up last night. 3 pushes on the lift pump primer and fuel was squirting. I hit the key and she fired right up and ran. 15 PSI at the filter!
The line from the "spout" goes to the lift pump. There is a piece of fuel line inside the fuel can that ends about an inch from bottom of the fuel can. The other line is the return from IP.
I got my temporary fuel tank plumbed up last night. 3 pushes on the lift pump primer and fuel was squirting. I hit the key and she fired right up and ran. 15 PSI at the filter!
Hoping to get the frame welded up tonight.
After having my truck for 20years anything that turns over more than once before it starts seems wrong.
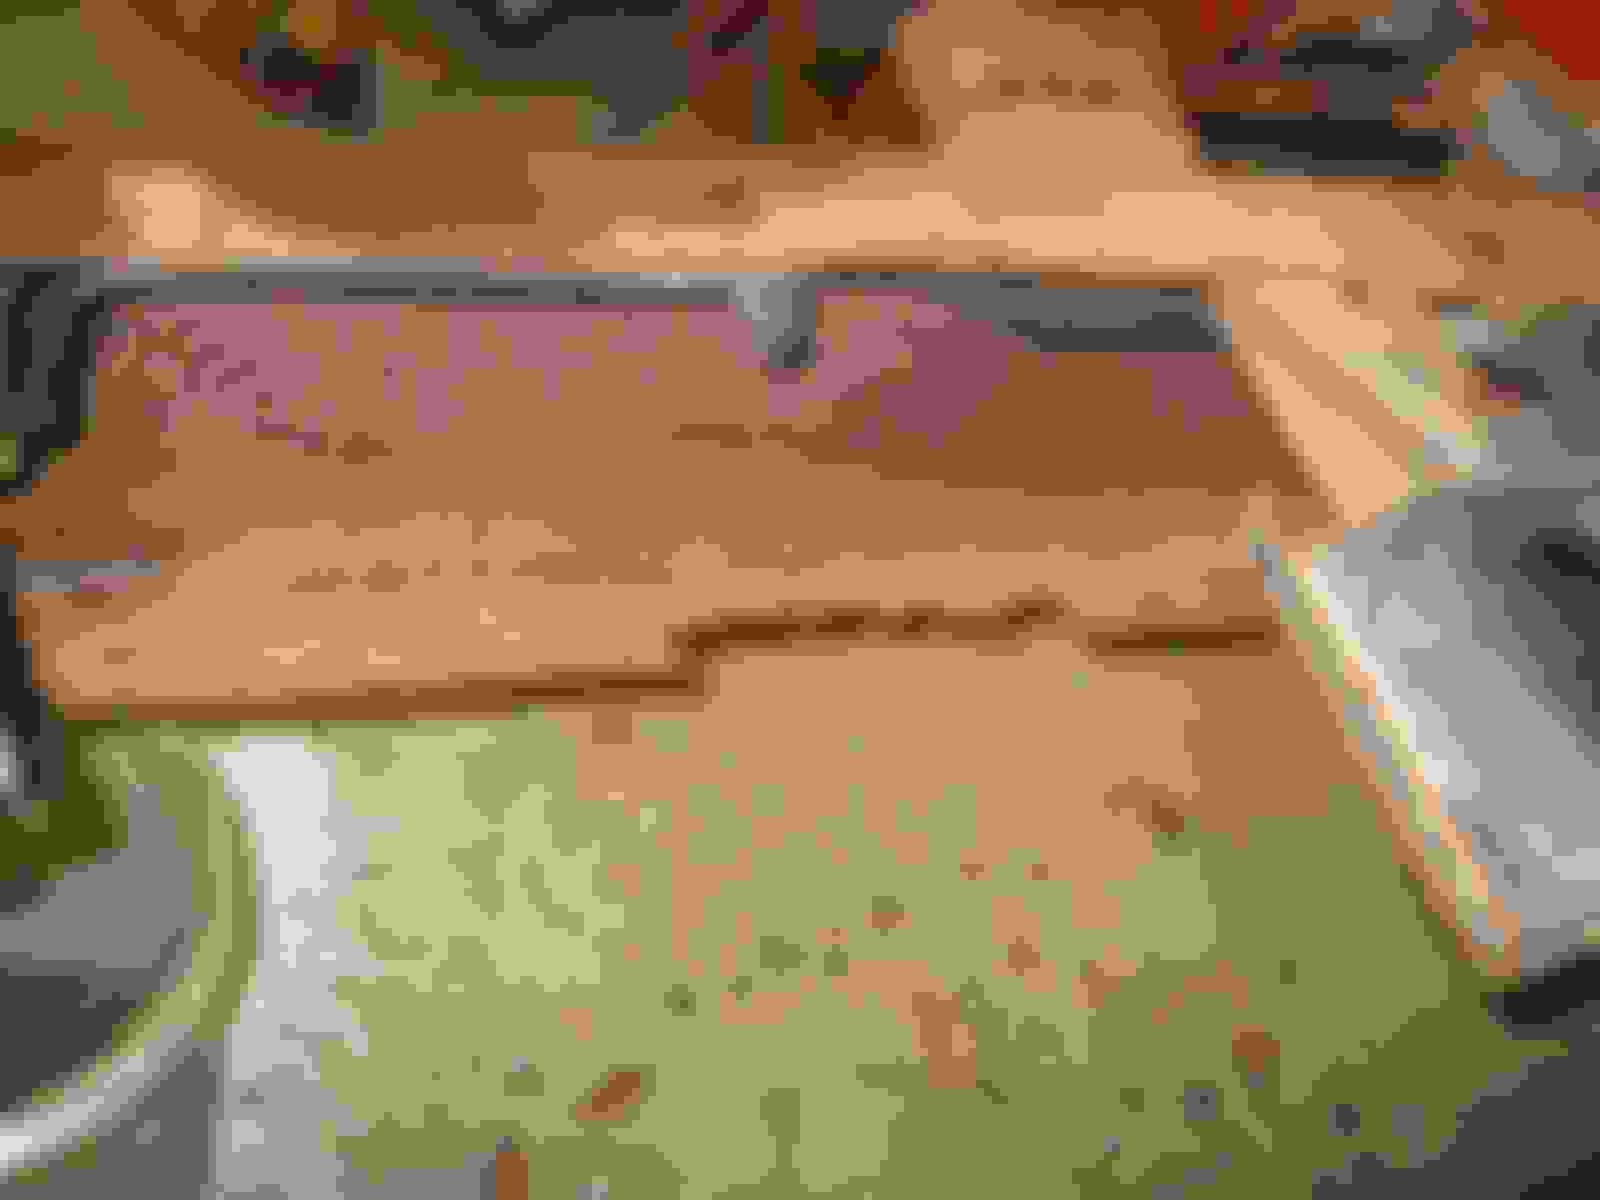
Got the frame all welded up. Doesn't look too shabby. And it's only a little warped...lol. My grand plan to sand blast everything was going well until I put some size "medium" Black Diamond blasting grit into the blaster. It cut great for about a minute then clogged. 10 minutes of goofing with it to unclog it. Blast for a minute or so then clogged again. Repeat twice. I usually use the "fine" size which doesn't clog but doesn't cut very aggressively. I finally said Chuck it Farley and went at it with the knotted wire wheel. It took most of the rust off and polished the rest. Consequently I had a few spongy welds that I had to grind out and re-weld. Welds aren't the prettiest (not a professional welder) but the penetration is there. As I always tell my cousin Andy...It ain't for pretty!
Got the frame all welded up. Doesn't look too shabby. And it's only a little warped...lol. My grand plan to sand blast everything was going well until I put some size "medium" Black Diamond blasting grit into the blaster. It cut great for about a minute then clogged. 10 minutes of goofing with it to unclog it. Blast for a minute or so then clogged again. Repeat twice. I usually use the "fine" size which doesn't clog but doesn't cut very aggressively. I finally said Chuck it Farley and went at it with the knotted wire wheel. It took most of the rust off and polished the rest. Consequently I had a few spongy welds that I had to grind out and re-weld. Pics tomorrow...I'm beat.
When I was cleaning the back of my frame up I gave up on the sand blaster and the wire wheel. The blaster got about 65%, the wire wheel just got the loose rust off. It looked nice and smooth till I took the grinding disk and quickly realized the rust was much thicker than I thought.
I was afraid that if I took the 7" grinder to it I'd end up with a 1/16" thick frame!
The wire wheel will get the loose stuff off and polish the rest. I was really working the wire wheel hard. I find that the knotted or twisted wire wheels are more aggressive than the crimped wire wheels but not as good at getting into fine areas like bolt threads.
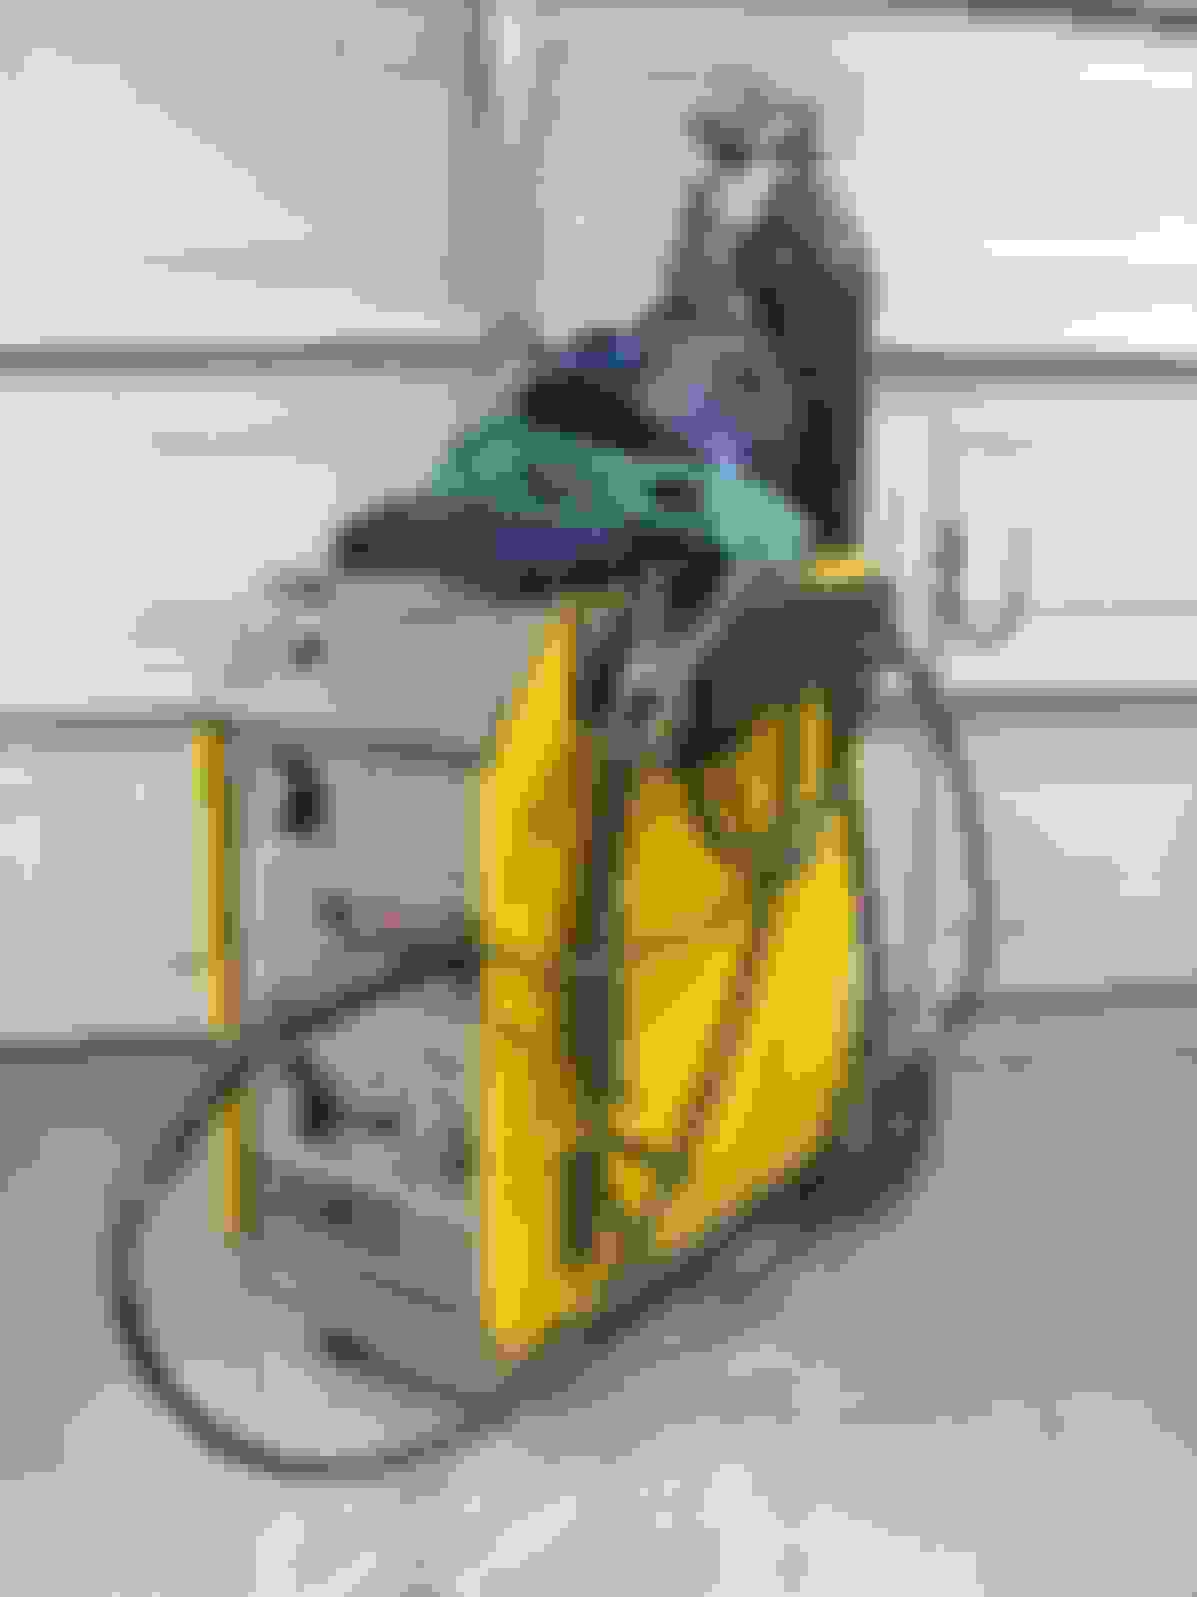
I should probably have used 6011 rods in the stick welder. They burn through rust, paint, etc pretty well. But... its been a loooong time since I welded out of position with 6011 rods. Been a long time since I used them at all. I'm spoiled by MIG. Plus: It's a good day when I get to run the ESAB MM250!
The Big Yellow Beasty