


Finished [S]tabbing my KDP to death!


Thread Starter
DTR question asker
Joined: Dec 2006
Posts: 869
Likes: 0
From: Chapel Hill, NC
Finished [S]tabbing my KDP to death! (LOTS of pics)
Well, I got everything back on the truck today! Started monday afternoon and worked on it a little bit each evening this week and got everything put back together today. I took pictures of everything up to tabbing the KDP, from then on it was just doing stuff in reverse. I will say it was a lot of work... the hardest part was getting the fan and shroud out. Oh and make sure you read each step entirely with the TST kit before you start performing an operation, because sometimes things show up a little later than they should  .
.
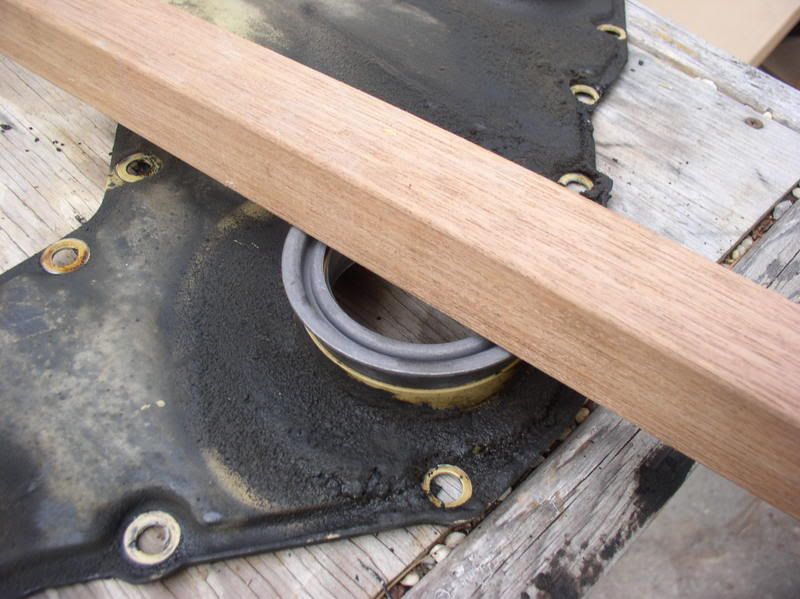
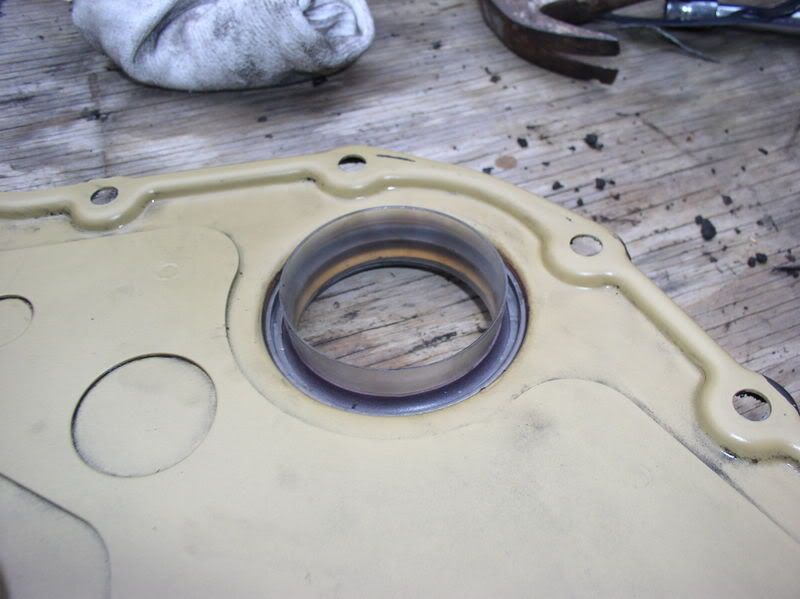
And don't be like me and spend 10 minutes trying to put the crank seal in backwards... LOL. That was one of those "make sure you read the whole paragraph first" moments. Enjoy the pics!
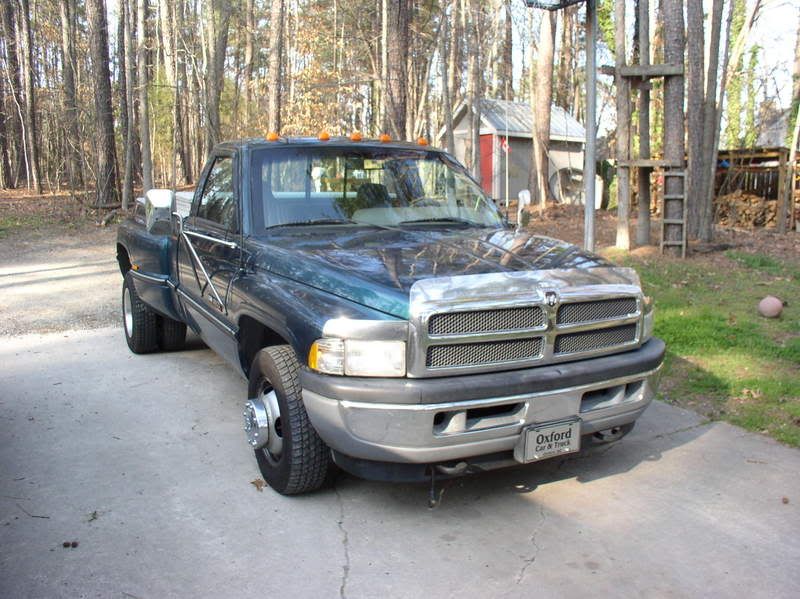
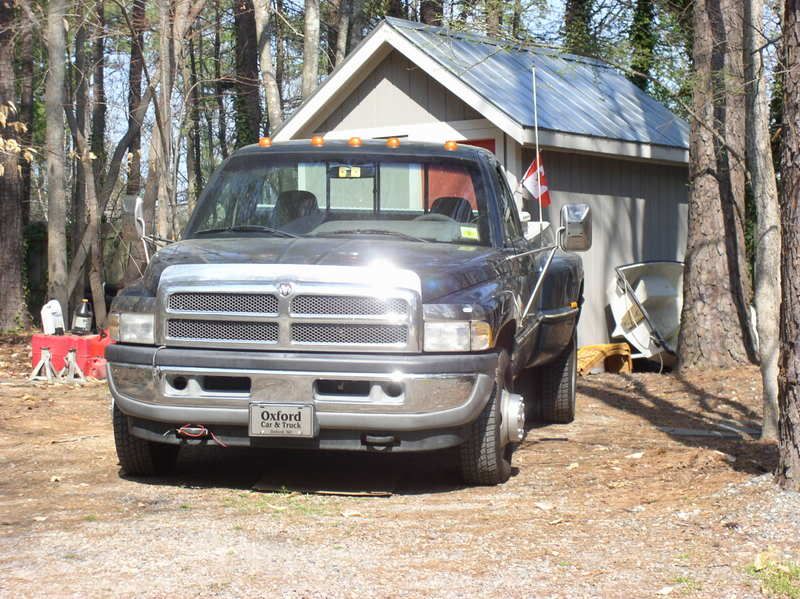
Truck before I tore her front end apart
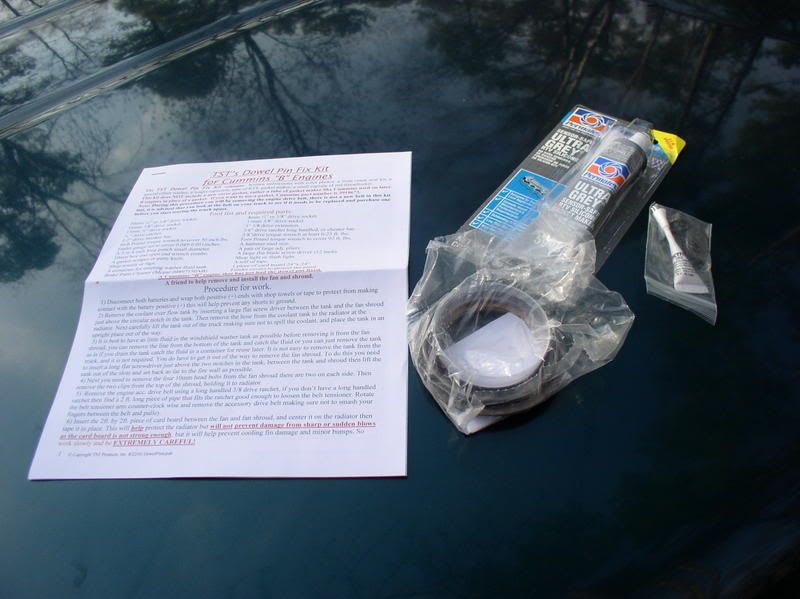
The TST KDP Tabbing Kit
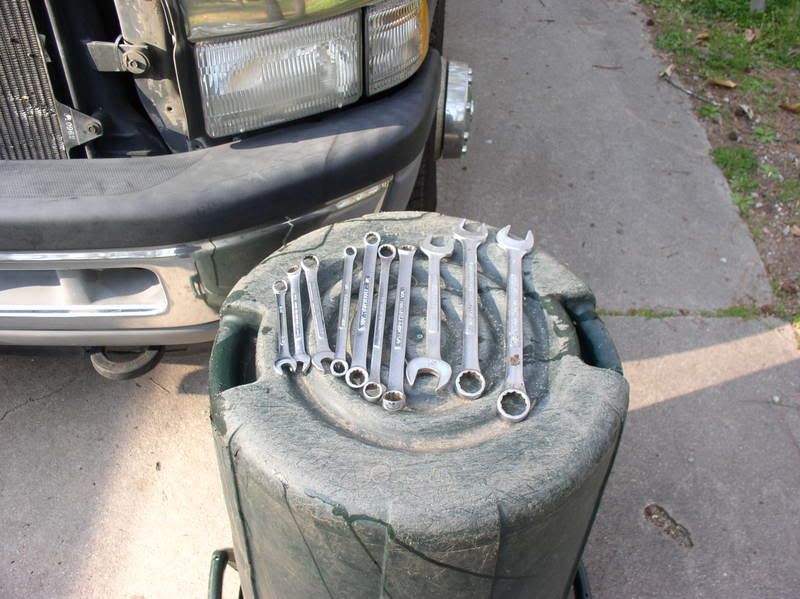
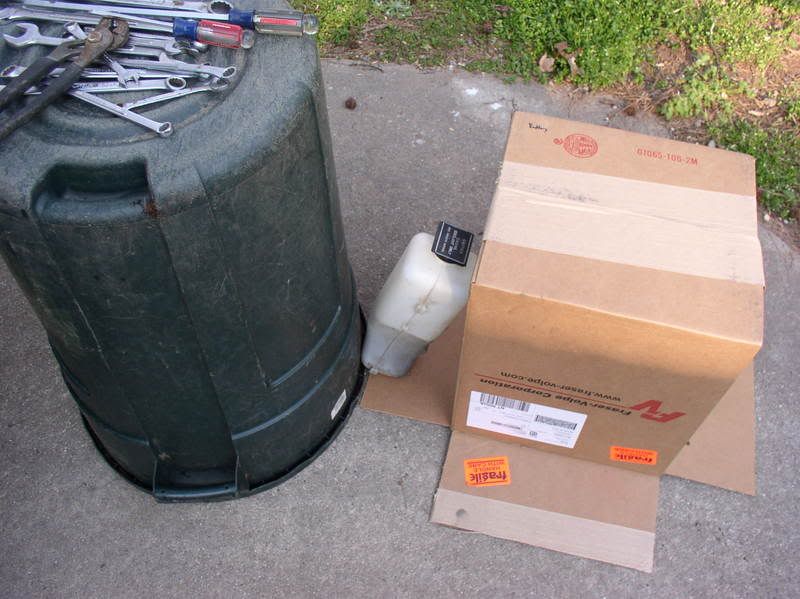
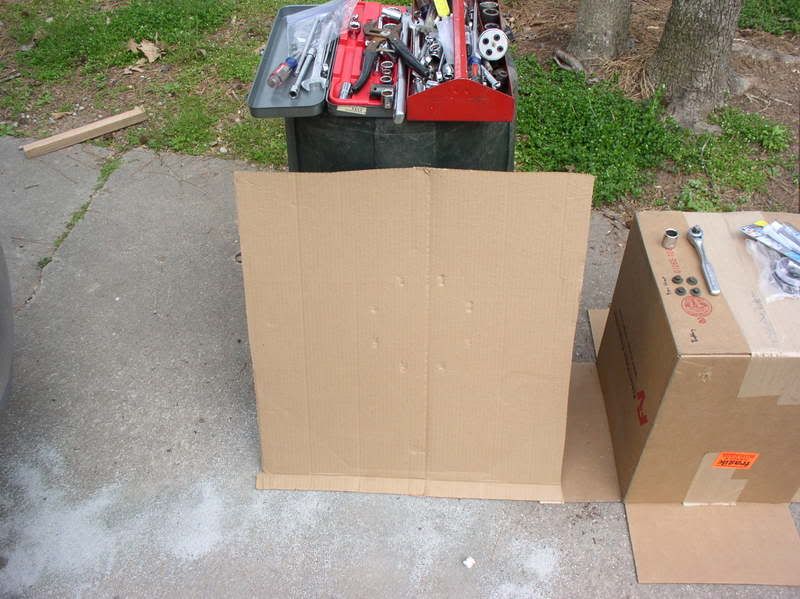
My extremely high tech workbench with some random wrenches I brought down from the toolshed
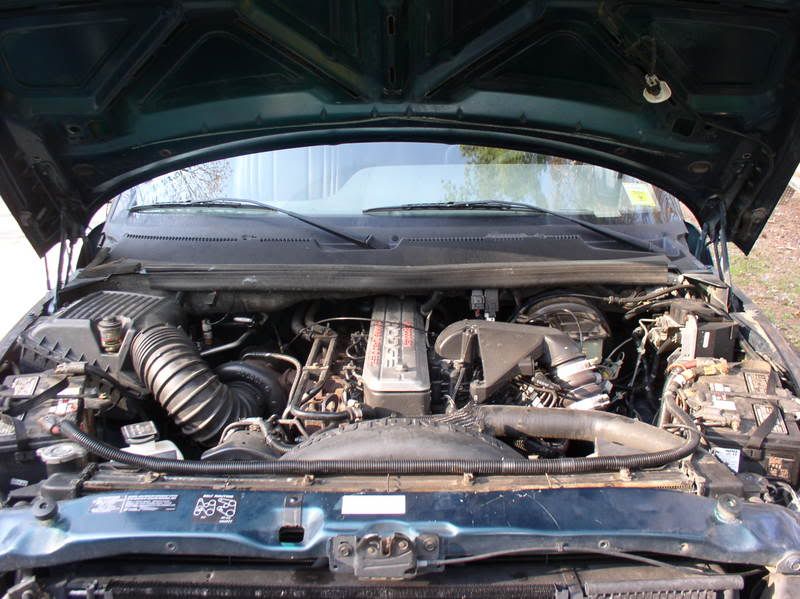
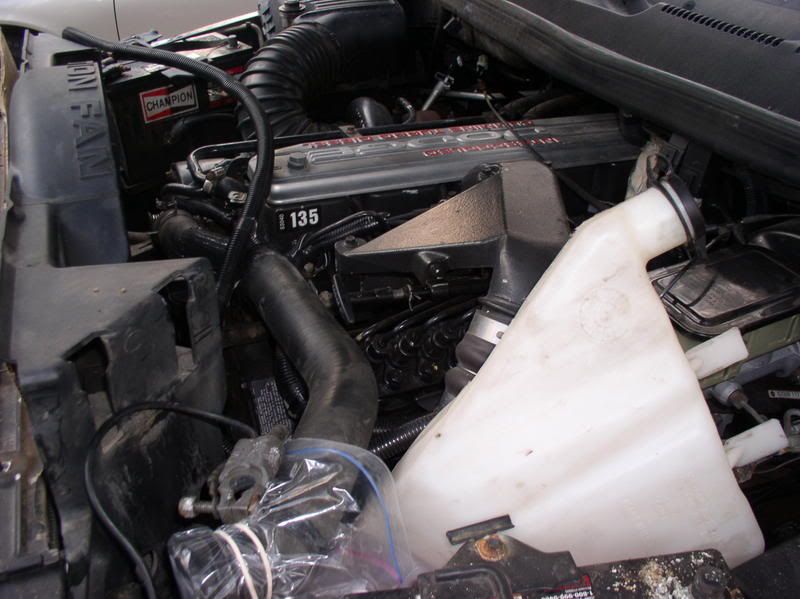
Under the hood
Disconnecting negative
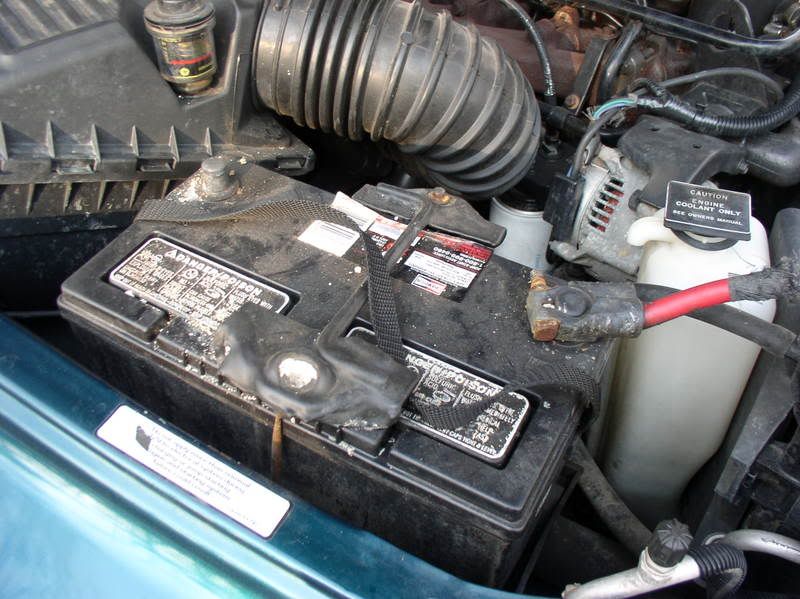
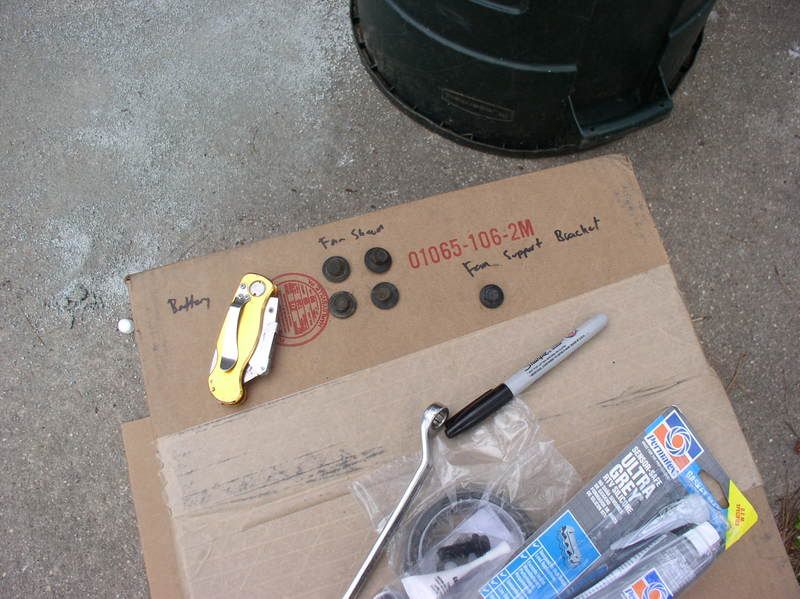
My cardboard box for punching bolts into and labeling where they went & overflow tank removed
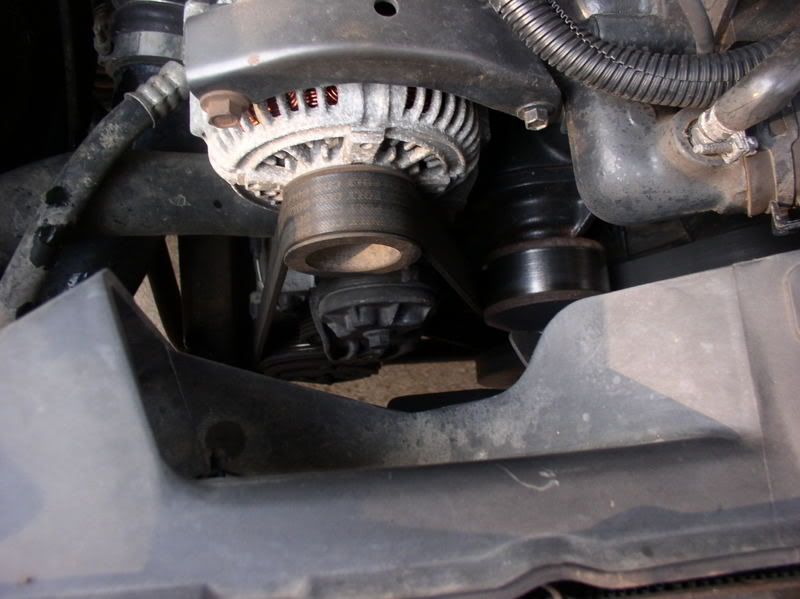
Space left from removing overflow tank
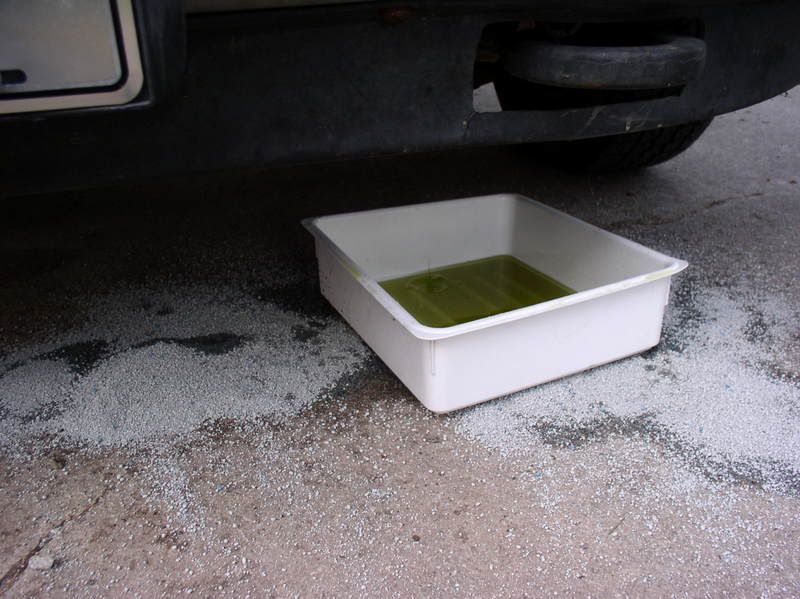
Removed the top radiator hose... and unleashed a flood of antifreeze. Thank god for having cats
Drip... Drip... Drip...
.And don't be like me and spend 10 minutes trying to put the crank seal in backwards... LOL. That was one of those "make sure you read the whole paragraph first" moments. Enjoy the pics!
Truck before I tore her front end apart
The TST KDP Tabbing Kit
My extremely high tech workbench with some random wrenches I brought down from the toolshed
Under the hood
Disconnecting negative
My cardboard box for punching bolts into and labeling where they went & overflow tank removed
Space left from removing overflow tank
Removed the top radiator hose... and unleashed a flood of antifreeze. Thank god for having cats
Drip... Drip... Drip...
Thread Starter
DTR question asker
Joined: Dec 2006
Posts: 869
Likes: 0
From: Chapel Hill, NC
STUPID WASHER TANK MOVE OUT OF MY WAY
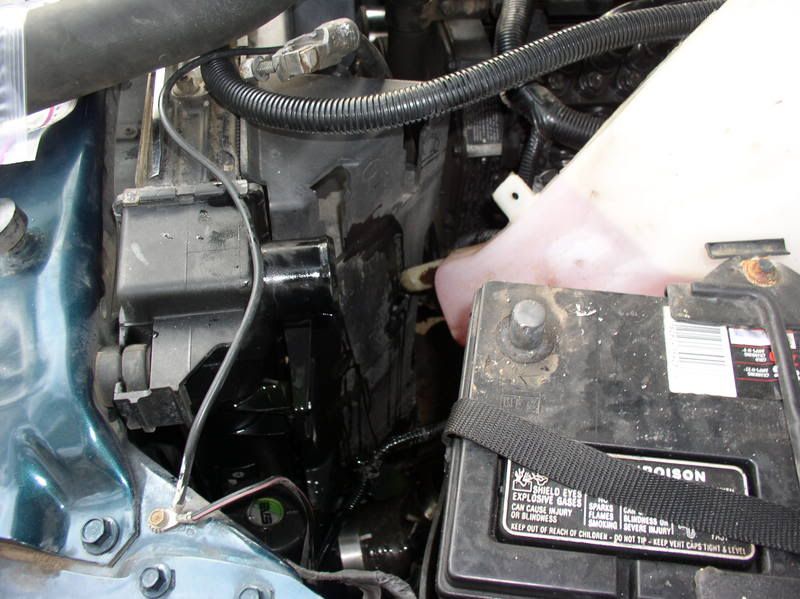
More progress
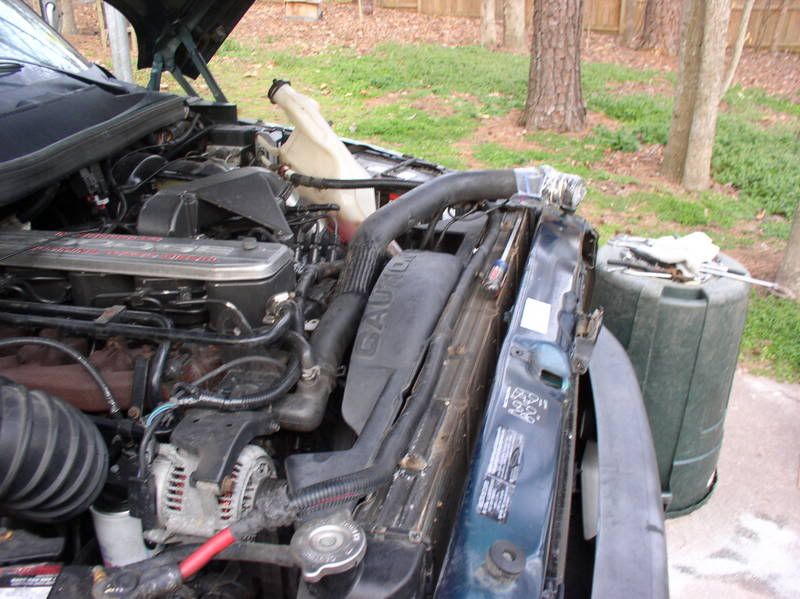
The next day
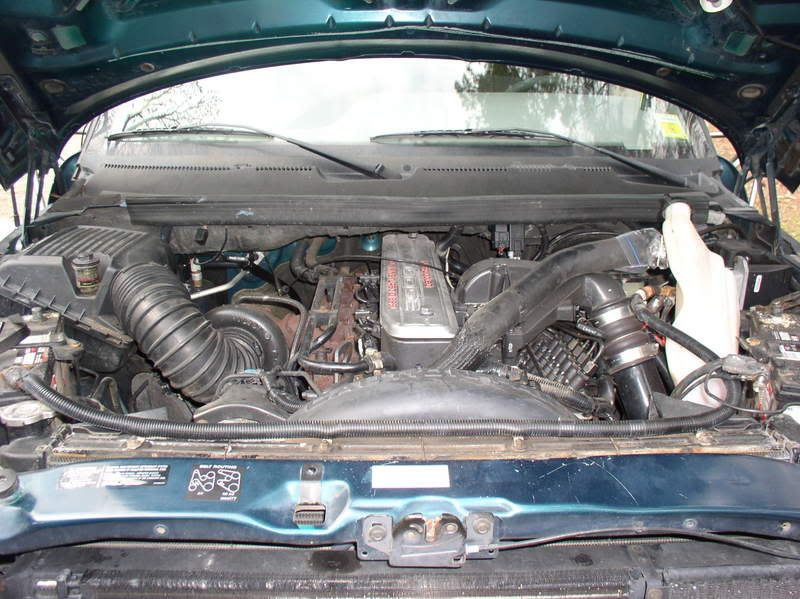
My best friend in this project...
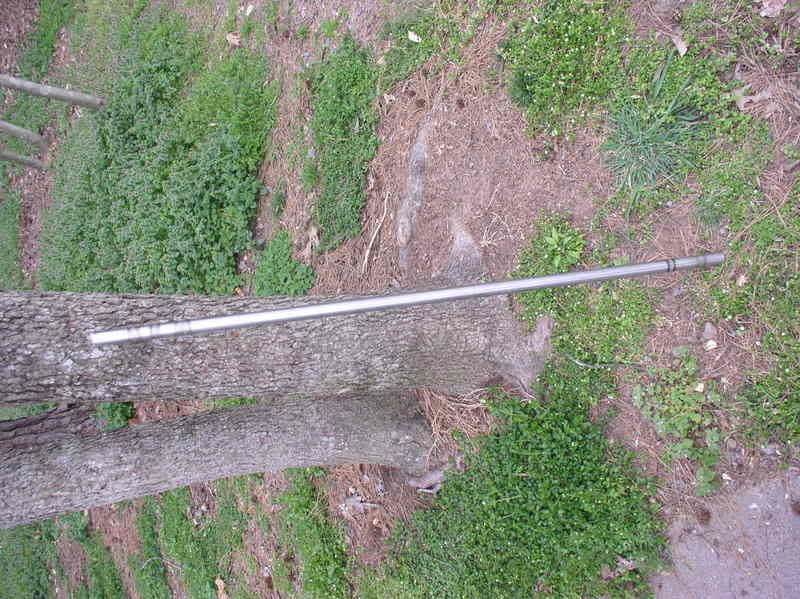
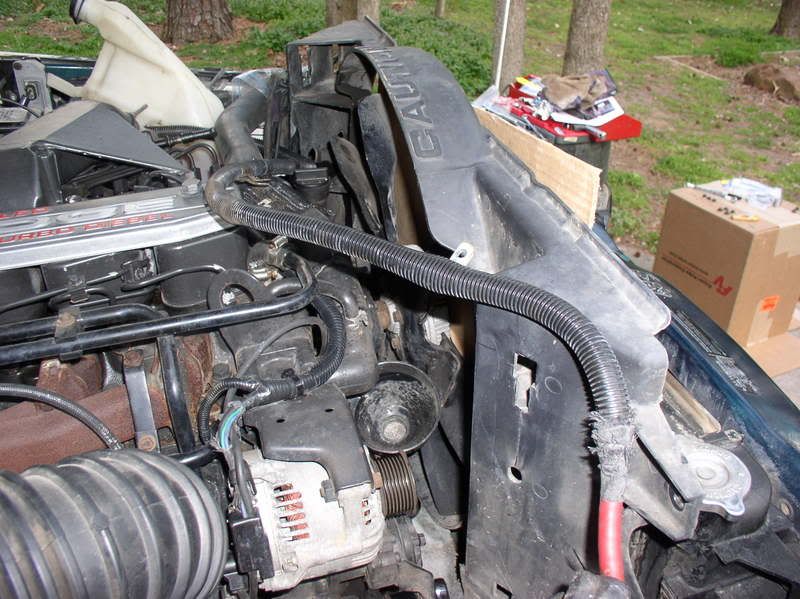
You really do need that cardboard between the fan and the radiator...
Out come the bolts
Working it out slowly
Forgot what this pic was for...
Another picture
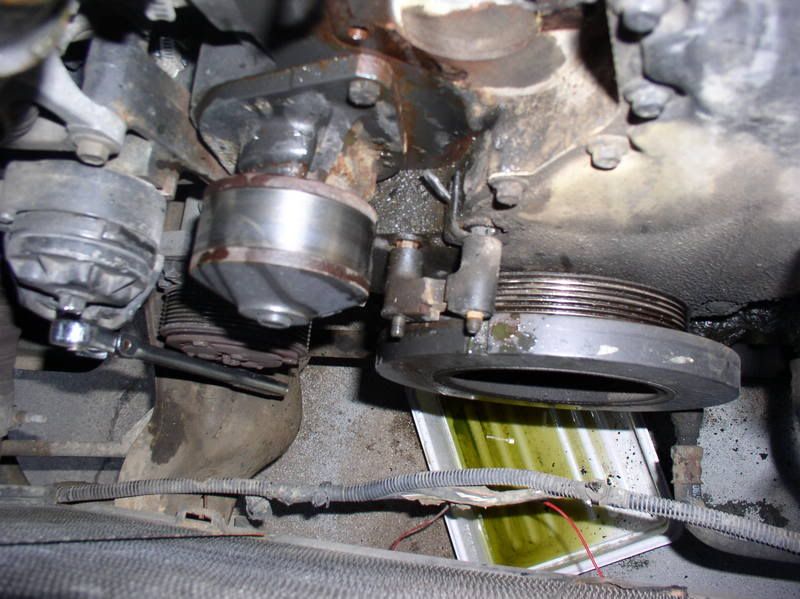
More progress
The next day
My best friend in this project...
You really do need that cardboard between the fan and the radiator...
Out come the bolts
Working it out slowly
Forgot what this pic was for...
Another picture
Thread Starter
DTR question asker
Joined: Dec 2006
Posts: 869
Likes: 0
From: Chapel Hill, NC
And another
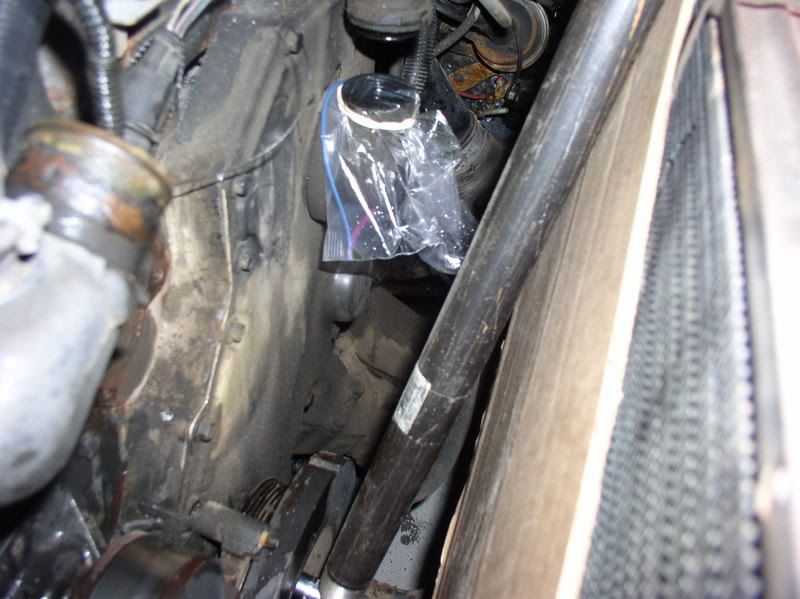
Removing the balancer bolts... GOGOGO BIG PIECE OF PIPE!
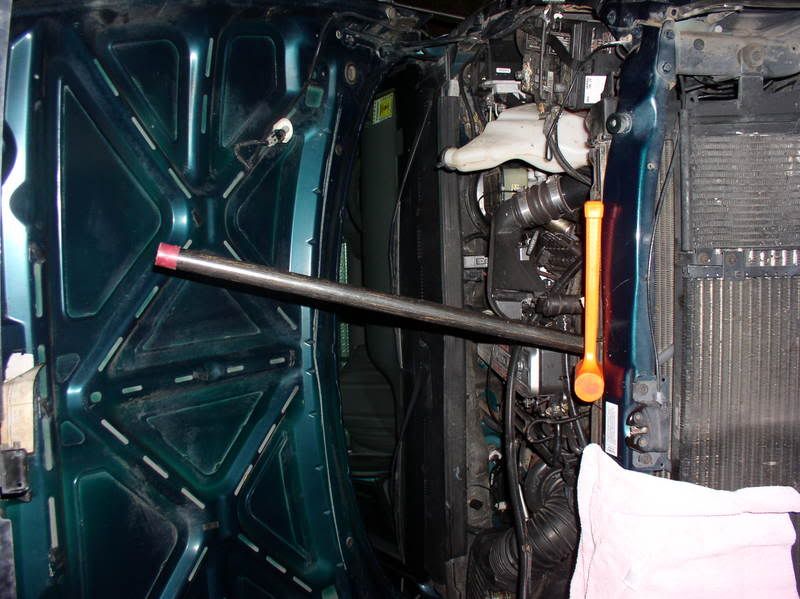
DARN AUTO! I had to wedge this angle iron into the notch in the balancer to keep the engine from turning over...
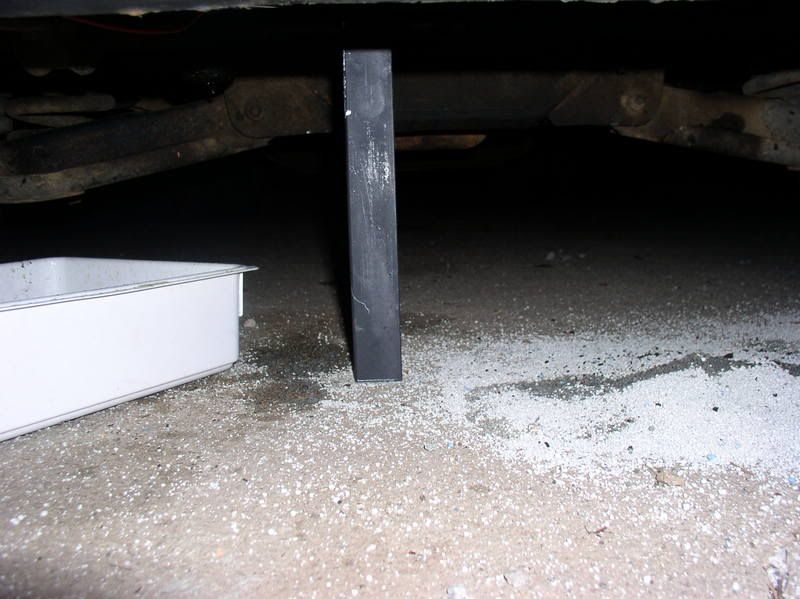
Still removing bolts
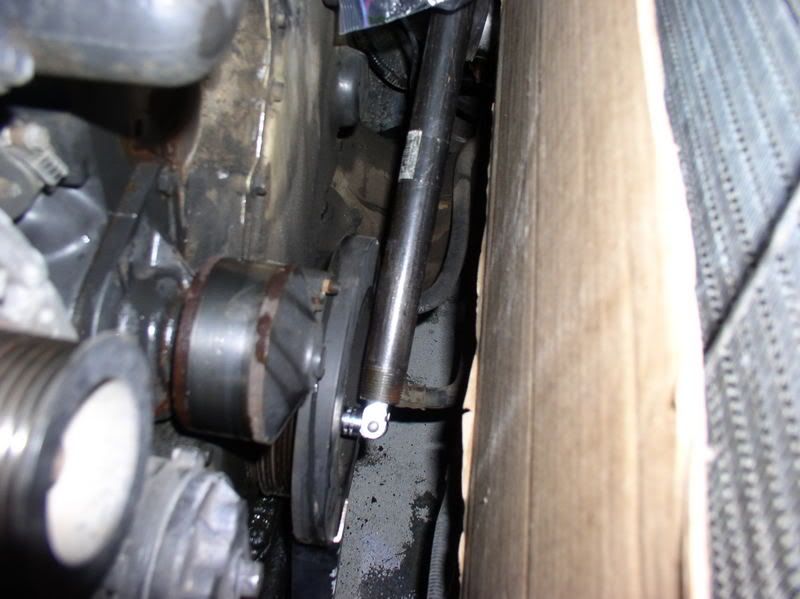
And its off!
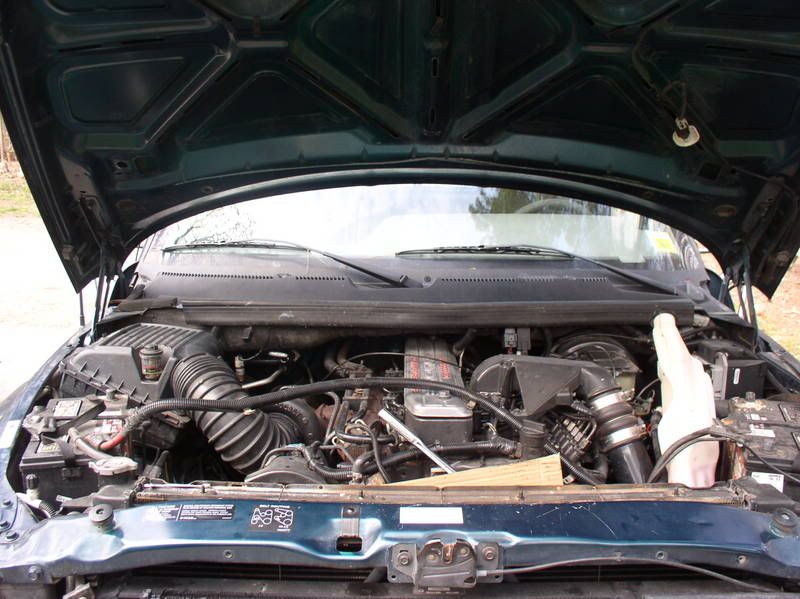
The next day
Progress..
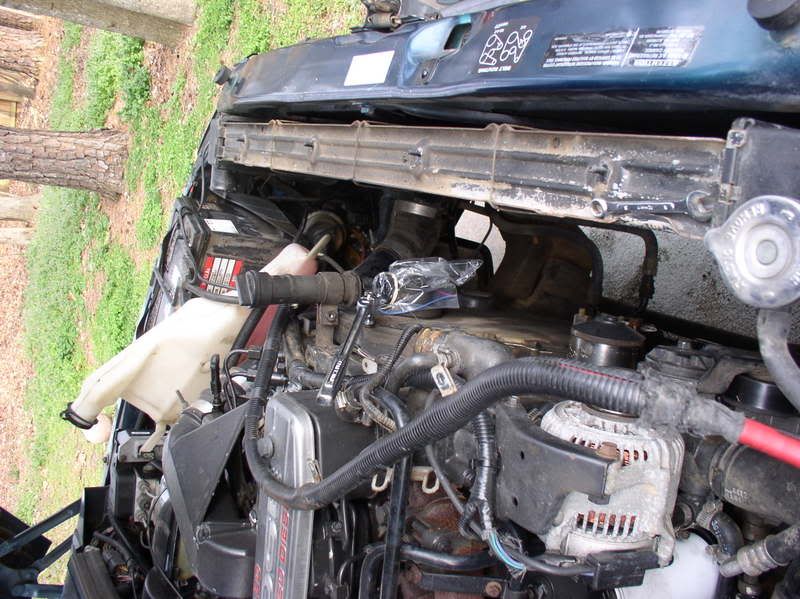
Oil fill removed
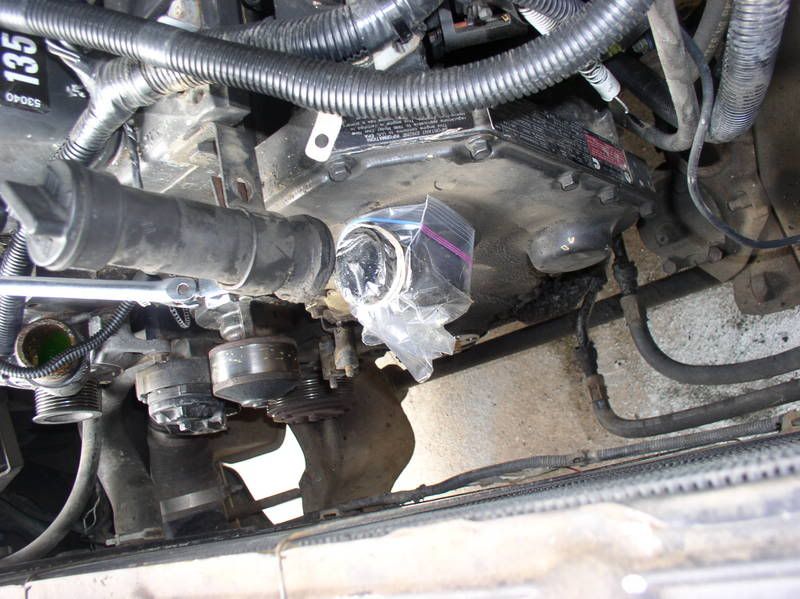
An extremely high-tech way of remembering where the gear cover bolts go (GREAT IDEA BOX!) I kinda ran out of space at the top LOL.
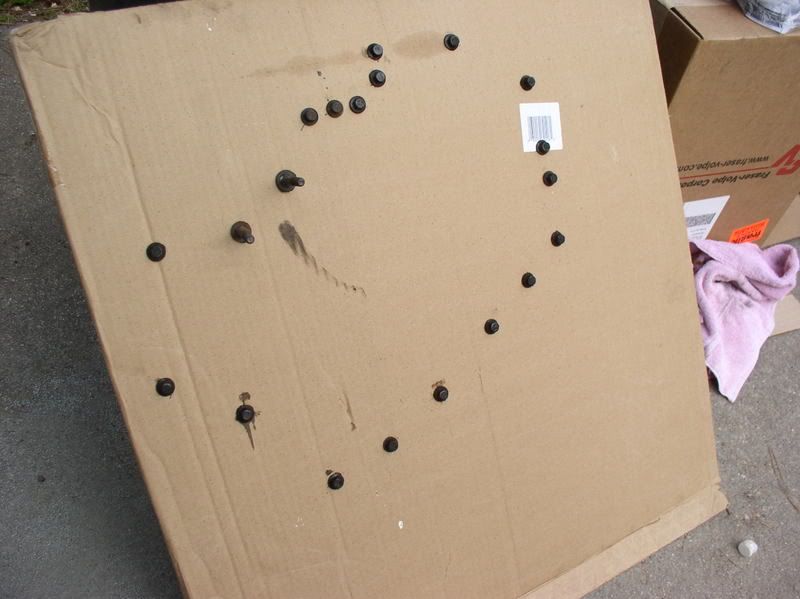
Removing the balancer bolts... GOGOGO BIG PIECE OF PIPE!
DARN AUTO! I had to wedge this angle iron into the notch in the balancer to keep the engine from turning over...
Still removing bolts
And its off!
The next day
Progress..
Oil fill removed
An extremely high-tech way of remembering where the gear cover bolts go (GREAT IDEA BOX!) I kinda ran out of space at the top LOL.
Last edited by Totallyrad; Mar 25, 2007 at 05:30 PM. Reason: Profanity
Thread Starter
DTR question asker
Joined: Dec 2006
Posts: 869
Likes: 0
From: Chapel Hill, NC
Gear cover bolts removed
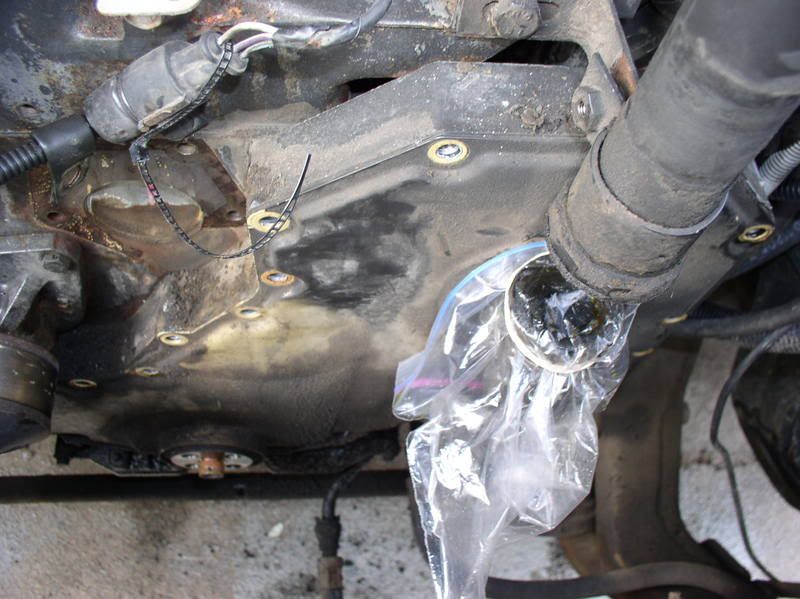
Finally inside!
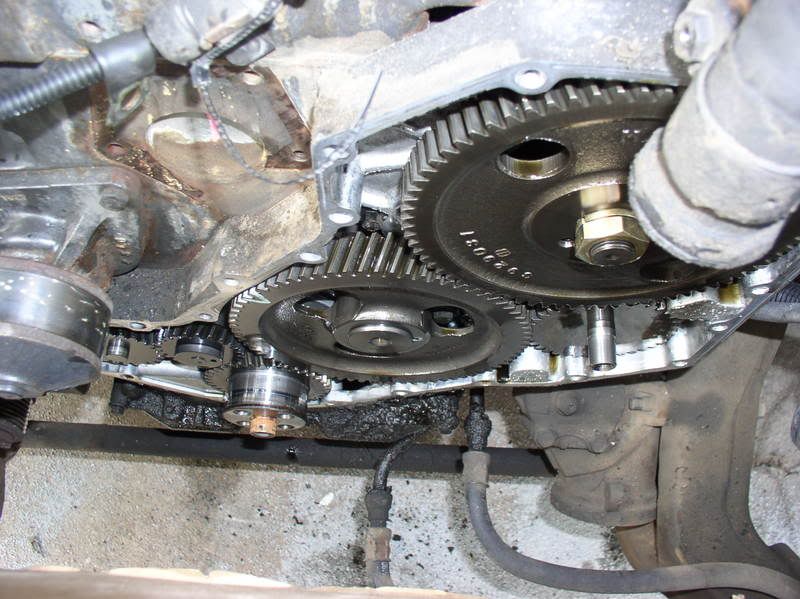
Its moved a bit...
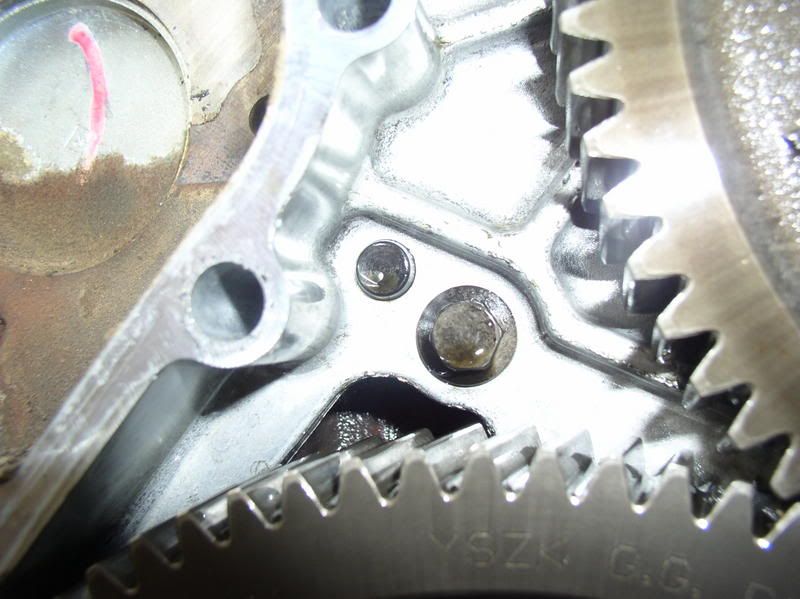
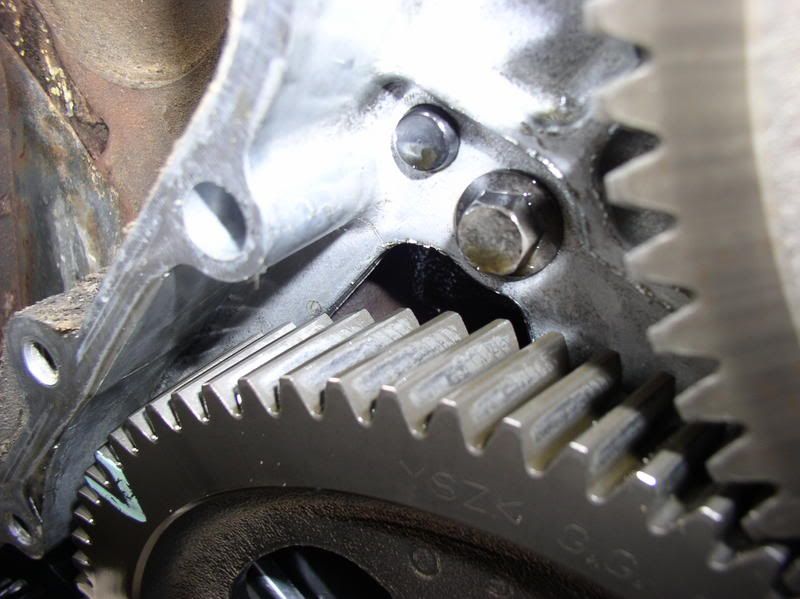
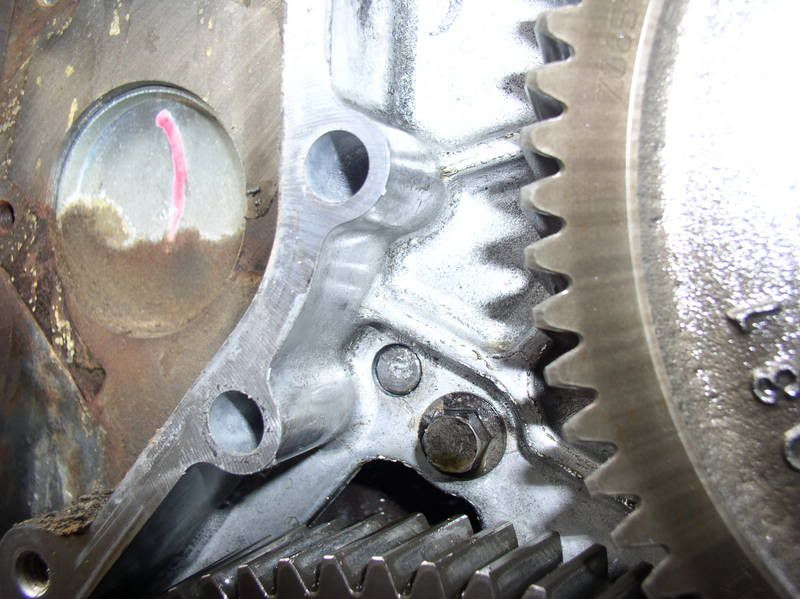
Ramming it back in
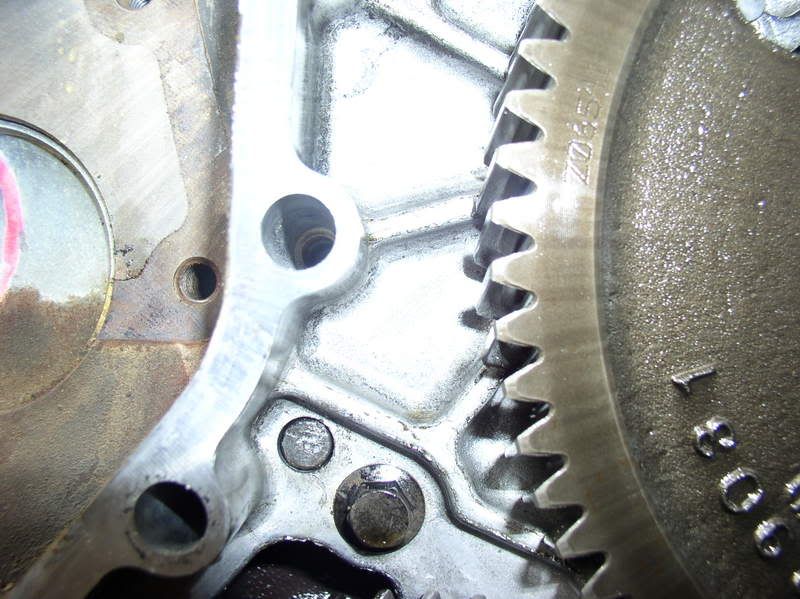
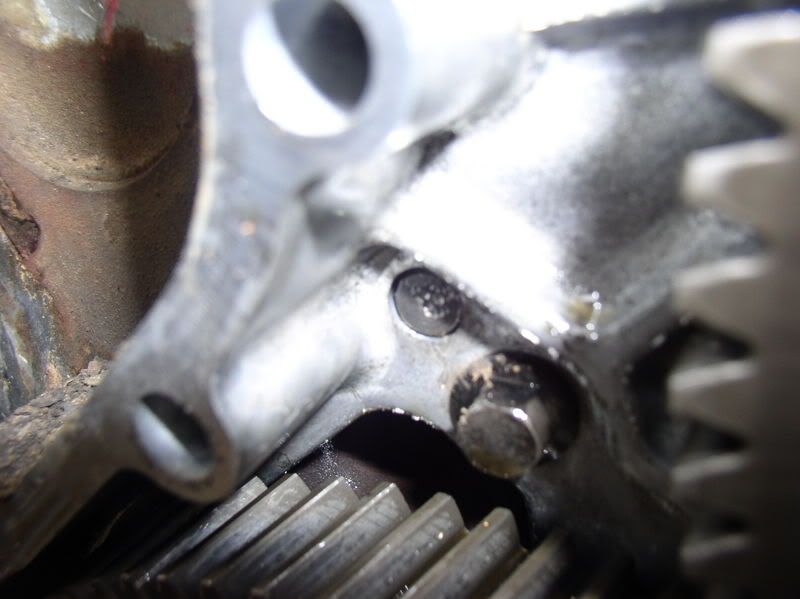
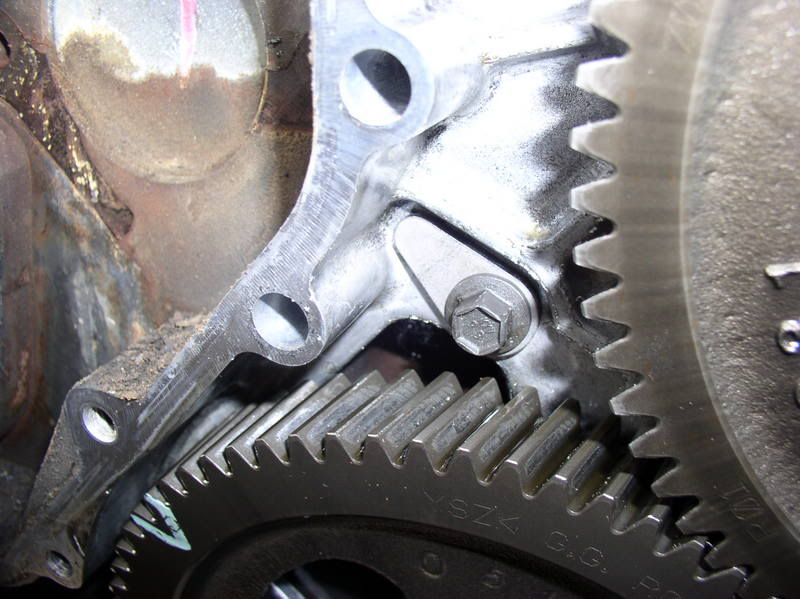
DIE! DIE! DIE! KDP "S"TABBED TO DEATH!
The WRONG direction to insert the seal from... LOL!
Ok there we go!
Finally inside!
Its moved a bit...
Ramming it back in
DIE! DIE! DIE! KDP "S"TABBED TO DEATH!
The WRONG direction to insert the seal from... LOL!
Ok there we go!


Trending Topics

Registered User

Joined: Mar 2007
Posts: 521
Likes: 0
From: Sacramento
Thanks for the great "documentary" DFO...
I love where the gears are turning as you scroll...
(did I reeeally see that???)
My 98 12v is gonna be here soon, and now i understand how you can't tell if its been done till you're in there...
So if its been "stabbed" , but you can't tell,
is it still possible to remove the pin?
And that looks like a lot more work than I thought...I hate to think
what I might have to pay someone else to do it...
Thanks again for a great view of the job! Now you can rest easy....
I love where the gears are turning as you scroll...
(did I reeeally see that???)
My 98 12v is gonna be here soon, and now i understand how you can't tell if its been done till you're in there...
So if its been "stabbed" , but you can't tell,
is it still possible to remove the pin?
And that looks like a lot more work than I thought...I hate to think
what I might have to pay someone else to do it...
Thanks again for a great view of the job! Now you can rest easy....


Thread Starter
DTR question asker
Joined: Dec 2006
Posts: 869
Likes: 0
From: Chapel Hill, NC
Thanks for the great "documentary" DFO...
I love where the gears are turning as you scroll...
(did I reeeally see that???)
My 98 12v is gonna be here soon, and now i understand how you can't tell if its been done till you're in there...
So if its been "stabbed" , but you can't tell,
is it still possible to remove the pin?
And that looks like a lot more work than I thought...I hate to think
what I might have to pay someone else to do it...
Thanks again for a great view of the job! Now you can rest easy....
I love where the gears are turning as you scroll...
(did I reeeally see that???)
My 98 12v is gonna be here soon, and now i understand how you can't tell if its been done till you're in there...
So if its been "stabbed" , but you can't tell,
is it still possible to remove the pin?
And that looks like a lot more work than I thought...I hate to think
what I might have to pay someone else to do it...
Thanks again for a great view of the job! Now you can rest easy....
Unless someone has used the jig (which is not reccomended by me anyway because if you hit the pin, then you have to somehow get it back in, which means removing the cover anyway), there really is no way to tell if its been done. So go through the process, tab it, and be done with it. There really is no way the pin could fall out after that.
Dr. Evil-- Thanks for the kind words. I'd be more than happy to write up a little more "in depth" howto, but the TST instructions were really easy to follow. But there are a few things that could be a little clearer, so if you guys who are doing the fix have any questions I might be able to help. Hopefully these pictures will be of help to you all.
Thread Starter
DTR question asker
Joined: Dec 2006
Posts: 869
Likes: 0
From: Chapel Hill, NC
Guess I can't type fast enough
Sorry I didn't answer this in the last post: I had someone tell me that they would do the job for about $200. I don't have that kind of money to spend, so I did it myself. It was nice because it really helped me get to know the insides of my truck a bit better.
Timmy -- No hitchhiker, just getting caught on every other imaginable hose/mount/random piece of plastic/battery cable (REMOVE THAT FROM THE TOP OF THE RADIATOR -- MAKES IT MUCH EASIER)/my hand/getting stuck loop from the shroud getting the fan jammed up against the shroud against the fan against the shroud (LOL). It was a PAIN to get out... don't try it yourself, get someone to help you, I did and it was still very hard to get out, I can't imagine doing it by myself.
Sorry I didn't answer this in the last post: I had someone tell me that they would do the job for about $200. I don't have that kind of money to spend, so I did it myself. It was nice because it really helped me get to know the insides of my truck a bit better.
Timmy -- No hitchhiker, just getting caught on every other imaginable hose/mount/random piece of plastic/battery cable (REMOVE THAT FROM THE TOP OF THE RADIATOR -- MAKES IT MUCH EASIER)/my hand/getting stuck loop from the shroud getting the fan jammed up against the shroud against the fan against the shroud (LOL). It was a PAIN to get out... don't try it yourself, get someone to help you, I did and it was still very hard to get out, I can't imagine doing it by myself.

Registered User
Joined: Nov 2005
Posts: 1,971
Likes: 1
From: Land of milk and honey.
Guess I can't type fast enough
Sorry I didn't answer this in the last post: I had someone tell me that they would do the job for about $200. I don't have that kind of money to spend, so I did it myself. It was nice because it really helped me get to know the insides of my truck a bit better.
Timmy -- No hitchhiker, just getting caught on every other imaginable hose/mount/random piece of plastic/battery cable (REMOVE THAT FROM THE TOP OF THE RADIATOR -- MAKES IT MUCH EASIER)/my hand/getting stuck loop from the shroud getting the fan jammed up against the shroud against the fan against the shroud (LOL). It was a PAIN to get out... don't try it yourself, get someone to help you, I did and it was still very hard to get out, I can't imagine doing it by myself.
Sorry I didn't answer this in the last post: I had someone tell me that they would do the job for about $200. I don't have that kind of money to spend, so I did it myself. It was nice because it really helped me get to know the insides of my truck a bit better.
Timmy -- No hitchhiker, just getting caught on every other imaginable hose/mount/random piece of plastic/battery cable (REMOVE THAT FROM THE TOP OF THE RADIATOR -- MAKES IT MUCH EASIER)/my hand/getting stuck loop from the shroud getting the fan jammed up against the shroud against the fan against the shroud (LOL). It was a PAIN to get out... don't try it yourself, get someone to help you, I did and it was still very hard to get out, I can't imagine doing it by myself.

