project heavy hauler


Registered User
Joined: Jan 2007
Posts: 292
Likes: 0
All I can say is you have a whole lot more patience than I do. When I start doing the body work on my truck, If I find half the problems you have had I'll give up and sell the old girl.
Looks good and giving me motivation to do the "next phase"
Looks good and giving me motivation to do the "next phase"
Thread Starter
Registered User
Joined: Apr 2008
Posts: 241
Likes: 0
From: bastrop, texas
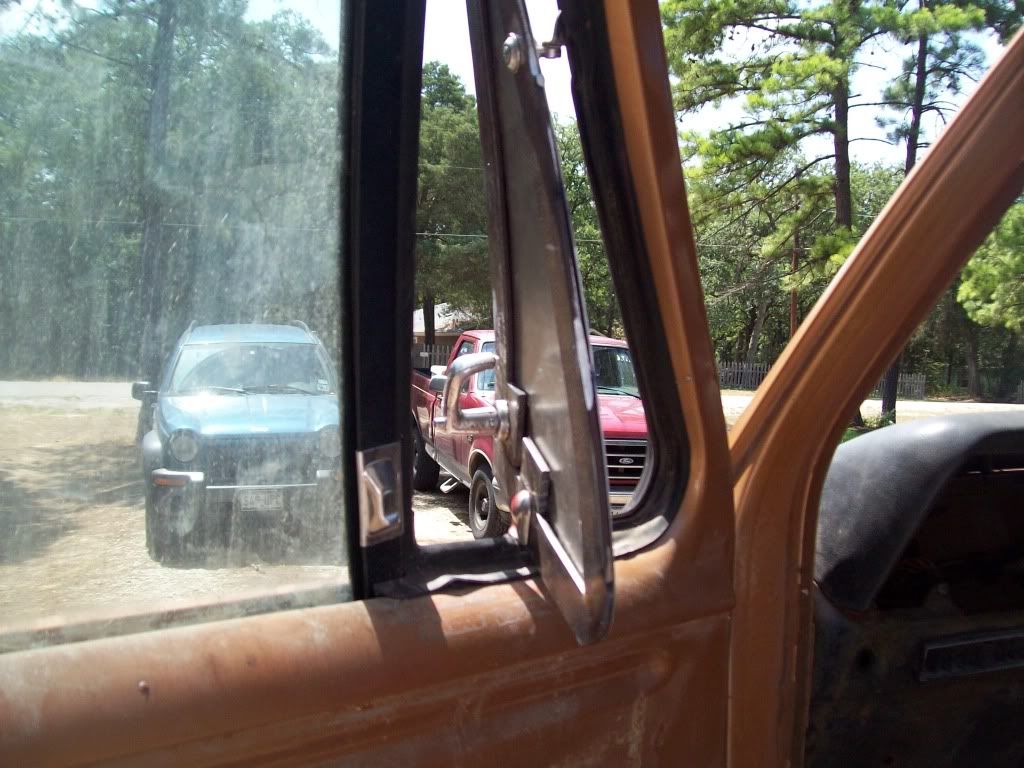
I got this idea stuck in my head the other day and have been working on it for a few days now. I think I finally got the design worked out like I wanted. I had seen BRUISER weld brackets onto his truck door to mount the 2004-2008 truck mirrors to. I didn't really care for his design much as I didn't want to weld onto the door, but I did like the idea of something more modern looking. I started thinking I didn't really need or use my vent window ever. I taped up the vent window on my 92 and took it for a drive and didn't notice much difference. After alot of thought I was able to build this design. It utilizes all the stock hardware that mounts the vent window. Nothing is changed and it isn't permentant. If I want to put the vent window back in it'll only take a few minutes to do. Obviously it isn't done yet. I still need to finish welding it up and make some sort of interior trim panel to cover up the bolt holes.


Registered User
Joined: Jan 2006
Posts: 1,237
Likes: 0
From: Raleigh, NC
I got this idea stuck in my head the other day and have been working on it for a few days now. I think I finally got the design worked out like I wanted. I had seen BRUISER weld brackets onto his truck door to mount the 2004-2008 truck mirrors to. I didn't really care for his design much as I didn't want to weld onto the door, but I did like the idea of something more modern looking.

I guess I need to finish them and get the truck painted so maybe people will understand the final idea in my head
but I stil can not believe all the work you have done to this truck.. great job
Thread Starter
Registered User
Joined: Apr 2008
Posts: 241
Likes: 0
From: bastrop, texas
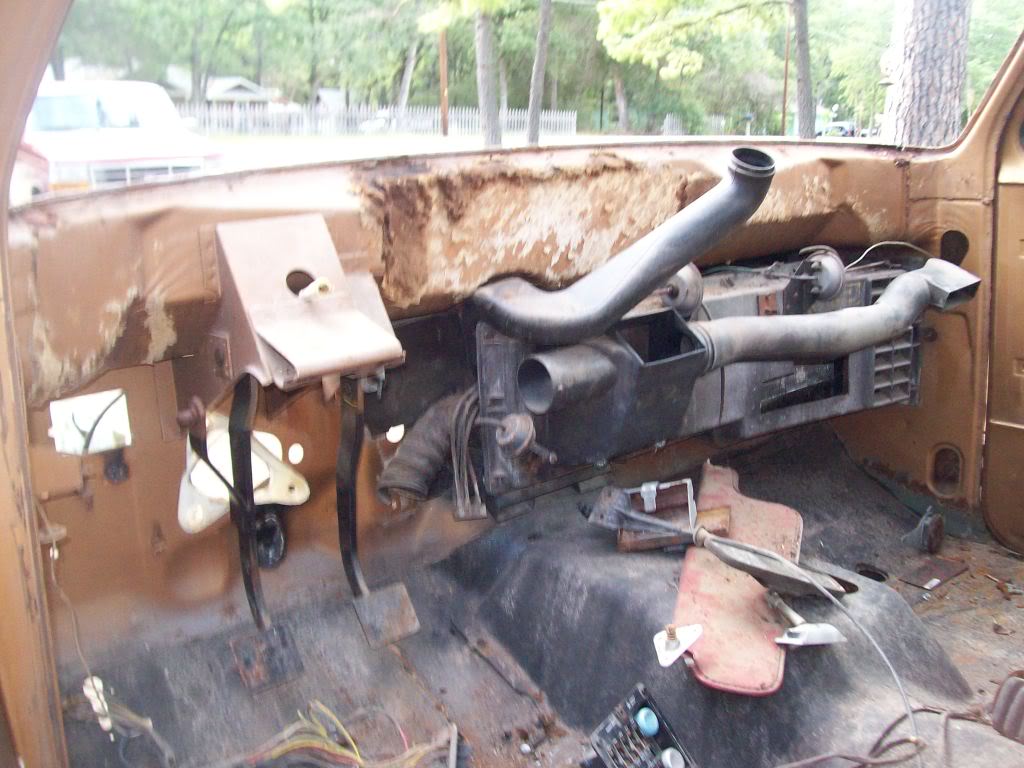
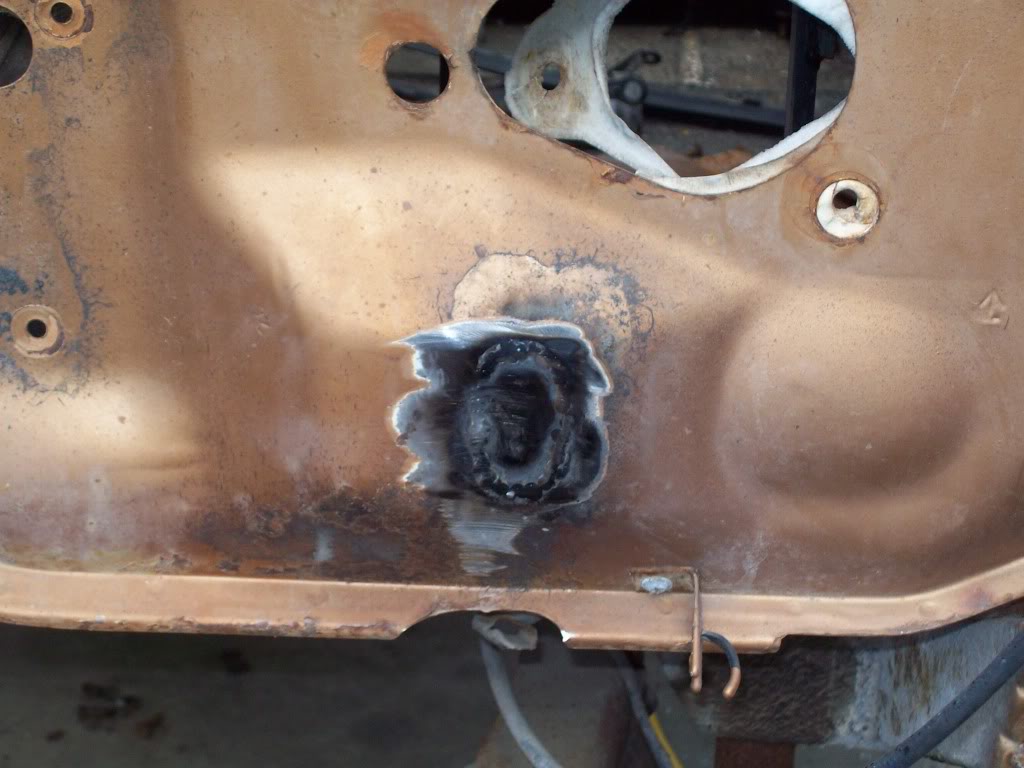
I didn't get a whole lot done today, couldn't really get motivated to work on the crew. I did happen to get the dash pulled out and the hole for the clutch linkage rod welded up.
Thread Starter
Registered User
Joined: Apr 2008
Posts: 241
Likes: 0
From: bastrop, texas
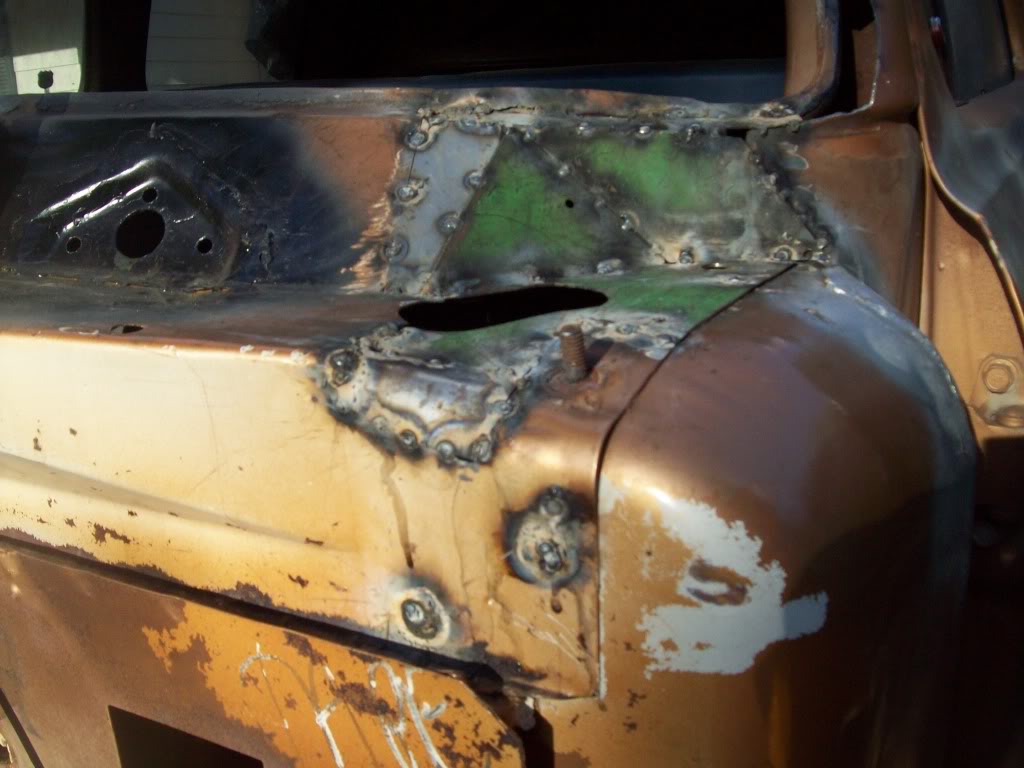
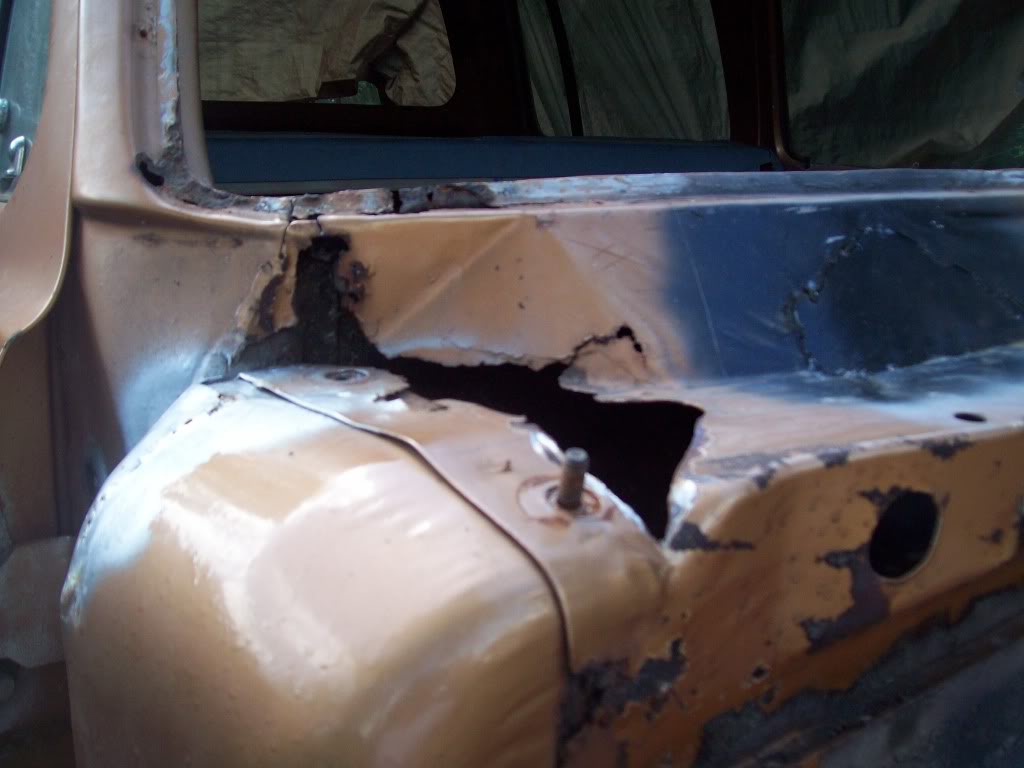
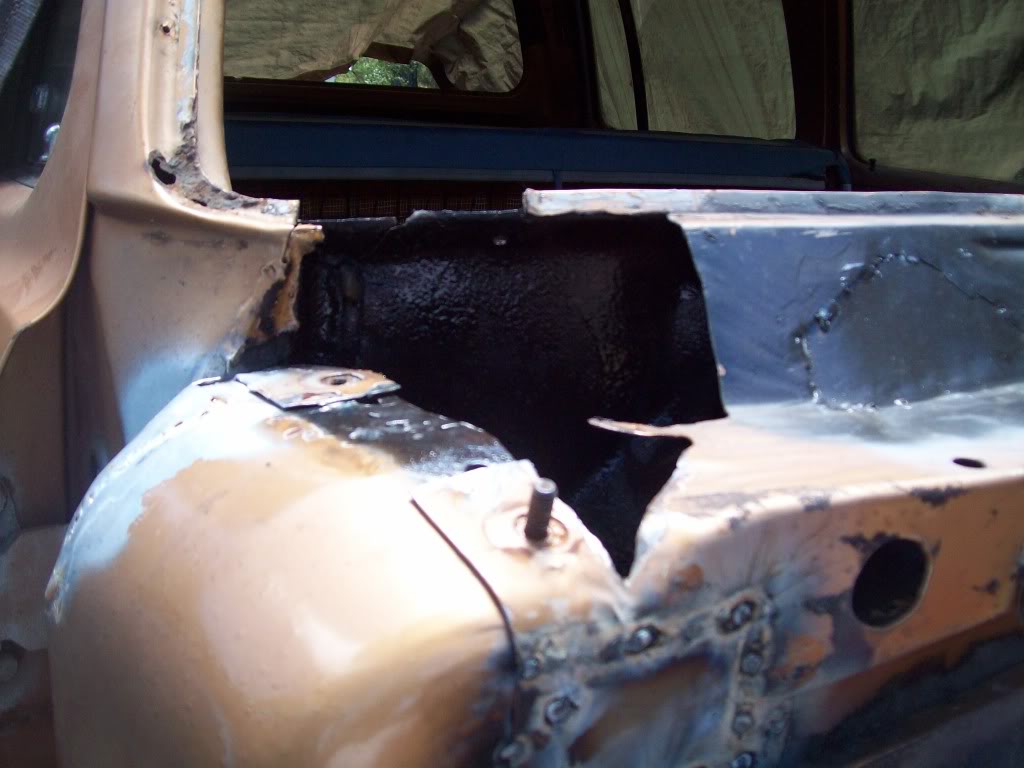
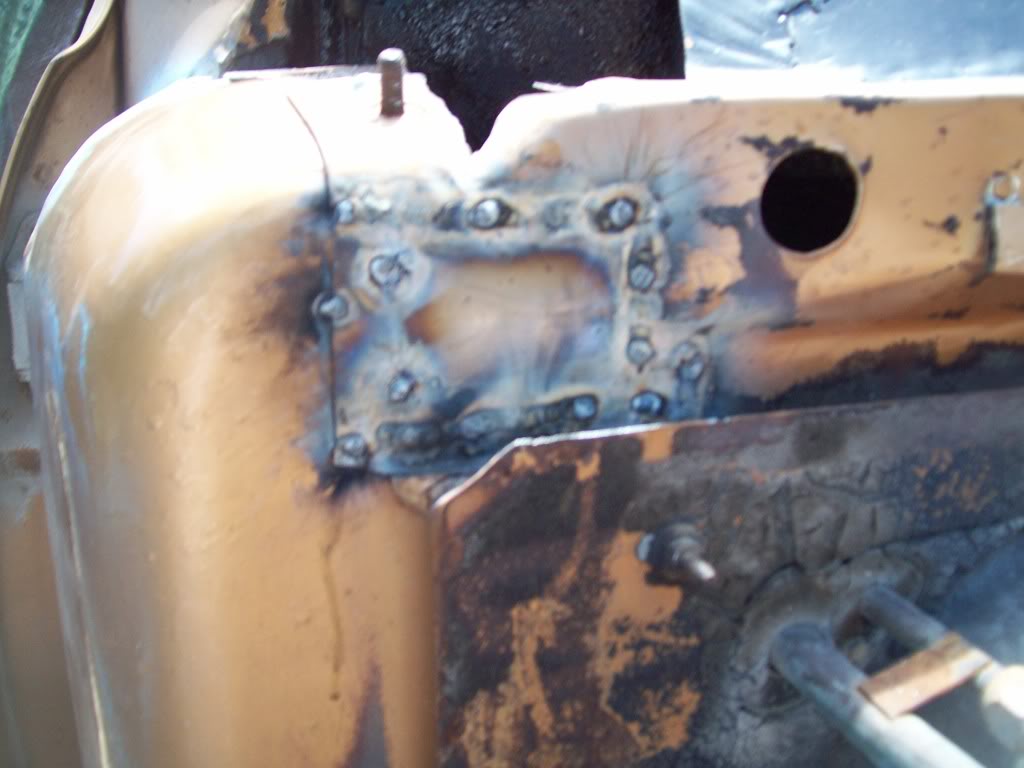
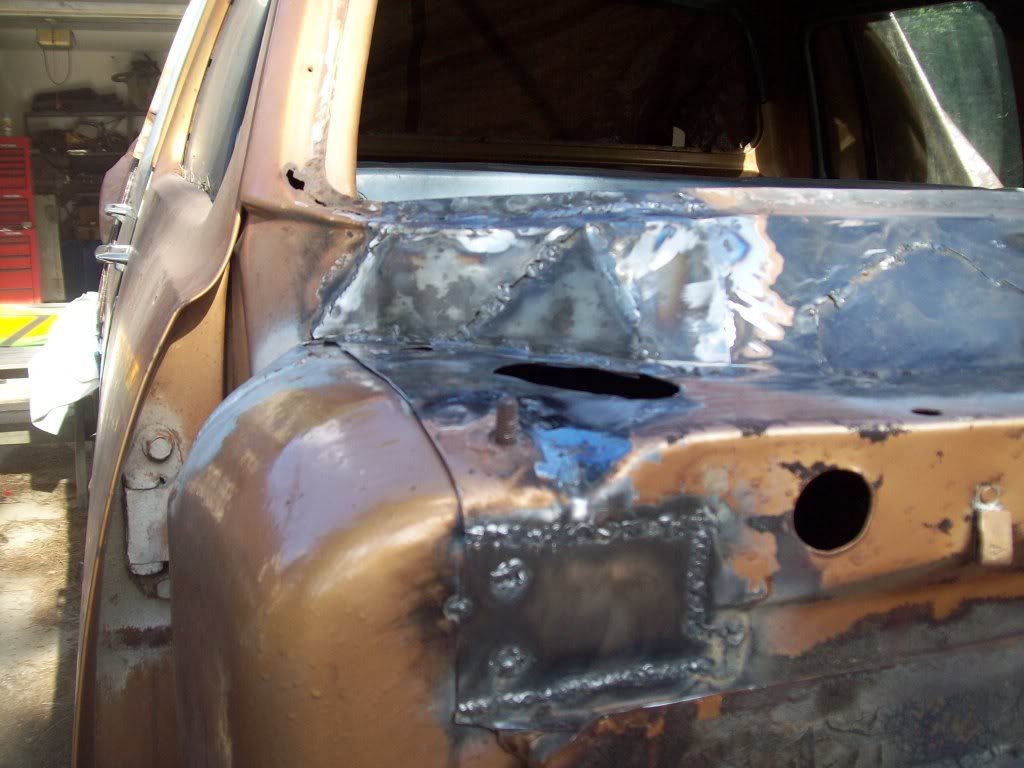
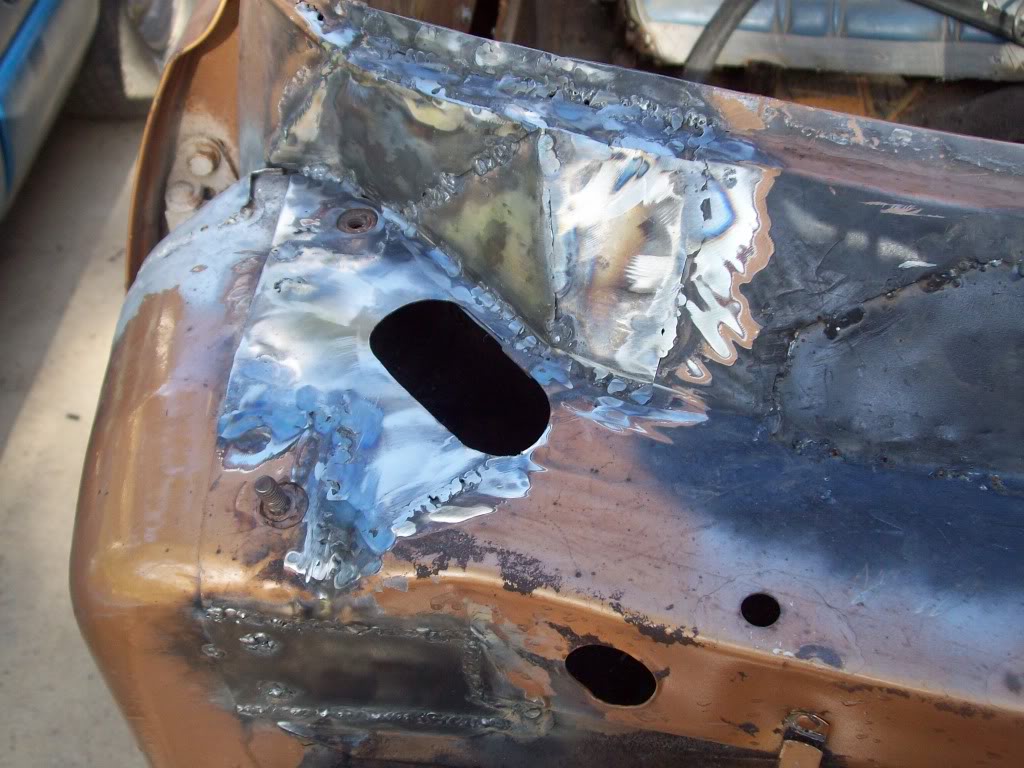
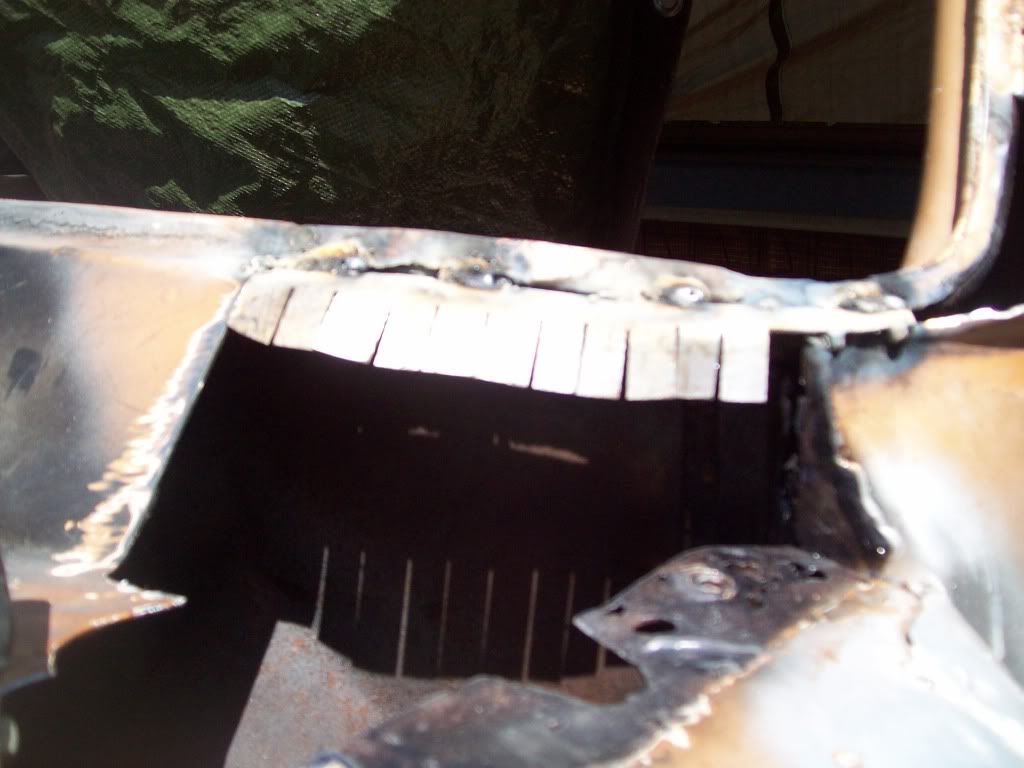
I really wore myself out today. I planned on doing both sides of the cowl, but only got the passenger side done. I made a bunch of templets, so hopefully the other side won't take so long.

Thread Starter
Registered User
Joined: Apr 2008
Posts: 241
Likes: 0
From: bastrop, texas
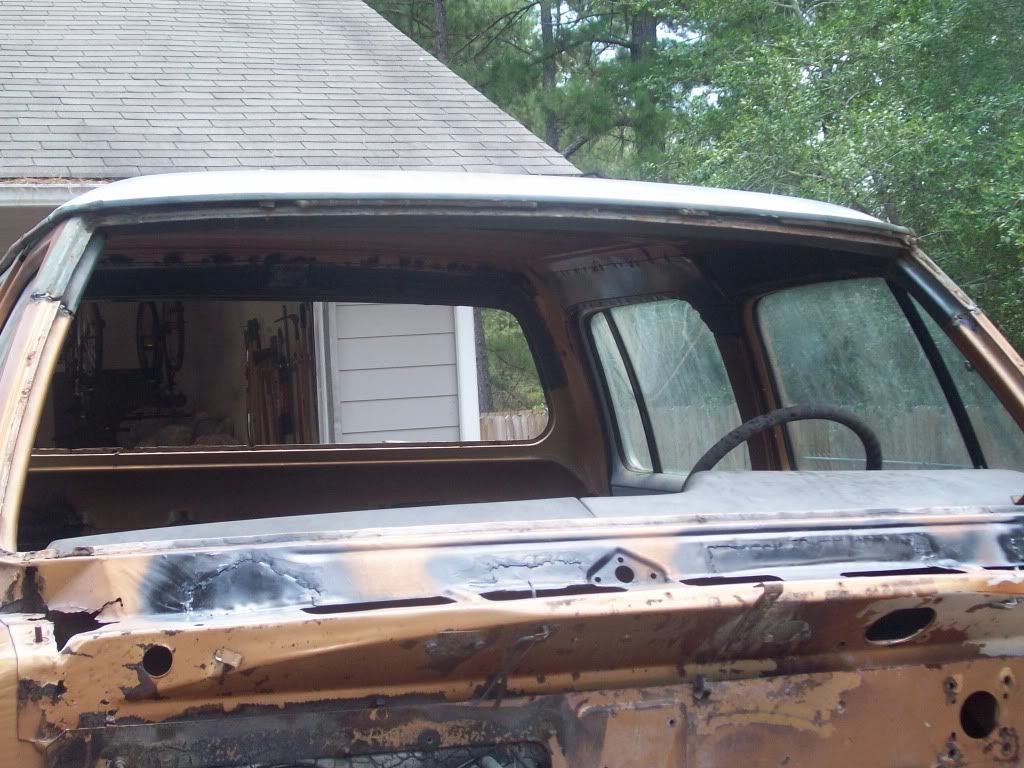
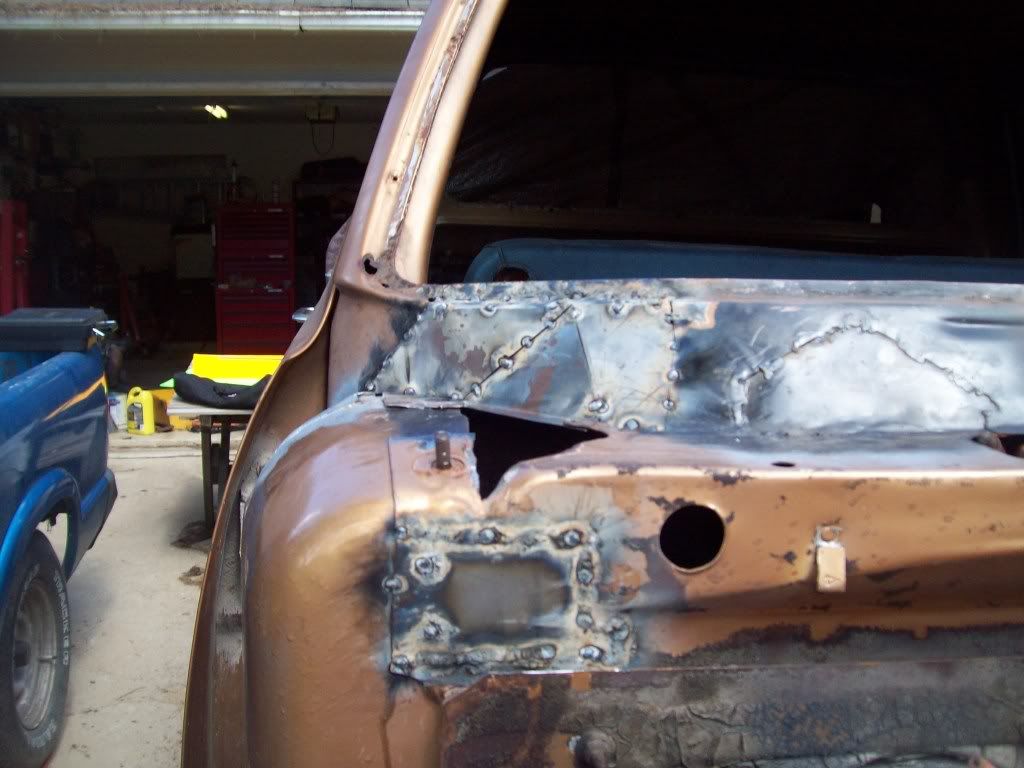
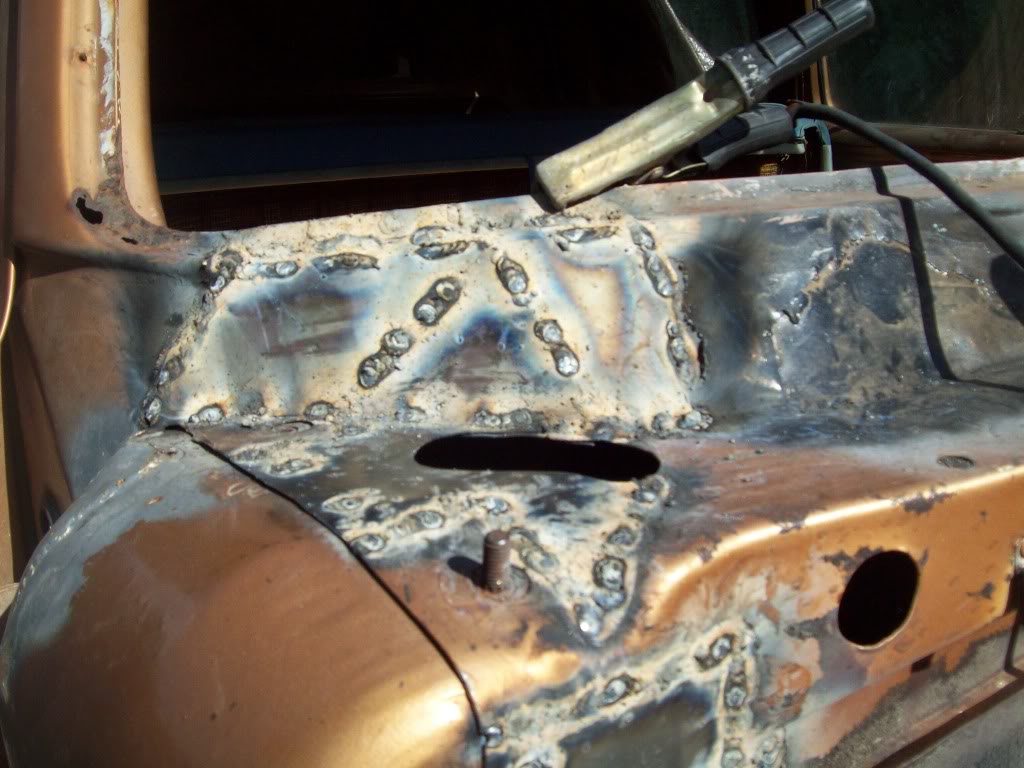
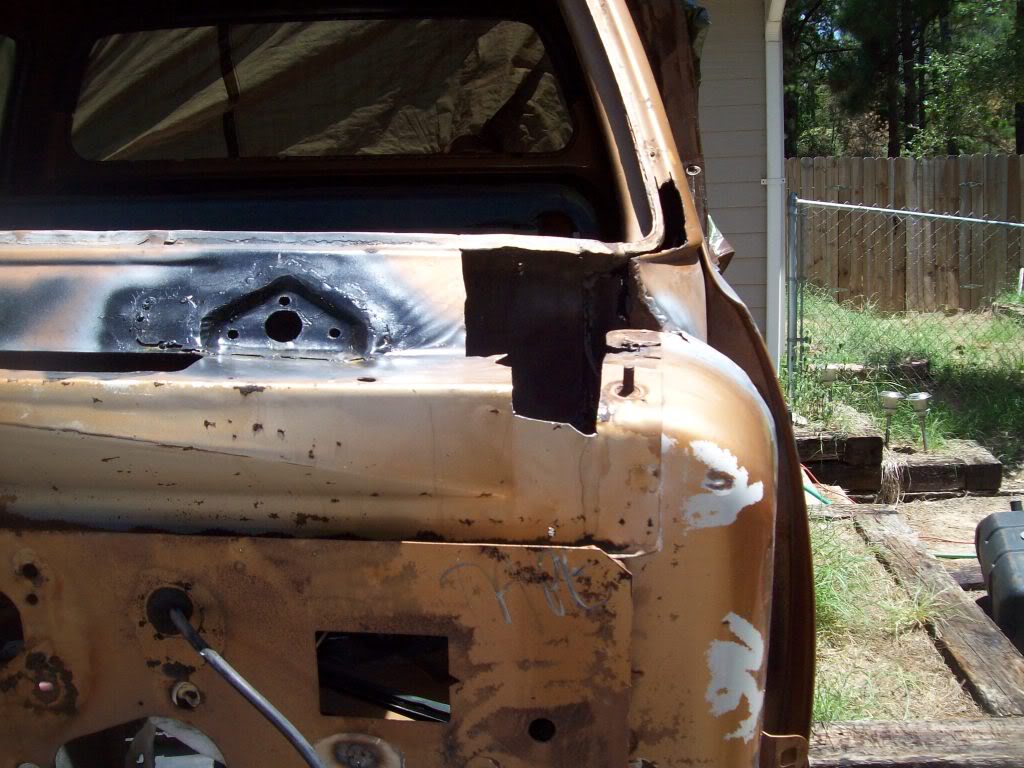
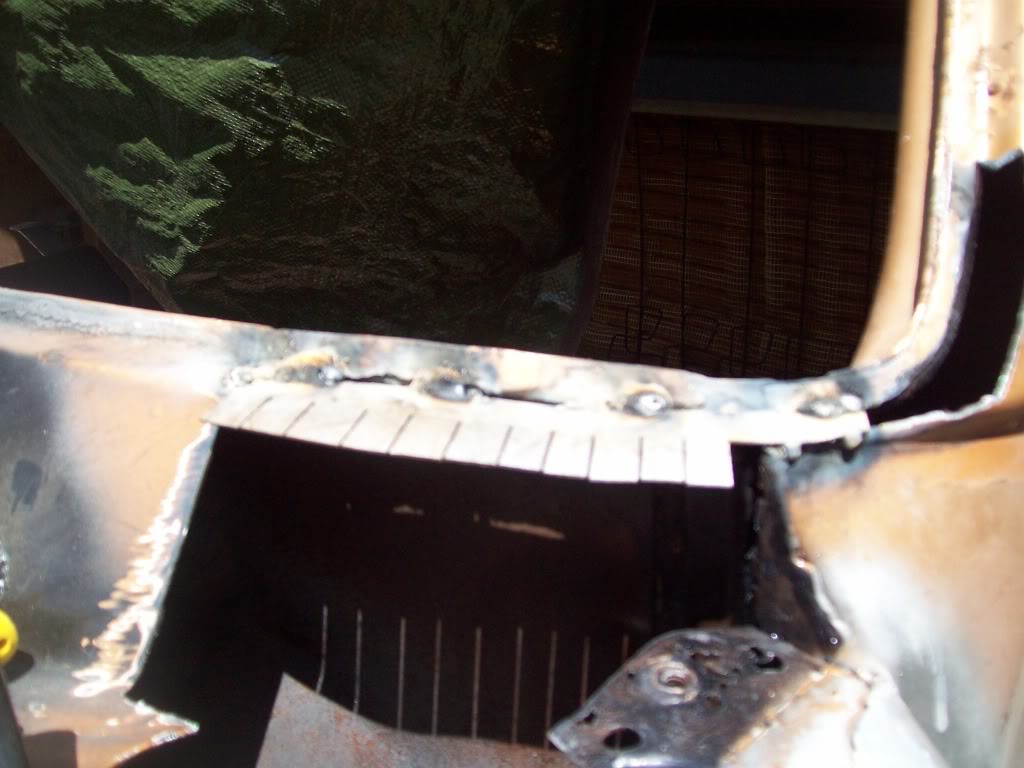
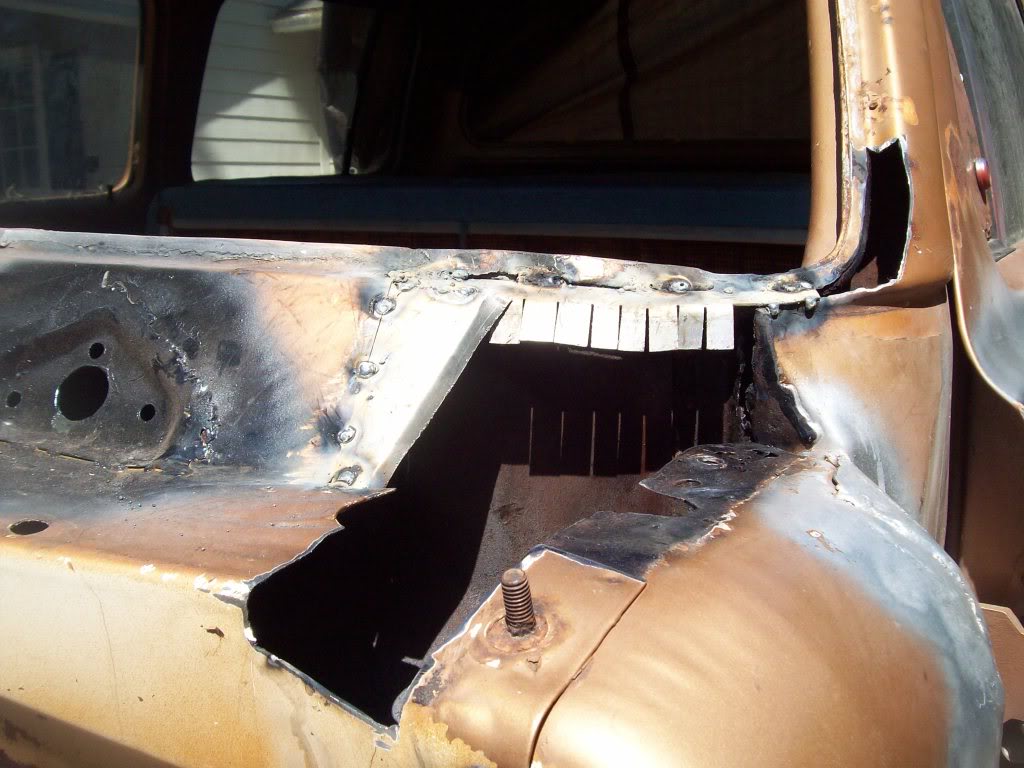
And today I got the driver side tacked together. I'll finish welding it out tomorrow and finish the little bit around the windshield gasket area and the cowel will be all done.

Thread Starter
Registered User
Joined: Apr 2008
Posts: 241
Likes: 0
From: bastrop, texas
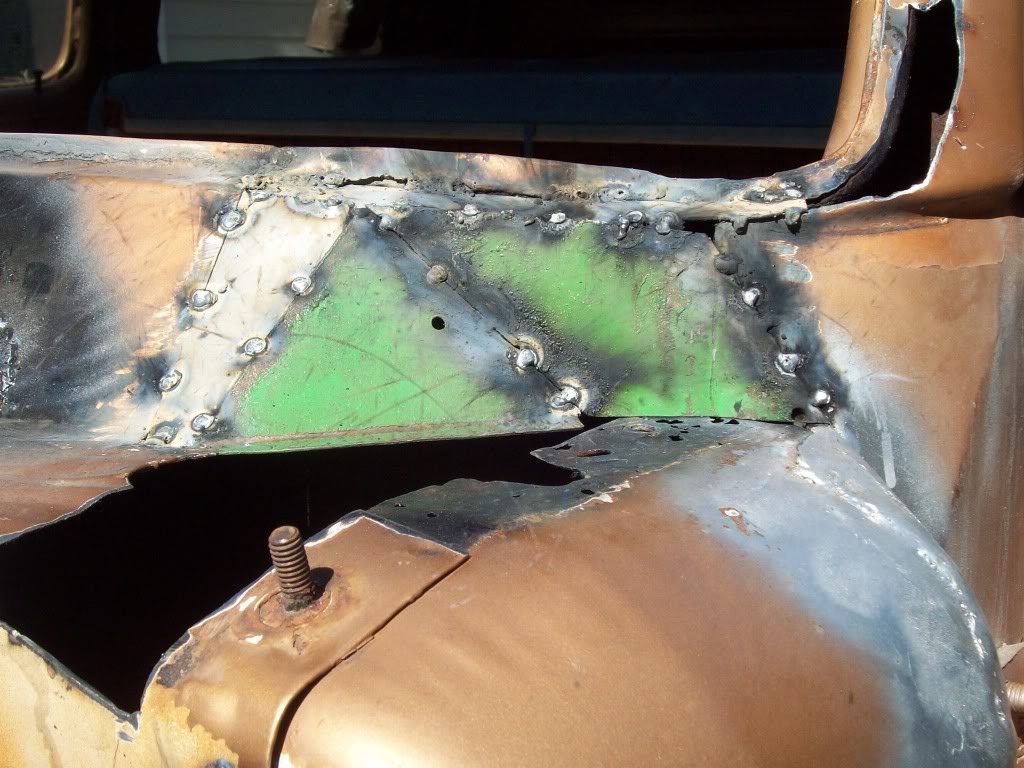
The reason for the green paint is I was stripping the rust off my patch panels and I needed some paint to keep the rust from coming back. Why waste the good stuff so I used up the sublime green paint. I've got some more work to do tomorrow and it'll be done then.