VE rebuild with pics Look inside


 Paint inside the pump and on internal pump parts is not good
Thread Starter
Registered User
Joined: Dec 2006
Posts: 1,269
Likes: 0
From: Jonesboro, TEXAS
I don't like to just hose the hole thing down with paint after its all back together, I wanted to make it were you could see every thing I was pointing out. Hard to see it all if you just do it all one color after its all done.
Any time you would like to show us all the correct way to do it I would love to see your wright up.
Thread Starter
Registered User
Joined: Dec 2006
Posts: 1,269
Likes: 0
From: Jonesboro, TEXAS
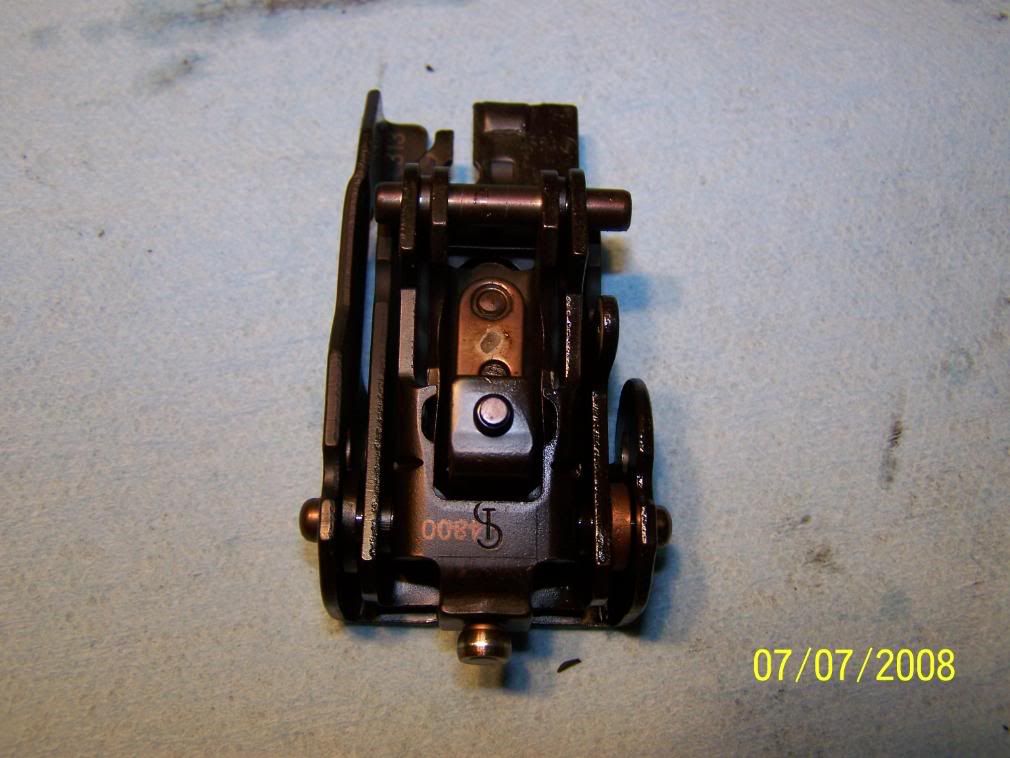
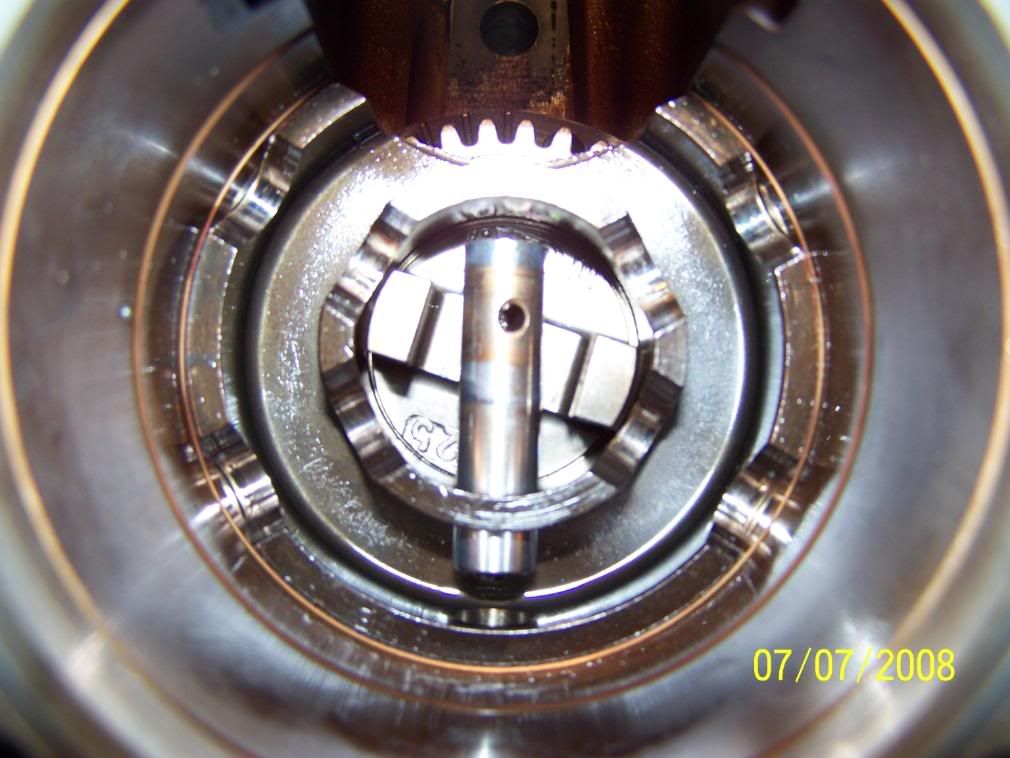
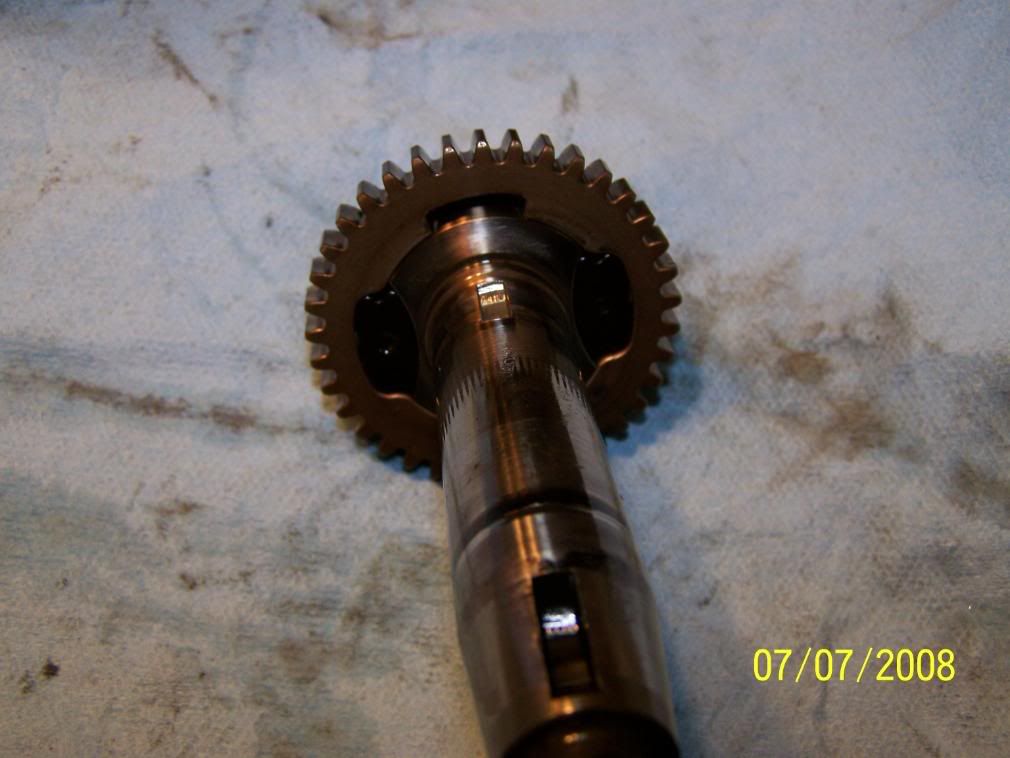
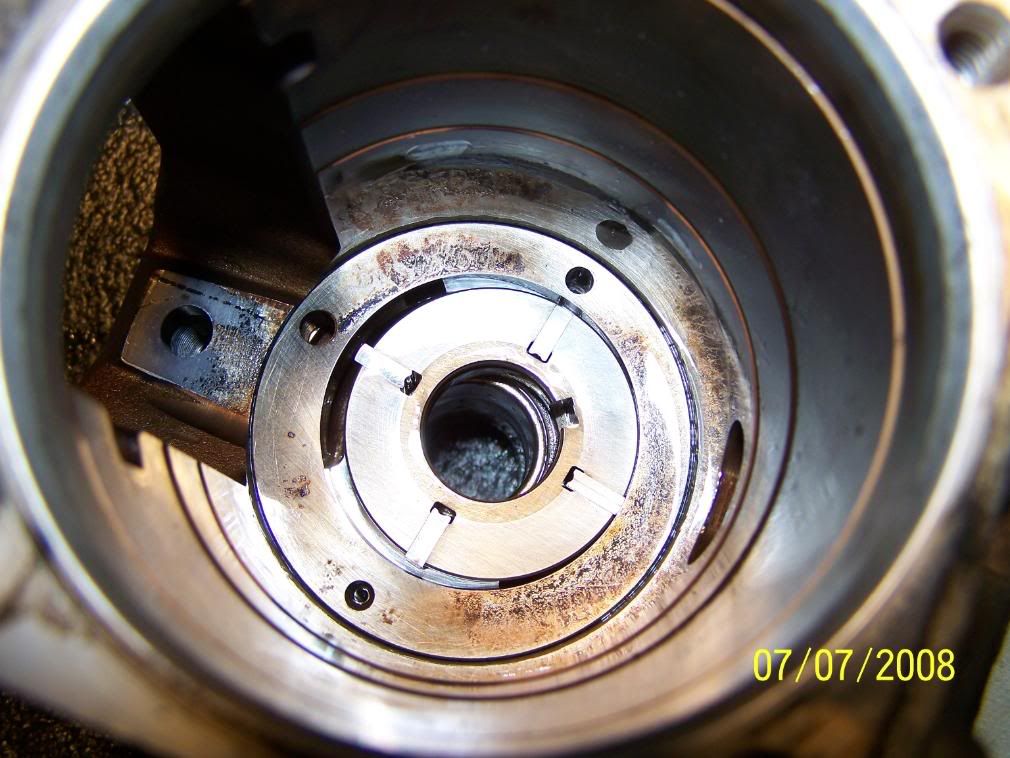
Going a little farther you can remove the governor assembly
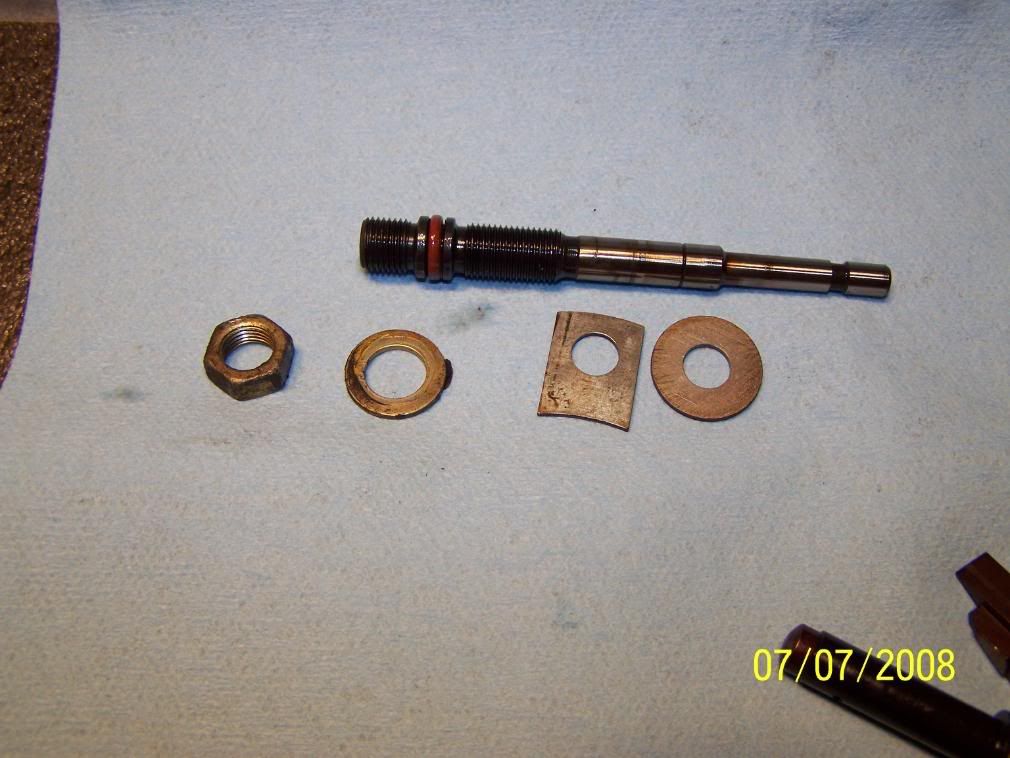
1st remove the jam nut at the front of the pump and unscrew the shaft
slowly slide it out and then all the parts will be free and can be removed
Don't be afraid if the weights in the governor fall out they are easy to re assemble.
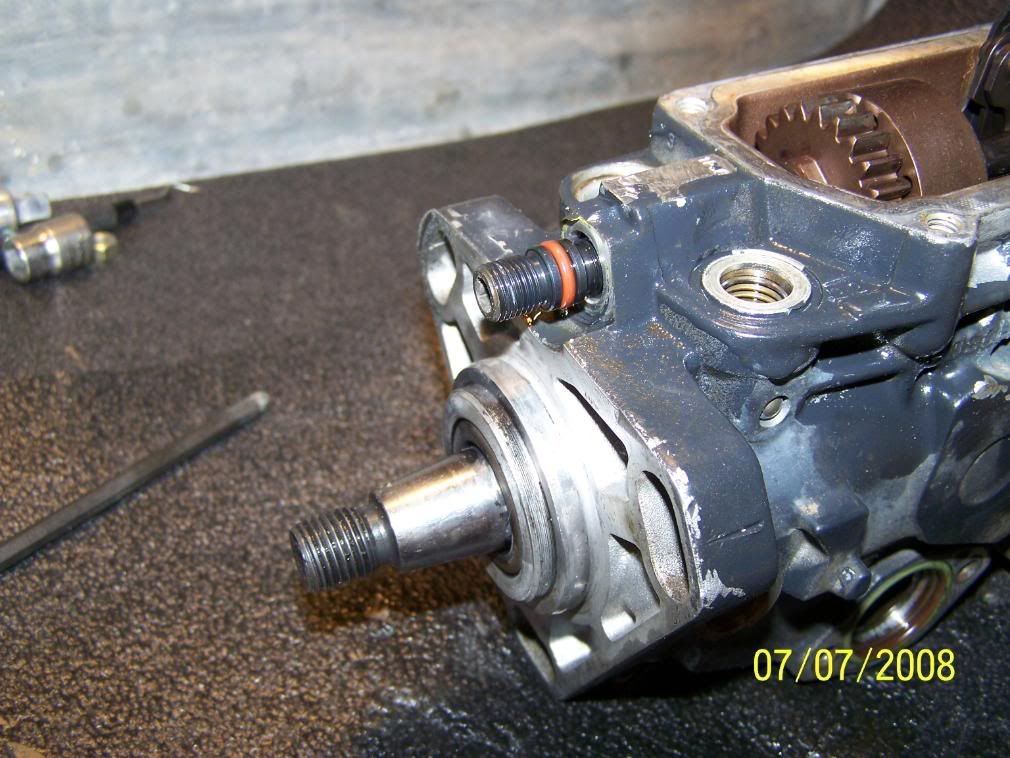
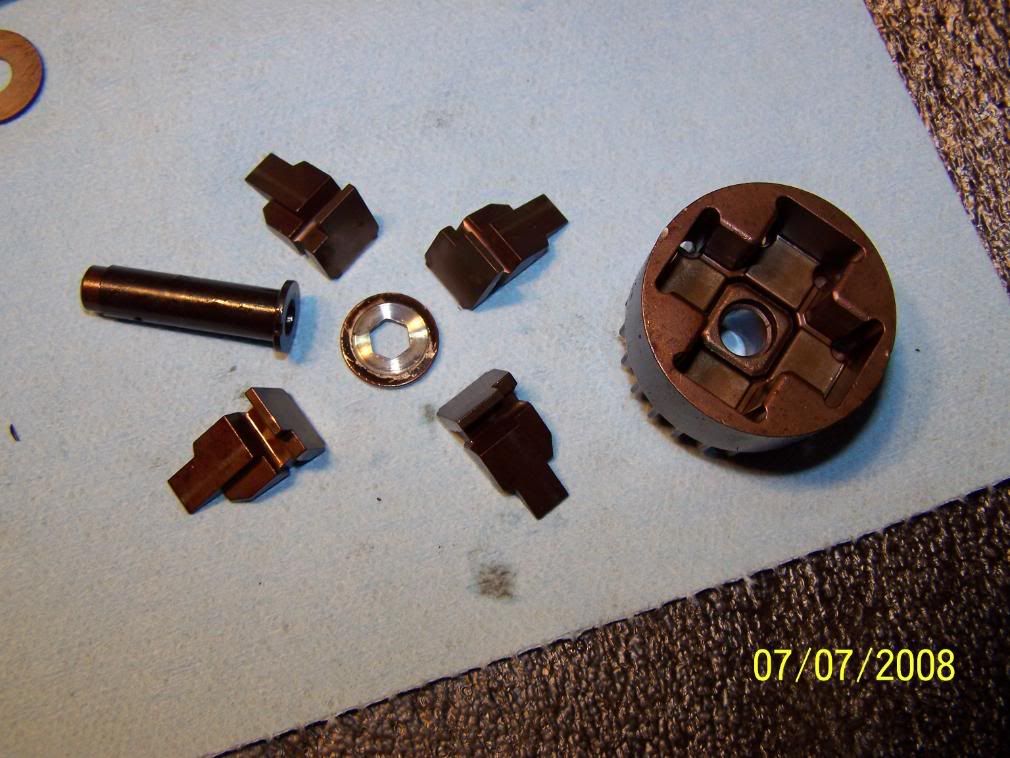
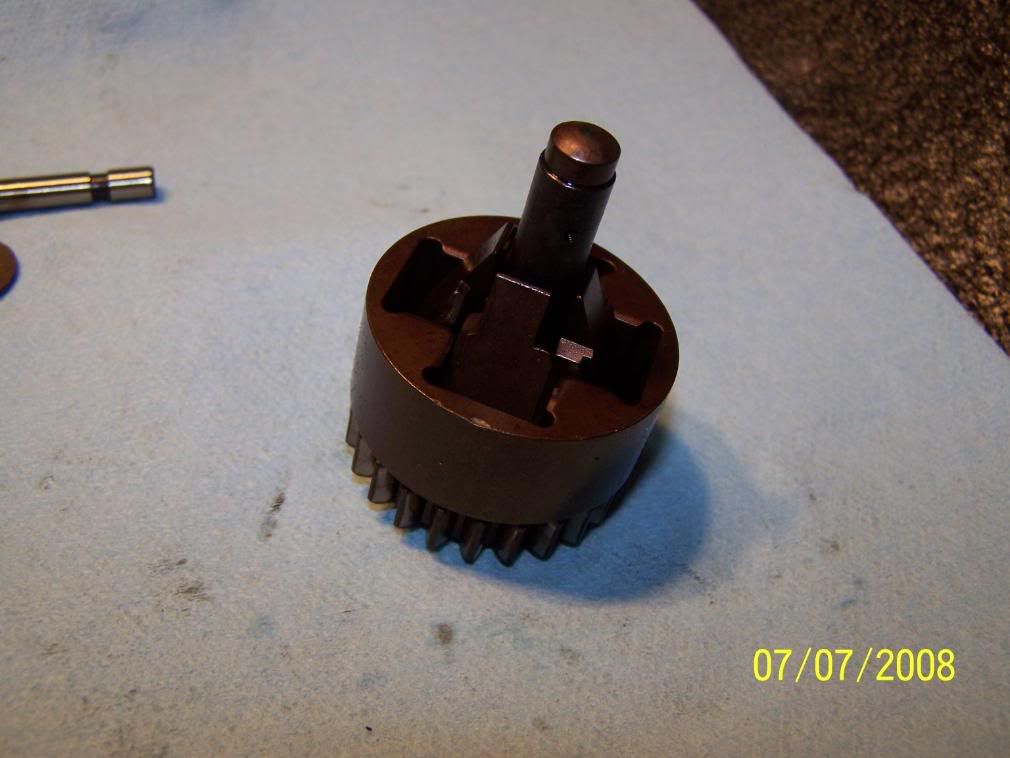
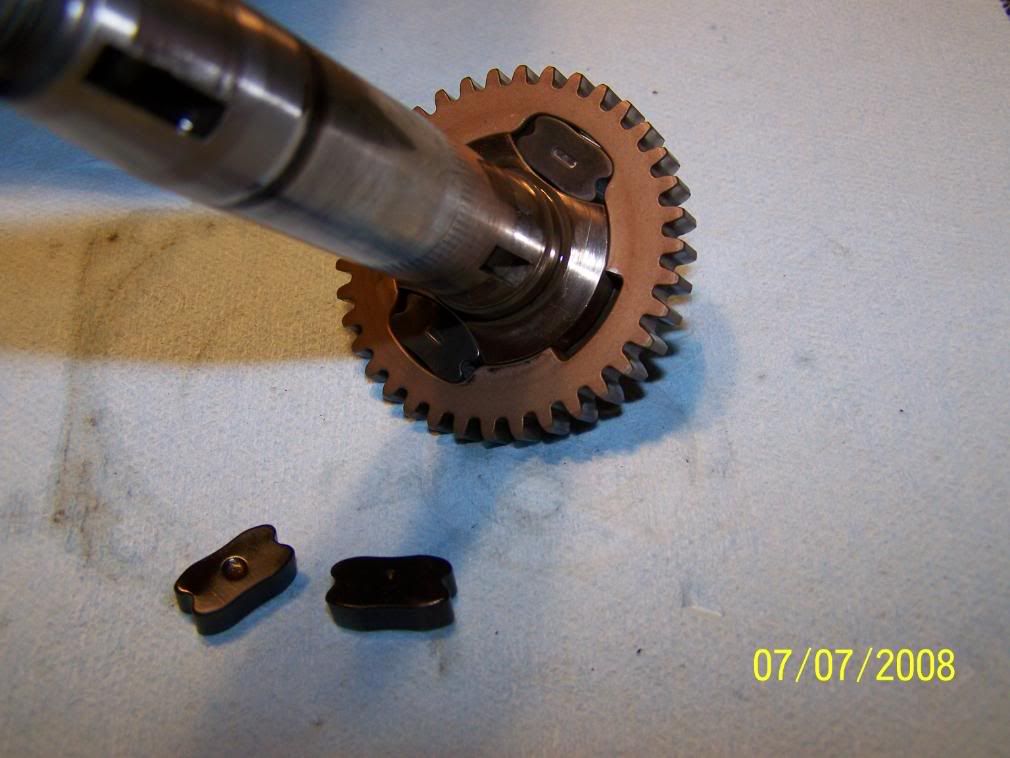
then You can remove the (2) 3 - sided studs on the side of the pump You can buy the tool from Bosch or you drive a 6-pint 1/2" socket over it and get it out. I suggest the correct socket. when they are removed then you can get the other levers out.
1st remove the jam nut at the front of the pump and unscrew the shaft
slowly slide it out and then all the parts will be free and can be removed
Don't be afraid if the weights in the governor fall out they are easy to re assemble.
then You can remove the (2) 3 - sided studs on the side of the pump You can buy the tool from Bosch or you drive a 6-pint 1/2" socket over it and get it out. I suggest the correct socket. when they are removed then you can get the other levers out.
1st Generation Admin
Joined: Jan 2005
Posts: 4,601
Likes: 118
From: Buies Creek, NC
Let me say it again . . .. "I appreciate your taking the time to photograph and type all the motions".
I'm gonna have to dig into my heap before too long. This is gonna help sooooo much.
I'm gonna have to dig into my heap before too long. This is gonna help sooooo much.
Thread Starter
Registered User
Joined: Dec 2006
Posts: 1,269
Likes: 0
From: Jonesboro, TEXAS
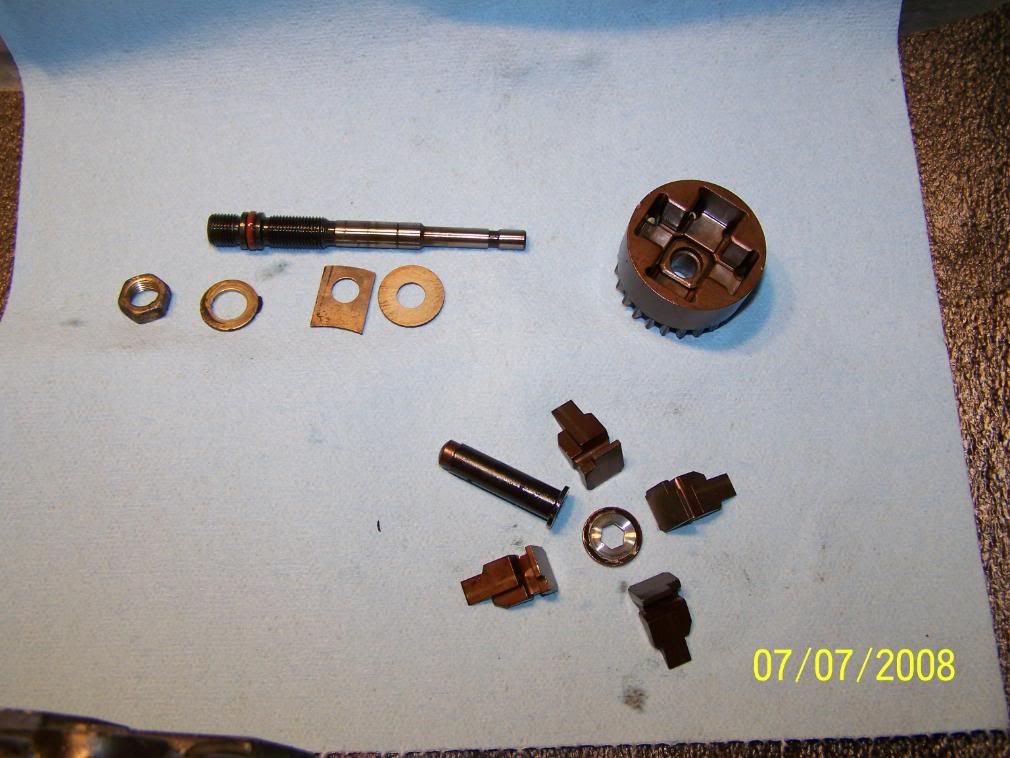
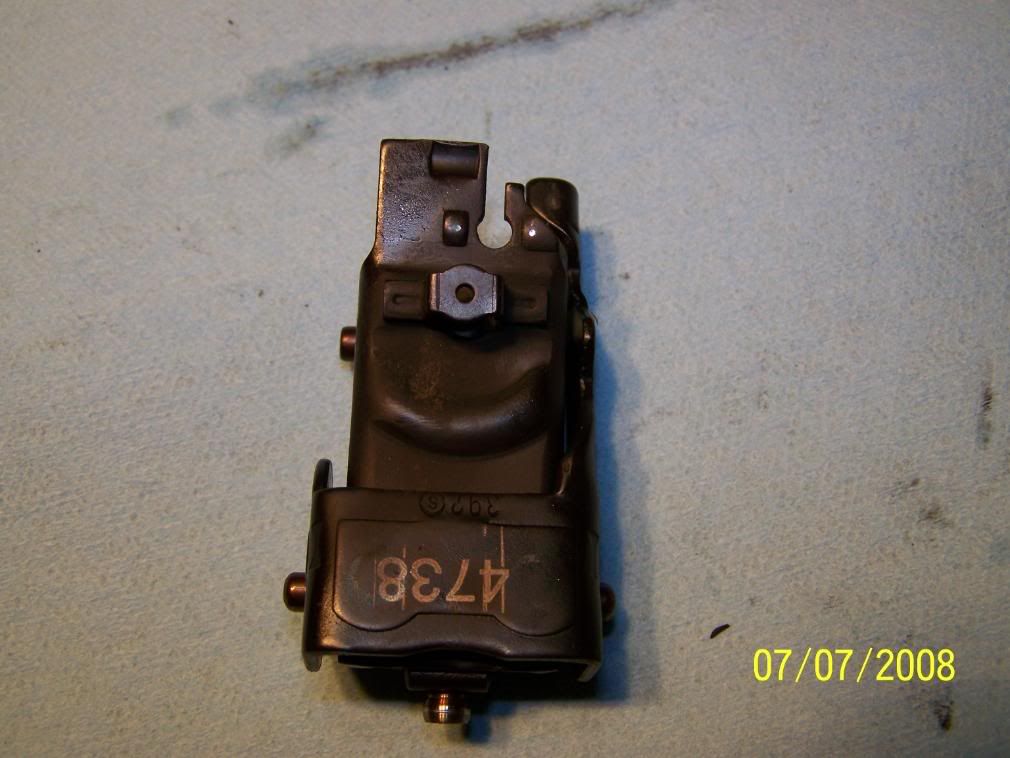
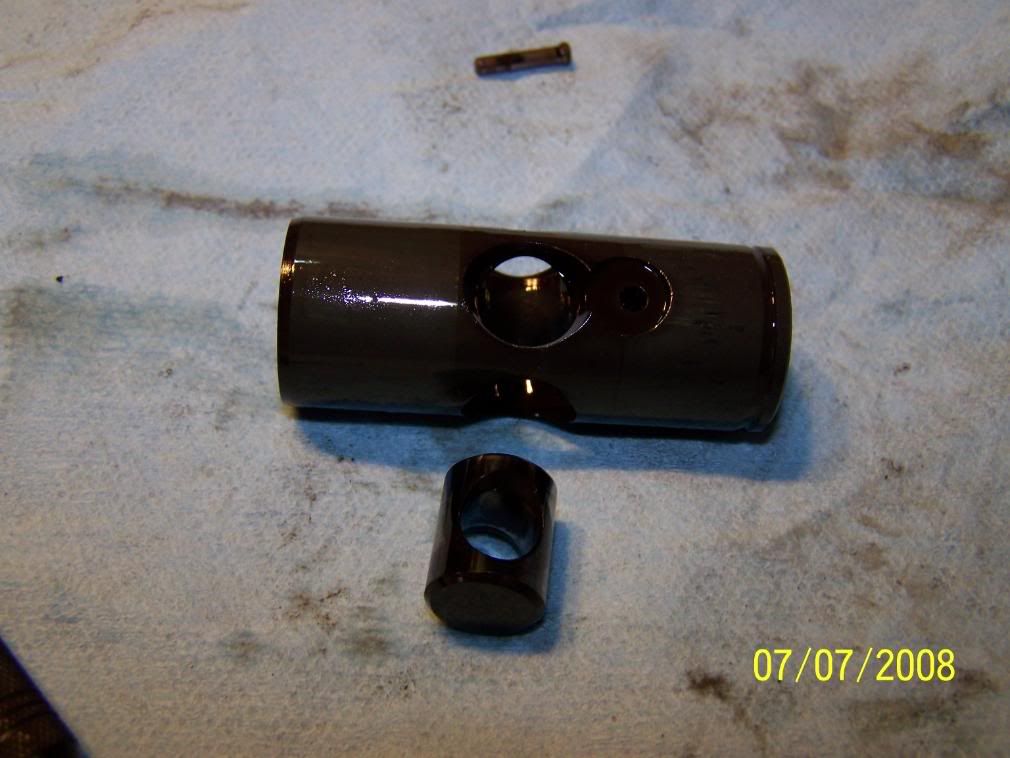
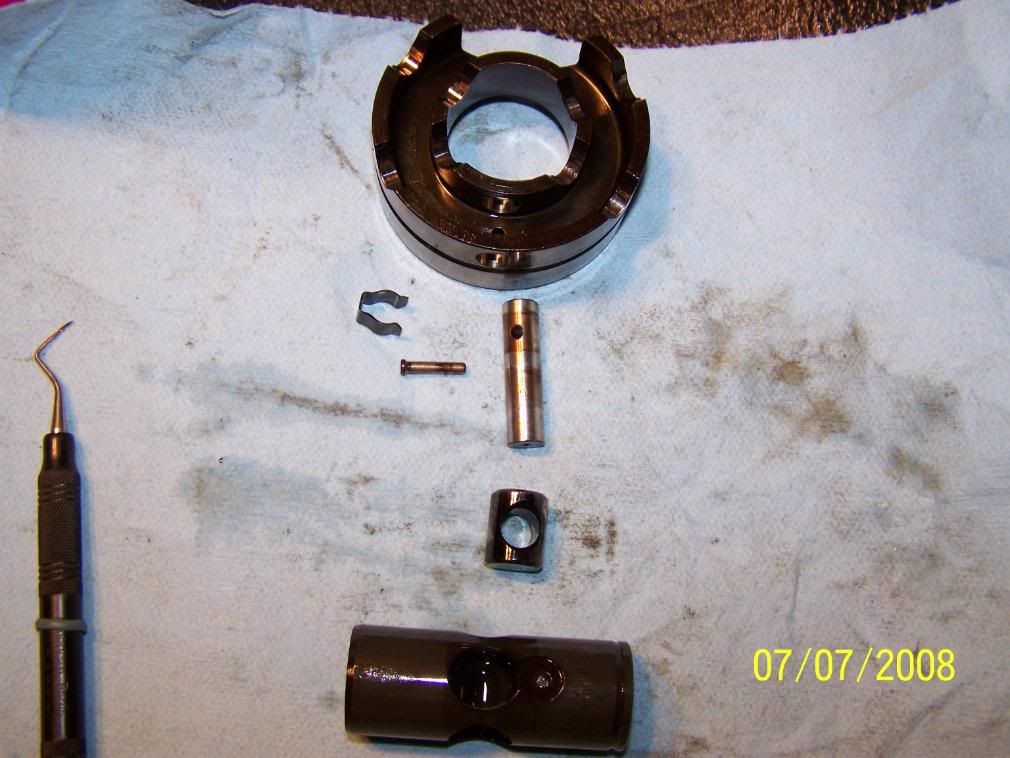
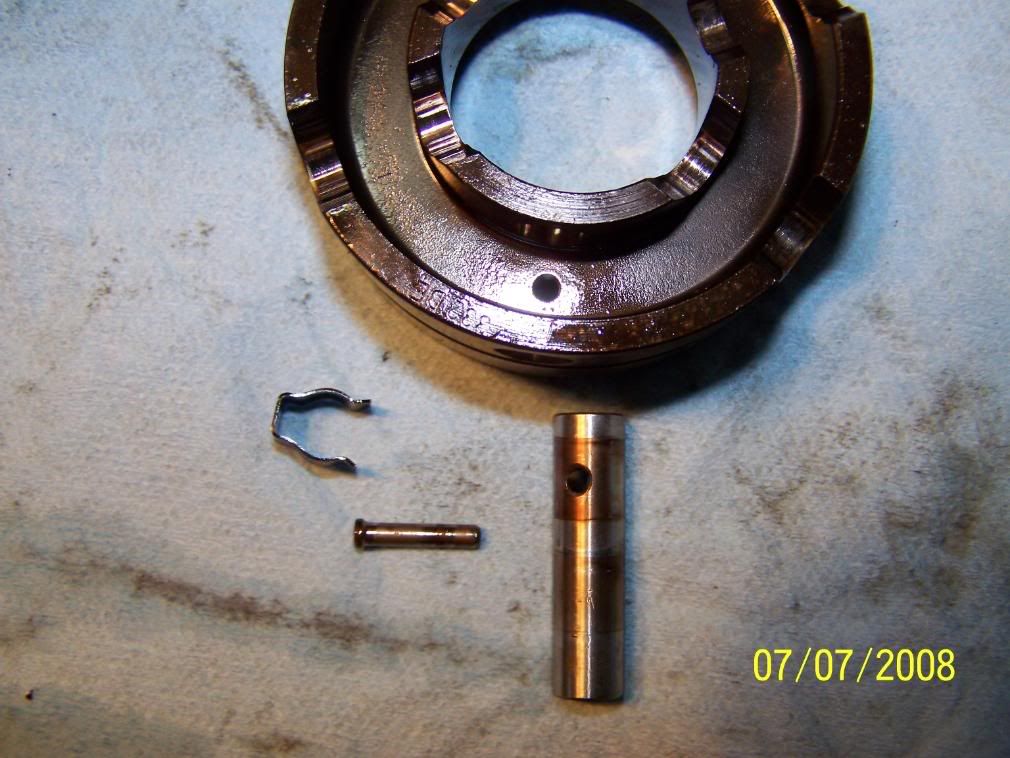
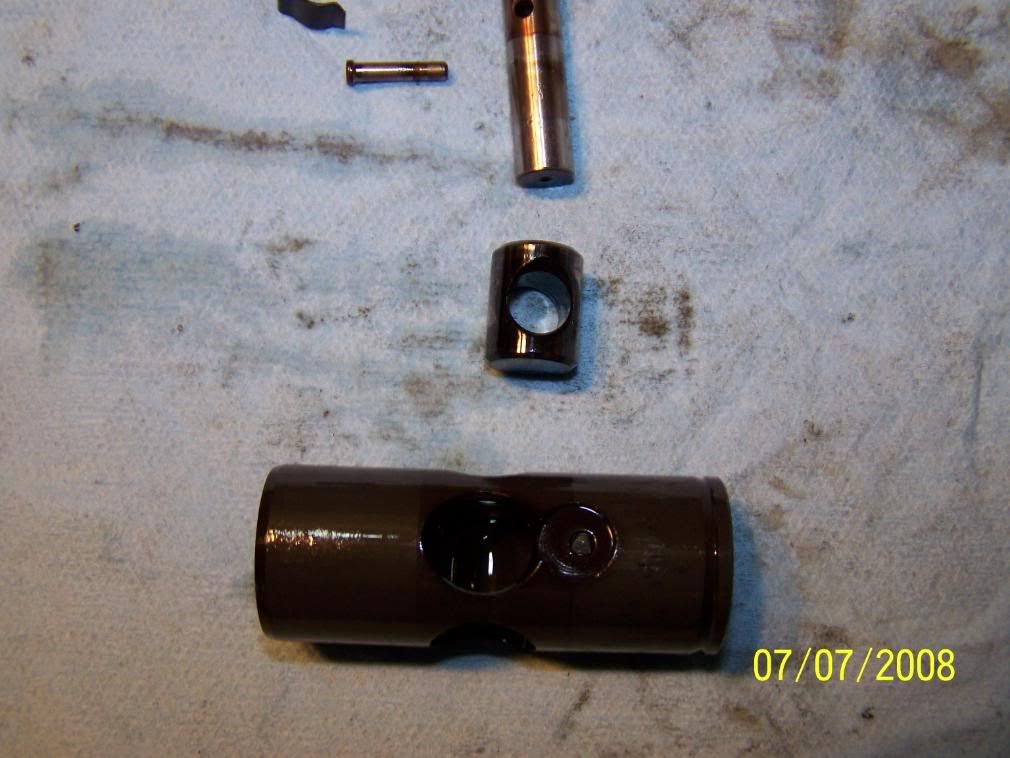
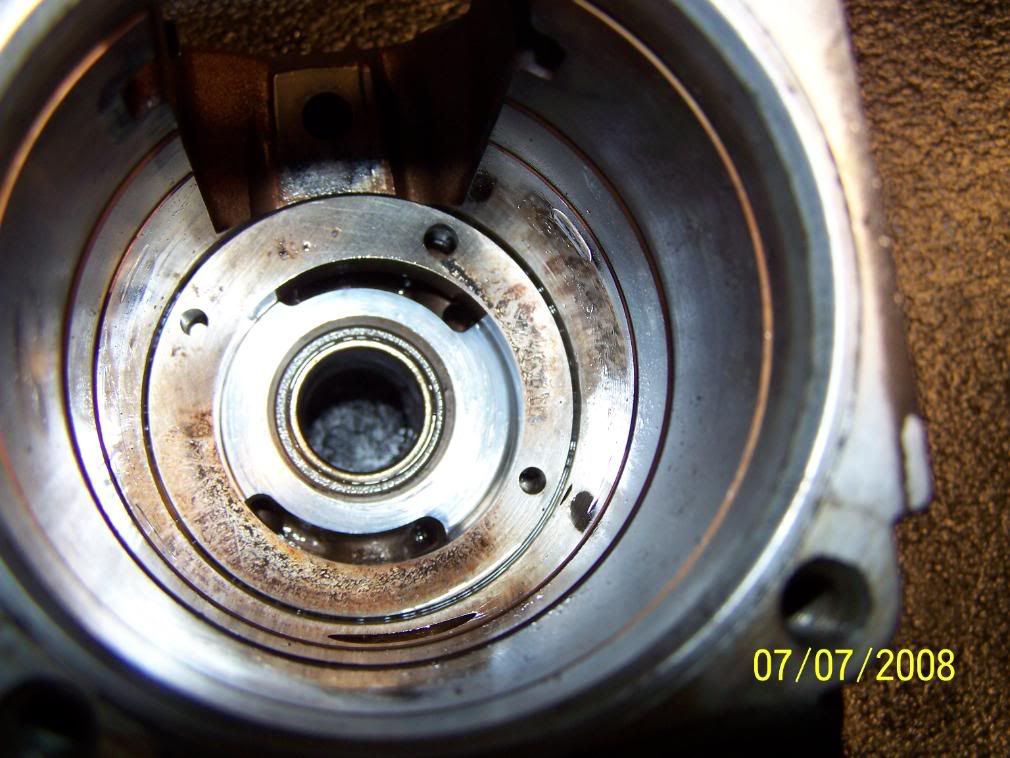
Now you can remove the shaft
There is a small keyway that will fall out its fine it drives the (supply pump) vain pump inside.
You can also see the two Buffers that will need to be replaced.
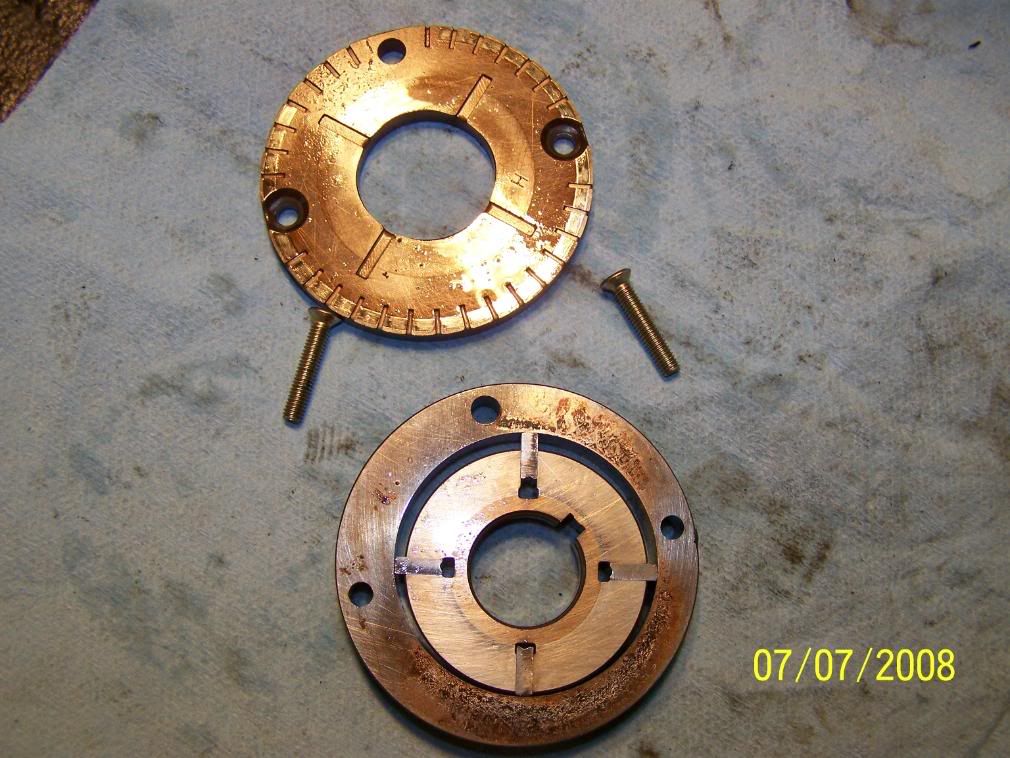
this is the supply pump suport ring
Pump
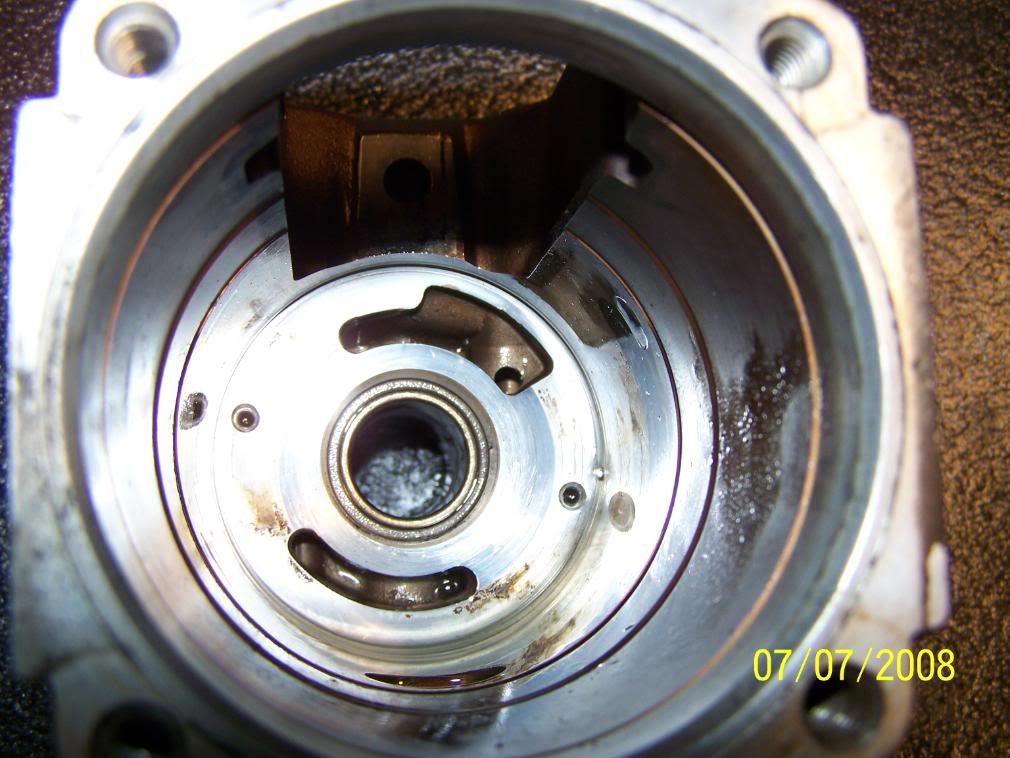
here is the pump The small notches must go back to the inside and sould be placed in the same slot they came out of.
Then with the front seal removed you can see the two bushings that can be replaced if worn badly.
There is a small keyway that will fall out its fine it drives the (supply pump) vain pump inside.
You can also see the two Buffers that will need to be replaced.
this is the supply pump suport ring
Pump
here is the pump The small notches must go back to the inside and sould be placed in the same slot they came out of.
Then with the front seal removed you can see the two bushings that can be replaced if worn badly.
Thread Starter
Registered User
Joined: Dec 2006
Posts: 1,269
Likes: 0
From: Jonesboro, TEXAS
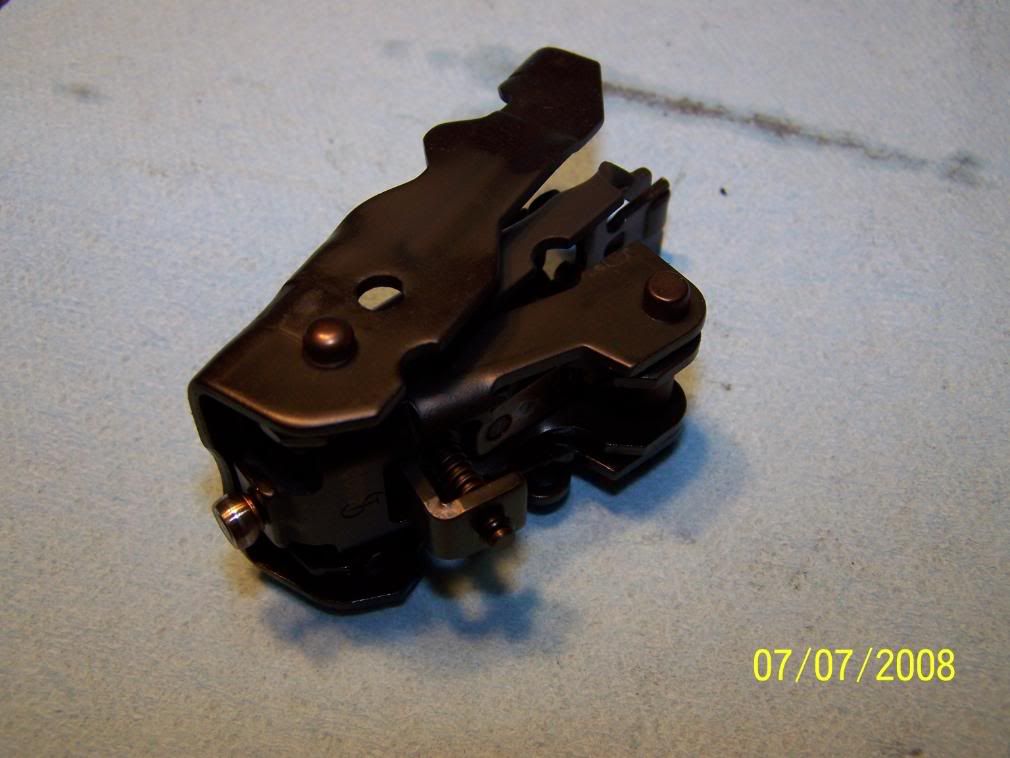
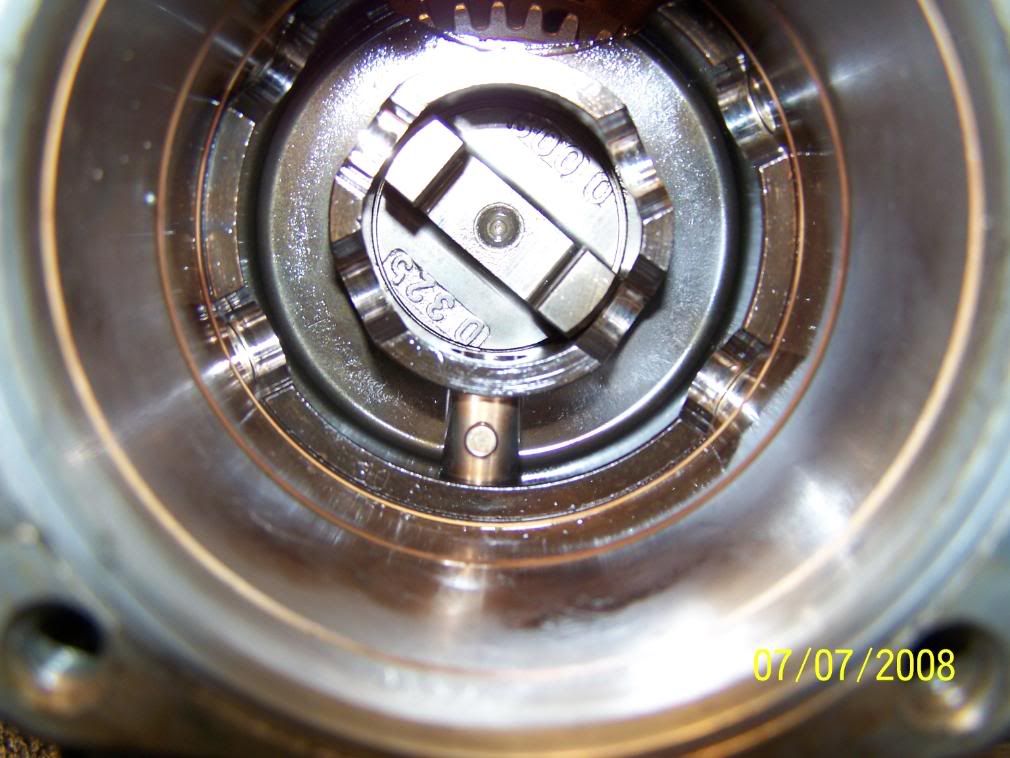
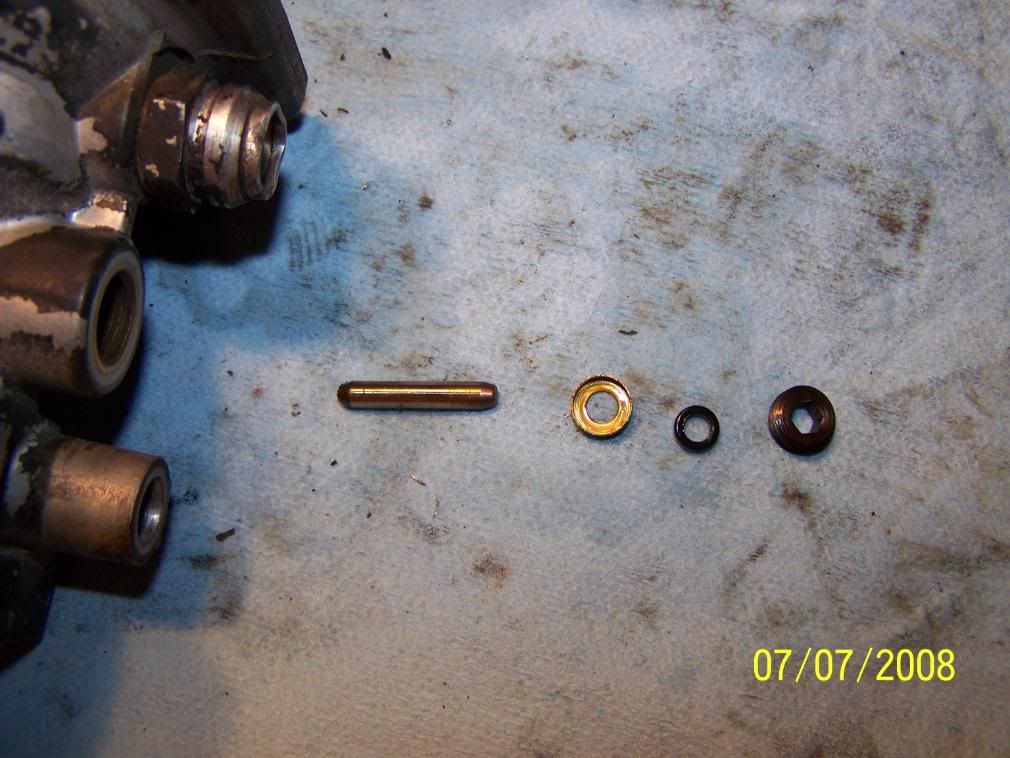
now to dis asemble the top
first you will have to drive out the 2 BB's on the side
Just drive from one side till the BB falls out of the other side
Then drive the pin back to the side you started on till the other bb falls out.
Then the pin can be removed and teh AFC lever removed
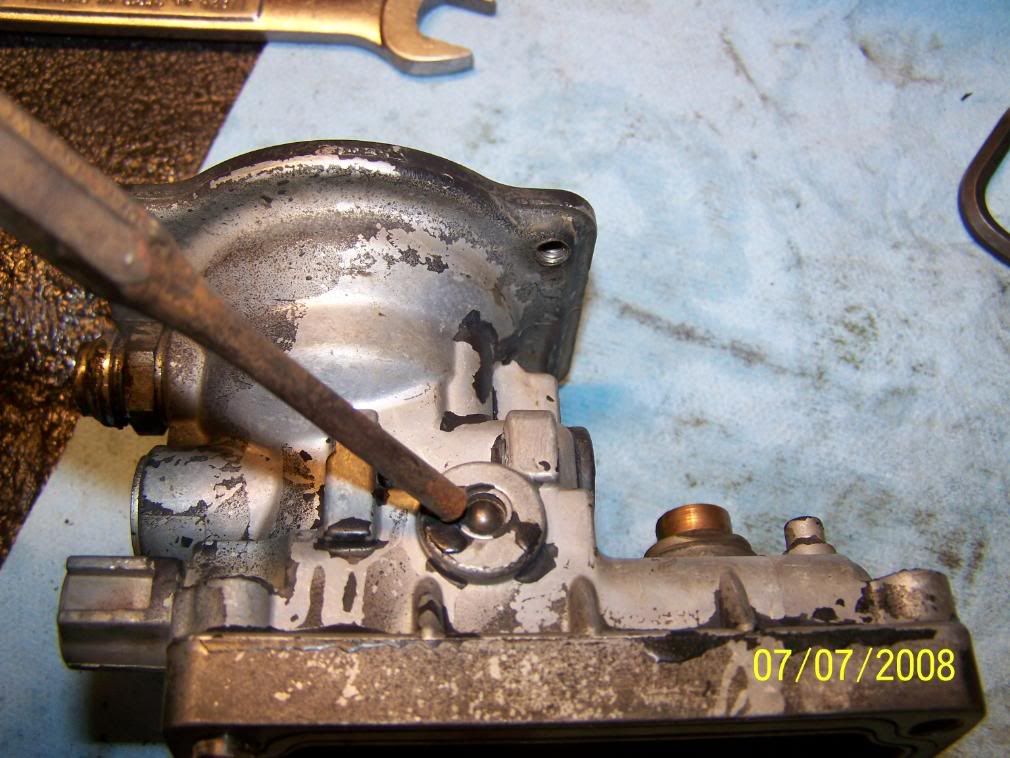

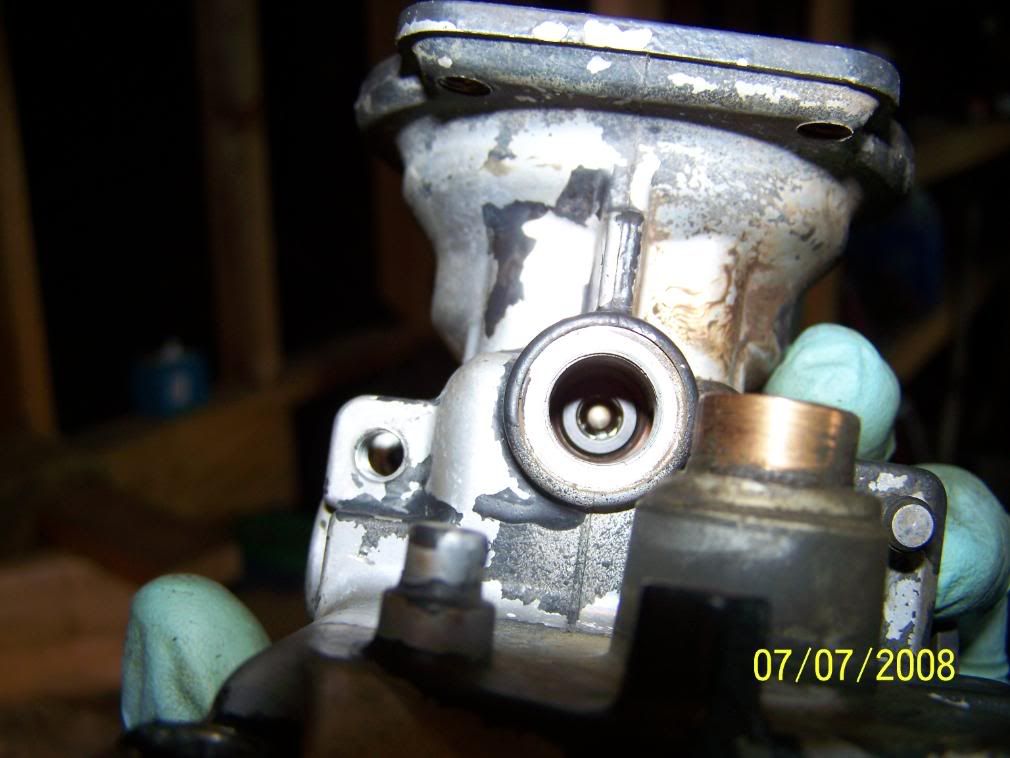
then remove the allen plug from the front of the housing
youcan then remove the allen head plug that holds the O-ring in place around the small pin that rides on the Fuel pin.
first you will have to drive out the 2 BB's on the side
Just drive from one side till the BB falls out of the other side
Then drive the pin back to the side you started on till the other bb falls out.
Then the pin can be removed and teh AFC lever removed
then remove the allen plug from the front of the housing
youcan then remove the allen head plug that holds the O-ring in place around the small pin that rides on the Fuel pin.
Registered User
Joined: Jan 2002
Posts: 2,730
Likes: 7
From: Powhatan, Virginia
Man, this is great! It is going to enable me to go into this pump with much less fear of hosing everything up. 
Now, perhaps I missed it as I looked at all the pics, but where do you get the parts for resealing this pump? Is there a kit?
Is there a write up of what to inspect in a case where there might be something else wrong, besides leaks? I ask because the truck I just bought supposedly needs a new pump, and I pulled the shut-off solenoid today to find metal shavings in that hole, so I'm not sure what I will find when I go into it, or how to tell that something is out of spec, although not obviously broken/worn.
Thanks,
Chris


Registered User
Joined: Jan 2008
Posts: 7,547
Likes: 2
From: Quinton, New Jersey (middle of nowhere)
1stgen545, sorry for editing some of your pics in this thread, to use in my post in the "starwheel mod" thread. I couldnt find pics on the web so i used yours not thinking about asking. i wasnt trying to take credit for the pics themselves.

Thread Starter
Registered User
Joined: Dec 2006
Posts: 1,269
Likes: 0
From: Jonesboro, TEXAS

Thanks to every one for your comments. I know it is a little slow going together but I will get the post all finished one day and with a little more detailed write up to go with the pics and part #'s
Thread Starter
Registered User
Joined: Dec 2006
Posts: 1,269
Likes: 0
From: Jonesboro, TEXAS
Man, this is great! It is going to enable me to go into this pump with much less fear of hosing everything up.
Now, perhaps I missed it as I looked at all the pics, but where do you get the parts for resealing this pump? Is there a kit?
Is there a write up of what to inspect in a case where there might be something else wrong, besides leaks? I ask because the truck I just bought supposedly needs a new pump, and I pulled the shut-off solenoid today to find metal shavings in that hole, so I'm not sure what I will find when I go into it, or how to tell that something is out of spec, although not obviously broken/worn.
Thanks,
Chris
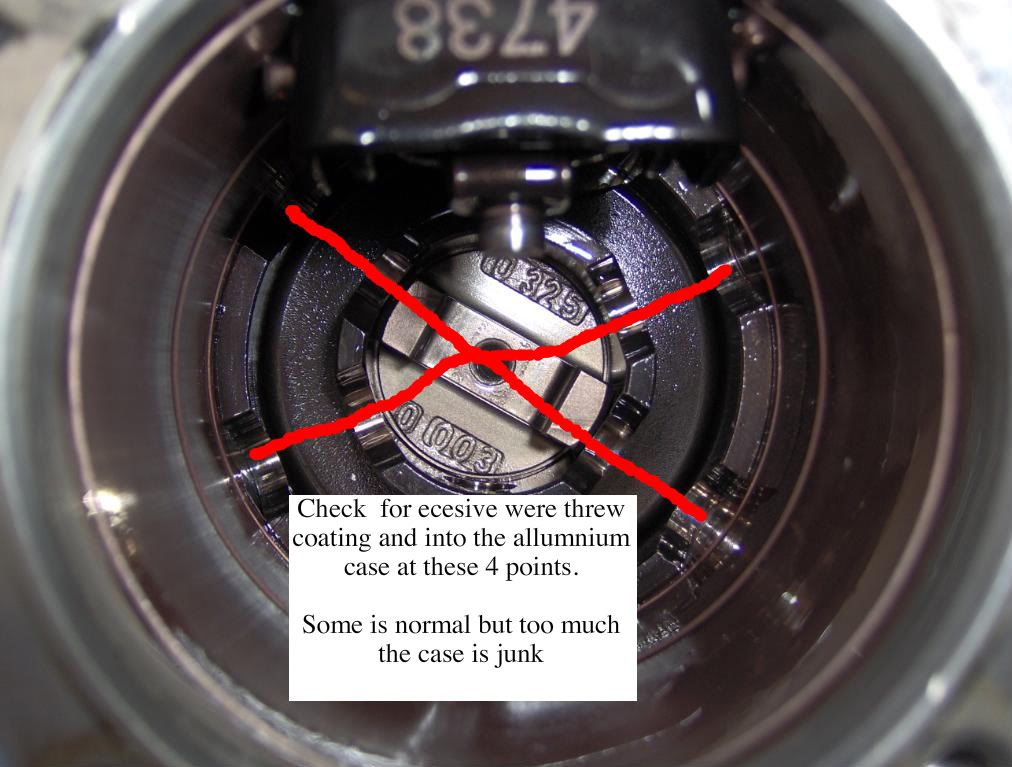
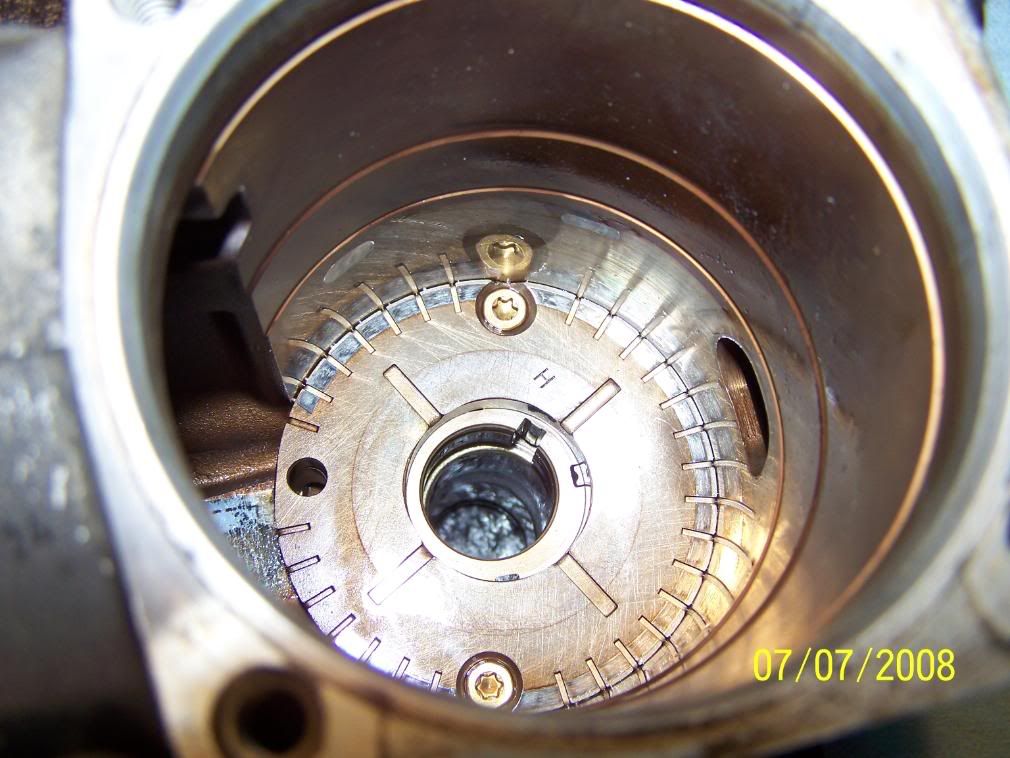
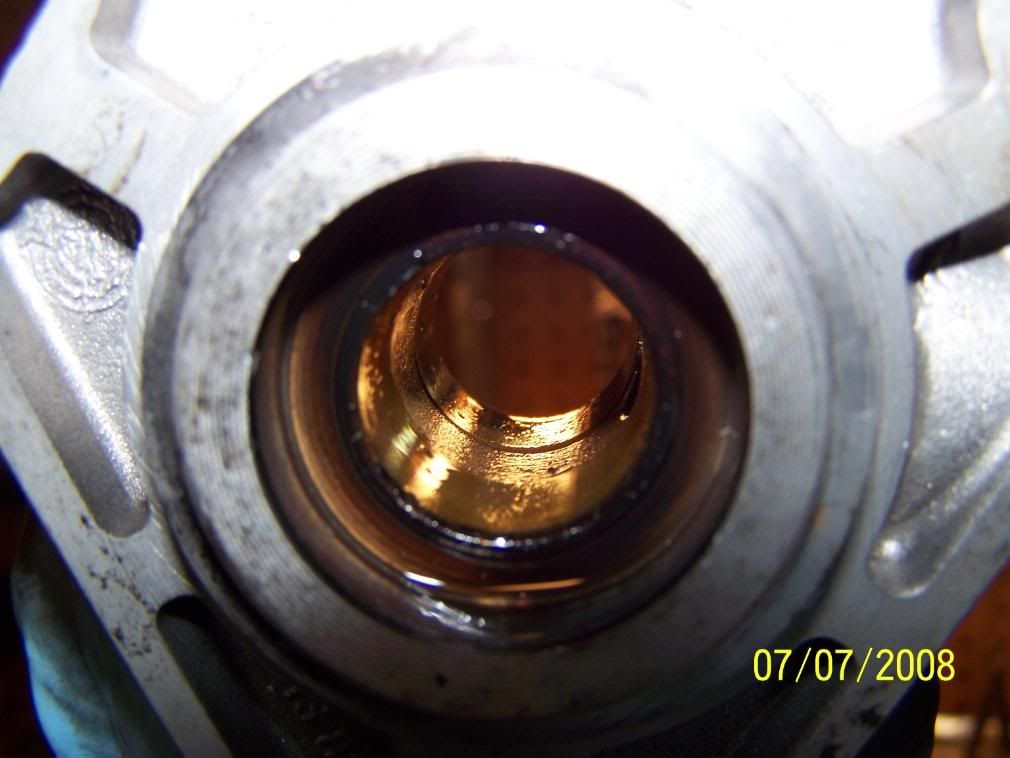
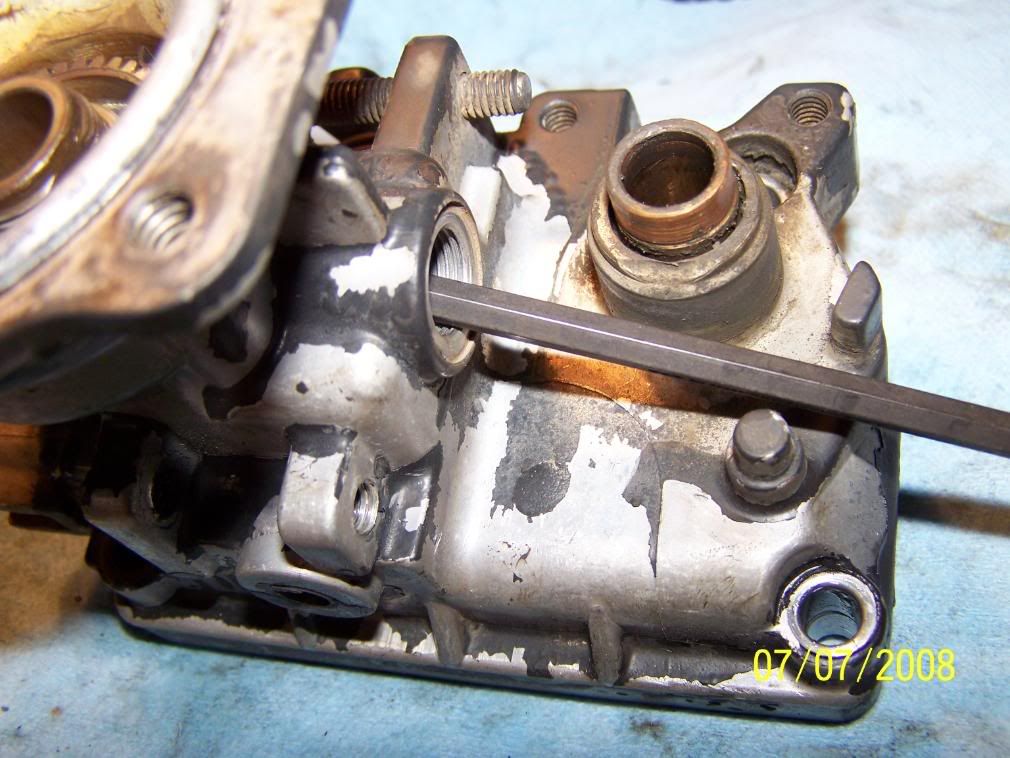
Mostly check the case were the rolers rub along the side ( a little were is normal) and the pump head and plunger