
1st GEN BUMPERS HEAVY DUTY


Registered User


Joined: Oct 2005
Posts: 6,457
Likes: 95
From: KENTUCKY

Registered User
Joined: Apr 2007
Posts: 249
Likes: 0
From: East of Denver
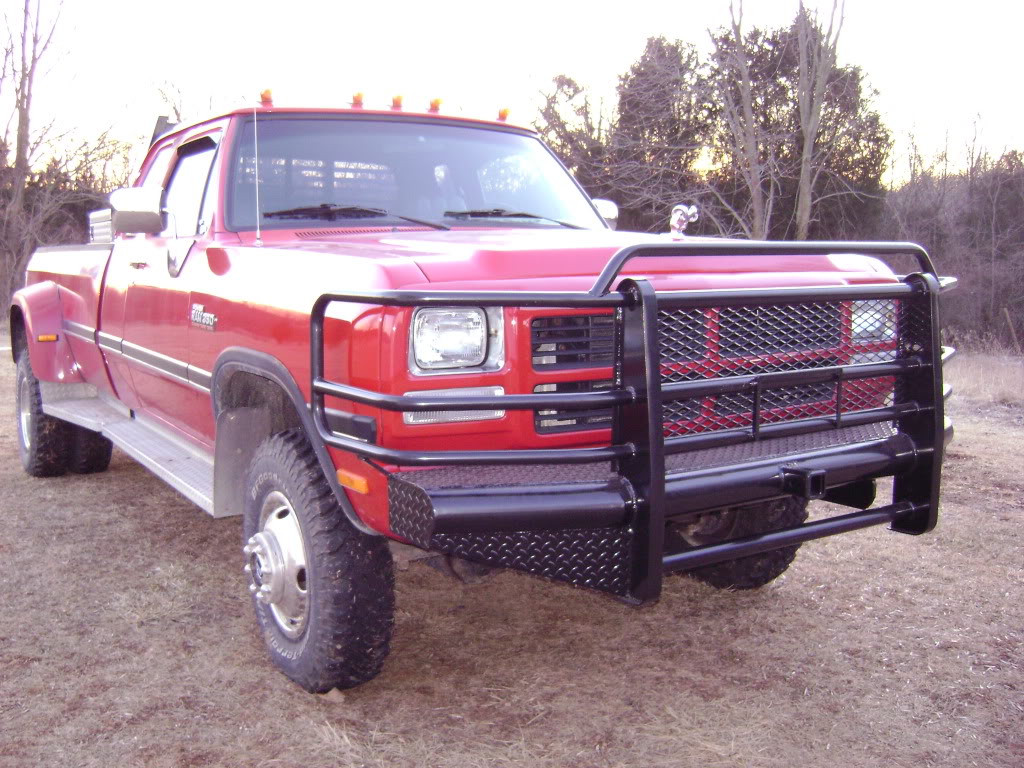
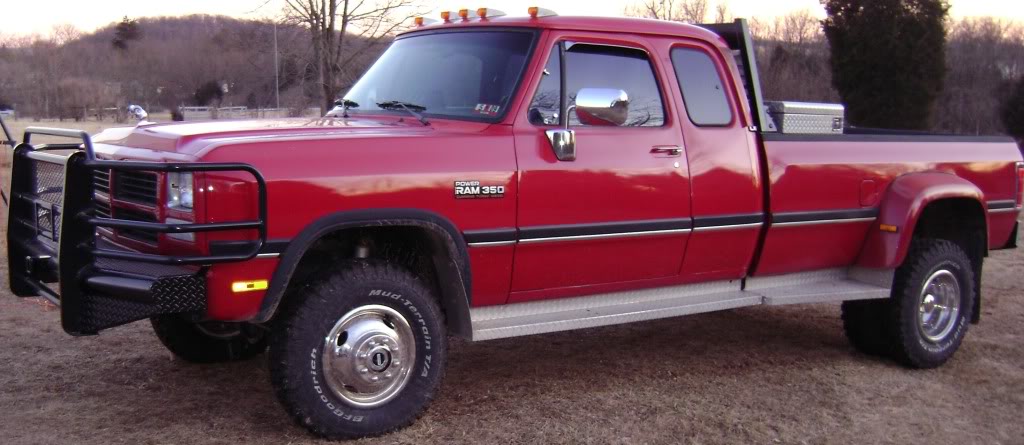
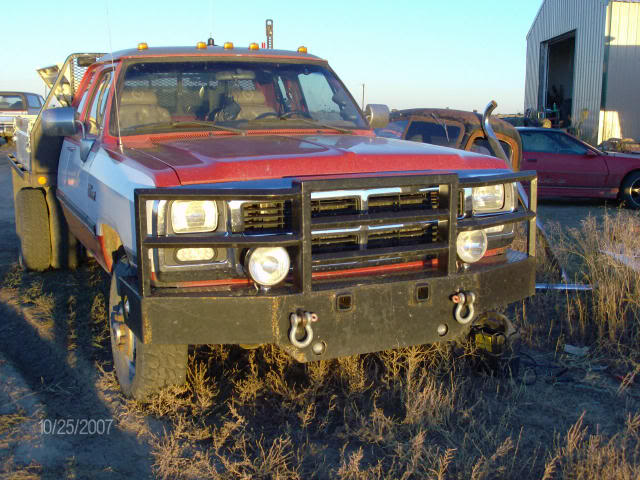
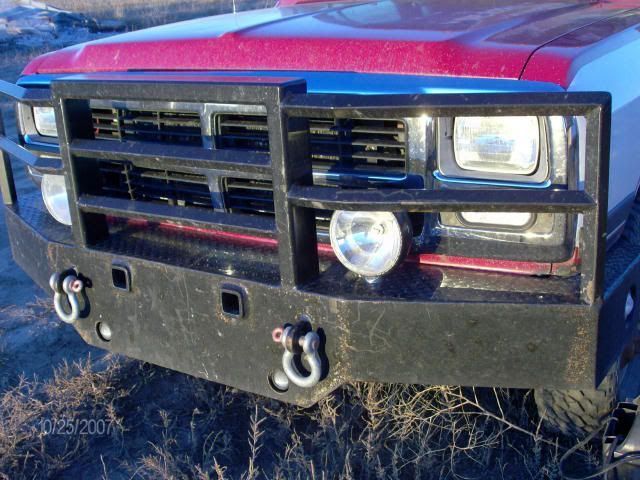
I just used 1/8" plate to fill the stock hole and put the LEDs in there for turn/markers. I ripped half of the stock bumper off pulling a friend out of a snow drift, so I made sure it would not happen again. I also made a winch mount that goes in the 2 receiver tubes, same thing on the back for pulling cars and things onto the trailer.

Registered User
Joined: Sep 2007
Posts: 1,090
Likes: 14
You got it BK, I have changed all the cab lights to LED, and will do the bed shortly as I am building a new head ache rack around 6" black stainless Aussie cut stacks. I moved the bed back 6" so I can have them between the cab and bed.
I just used 1/8" plate to fill the stock hole and put the LEDs in there for turn/markers. I ripped half of the stock bumper off pulling a friend out of a snow drift, so I made sure it would not happen again. I also made a winch mount that goes in the 2 receiver tubes, same thing on the back for pulling cars and things onto the trailer.
I just used 1/8" plate to fill the stock hole and put the LEDs in there for turn/markers. I ripped half of the stock bumper off pulling a friend out of a snow drift, so I made sure it would not happen again. I also made a winch mount that goes in the 2 receiver tubes, same thing on the back for pulling cars and things onto the trailer.
Registered User
Joined: Feb 2009
Posts: 136
Likes: 0
From: Longview, Tx
Registered User
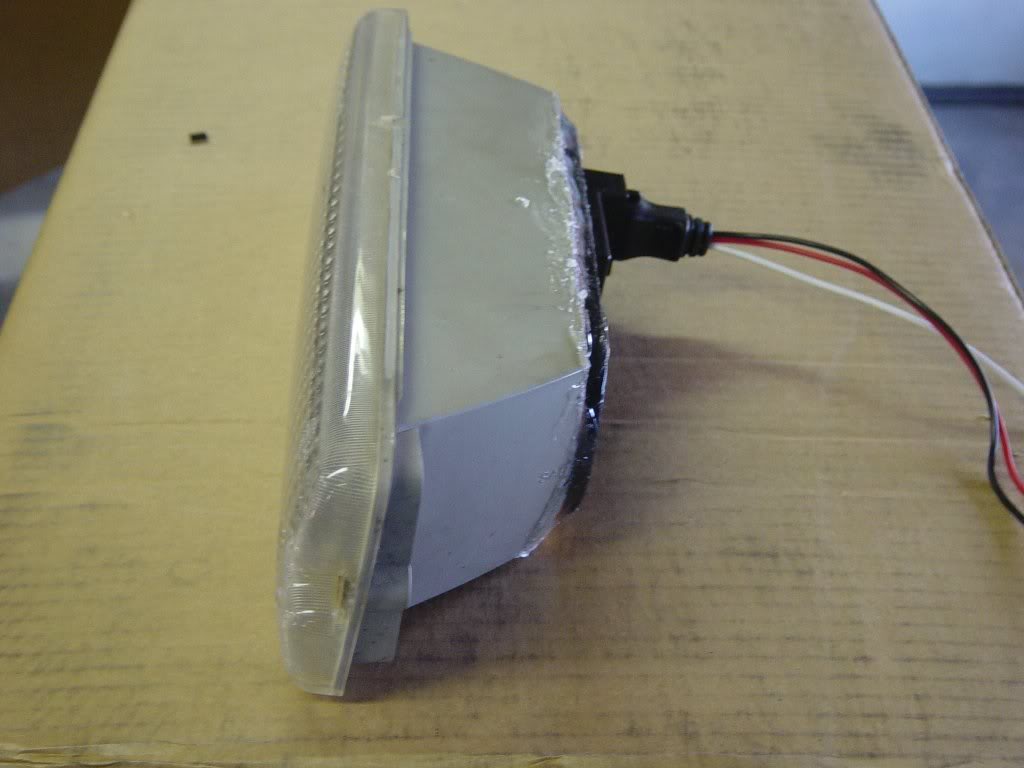
Joined: Sep 2007
Posts: 1,090
Likes: 14
Twitchy that is a 2.2X6.5 yellow oval tail/marker light. Its one of the PT series from superbrite led.
I did that conversion about two years ago. No complaints so far. No water issues in the orginal turn signal assy eather.
I did that conversion about two years ago. No complaints so far. No water issues in the orginal turn signal assy eather.
