
Engineered Diesel 63/68/14 Detailed install with pics
 04-08-2012, 05:34 AM
#1
Winner winner chicken dinner!
Thread Starter
Engineered Diesel 63/68/14 Detailed install with pics
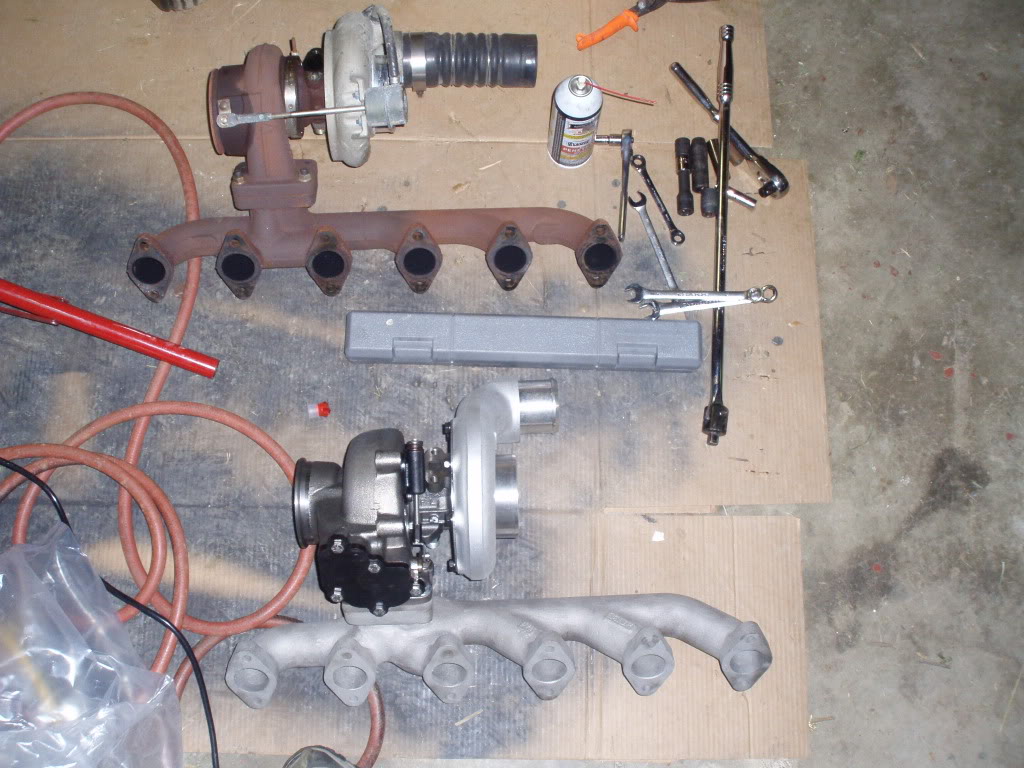
Ok lets start out, this is the turbo I picked after months of reading, talking to vendors and trying to decide. This turbo is what I dedicded on for my goals along with Chris at ED. I wanted fast spool with stock sticks and the ability to add sticks later (60s seem perfect), Tow, DD, run stop light to stop light, Dyno and Race. This turbo has a few configurations, so lets be very clear not all 63/68/14s are the same. This is a 63/68/14 T3. This turbo is capable in my configuration of just over 600hp, other configurations can do more but my concern was spool, and DD manners. It spools like a 62 but flows close to a 64.
Install notes, I talked to Chris upfront and this is a more or less drop in turbo with a few mods. 1 you will need to open your turbo drain pipe bolt holes up to 3/8", 2 the turbo has a much longer exhaust housing so you will need to shift your exhaust back, 3 you will need to move/bend your trans dipstick, 4 you will need to remove a coolant line bracket or cut it. Lets see what else we run into along the way.
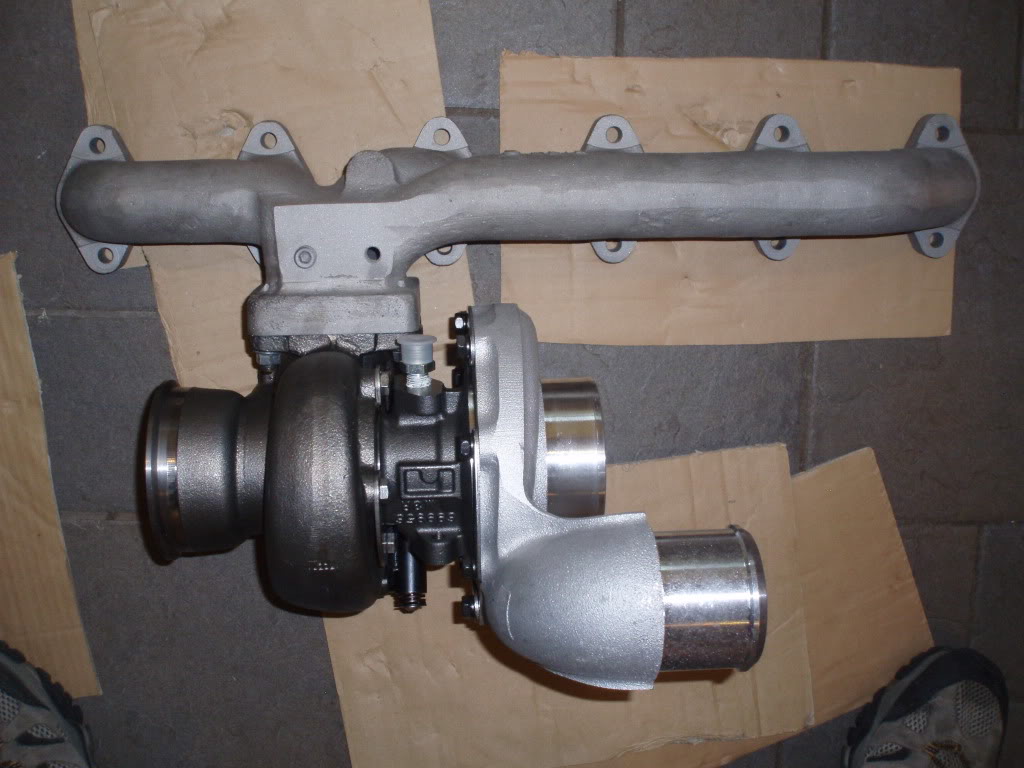
Ok I went with an HTT stainless exhaust manifold, I went with exhaust manifold studs through Genos, I went ahead and bought a 4" TORCA exhaust clamp. (as far as the manifold studs on my set up even with the turbo clocked I could not run all the studs in and hang the manifold gaskets and then slide the turbo and manifold on at one time. I bought them for this sole purpose, if it would have worked it would have made things a lot easier. Again I could not get it to clear with all the studs in place. I was working by myself so that may have had something to do with it. I was unhappy that the studs did not have a recessed torqx fitting in one end to aid in install like headstuds do. Again this would not be an issue but I had to put some in with the manifold hanging so it put tension on the stud thus making me hold up everything with one hand and turn the stud with the other. No fun.)
Turbo Engineered Diesel 63/68/14

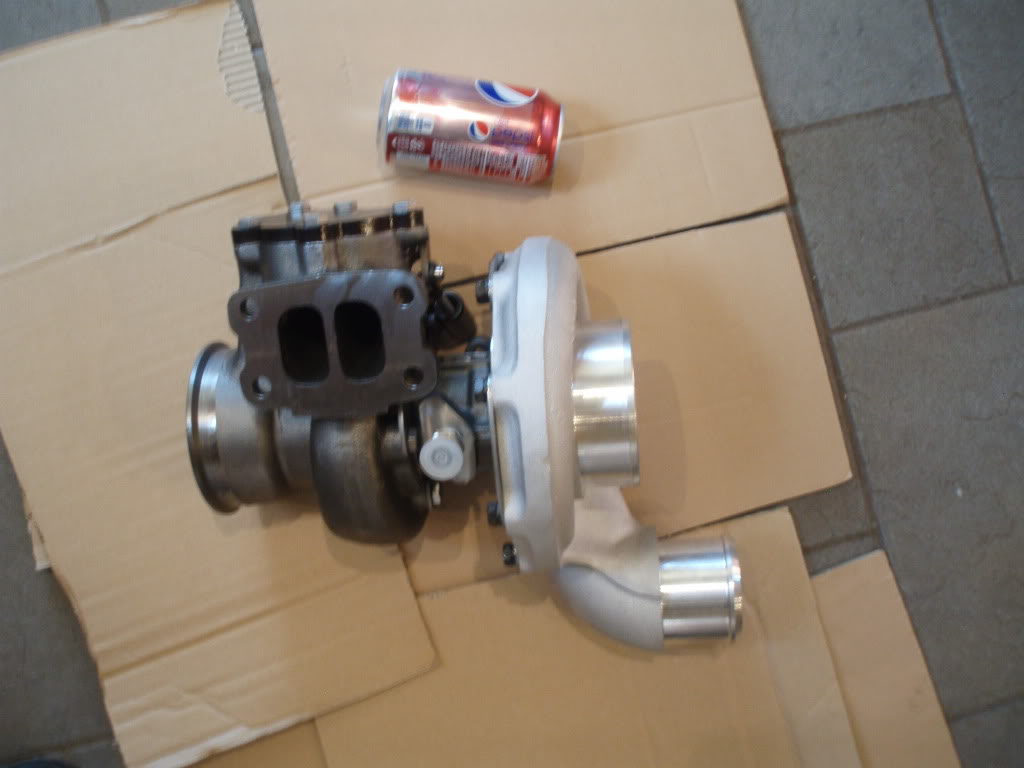
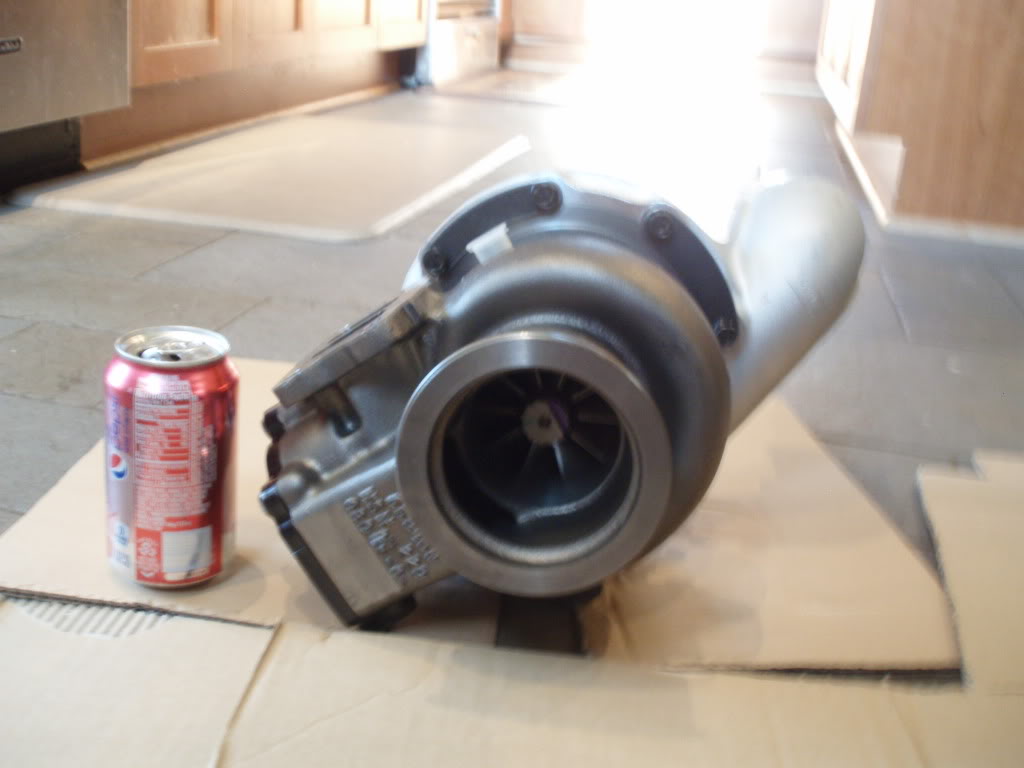
Wastegate, adjustable on truck with allen wrench
Install notes, I talked to Chris upfront and this is a more or less drop in turbo with a few mods. 1 you will need to open your turbo drain pipe bolt holes up to 3/8", 2 the turbo has a much longer exhaust housing so you will need to shift your exhaust back, 3 you will need to move/bend your trans dipstick, 4 you will need to remove a coolant line bracket or cut it. Lets see what else we run into along the way.
Ok I went with an HTT stainless exhaust manifold, I went with exhaust manifold studs through Genos, I went ahead and bought a 4" TORCA exhaust clamp. (as far as the manifold studs on my set up even with the turbo clocked I could not run all the studs in and hang the manifold gaskets and then slide the turbo and manifold on at one time. I bought them for this sole purpose, if it would have worked it would have made things a lot easier. Again I could not get it to clear with all the studs in place. I was working by myself so that may have had something to do with it. I was unhappy that the studs did not have a recessed torqx fitting in one end to aid in install like headstuds do. Again this would not be an issue but I had to put some in with the manifold hanging so it put tension on the stud thus making me hold up everything with one hand and turn the stud with the other. No fun.)
Turbo Engineered Diesel 63/68/14
Wastegate, adjustable on truck with allen wrench
 04-08-2012, 05:35 AM
#2
Winner winner chicken dinner!
Thread Starter
Ok to make install easier
1 remove air intake
2 remove passenger tire and wheel well, trust me its easier
3 remove charge air pipe
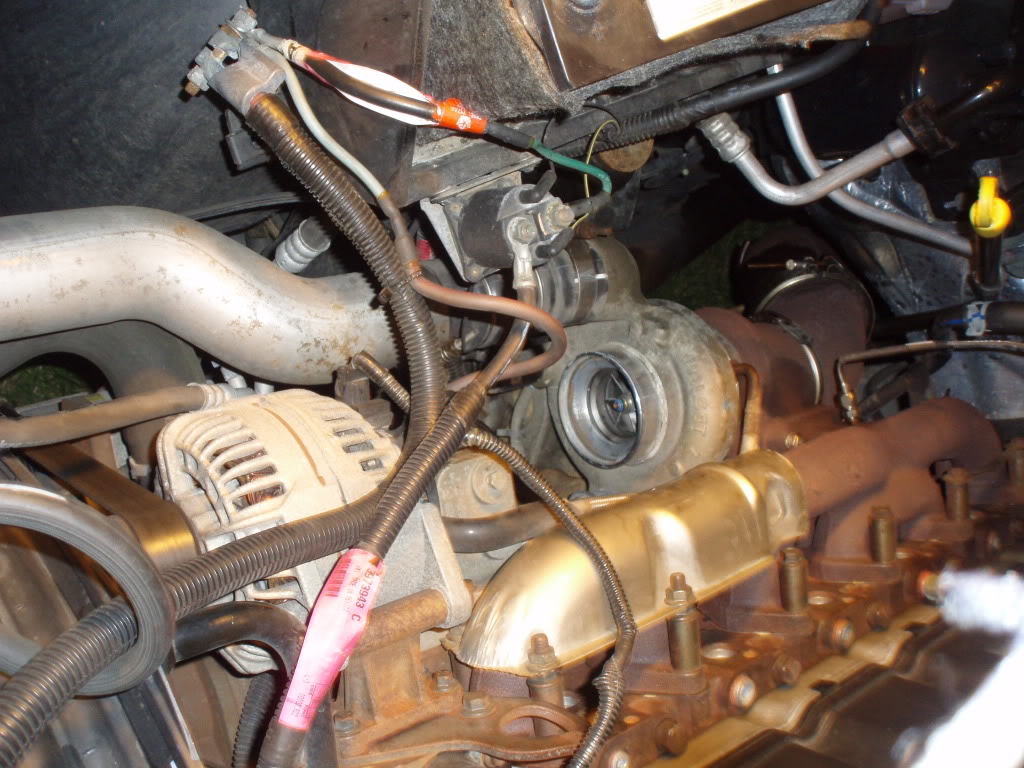
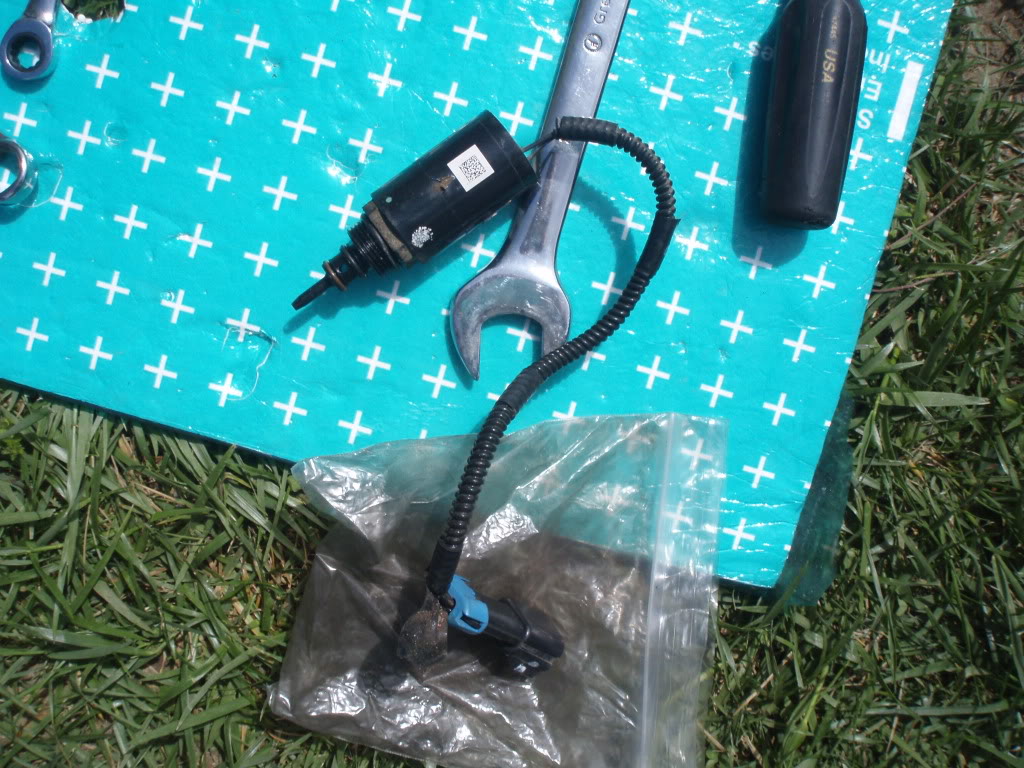
You can see in this pic the wastegate acctuator that you will need to pull once the turbo is out and wrap it up to keep from getting codes. or you can wire up your own resistor, or buy a manufactured one.
Soak both clamps overnight. Good luck mine still broke. If your truck has a few years/miles save yourself the heartache and buy 1 Vband clamp, and 1 cast elbow to downpipe clamp. (I will try to find my invoice from dodge and put up the part numbers.It took me 45 min at the dealer trying to find the right part when they gave me the wrong one)
4 Remove any thermocouple
5 Remove oil drain and oil feed line
6 remove exhaust cast elbow
7 remove manifol bolts and heat shield
1 remove air intake
2 remove passenger tire and wheel well, trust me its easier
3 remove charge air pipe
You can see in this pic the wastegate acctuator that you will need to pull once the turbo is out and wrap it up to keep from getting codes. or you can wire up your own resistor, or buy a manufactured one.
Soak both clamps overnight. Good luck mine still broke. If your truck has a few years/miles save yourself the heartache and buy 1 Vband clamp, and 1 cast elbow to downpipe clamp. (I will try to find my invoice from dodge and put up the part numbers.It took me 45 min at the dealer trying to find the right part when they gave me the wrong one)
4 Remove any thermocouple
5 Remove oil drain and oil feed line
6 remove exhaust cast elbow
7 remove manifol bolts and heat shield
04-08-2012, 05:37 AM
#3
Winner winner chicken dinner!
Thread Starter
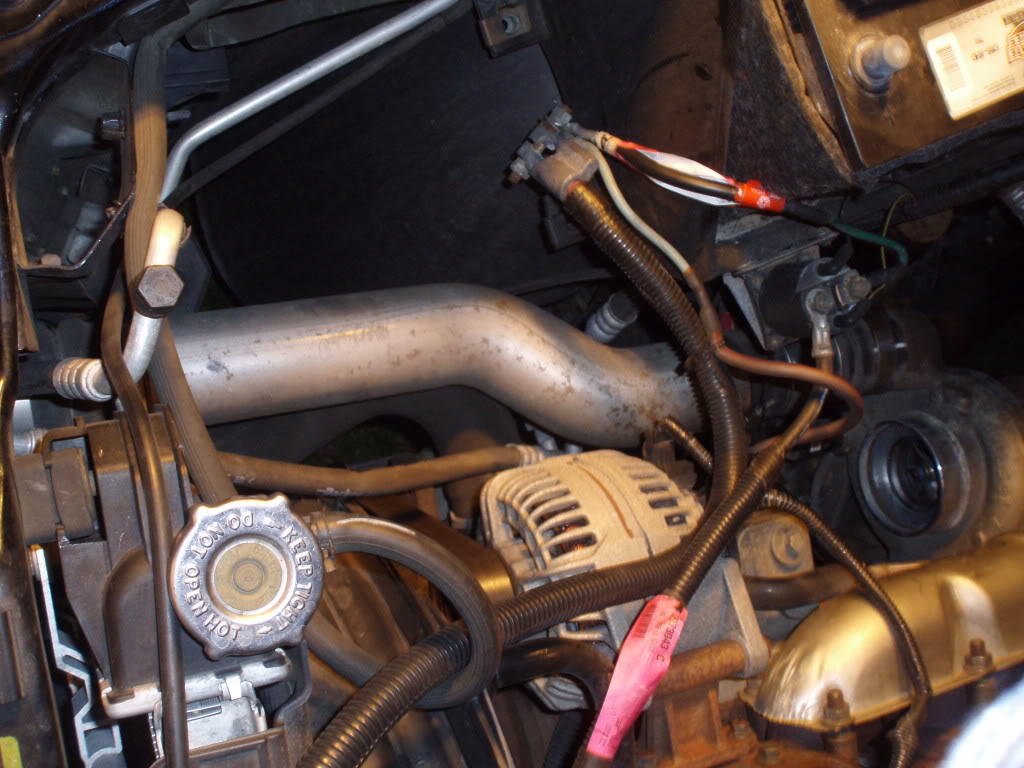
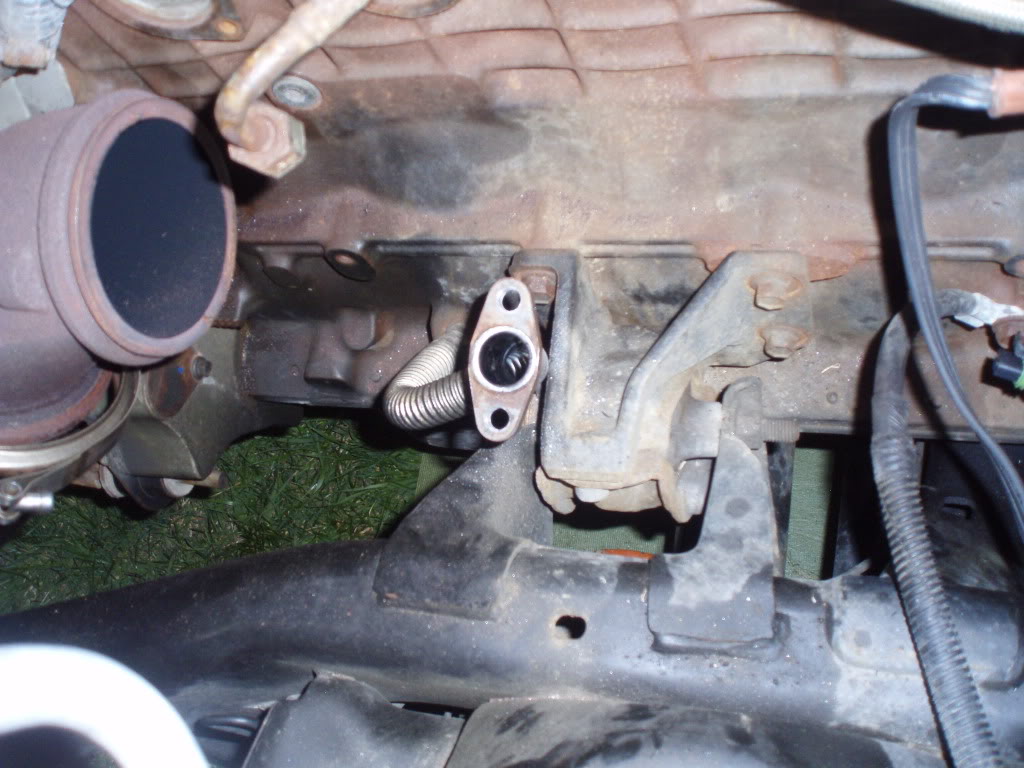
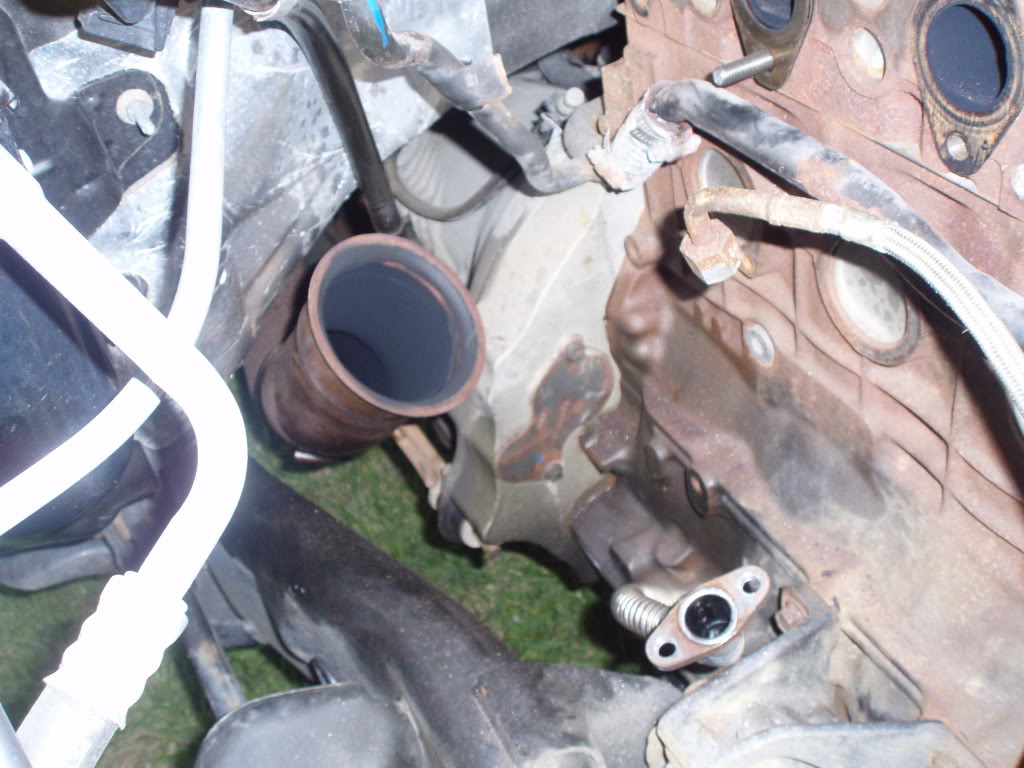
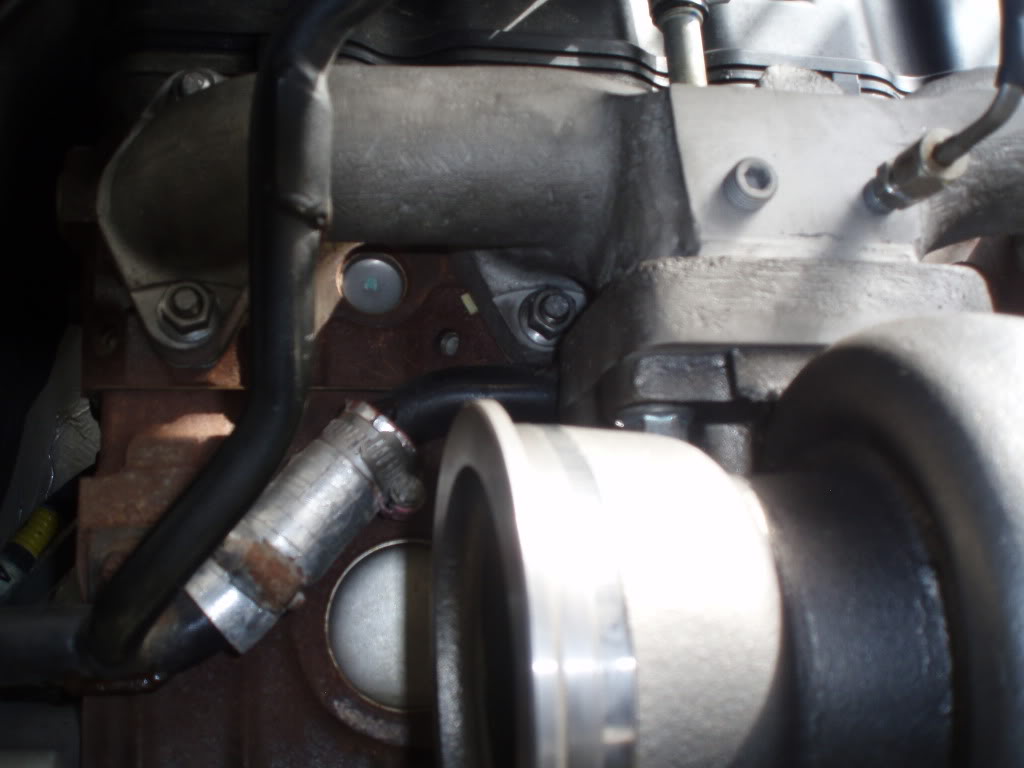
Exhaust manifold bolt are fun. The heat shield you can keep or toos, I tossed mine. Be aware the bolts are both 13 and 15. Number 2 bottome is hard to get at due to a coolant line. After you fight to get the heat shield off you can remove a bolt in the blockthat holds the collant line under #2-3 to give yourself a little wiggle room.
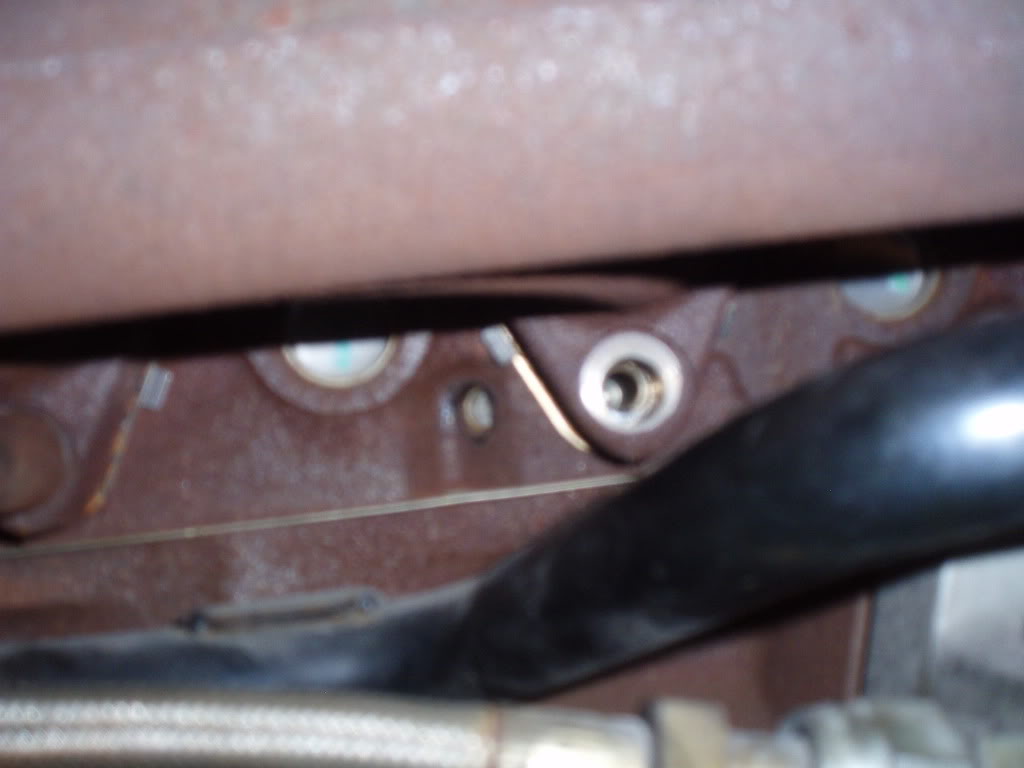
next issue will be bracket to help support a coolant line. You can drain coolant, and remove the line but it is a pain. The line is super tight so I cut the bracket. I hate doing things half ***ed, so I kept the bracket and I will be running back on the manifold stud and fabbing it up somehow but it really isnt needed Im just OCD.
Bracket
Bracket cut
04-08-2012, 05:38 AM
#4
Winner winner chicken dinner!
Thread Starter
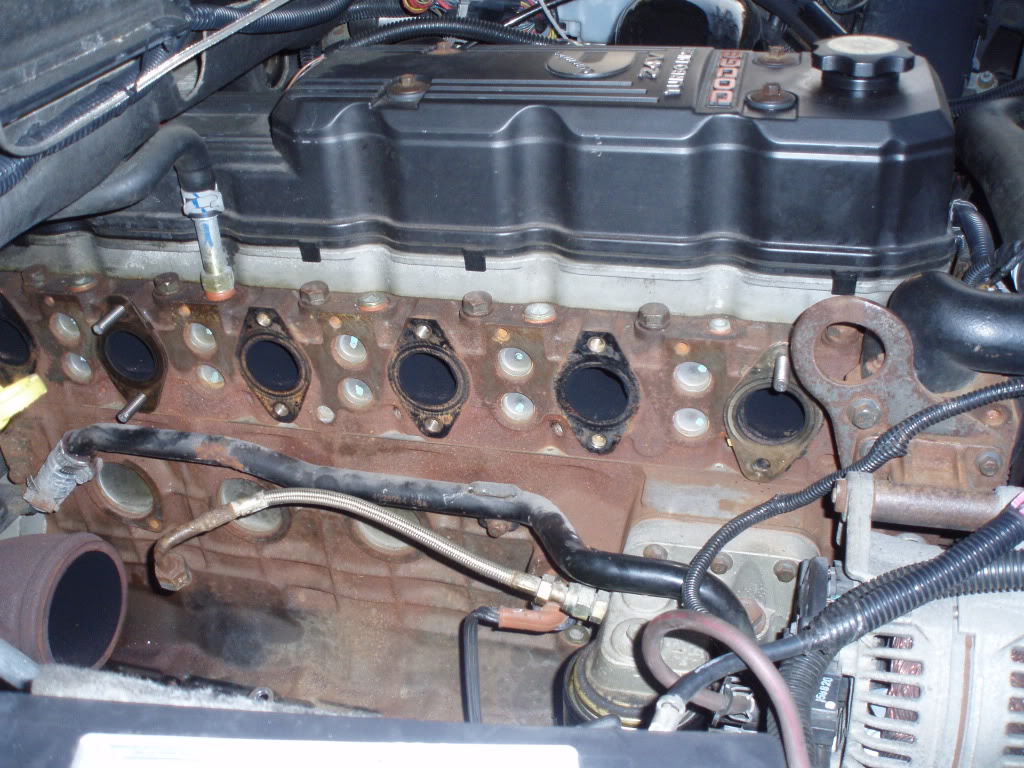
Remove all the manifold bolts and BAM
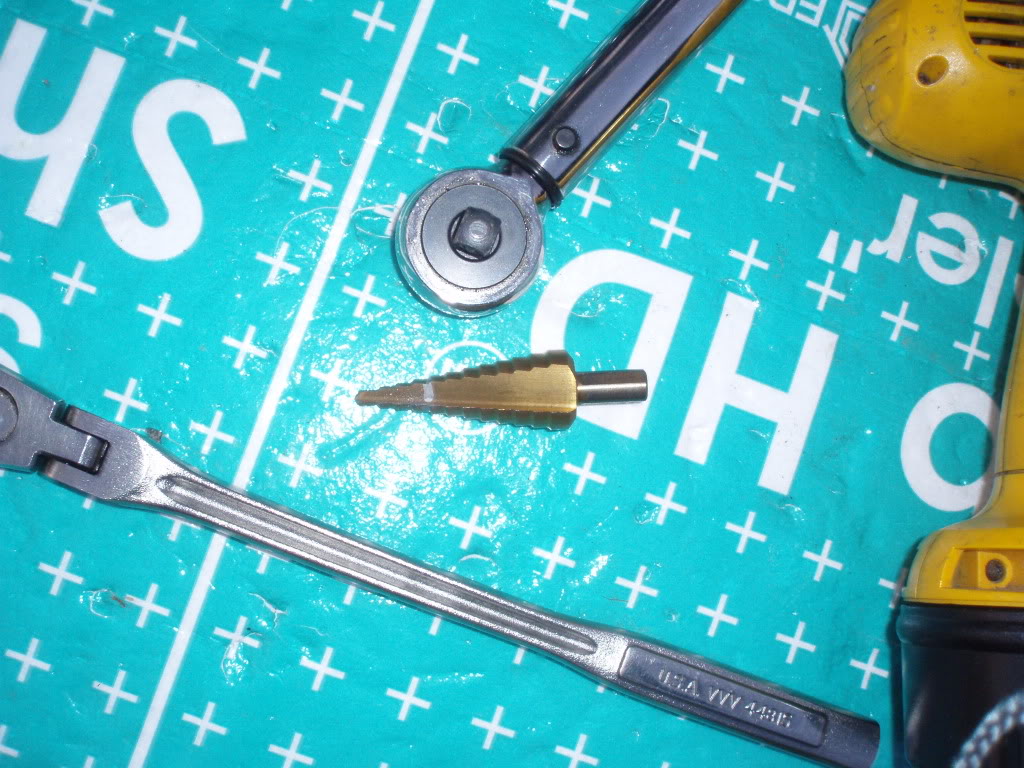
Ok for reinstall open up the oil return bolt holes to accept 3/8 bolts
Used this little guy to start then ran a 3/8 bit thru
ok time to start reinstall, I again couldnt do all the studs so I did top 1 and tuff 5
Oh and side by sied while out
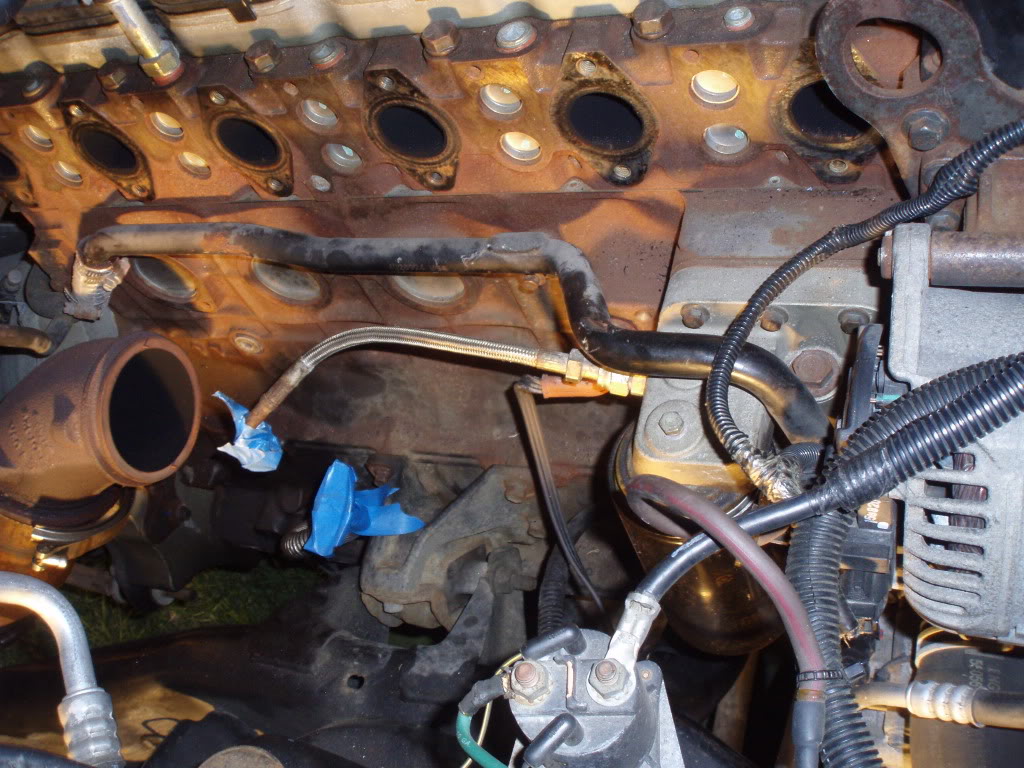
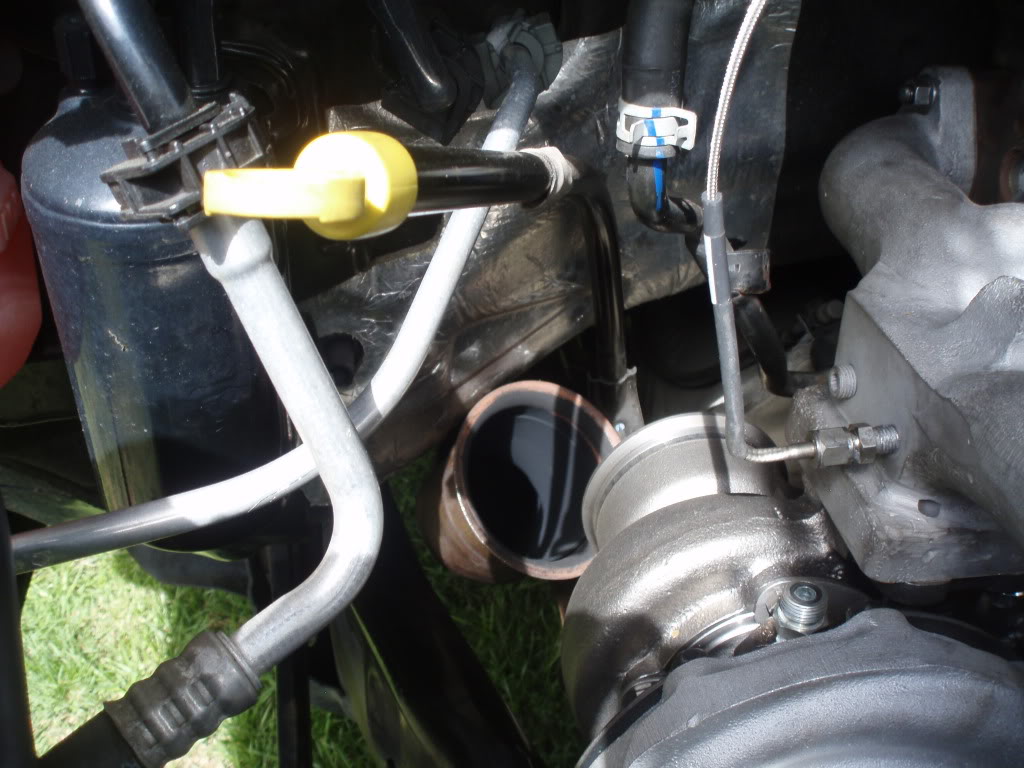
Oh and while Im here this little pic shows where most of us have a small collant leak.
Ok for reinstall open up the oil return bolt holes to accept 3/8 bolts
Used this little guy to start then ran a 3/8 bit thru
ok time to start reinstall, I again couldnt do all the studs so I did top 1 and tuff 5
Oh and side by sied while out
Oh and while Im here this little pic shows where most of us have a small collant leak.
04-08-2012, 05:39 AM
#5
Winner winner chicken dinner!
Thread Starter
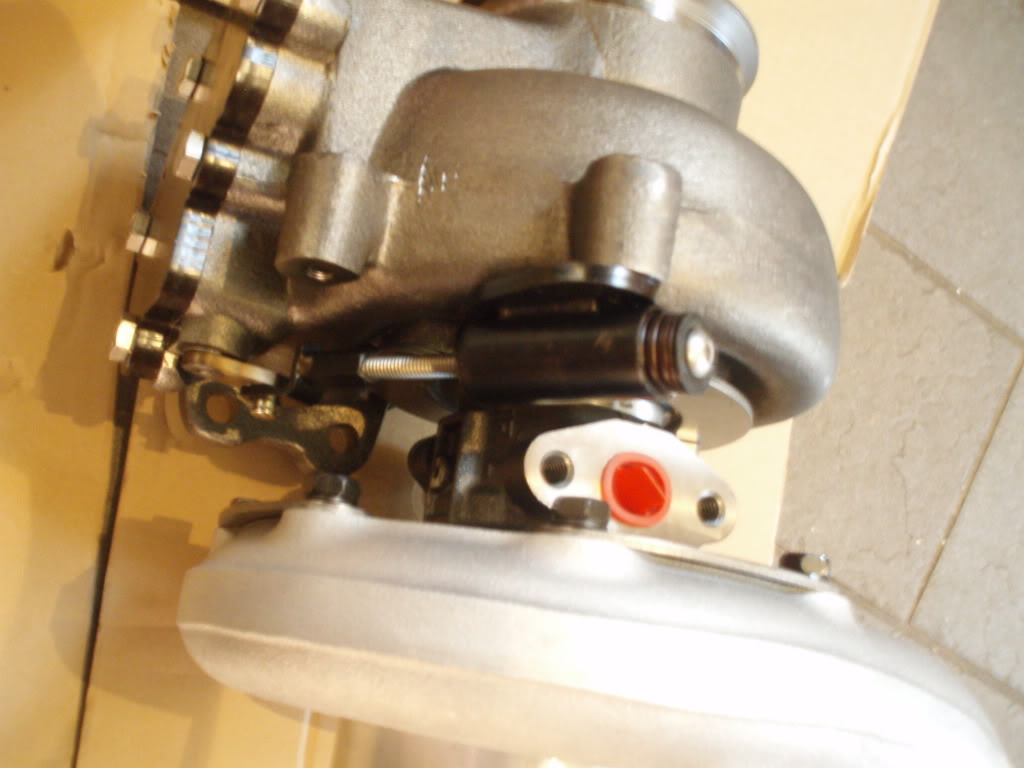
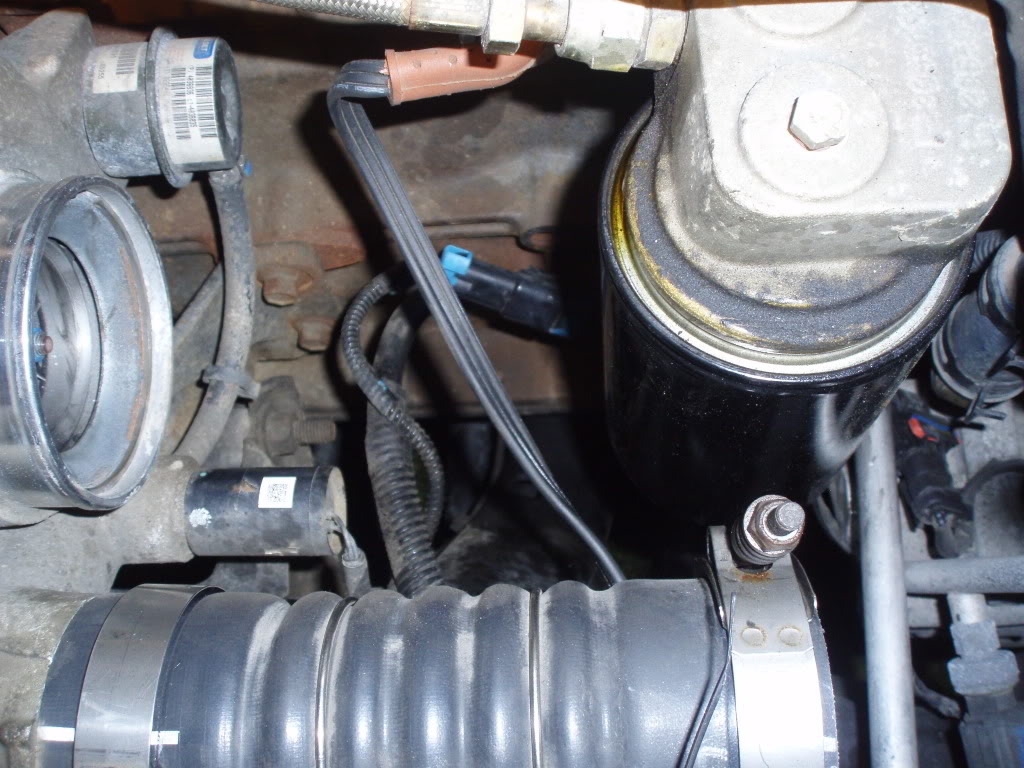
This little guy is what you will need from the stock turbo to not throw codes, or you can fab up a resistor or buy one
Alright time to had yor new turbo. You will need to clock it first. Loosen, just loosen all the bolts on the back side of the compressor housing. You want this thing to turn but you want it to drag a bit to keep things alighned. Do not loosen them to much. Put the compressor housing to charge air pipe at 12 oclock, straight up to help you slide her in and not wrestle too much with the shock tower.
Sorry no pic of it clocked but hre are the bolts you will need to loosen on the back side
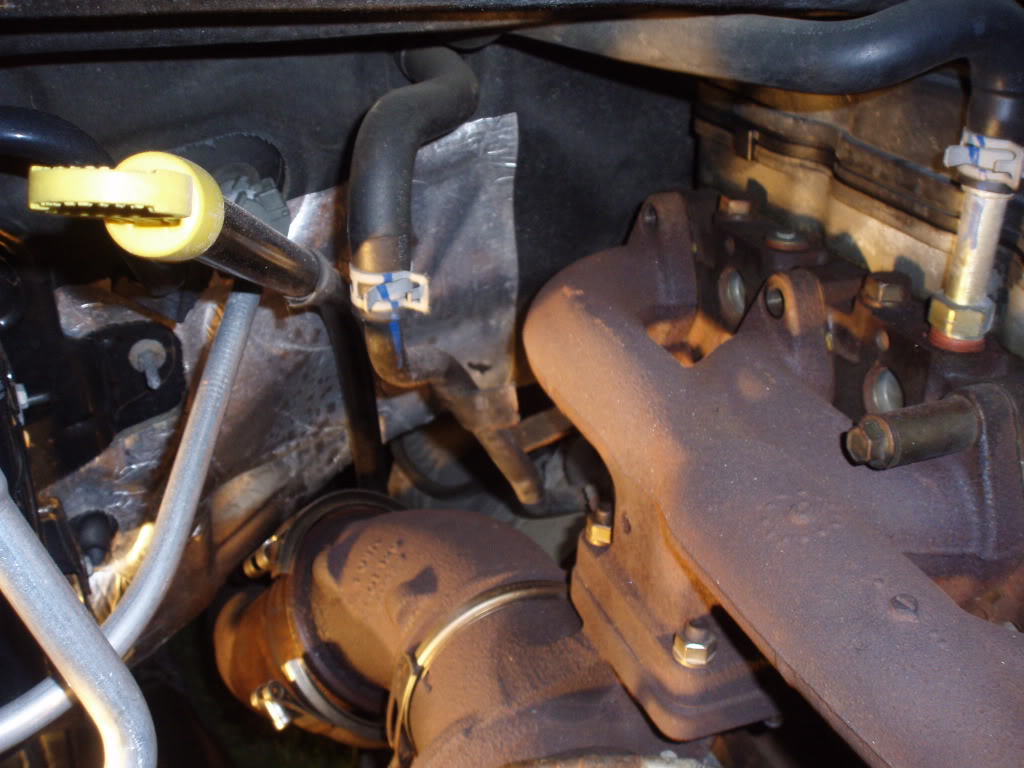
ok now slide the turbo and manifold on. Bolt it up. #5 bottom is going to be a nightmare. I had to grind down a 15mm crows foot and a 15mm box wrench and I still have no clue how I got it tight. Again this could of had something to do with my specific manifold/turbo but I know #5 is always tuff.

Turbo and manifold are on. Go ahead and torque manifold, connect drain line and feed line, and clock the turbo back till very close to the shock tower.
Next is time to wrestle the cast elbow and exhaust. you can see the trans dipstick right in your way. get under and you will see a 15mm bolt holding the dipstick tight. I opted to remove it and commence to wrestling it till it is out of the way. I can tell you since your new set up is going to be longer fron to back their is no room. between the trans dipstic, the firewall and your downpipe it is a good time for a beer.
Alright time to had yor new turbo. You will need to clock it first. Loosen, just loosen all the bolts on the back side of the compressor housing. You want this thing to turn but you want it to drag a bit to keep things alighned. Do not loosen them to much. Put the compressor housing to charge air pipe at 12 oclock, straight up to help you slide her in and not wrestle too much with the shock tower.
Sorry no pic of it clocked but hre are the bolts you will need to loosen on the back side
ok now slide the turbo and manifold on. Bolt it up. #5 bottom is going to be a nightmare. I had to grind down a 15mm crows foot and a 15mm box wrench and I still have no clue how I got it tight. Again this could of had something to do with my specific manifold/turbo but I know #5 is always tuff.
Turbo and manifold are on. Go ahead and torque manifold, connect drain line and feed line, and clock the turbo back till very close to the shock tower.
Next is time to wrestle the cast elbow and exhaust. you can see the trans dipstick right in your way. get under and you will see a 15mm bolt holding the dipstick tight. I opted to remove it and commence to wrestling it till it is out of the way. I can tell you since your new set up is going to be longer fron to back their is no room. between the trans dipstic, the firewall and your downpipe it is a good time for a beer.
04-08-2012, 05:40 AM
#6
Winner winner chicken dinner!
Thread Starter
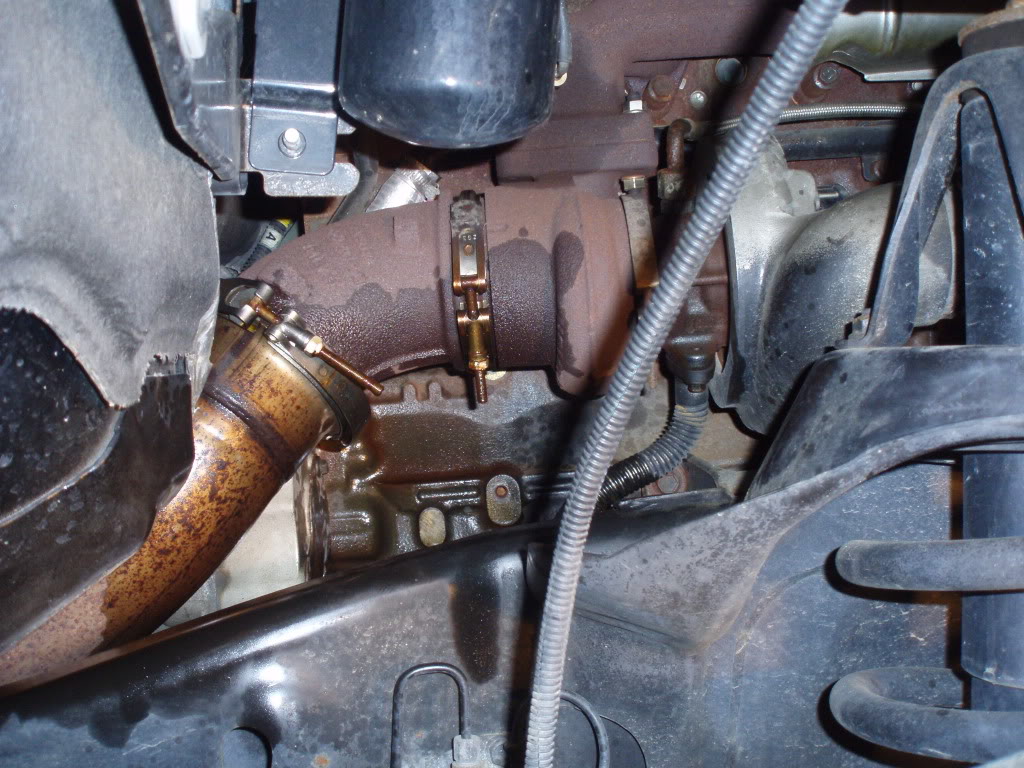
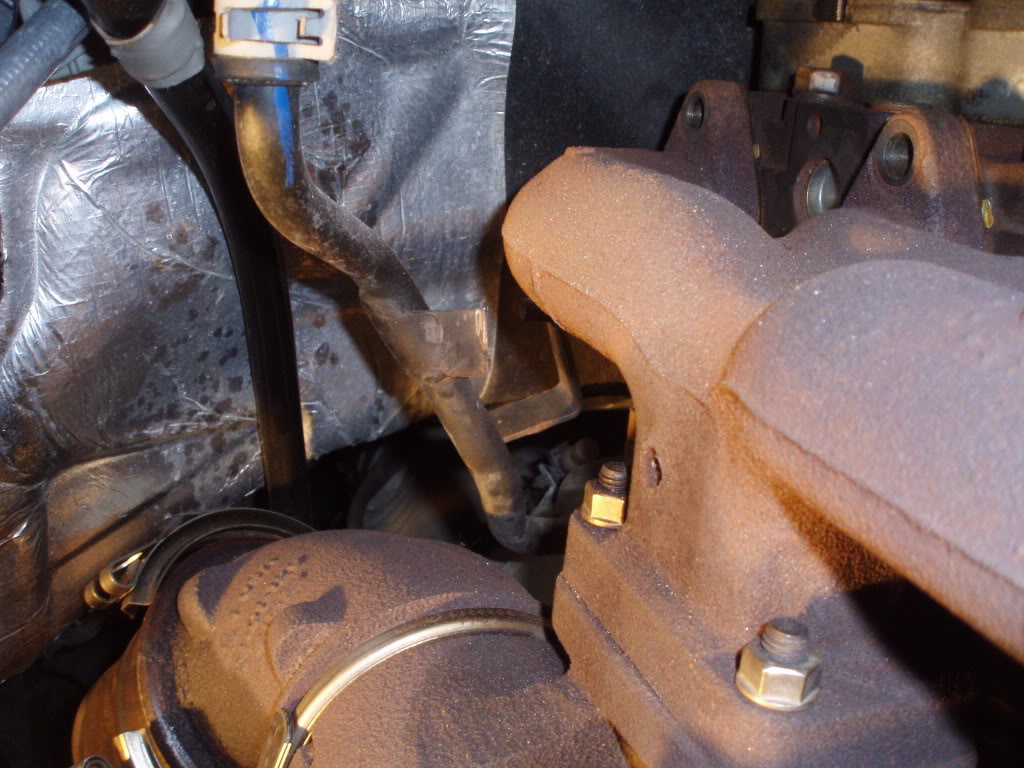
Ok this part is critical due to angles and no room so I suggest taking your time. I opted to submit early. I purchased a TORCA exhaust clamp and I simply got undr her and found a good straight section pre cat and cut the exhaust pipe. Another big thing is the stock downpipe has a hanger, this thing is going to be a PIA if you opt to keep it, most cut it but it is a long way back before you get to a hanger so all the weight is going to be on the back of your exhaust housing. No thanks. I opted for a Vise and heat, and mind you I was working on the ground so abou 65 trips down and back to get it lined up.
oh forgot to post here is the #5 bottom bolt
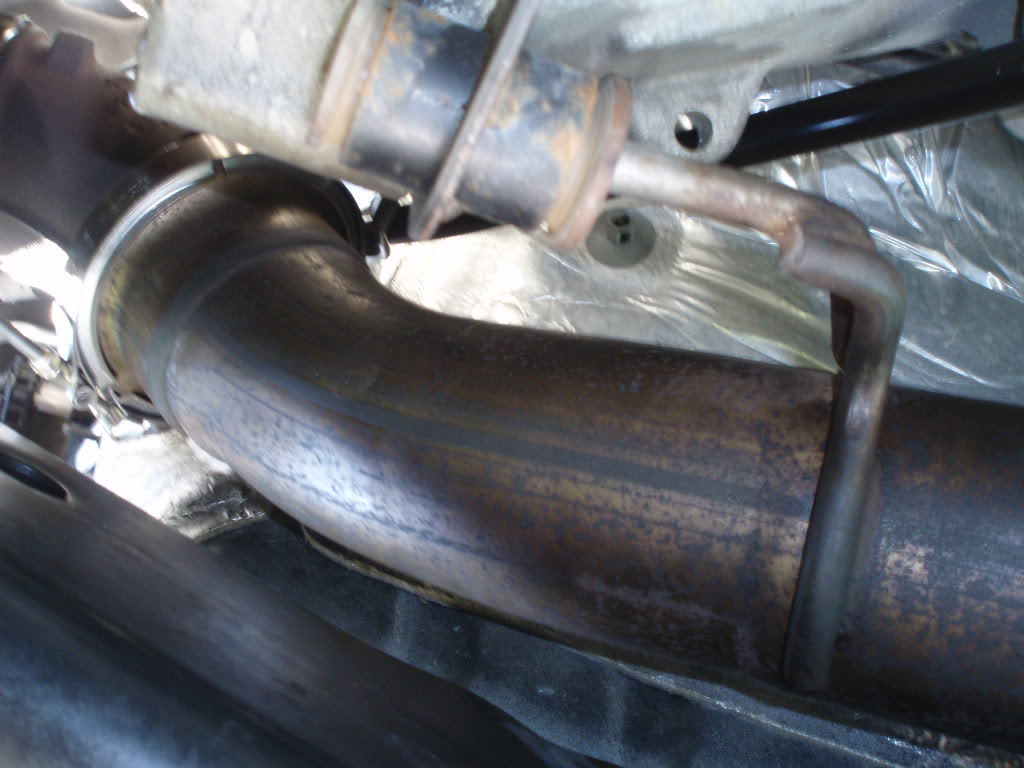
Ok exhaust housing, downpipe, firewall, and trans dipstick all want the same real estate

Cast elbow just hanging out

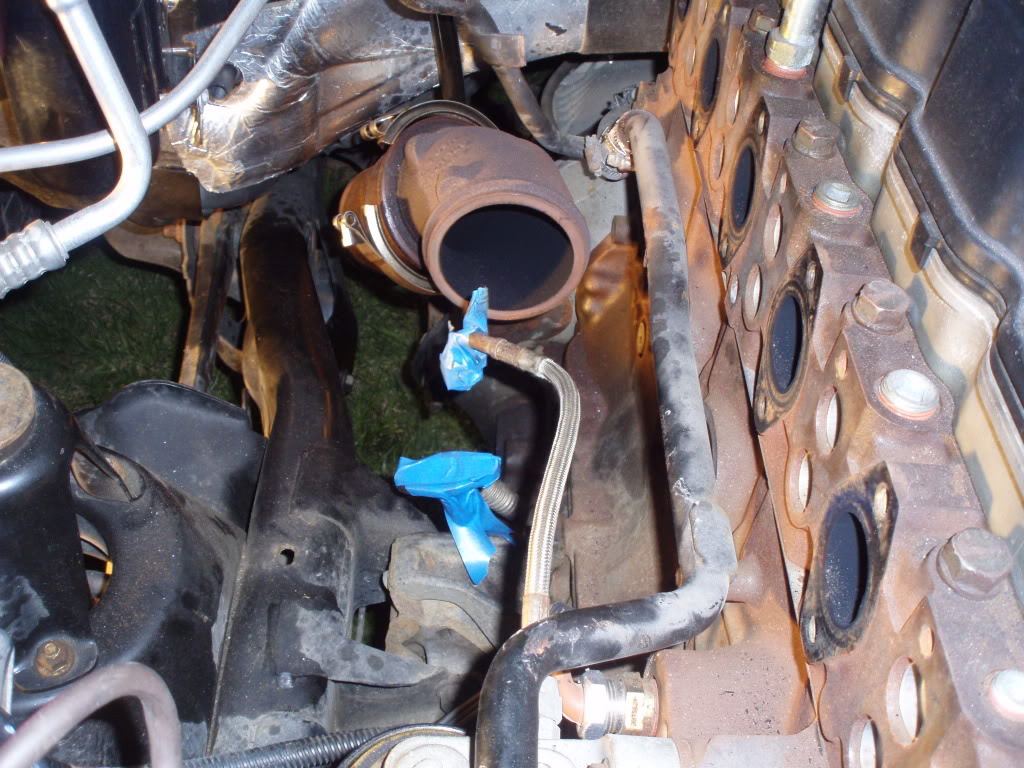
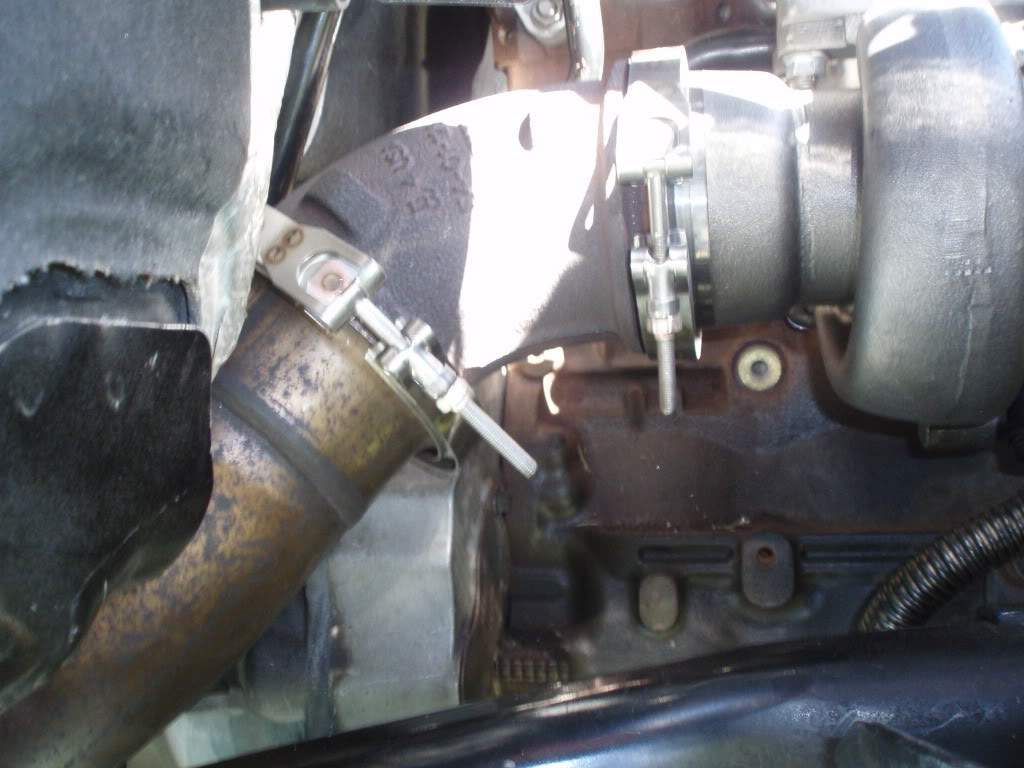
Clamps just barley on to help me wiggle
down pipe hanger to bracket
and TORCA clamp everything buttoned up and in place
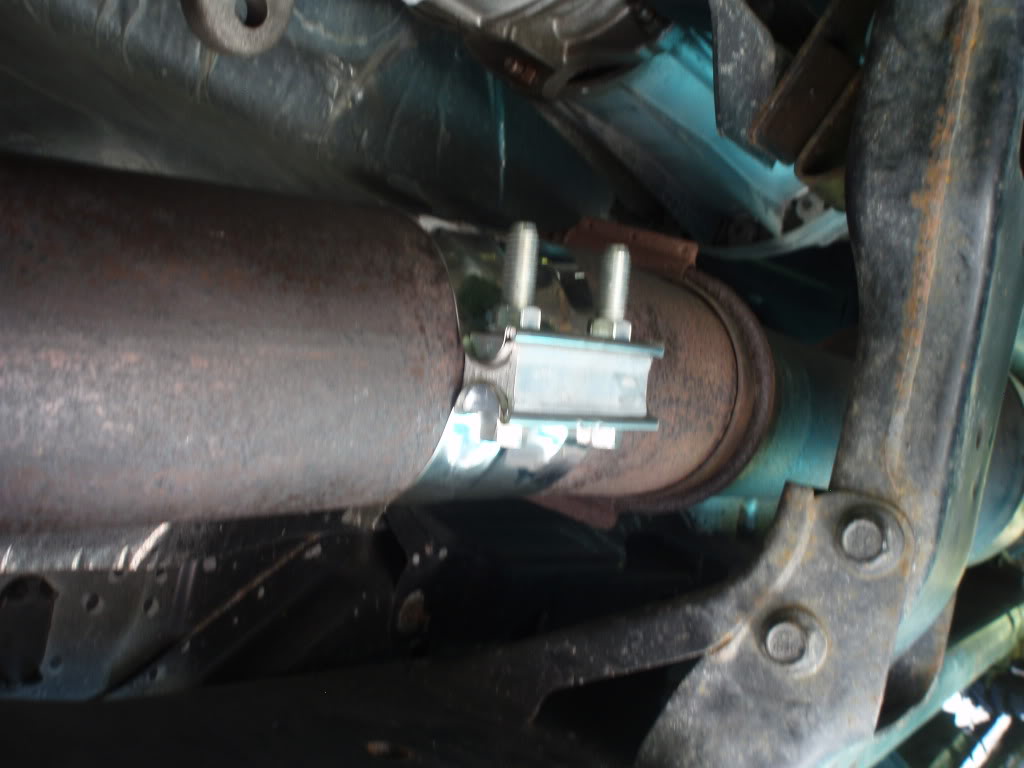
To get everything in without touching the firewall, reusing the downpipe support, putting the trans dipstick bolt back is an extreme PIA. Take your timehave a beer, it can be done.
oh forgot to post here is the #5 bottom bolt
Ok exhaust housing, downpipe, firewall, and trans dipstick all want the same real estate
Cast elbow just hanging out
Clamps just barley on to help me wiggle
down pipe hanger to bracket
and TORCA clamp everything buttoned up and in place
To get everything in without touching the firewall, reusing the downpipe support, putting the trans dipstick bolt back is an extreme PIA. Take your timehave a beer, it can be done.
04-08-2012, 05:41 AM
#7
Winner winner chicken dinner!
Thread Starter
Ok Dont pay attention to any type-os, grammer, or spelling. This is the way I did my install. I am slow, it took me about 8hrs by myself. Again I am OCD. Next step is to fill the charger with oil as you spin her then re attatch the oil supply line. Put all your charge air pipes on and intake back in.
Start her up and let her idle for 3 min. Check for leaks and take her for a spin!
In a few days I will write up what I think of this turbo and I will do my best to be objective. So far it spools very fast, it lights at 5psi, not much lag vs stock, and seems like the perfect DD, Tow rig, weekend racer. Ill keep you posted. Any questions feel free to ask here or PM.
Trending Topics
04-08-2012, 10:48 AM
#8
Registered User
Nice right up, it should be helpful to many considering an upgrade. Have fun and don't forget to give us a few mileage figures after the fun wears off, which could be a while
04-08-2012, 11:23 AM
#9
Registered User
Join Date: Jun 2011
Posts: 95
Likes: 0
Received 0 Likes
on
0 Posts
Very nice. I've been looking for a single turbo that uses the factory cast elbow. I have a PAC brake and would rather not loose it for twins (and twins are $$$). What is you upper in boost pressure before it starts just pushin hot air in comparison to the he351? And what is you max pressure?
04-08-2012, 12:46 PM
#10
Winner winner chicken dinner!
Thread Starter
Very nice. I've been looking for a single turbo that uses the factory cast elbow. I have a PAC brake and would rather not loose it for twins (and twins are $$$). What is you upper in boost pressure before it starts just pushin hot air in comparison to the he351? And what is you max pressure?
04-13-2012, 07:14 AM
#11
Winner winner chicken dinner!
Thread Starter
Ok week review. This thing is getting better. Now it starts making boost at 12-1300, and at 1400-1500 will be at 5psi with any throttle and ready to light. I haven't towed, at $4.25 a gallon I don't want to drag something for no reason. I have tried to be objective but their is nothing I don't like. I have not changed my driving style at all, and this thing is always ready to go when you want too. I am 100% happy. A guy on CF just put down 630 ish and only 1400 degrees so he still has room to go. If your looking for an all around turbo, I would say make a phone call.
Hey mods if you wanted to put this up as a s300 based turbo install sticky feel free. Any s300 frame should be very similar, just a thought.
Hey mods if you wanted to put this up as a s300 based turbo install sticky feel free. Any s300 frame should be very similar, just a thought.
04-13-2012, 09:04 AM
#12
Registered User

I am only making 1 PSI of boost at 58 mph cruising (1600 RPM's). That is my only complaint with this turbo, the 71 turbine is sluggish down low for towing. The Cam I put in has helped so much, it is a whole new truck but I need a little more. More cruising boost and more air up top for the new stixs. I may try to play with my wastegate to fix the up top issues since my wastegate is opening at 41 psi of boost.
04-20-2012, 04:03 AM
#13
Winner winner chicken dinner!
Thread Starter
I'm seeing 3.5-4 lbs boost at 55 just maintaining speed on level ground, but she is ready to go with any throttle.
I also have to say this SS HTT mani is impressive. Now I can't say how much faster it spools because I did it with the swap what I can say is how much better it retains heat. I have had other manifolds as well, and this one is pretty standard at normal driving. But when you are hard on it and go to shut down it takes forever, that SS retains the heat big time. So much so that I am thinking about a turbo timer. Heck the other day after some testing, mind you only seeing 12-1300 I sat in the driveway at idle for ever waiting for it too cool. It did not want to come down, again I try to be objective about everything but the bottom line is the thermal qualities of this manifold far surpass anything I have tried. So SS really works well!
I also have to say this SS HTT mani is impressive. Now I can't say how much faster it spools because I did it with the swap what I can say is how much better it retains heat. I have had other manifolds as well, and this one is pretty standard at normal driving. But when you are hard on it and go to shut down it takes forever, that SS retains the heat big time. So much so that I am thinking about a turbo timer. Heck the other day after some testing, mind you only seeing 12-1300 I sat in the driveway at idle for ever waiting for it too cool. It did not want to come down, again I try to be objective about everything but the bottom line is the thermal qualities of this manifold far surpass anything I have tried. So SS really works well!
04-22-2012, 05:43 PM
#15
Registered User
Maybe a post-turbo probe as well as the probe in the manifold? With the manifold retaining heat the way it does, the probe probably absorbs quite a bit of it as well. With an additional post-turbo probe, maybe you'd be able to shut it down sooner knowing that there's a 250-300deg. temperature difference across the turbo. As long as the temperature is below 400degs., oil won't coke on the turbine shaft or bearings.
Just some out-of-the-box thinking.
Just some out-of-the-box thinking.