AC Cycling switch.
 05-23-2012, 12:02 PM
#76
Registered User
Join Date: Jun 2011
Posts: 165
Likes: 0
Received 0 Likes
on
0 Posts
Instead of bypassing the original wiring all together, couldnt you hook up the Dark Blue wire to 85, the Brown to 87, blue with a white stripe to 86 and ground 30. That way, your compressor still runs off the orginal fuse, low pressure switch and wiring, just without the cycling switch.
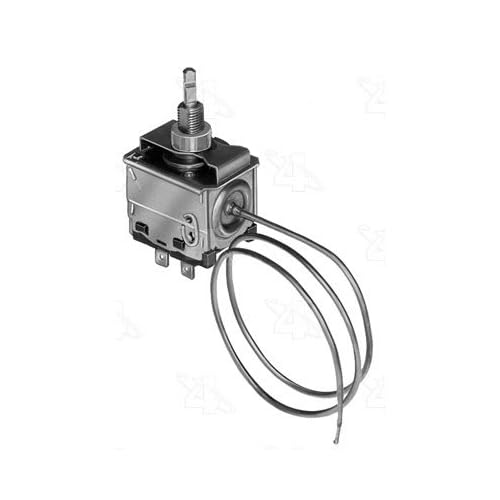
better yet, do what I am going to do and run this adjustable cycling switch in place of the original using that wiring states above
better yet, do what I am going to do and run this adjustable cycling switch in place of the original using that wiring states above

 05-24-2012, 04:03 AM
#80
Administrator
Thread Starter

You want airflow.
05-24-2012, 04:10 AM
#81
Administrator
Thread Starter
Do not mount it where continued movement would be likely, you could damage the gas filled tube.
Jim
05-24-2012, 08:13 AM
#82
Registered User
Join Date: Jun 2011
Posts: 165
Likes: 0
Received 0 Likes
on
0 Posts
Sent from my Galaxy Nexus using Tapatalk 2
05-24-2012, 09:44 AM
#83
Registered User

Join Date: Dec 2005
Location: gainesville, florida
Posts: 234
Likes: 0
Received 0 Likes
on
0 Posts
where is the compressor cycling switch located. I thought the low pressure switch in on h-valve? I see Napa has cycling switches for 134a and for r12 any idea what the difference would be?
05-24-2012, 09:51 AM
#84
Registered User
Join Date: Jun 2011
Posts: 165
Likes: 0
Received 0 Likes
on
0 Posts
Sent from my Galaxy Nexus using Tapatalk 2
06-15-2012, 12:56 AM
#87
Registered User
Join Date: May 2009
Location: Lancaster, Ca.
Posts: 537
Likes: 0
Received 0 Likes
on
0 Posts
Instead of bypassing the original wiring all together, couldnt you hook up the Dark Blue wire to 85, the Brown to 87, blue with a white stripe to 86 and ground 30. That way, your compressor still runs off the orginal fuse, low pressure switch and wiring, just without the cycling switch.
better yet, do what I am going to do and run this adjustable cycling switch in place of the original using that wiring states above
better yet, do what I am going to do and run this adjustable cycling switch in place of the original using that wiring states above
07-28-2012, 12:46 PM
#88
Registered User

Join Date: Apr 2002
Location: southern cal.
Posts: 234
Likes: 0
Received 0 Likes
on
0 Posts
It is that easy. 
The temp is still controlled by the temp lever. Just slide it a little to the right if things get too cold, that will make some of the air blow through the heater core.
The compressor shouldn't be cycling unless - 1: you are low on refrigerant, causing the low pressure switch to stop the compressor. 2: the cycling switch determines that the evaporator is in danger of freezing up. Otherwise the compressor ought to run whenever A/C or defrost is selected on the control panel.
09-28-2012, 01:05 PM
#89
Registered User
Join Date: Apr 2002
Location: southern cal.
Posts: 234
Likes: 0
Received 0 Likes
on
0 Posts
Jumping the blue/white and bround worked fine. The air is really cold now.
But, there's always a but, after about 30 minutes the air starts to warm up some. Is this a function of the evaporator freezing up or something else.
It's always like this. super cold then gradually warming up in 30 minutes... any suggestions?
But, there's always a but, after about 30 minutes the air starts to warm up some. Is this a function of the evaporator freezing up or something else.
It's always like this. super cold then gradually warming up in 30 minutes... any suggestions?
05-10-2015, 12:12 PM
#90

Jim, I just did the a/c blower modification and it works awesome! I would like to go a head and do this. My truck is a '93. I understand I can just jump the 2 outside wires on the plug. Is this good enough, or do you suggest doing it the way your diagram shows using a relay?
Thanks for all your awesome posts. Got my truck about 2 months back and every time I change something it makes me like it more and more.
Thanks
Thanks for all your awesome posts. Got my truck about 2 months back and every time I change something it makes me like it more and more.
Thanks