Anybody repaired a rubber roof?


Thread Starter
Registered User
Joined: May 2005
Posts: 1,623
Likes: 1
From: L.A. (Lower Arkansas)
Anybody repaired a rubber roof?
I discovered that the plywood under my rubber roof is rotten at the top rear corner of my camper. Is it possible to pull the trim off and peel the roof back so I can replace the plywood without replacing the rubber roof? My roof is in good shape but I had a caulk joint that was obviously leaking from day one. Its not a big spot, probably 3x3, and is in the rear corner of the camper. I resealed the cracked caulk but want to fix it right.


Just a plain ole guy
Joined: Jun 2006
Posts: 2,537
Likes: 11
From: Carlos, Texas
Hold on. First of all there's a leak. You have to find it and know that your going to fix it. Without that, all effort will be in vein. I had a leak. It was around the radio antenna mount. I discovered it by noticing the small trim nail heads rusting along the edge of the ceiling in one place. I carefully removed the inside roof panel and replaced a large portion of the bad roof plywood from the inside. Also I replaced a couple of roof joists. I never touched a thing from the outside. The first piece to go in was the new roof plywood. I fit it in smaller pieces carefully and planned extra roof joist to support the extra joints. When I was sure it was all cut and fitted right, I applied the roof cement to the top of the plywood, then worked my way down, adding the new joists, other bracing, insulation, then put the finished ceiling back up. The roof cement is a contact cement so you only get one chance to get it right so you gotta be sure that your sure when you go for it. And I made dern sure the radio antenna is sealed and I look at the roof fittings occasionally. When I was done, the only people that know I did this was the wife, my son who helped, and whoever reads this. And I also added some extra meat under the antennas so they are not just screwed into the thin roof plywood. That's why it leaked, They didn't have alot of meat to bite and just wiggled their way loose.
Also, you cant use just any caulk. Regular caulk will mess up the rubber. Go to an rv dealer or get the right stuff online. I could easily fix a 3X3 spot from the inside without anyone ever knowing it.
Also, you cant use just any caulk. Regular caulk will mess up the rubber. Go to an rv dealer or get the right stuff online. I could easily fix a 3X3 spot from the inside without anyone ever knowing it.
Thread Starter
Registered User
Joined: May 2005
Posts: 1,623
Likes: 1
From: L.A. (Lower Arkansas)
Hold on. First of all there's a leak. You have to find it and know that your going to fix it. Without that, all effort will be in vein. I had a leak. It was around the radio antenna mount. I discovered it by noticing the small trim nail heads rusting along the edge of the ceiling in one place. I carefully removed the inside roof panel and replaced a large portion of the bad roof plywood from the inside. Also I replaced a couple of roof joists. I never touched a thing from the outside. The first piece to go in was the new roof plywood. I fit it in smaller pieces carefully and planned extra roof joist to support the extra joints. When I was sure it was all cut and fitted right, I applied the roof cement to the top of the plywood, then worked my way down, adding the new joists, other bracing, insulation, then put the finished ceiling back up. The roof cement is a contact cement so you only get one chance to get it right so you gotta be sure that your sure when you go for it. And I made dern sure the radio antenna is sealed and I look at the roof fittings occasionally. When I was done, the only people that know I did this was the wife, my son who helped, and whoever reads this. And I also added some extra meat under the antennas so they are not just screwed into the thin roof plywood. That's why it leaked, They didn't have alot of meat to bite and just wiggled their way loose.
Also, you cant use just any caulk. Regular caulk will mess up the rubber. Go to an rv dealer or get the right stuff online. I could easily fix a 3X3 spot from the inside without anyone ever knowing it.
Also, you cant use just any caulk. Regular caulk will mess up the rubber. Go to an rv dealer or get the right stuff online. I could easily fix a 3X3 spot from the inside without anyone ever knowing it.
 Problem is its above the top bunk and will be very cramped but I will take a look at it tomorrow. I've already fixed the leak but the damage is done.
Just a plain ole guy
Joined: Jun 2006
Posts: 2,537
Likes: 11
From: Carlos, Texas
No problem. Get a square drive bit, and remove the bunks. it's all put together with screws. Take a pic, mark the parts, take it out, do the fix then put it back. You'll be very surprised how simple an rv is put together.

Registered User
Joined: Jan 2011
Posts: 101
Likes: 0
 Wood hardened is a pr4oduct I've used before and around rotten wood it can work well when followed with some Varathane oil based clear gloss!
 Fixed my floor this way and now it will take a direct hit
!
Thread Starter
Registered User
Joined: May 2005
Posts: 1,623
Likes: 1
From: L.A. (Lower Arkansas)
Looks like I'll be going in from the top because I have a partition wall at the bunks and there is a full sheet of ceiling under the wall . I think I'm going to try to cut out that small section and just patch it...or it might be a good time to get that new toyhauler I've been wanting.
. I think I'm going to try to cut out that small section and just patch it...or it might be a good time to get that new toyhauler I've been wanting.
Trending Topics

Thread Starter
Registered User
Joined: May 2005
Posts: 1,623
Likes: 1
From: L.A. (Lower Arkansas)

Registered User
Joined: Mar 2010
Posts: 72
Likes: 0
From: Mt. Holly AR
Good luck finding an RV with an aluminum roof now days, most are rubber and a few of the upper end units are fiberglass. There's another product, a sort of vinyl I think, but I've never had any experience with it.
Thread Starter
Registered User
Joined: May 2005
Posts: 1,623
Likes: 1
From: L.A. (Lower Arkansas)
In my years of being a Master Certified RV tech I have replaced many rubber roof membranes, I have yet to see a rubber roof over aluminum.
Good luck finding an RV with an aluminum roof now days, most are rubber and a few of the upper end units are fiberglass. There's another product, a sort of vinyl I think, but I've never had any experience with it.
Good luck finding an RV with an aluminum roof now days, most are rubber and a few of the upper end units are fiberglass. There's another product, a sort of vinyl I think, but I've never had any experience with it.
http://www.milltrailers.com/

Registered User
Joined: May 2006
Posts: 390
Likes: 0
From: S.E Michigan
That looks a bit like mine...sorta!
I've made mine into removeable living quarters when I need the full interior to haul quads. Otherwise I have the lower deck split roughly in half with a partition that divides them.

It does have a seamless aluminum roof. And a gross weight of 26,800 lbs last time I weighed it!
I've made mine into removeable living quarters when I need the full interior to haul quads. Otherwise I have the lower deck split roughly in half with a partition that divides them.
It does have a seamless aluminum roof. And a gross weight of 26,800 lbs last time I weighed it!
Thread Starter
Registered User
Joined: May 2005
Posts: 1,623
Likes: 1
From: L.A. (Lower Arkansas)
Nice trailer...what is that, a hundred footer???? I just need one with a 17' garage (1 RZR&2 atvs) so I'm leaning towards a 36'. Plus it has to be 3/4 ton compatible. Have you ever had any problems with the aluminum roof?

Registered User

Joined: Jan 2004
Posts: 3,528
Likes: 16
From: Oregon
Working with EDPM roof is not that big of a deal. You can peel a section back for repair and reglue it. Just be careful and take your time.
Just use the correct Dicor adhesive, and lap sealant.
Dicor's web page has pretty good directions.
Just use the correct Dicor adhesive, and lap sealant.
Dicor's web page has pretty good directions.
Registered User
Joined: May 2006
Posts: 390
Likes: 0
From: S.E Michigan
It is 40 foot long. I pulled it for 3 1/2 years w/ a 2500 MegaCab. Too much rear axle weight, but it pulled and stopped just fine. Always worried about the rear tires being so overloaded. 6200 pound rating and I had 8400 lbs on them!
I wish I could have afforded one with an aluminum frame but it would have doubled the cost.
I have had 8 full size 4x4 ATVs plus 1 sport quad in the upper deck.
I made a raised platform to make it easier to load the quads, side by side, on top of the wheel wells.
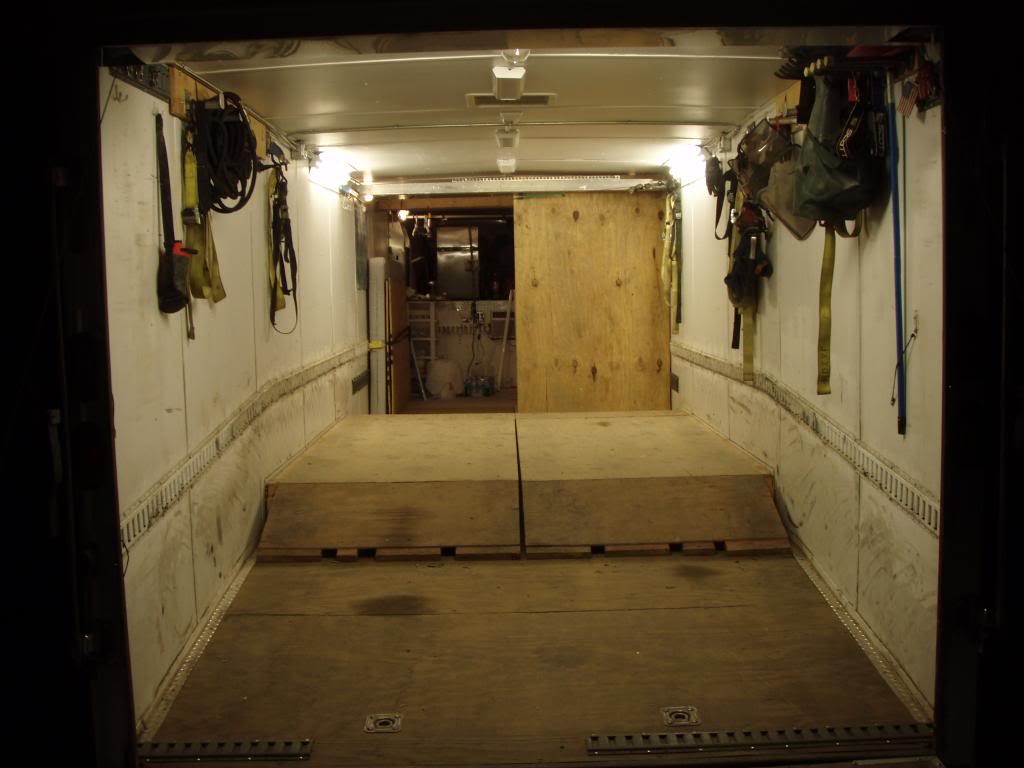
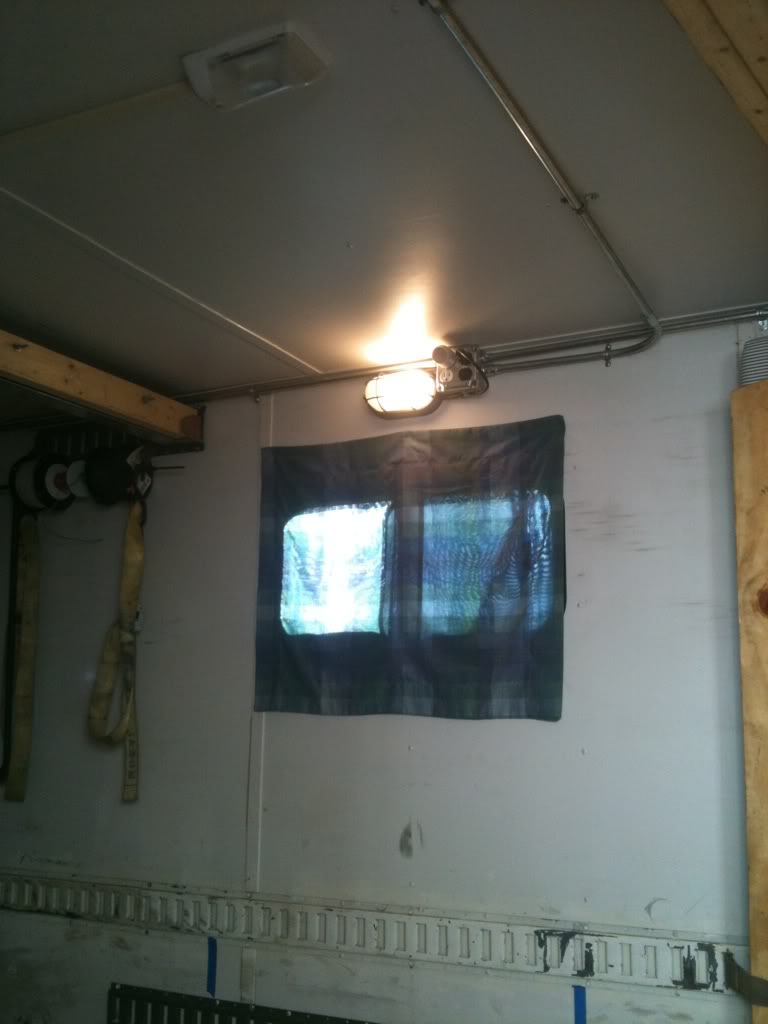
Also made a partition that is hinged to the floor. Raise it when used for living quarters. Lower it when needed to haul more than 4 quads. E-track on the sides for tying quads down and other equipment. Useful for making a bed platform as well. 2x4s inserted into e-track clips crosswise and then sheets of plywood and a foam mattress. Good to go. The Girlfriend doesn't mind sleeping in it at all.
A/C, fridge, propane and/or 120v heat. Tools, tires, parts and vise go in the upper deck now.
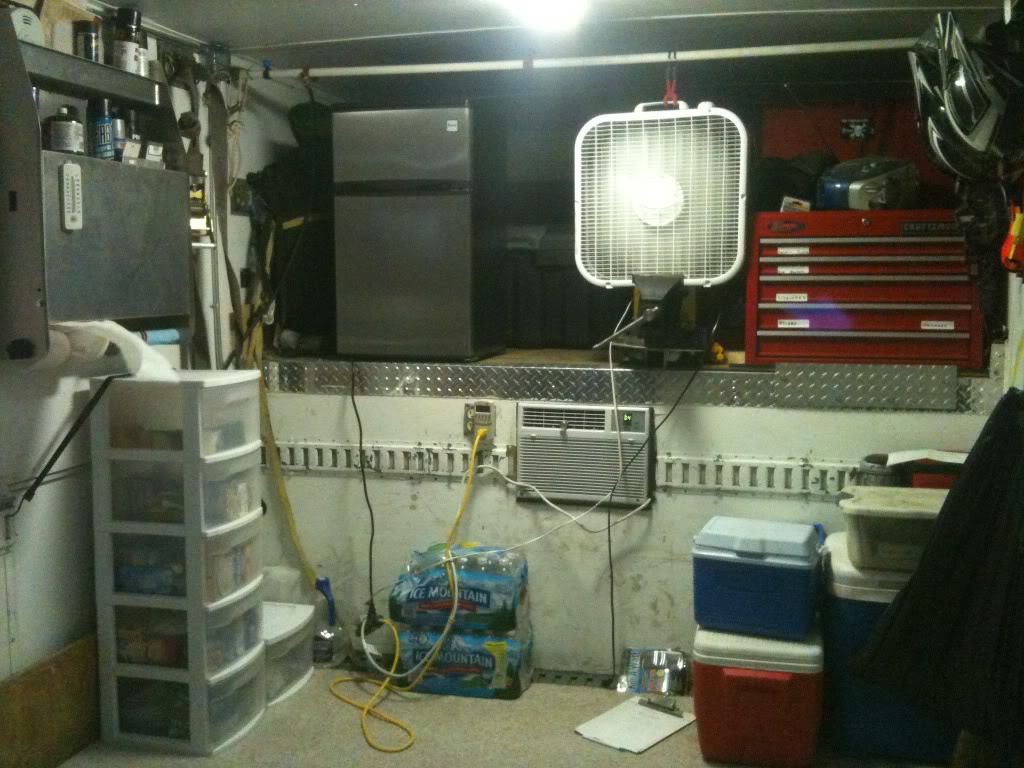
Wow, it's time to repaint the interior!
I've added a circuit breaker box and a separate circuit for lights and receptacles. Lights are 12v or 120v as needed. Shop lights in the back half.
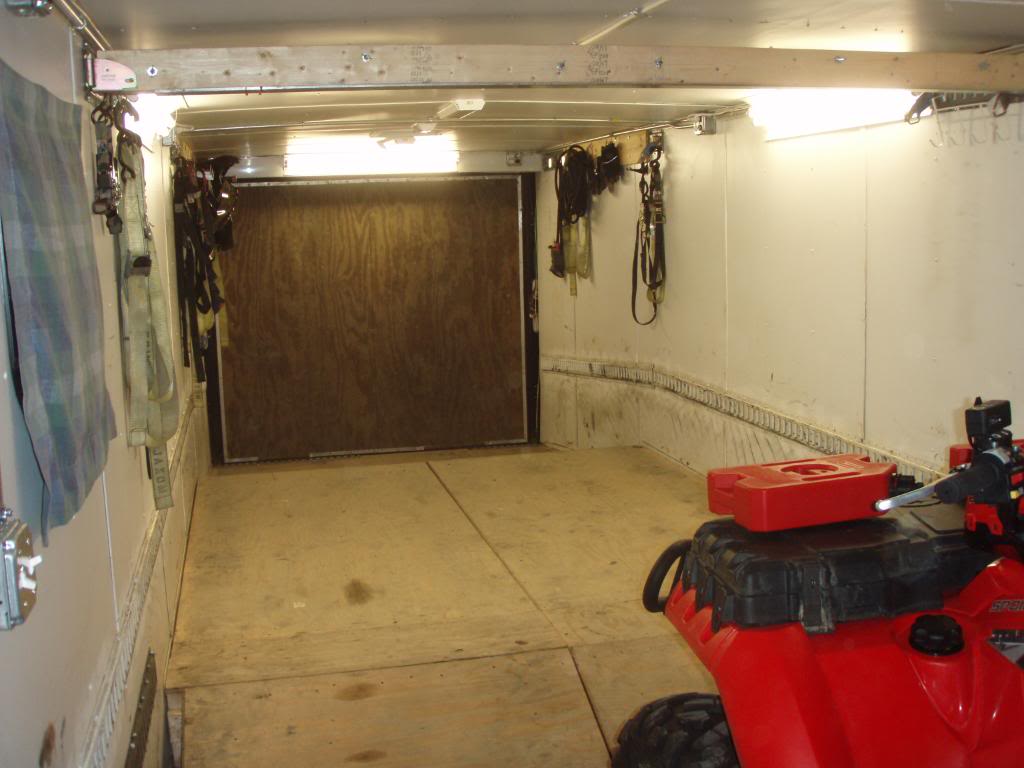
White sockets are always hot, Brown ones are switched by a wall switch.