
Auxillary Backup Lighting - My version

Thread Starter
Registered User
Joined: Apr 2006
Posts: 62
Likes: 0
From: Wausau, WI
Auxillary Backup Lighting - My version
I've never liked the stock reverse lamps on these trucks, and the problem's compounded due to the tint on my windows, so I finally devised a solution that worked for me.
I liked the idea of the 'White Knight' lights, but thought they were a little pricey and were also in a bit of an 'easy-to-break' spot. I'd also seen many people bolt tractor/implement lights directly to the bumper, but they also tend to get bumped a lot, especially in deep snow (and I wanted a little cleaner install as well).
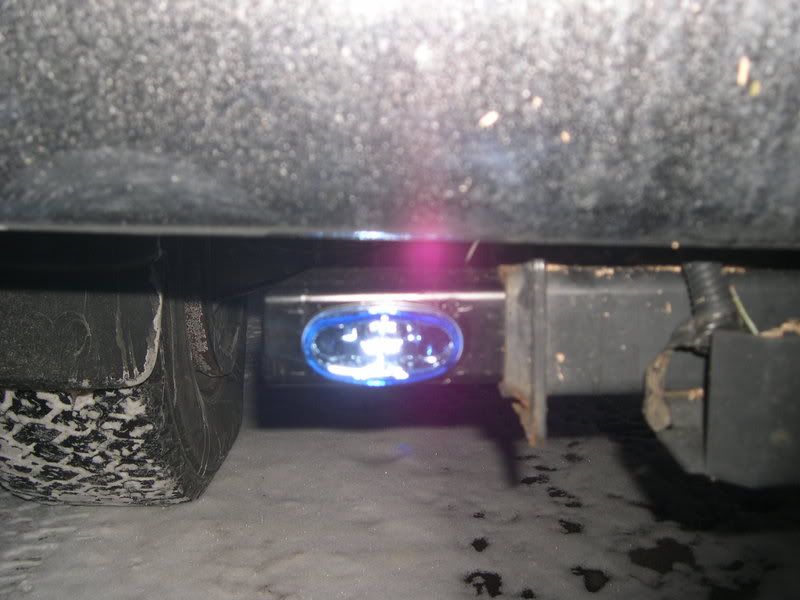
I picked up a pair of cheap $20 fog lights from the store and a $4 relay; using some leftover scraps of 2" box tubing, I cut holes to recess the lights into rather than using the flimsy supplied brackets. After grinding a notch in the back side of the tubing to accommodate the welds in the receiver hitch, the 2" slides nicely into the ends of the receiver hitch. I used one small set screw on each side through the outer 'excess' material of the hitch to avoid weakening it (one could also put a small spot weld).
Tapping into the wiring for the 7-pin harness was a cinch, and now I can see what I'm backing into...they're a little brighter than the stock fogs on the front. ;-) They're nicely tucked up and away, and protected for the most part. Once it warms up, I plan on adding a toggle switch so I can turn them on without being in reverse for those times when they'd be handy as work lights.

I liked the idea of the 'White Knight' lights, but thought they were a little pricey and were also in a bit of an 'easy-to-break' spot. I'd also seen many people bolt tractor/implement lights directly to the bumper, but they also tend to get bumped a lot, especially in deep snow (and I wanted a little cleaner install as well).
I picked up a pair of cheap $20 fog lights from the store and a $4 relay; using some leftover scraps of 2" box tubing, I cut holes to recess the lights into rather than using the flimsy supplied brackets. After grinding a notch in the back side of the tubing to accommodate the welds in the receiver hitch, the 2" slides nicely into the ends of the receiver hitch. I used one small set screw on each side through the outer 'excess' material of the hitch to avoid weakening it (one could also put a small spot weld).
Tapping into the wiring for the 7-pin harness was a cinch, and now I can see what I'm backing into...they're a little brighter than the stock fogs on the front. ;-) They're nicely tucked up and away, and protected for the most part. Once it warms up, I plan on adding a toggle switch so I can turn them on without being in reverse for those times when they'd be handy as work lights.


Thread Starter
Registered User
Joined: Apr 2006
Posts: 62
Likes: 0
From: Wausau, WI
The tubing only sticks in about 2", but that's mainly because my scraps were 6" lengths. You could go in longer if you like, and you could go down to about only an inch in before it starts to droop a little. I wouldn't bother to go much farther than 2" in, since you have to grind a groove in the back of the square tubing to allow it to pass over the bead of weld on the inner rear of the receiver hitch tubing.
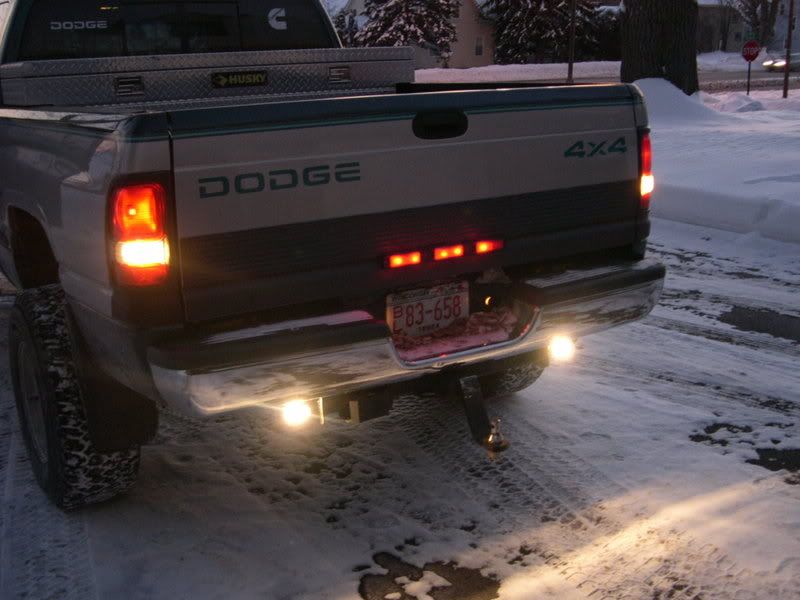
Nighttime view...just a little brighter than stock :
:


Nighttime view...just a little brighter than stock
:
 Are you sure that's not stock headlights on our trucks,lol
Trending Topics
Registered User
Joined: Jun 2007
Posts: 296
Likes: 0
From: Redding, California
Good idea! Putting the lights on the hitch is clever and safe. I bet i spent more money!  I really can't complain... my lights will illuminate a good 100 ft. of ground behind me even looking through the window tinting. Which is handy if i'm using the winch at night. I hope this picture uploads....

I really can't complain... my lights will illuminate a good 100 ft. of ground behind me even looking through the window tinting. Which is handy if i'm using the winch at night. I hope this picture uploads....


Thread Starter
Registered User
Joined: Apr 2006
Posts: 62
Likes: 0
From: Wausau, WI
Since someone asked, here's a little more info on the install:
The packaging my lights came in had them recessed into cardboard to hold them, (basically an elongated octagon). I cut the hole in the 2" stock to match:

To hold the lights in the hole, I tucked the lights in the hole I cut, then bent the 'D' shaped mounting tabs outward. (They were originally perpendicular to the light, meant to be pivot points bolted to the mounting bracket...they're a llittle hard to see in the photo, but you can pick them out, especially the threaded hole for the screw)

You might notice that there's only one white wire running out---I soldered the ground wire to the 2" stock, since they would be grounded to the vehicle already through the set screw. If I have issues later on due to corrosion, I'll just put a small tack weld on them to hold them and transfer the ground.
If you look hard, you can also pick out the notch I ground out to clear the weld bead on the inside of the hitch...the last bit of it is right by the hole for the white wire.
The packaging my lights came in had them recessed into cardboard to hold them, (basically an elongated octagon). I cut the hole in the 2" stock to match:
To hold the lights in the hole, I tucked the lights in the hole I cut, then bent the 'D' shaped mounting tabs outward. (They were originally perpendicular to the light, meant to be pivot points bolted to the mounting bracket...they're a llittle hard to see in the photo, but you can pick them out, especially the threaded hole for the screw)
You might notice that there's only one white wire running out---I soldered the ground wire to the 2" stock, since they would be grounded to the vehicle already through the set screw. If I have issues later on due to corrosion, I'll just put a small tack weld on them to hold them and transfer the ground.
If you look hard, you can also pick out the notch I ground out to clear the weld bead on the inside of the hitch...the last bit of it is right by the hole for the white wire.
Registered User
Joined: Jan 2002
Posts: 2,730
Likes: 7
From: Powhatan, Virginia
I got my set from JC Whitney. It's a KC set that have the relay and wiring. Taps into the reverse light behind the left tail light. you just have to add the extra wire to put them on a switch under the dahs if you want to run them without being in reverse.
I mounted mine way under, on the spring shackle brackets, so they will be very difficult to bust.
Chris
I mounted mine way under, on the spring shackle brackets, so they will be very difficult to bust.
Chris