
3rd Generation Fuel Filter Removal And Installation
Written By: "HorseHauler"
To start off, here are the easy instructions:
Fuel filter change procedure.
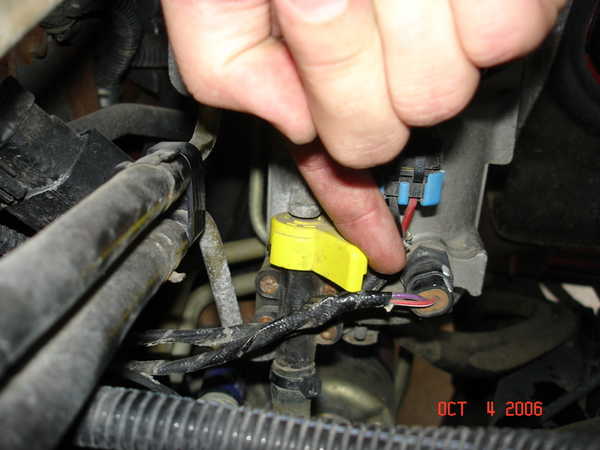
1) turn the yellow water seperator valve and let everything drain out. (i like to extend the hose to reach bucket for less mess)
2) get 1 1/8" socket and unscrew the filter lid, this will also help drain fuel out faster
3) take out old filter AND o-ring
4) wipe out the inside if necassary (but you shouldnt need to do it, unless there is a ton of gunk in there, IMO risk for getting lint in the container)
5) stick on new filter AND o-ring
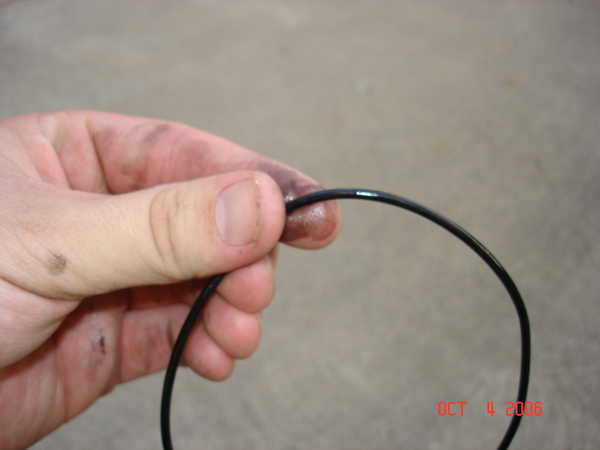
6) lube the o-ring
7) stick it back in the canister
8) turn the seperator valve back to normal
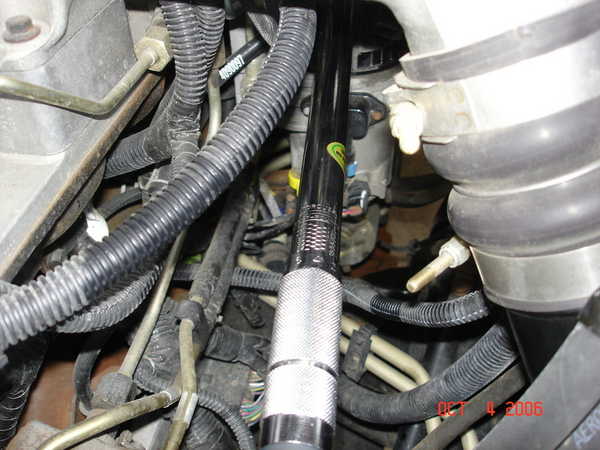
9) twist the fuel filter cab back on snug (or i believe to 24 Ft Lbs)
10) turn the key a couple times (bump start the engine this get the pump goin longer)
11) and start that sucker up, easy as pie
Now for my pictures:
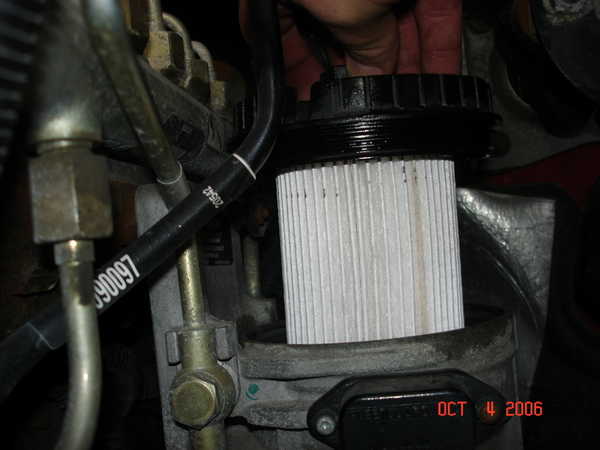
Fresh fuel filter

Hose extension to catch fuel in clear bottle

Turn the yellow drain valve, and unscrew lid

Take out old filter and O-ring

Put on new filter

Lube new O-ring
Drop assembly into canister (after checking for debri on inside of canister)
Close the drain valve
Torque lid to 24 Ft. Lbs.
Check to see any water seperation at the end

bump start the engine a couple times and start er up.
Check for leaks and listen to her purr
Where is the block heater on my 3rd Gen 24 Valve? Where is the cord?
Your block heater is located here:

On the 3rd Gen trucks, some of the block heaters do not have cords installed. Many have asked where the location of the heater is so they can install the cord. This pictures shows that the block heater on the 3rd gen is right behind the oil filter on the block. You can get a cord from the dealer for about 30 bucks. Only trucks with the cold weather package come with the cord already installed. You can find more information on this thread:
Block Heater Cord Install Thread
How do I find engine hours information on my 3rd Generation 24 valve?
When the trip odometer reset switch button is pressed and held for longer than about six seconds with the ignition switch in the On position and the engine speed message from the PCM is zero, the trip odometer information will be momentarily displayed, then the engine hours information will be displayed. The VFD must be displaying the odometer information when the trip odometer reset switch button is pressed in order to toggle to the engine hours display. The engine hours will remain displayed for about thirty seconds, until the engine speed message is greater than zero, or until the ignition switch is turned to the Off position, whichever occurs first.
Front Brake Pad Replacement
For detailed pictures, please visit http://www.dieseltruckresource.com/pics/showgallery.php?cat=545
First, on the pain scale (easy-hard) this is about a 3 beer job. Not too much to it, very easy to accomplish one person job. I am trying to write this as if someone had never done it before, so if anyone has anything to add, your thoughts would be appreciated.
First, get a beer. (This is optional, see disclamer at the bottom)
Break lug-nuts loose, then jack up one side of the truck and support it with a jack stand. Remember, safety first. (As you see the truck jacked up in the grass. Sorry, no concrete in the trailer park) (To combat this, I used a concrete stepping stone. The grass would have not been safe, nor would it have supported the mighty Cummins' weight) Remove the tire. I place the tire under the frame behind the wheel well just in case the truck were to fall off the jack stand. This way, the truck would not be sitting on the rotor if it fell, and I might be able to get out from under it with out dying.
Get another beer.
Once the tire is off, take a 1/2 inch socket and take the caliper bolts off. These are the two bolts on the inside of the caliper. I am pointing at the top one in the second pic. These come all the way out. After you get the bolts out, move the 2 rubber pieces that are in between the caliper and the rotor assembly slightly to the inside of the vehicle. (last pic) This will keep them from hanging up on the rotor assembly. Gently pry the top part of the caliper toward the rear of the vehicle. Once is is free from the rotor assembly, lift the caliper, and do the same for the bottom of the caliper. The plungers will still be tight on the old pads, so this will take some force. If if does not move at all, make sure that you are not hung up on something. Be sure to support the caliper when it is almost off, they are slightly heavy, and you do not want the weight of the caliper on the brake line when it comes loose. (I used my knee to support it) Once the caliper is free, place it on top of the hub/rotor assembly. Remove the old pads by moving the outside pad toward the outside of the vehicle, and the inside one toward the inside of the vehicle. They will slide off easily. Do one at a time, they are different. (take the outside one off, match it to the new one, put the new one on.)
Get another beer. It's important to rest...
Once the new pads are on, take one of the old pads and place it on the caliper plungers. I place the pad side on the plunger, it is smooth. Take a pair of C-clamp vice grips, a regular c-clamp, or some big channel lock pliers, and slowly compress the calipers in. Nice and easy, or you'll tear the crap up. Once the plungers stop moving in, put them back on the rotor assembly, opposite steps of taking it off. Slide the bottom in first, then the top. Check the rubber grommets to make sure that they are not in the way. (I find that they often hang up on the back of the caliper assembly.) Replace the bolts. Put the tire back on. Repeat for the other side.
Once you are done, remember that the brakes will be really soft at first. Crank the truck and pump the brakes a few times until you have a firm brakes. Take it down the road at a slow speed, use the brakes a few times, then check your brake fluid reservoir. Add fluid if needed. There was no need for me to bleed the brakes, as I did not crack a line. Out of all the brake jobs that I have done, only 1-2 of them needed to be blead. That's another thread.
Hope this was helpful. Like I said, I tried to break it down as simple as I could. This is a very easy job, IMHO.
If I missed something, please post it, and I will edit it in.
I did not do the rear brakes, they were good. As far as I know, the procedures are the same for the rear.
Disclamer: I do not encourage the consumption of alcohol when working on vehicles. If you get plowed because you have a low beer tolerance, and get hurt following my directions, don't blame me.
Remember, safety first. Use the proper equipment, let someone know where you are and what you are doing in case something bad happens. If something seems jacked up, stop and ask someone. Brakes are an important part of your vehicle.
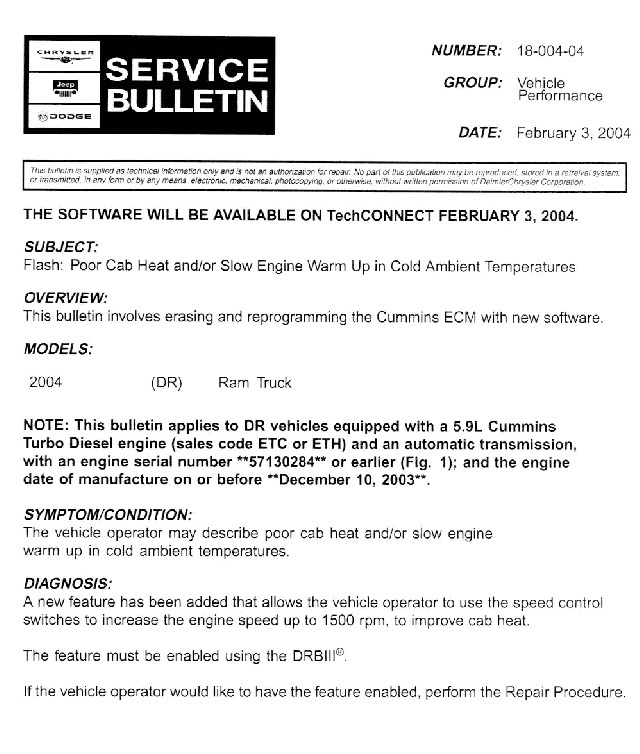
How do I enable to the manually controlled high idle for my 2004+ 24 valve engine?
First, read this thread:
Cold weather idle TSB 18-004-04
This will give you much of the proper information needed to have this done. You can also print out this TSB to take to the dealer in case they're not aware of this TSB for your truck. Remember, this is for automatics only!
Cold weather idle TSB 18-004-04
This will give you much of the proper information needed to have this done. You can also print out this TSB to take to the dealer in case they're not aware of this TSB for your truck. Remember, this is for automatics only!