
Road Armor starting to rust!

Thread Starter
Registered User
Joined: Feb 2008
Posts: 449
Likes: 0
From: St.Croix Falls, WI
Road Armor starting to rust!
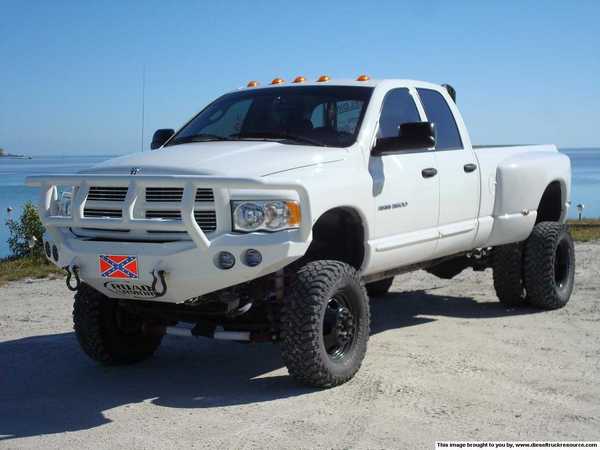
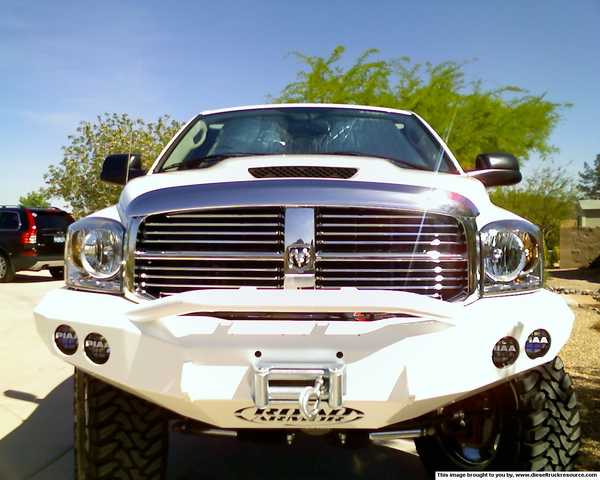
I have a Road armor front bumper,and it was powder coated black by Road armor. I have had it on the truck for two winters and it is starting to rust. Not just in one spot all over. I wash my truck at least twice aweek in winter to get all the salt off. The bumber has no other flaws in it. Dose the bumber have to be completely blasted and recoated? or is there a easyer fix. I like it black and not sure what to do for a coating rather it be powder coat again, or line-x ,or just plane paint?? Also had the bumper loaded with the PIAA Lights and one of the bulbs is burned out and the lens is cracked on one of the driving lights. Not sure how that happend I never hit anything. Do they have replacement parts. I am not sure what lights (model #) they were anymore.

Registered User
Joined: Feb 2005
Posts: 1,248
Likes: 0
From: Idaho Falls & Southern CA
I have the same thing going on with mine. In order to get it fixed correctly, you have to blast the whole bumper and have it re coated. I would maybe check out using paint instead. That way you get good thick coverage with a primer, thick paint, and then you can do multiple clear coats to protect it. That would be you best rust prevention I think.
I just don't think they are using a very quality powder coater.
I just don't think they are using a very quality powder coater.


Registered User
Joined: Feb 2006
Posts: 541
Likes: 0
From: Fl Keys
I painted mine to mach and every little tiny rock that touches it chips it. I bet i have 50 or 60 rock chips on this thing When i get sick of it ill be line x ing it in white. Do you guys think white line X will fade??
When i get sick of it ill be line x ing it in white. Do you guys think white line X will fade??
Registered User
Joined: Jan 2007
Posts: 530
Likes: 0
I have had mine powdered coated for 2 yrs now without so much as a speck of rust or a nick in the paint. It has hit numerous obstacles..ie a wheel and rim rolling down the freeway doing 70, 2 deer and many, many rocks...

Registered User
Joined: Dec 2008
Posts: 1,409
Likes: 2
From: Colorado Springs, CO
Powder is a good coating. It's tough, and lasts a long time. But, just like paint, the real secret is proper surface coating. It has to be cleaned and coated in less than an hour or two. With even moderate humidity, oxidation (rust) starts almost immediatly. Get a small chip or two in the coating, and oxygen gets in there, and the metal starts to rust under the coating.
Here's what you have to do if you want it to look nice for a long time:
1. Strip it completly clean of all coatings. PC can be a real bear to get off. Soda or bead blasting works pretty well. Aircraft paint stripper also works.
2. Only worry about one surface right now. You don't want to be flipping it over in the middle of the process. Set it up on sawhorses so you can work on it easily. Do the front first, and then the rear.
3. Clean it good with hot water and Dawn dish washing detergent. Dry immediatly.
4. Apply a good coat of POR-15. Let it dry over night.
5. Flip it over, and do the back side. Make sure the POR-15 overlaps the previous coat, so there's not gaps.
6. Now that the steel is completly sealed, have it PC'ed again.
Trending Topics

Thread Starter
Registered User
Joined: Feb 2008
Posts: 449
Likes: 0
From: St.Croix Falls, WI
Powder is a good coating. It's tough, and lasts a long time. But, just like paint, the real secret is proper surface coating. It has to be cleaned and coated in less than an hour or two. With even moderate humidity, oxidation (rust) starts almost immediatly. Get a small chip or two in the coating, and oxygen gets in there, and the metal starts to rust under the coating.
Here's what you have to do if you want it to look nice for a long time:
1. Strip it completly clean of all coatings. PC can be a real bear to get off. Soda or bead blasting works pretty well. Aircraft paint stripper also works.
2. Only worry about one surface right now. You don't want to be flipping it over in the middle of the process. Set it up on sawhorses so you can work on it easily. Do the front first, and then the rear.
3. Clean it good with hot water and Dawn dish washing detergent. Dry immediatly.
4. Apply a good coat of POR-15. Let it dry over night.
5. Flip it over, and do the back side. Make sure the POR-15 overlaps the previous coat, so there's not gaps.
6. Now that the steel is completly sealed, have it PC'ed again.
Here's what you have to do if you want it to look nice for a long time:
1. Strip it completly clean of all coatings. PC can be a real bear to get off. Soda or bead blasting works pretty well. Aircraft paint stripper also works.
2. Only worry about one surface right now. You don't want to be flipping it over in the middle of the process. Set it up on sawhorses so you can work on it easily. Do the front first, and then the rear.
3. Clean it good with hot water and Dawn dish washing detergent. Dry immediatly.
4. Apply a good coat of POR-15. Let it dry over night.
5. Flip it over, and do the back side. Make sure the POR-15 overlaps the previous coat, so there's not gaps.
6. Now that the steel is completly sealed, have it PC'ed again.
Registered User
Joined: Feb 2006
Posts: 541
Likes: 0
From: Fl Keys


Registered User
Joined: Jun 2007
Posts: 89
Likes: 0
I went with a color matched powdercoat. It is silver frost with a clear over it.

You a few options:
a) Sandblast clean then get it re-powdercoated
b) Sandblast, primered with paint, then line-x. Most bedliners won't adhere to bare metal.
c)Sandlbast then primer/paint/cleared.
You a few options:
a) Sandblast clean then get it re-powdercoated
b) Sandblast, primered with paint, then line-x. Most bedliners won't adhere to bare metal.
c)Sandlbast then primer/paint/cleared.
Registered User
Joined: Jul 2003
Posts: 314
Likes: 0
From: Phoenix, AZ
I've gone through 3 bulbs myself. You can order the lens (part number 35104 or 35112 for the SMR) and bulbs (part number 15455 or 15256 for the SMR) directly form www.piaa.com. My first set of bulbs were covered under the 1 year Piaa warranty. My bulbs were the standard but have been replaced by the SMR type bulbs. Here's a link to all the part numbers. http://www.piaa.com/controller.php?a...earch&part=510