


W250 Restore 1991.5


Administrator
Joined: Jan 2007
Posts: 8,372
Likes: 172
From: Streator Illinois
Thanks for all the advice, my next question is paint. I primed my fenders and I popped out the dents using my stud gun. I went to advanced auto and picked up some dupli-color in a gallon jug. I painted a fender and I'm not happy the way it turned out. The clear coat looks like crap and has no shine. Did I do this wrong maybe?
How about posting a picture, perhaps we can help more from that.
Finally, if this is your first time painting, don't feel bad, I won't speak for others, but my first one ( a 1967 Corvair ) was HORRID......... But you can't give up.

Thread Starter
Registered User
Joined: Feb 2010
Posts: 1,635
Likes: 59
From: New York
Yeah, I used rustoleum primer and sanded it with 800 grit. Once it was level I went back over it with 1000 the 2000 grit sand paper. My buddy has a nice black paint job so here is a picture of my paint job;

This is his fender, it's clear as can be, I can't get a good picture of my paint.. it's strange.

His is factory, don't mind the bird poop
This is his fender, it's clear as can be, I can't get a good picture of my paint.. it's strange.
His is factory, don't mind the bird poop

Administrator
Joined: Jan 2007
Posts: 8,372
Likes: 172
From: Streator Illinois
K, from what I could see, it looks like you need to color sand and buff, your clearcoat isn't flowing out like it could.
One thing, I am aware of no paint system that requires anywhere near that fine of a base, even Lacquer, which was very thin and virtually evaporated away only required 400 to 600 grit surfaces. If you have it too fine, the paint can't bite in, and will peel like a sunburn. Given it is a BC/CC, I would stop at no finer than 360 grit. Your basecoat needs to be somewhat flat, but they usually wont lay perfectly flat, you are more interested in even coverage and evenly distributed metallics. I always fog a coat at the end to help eliminate any possible tiger striping, and in doing so, you will usually get a bit "brighter" metallic effect. This is due to the lowered force that the paint has when it hits, it tends to lighten the effect a bit. You might want to practice your clearcoat application the most though. Like I said earlier, every brand has its own idiosyncrasies, some flow very little and then stay, some flow for what seems like hours. I would take a junk part ( say a fender ), not do much other than basecoat it, then play with the clear. See how the clear lays out best, lower gun pressure, slower pass, higher gun pressure, faster pass, what the appearance is when it doesn't run, what it looks like when it does, etc. It is literally a feel for what it will do, and if you are going to get a good finish without color sand and buff, you ARE going to get a run or drape, even the pros do and they do it every day.
One thing, I am aware of no paint system that requires anywhere near that fine of a base, even Lacquer, which was very thin and virtually evaporated away only required 400 to 600 grit surfaces. If you have it too fine, the paint can't bite in, and will peel like a sunburn. Given it is a BC/CC, I would stop at no finer than 360 grit. Your basecoat needs to be somewhat flat, but they usually wont lay perfectly flat, you are more interested in even coverage and evenly distributed metallics. I always fog a coat at the end to help eliminate any possible tiger striping, and in doing so, you will usually get a bit "brighter" metallic effect. This is due to the lowered force that the paint has when it hits, it tends to lighten the effect a bit. You might want to practice your clearcoat application the most though. Like I said earlier, every brand has its own idiosyncrasies, some flow very little and then stay, some flow for what seems like hours. I would take a junk part ( say a fender ), not do much other than basecoat it, then play with the clear. See how the clear lays out best, lower gun pressure, slower pass, higher gun pressure, faster pass, what the appearance is when it doesn't run, what it looks like when it does, etc. It is literally a feel for what it will do, and if you are going to get a good finish without color sand and buff, you ARE going to get a run or drape, even the pros do and they do it every day.

Registered User
Joined: Feb 2008
Posts: 550
Likes: 0
From: north woods of Michigan
Like patdaly said first paint jobs usually don't turn out well. Any body work takes a lot of practice to get good. I still won't paint anything I really want to look good.
You are going to be doing a ton of work on this truck by the looks of things. My advice is find a pro that moonlights at home and has a good reputation for not taking forever(this seems to happen a lot), and save your first paint job for something that doesn't matter like a Ford or anything foreign.
Second if you are using the paint I think your talking about it is not good stuff, not even chemical resistant. This means any fluid from the truck will literally wash the paint away.
Keep plugging away it'll be worth it in the end.
You are going to be doing a ton of work on this truck by the looks of things. My advice is find a pro that moonlights at home and has a good reputation for not taking forever(this seems to happen a lot), and save your first paint job for something that doesn't matter like a Ford or anything foreign.
Second if you are using the paint I think your talking about it is not good stuff, not even chemical resistant. This means any fluid from the truck will literally wash the paint away.
Keep plugging away it'll be worth it in the end.
Thread Starter
Registered User
Joined: Feb 2010
Posts: 1,635
Likes: 59
From: New York
Like patdaly said first paint jobs usually don't turn out well. Any body work takes a lot of practice to get good. I still won't paint anything I really want to look good.
You are going to be doing a ton of work on this truck by the looks of things. My advice is find a pro that moonlights at home and has a good reputation for not taking forever(this seems to happen a lot), and save your first paint job for something that doesn't matter like a Ford or anything foreign.
Second if you are using the paint I think your talking about it is not good stuff, not even chemical resistant. This means any fluid from the truck will literally wash the paint away.
Keep plugging away it'll be worth it in the end.
You are going to be doing a ton of work on this truck by the looks of things. My advice is find a pro that moonlights at home and has a good reputation for not taking forever(this seems to happen a lot), and save your first paint job for something that doesn't matter like a Ford or anything foreign.
Second if you are using the paint I think your talking about it is not good stuff, not even chemical resistant. This means any fluid from the truck will literally wash the paint away.
Keep plugging away it'll be worth it in the end.
 . I cut my losses and went with rustoleum filler primer. Clearly a superior paint. I found a guy that will paint the truck for me, I just need to borrow a truck so I can bring mine to him in pieces. I've been doing a done of leveling so when the paint hits this thing it will be smooth.
Anyways this is the method to my madness.
ZinC (eastwood.com) coating, primer, paint, clear. The bottom I will spray with Wurth SKS to about 1mm thick. Frame will be stripped, Zinc'd and then covered in SKS.

Registered User
Joined: Mar 2013
Posts: 320
Likes: 0
From: Tx
bannerd check out www.dustlessblasting.com. This is the best blast system I've witnessed. I watched them blast a covered trailer in about an hour and 20 min. It was the slickest job I've ever saw. They have videos of it on YouTube. Maybe someone in your area has one. Good luck on your project!
Thread Starter
Registered User
Joined: Feb 2010
Posts: 1,635
Likes: 59
From: New York
Smoke thanks man, yeah I bought a soda blaster. Just waiting for it to arrive at the shop. I'm still working out of my tiny garage at my home and I'm in a pickle. Does anyone know where I can get the metal bar that goes along the window inside the door and sort of holds the window? It attaches to the regulator. I'll take picture to show you what I mean. The rust pretty much destroyed my doors so I have new doors on the list of things I will be buying. I'm hoping that the metal on the window isn't a permo-fix.
Thread Starter
Registered User
Joined: Feb 2010
Posts: 1,635
Likes: 59
From: New York
Hey guys, what are these things for? It looks like a door switch or some sort of sensor?

Here is some more progress, I'm going to have to get the wiring back in to get it to the shop. It's been raining none stop and moisture + metal is not good. I've been using this zinc coating from eastwood and it works really well.

Here is some more progress, I'm going to have to get the wiring back in to get it to the shop. It's been raining none stop and moisture + metal is not good. I've been using this zinc coating from eastwood and it works really well.

Registered User

Joined: Nov 2002
Posts: 767
Likes: 39
From: Hamilton,MO
After the flippant response I got earlier, I went out to the shop to verify my statement. The big plastic plunger has a cable that comes out the back and goes directly to the inertia reel of your seat belt. I have a 1986 cab sitting in my shop that hasn't been completely stripped yet, and these pieces were still intact. I may try to pull these pieces and get pics to show the non-believers.
Thread Starter
Registered User
Joined: Feb 2010
Posts: 1,635
Likes: 59
From: New York
The windows inside my door.. the regulator hooks to them. There is a metal bar (looks like) that goes across the window. Is this something I can replace? Anyone have any advice how to get the regulator out? Bought new doors 
Thread Starter
Registered User
Joined: Feb 2010
Posts: 1,635
Likes: 59
From: New York
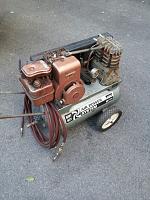
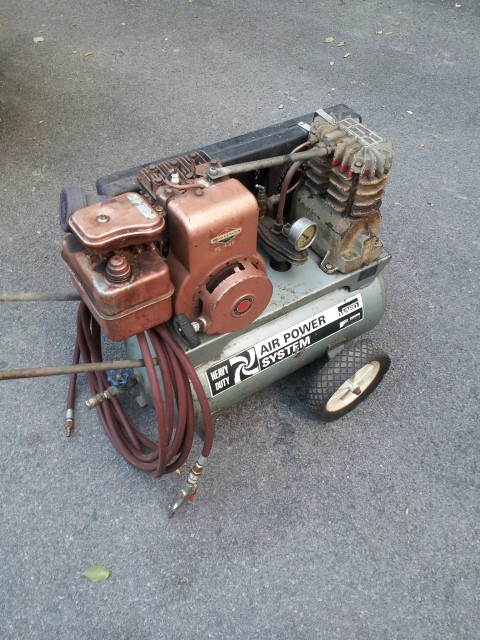
Well guys, did some more work on the truck. Picked up a nice air compressor that has been making this all possible. I need to change the oil in it, looking awfully black.
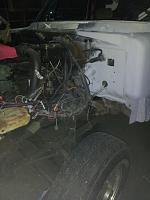
Sand blasted some of the cab;
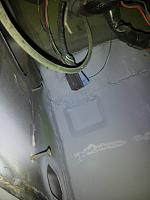
And then welded in part of the floor board. I didn't notice it but there was some heavy rust under there and I would think it is because there was no seam sealer. That brings up a question.. what do you guys recommend for seam sealer? I was looking at getting evercoat self leveling for inside the cab and then under neath a heavy thicker sealer.
I'm digging the rustoleum self etch primer, although I might sand blast that back off and spray it with epoxy. I was thinking about going over the top of it but I hear mixing paints can be a pad deal.
Floor leveled;

Still have a ton of grinding and sanding to do. I've been using primer to seal the bare metal.. some reason after a day rust forms on the metal where I live. I'm hoping the epoxy primer will help this once I get everything setup. Been having good luck with eastwood encapsulate.
Sand blasted some of the cab;
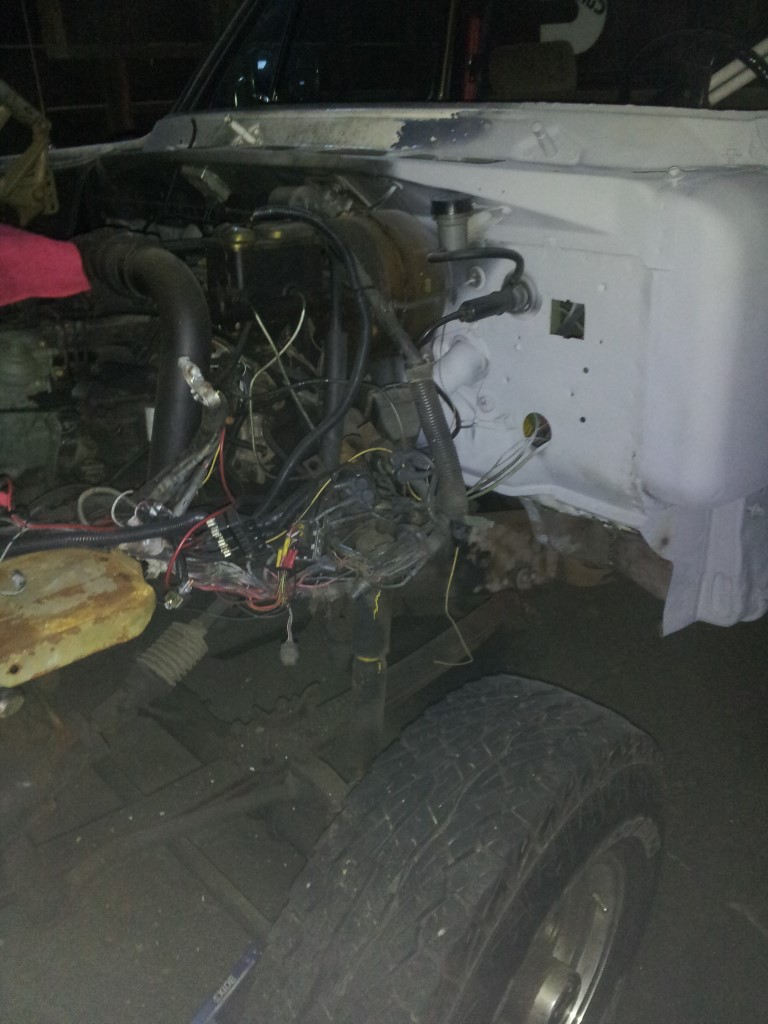
And then welded in part of the floor board. I didn't notice it but there was some heavy rust under there and I would think it is because there was no seam sealer. That brings up a question.. what do you guys recommend for seam sealer? I was looking at getting evercoat self leveling for inside the cab and then under neath a heavy thicker sealer.
I'm digging the rustoleum self etch primer, although I might sand blast that back off and spray it with epoxy. I was thinking about going over the top of it but I hear mixing paints can be a pad deal.
Floor leveled;

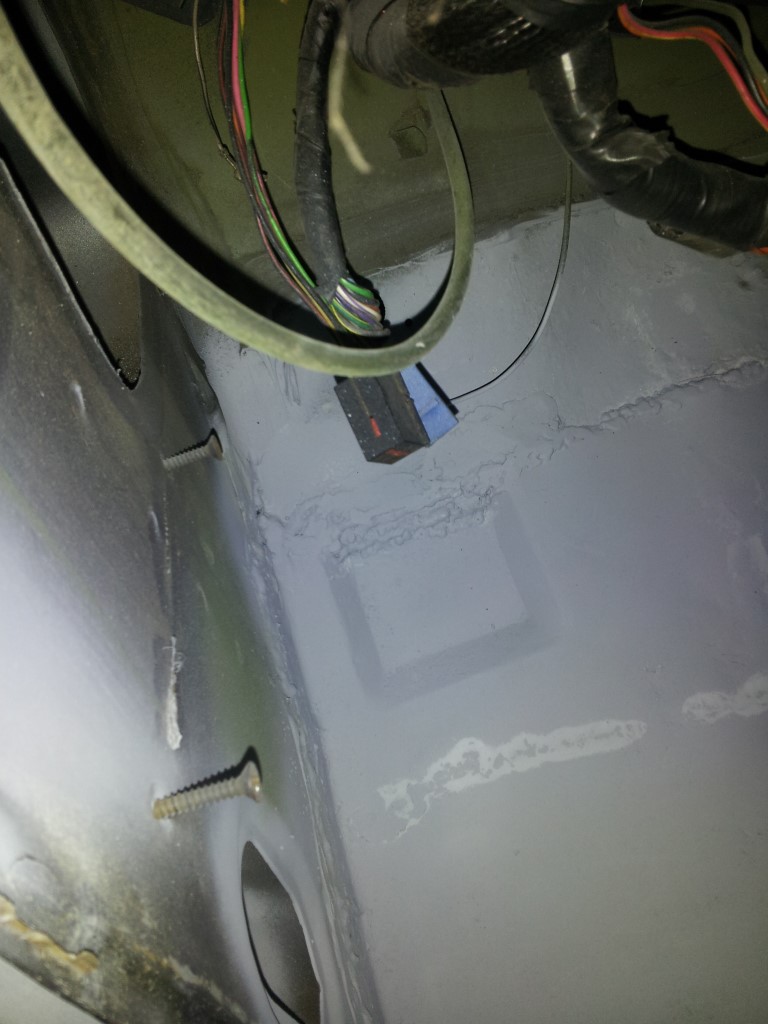
Still have a ton of grinding and sanding to do. I've been using primer to seal the bare metal.. some reason after a day rust forms on the metal where I live. I'm hoping the epoxy primer will help this once I get everything setup. Been having good luck with eastwood encapsulate.