
In the middle of a KDP fix, How many bolts hold the timing cover to the block?


Thread Starter
Registered User
Joined: Nov 2005
Posts: 1,971
Likes: 1
From: Land of milk and honey.
In the middle of a KDP fix, How many bolts hold the timing cover to the block?
According to the TST directions, There are 6 total and the one longer one for the tab is included in the kit. I am taking them out one at a time, cleaning the hole with brakekleen, drying with compressed air, then the red threadlock.
Seems as if the directions show all 5 others down low, I know I have to bar the engine around to get to the bolts through the gear holes. And if I remember right, there is one you cant get all the way out?
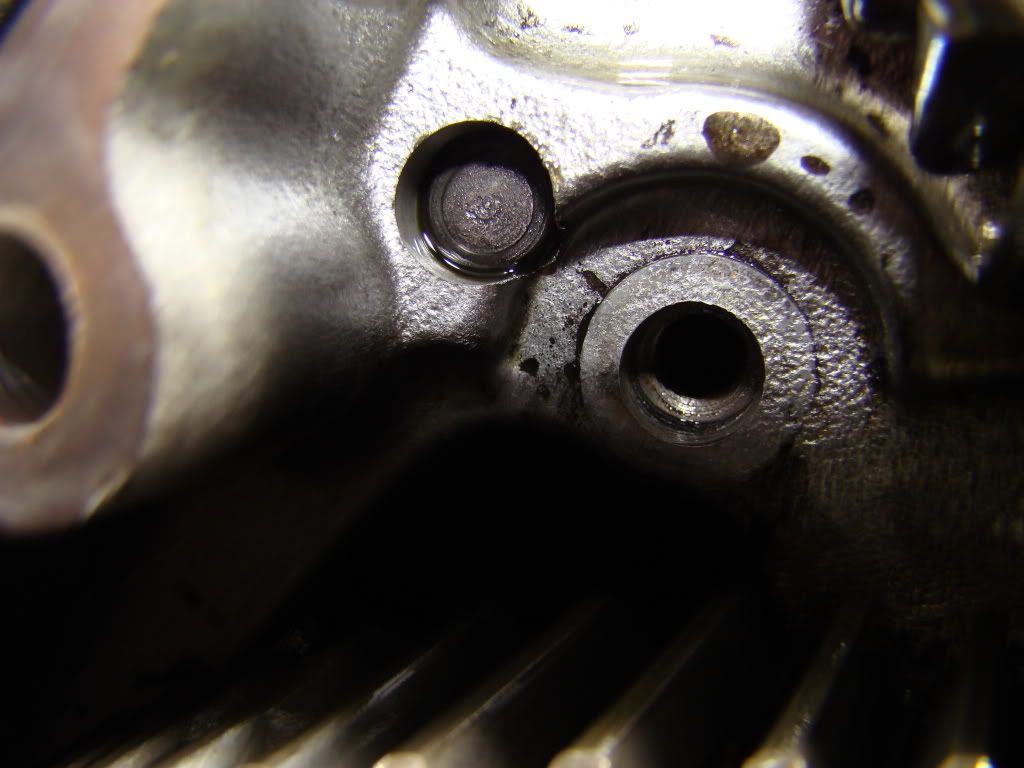
Good news is, the pin was still flush! Although the bolt next to it was just about finger tight! WOW! Seems as if the bolts are a bigger issue on these 1st gens than the pin itself. We should start calling it Killer Bolts instead!
Thanks!
Seems as if the directions show all 5 others down low, I know I have to bar the engine around to get to the bolts through the gear holes. And if I remember right, there is one you cant get all the way out?
Good news is, the pin was still flush! Although the bolt next to it was just about finger tight! WOW! Seems as if the bolts are a bigger issue on these 1st gens than the pin itself. We should start calling it Killer Bolts instead!
Thanks!
Registered User
Joined: Sep 2003
Posts: 4,449
Likes: 47
From: Calgary, Alberta
I recall there being 5 bolts behind the cover.
One beside the dowel pin.
One down low on the pass. side, by the oil pump.
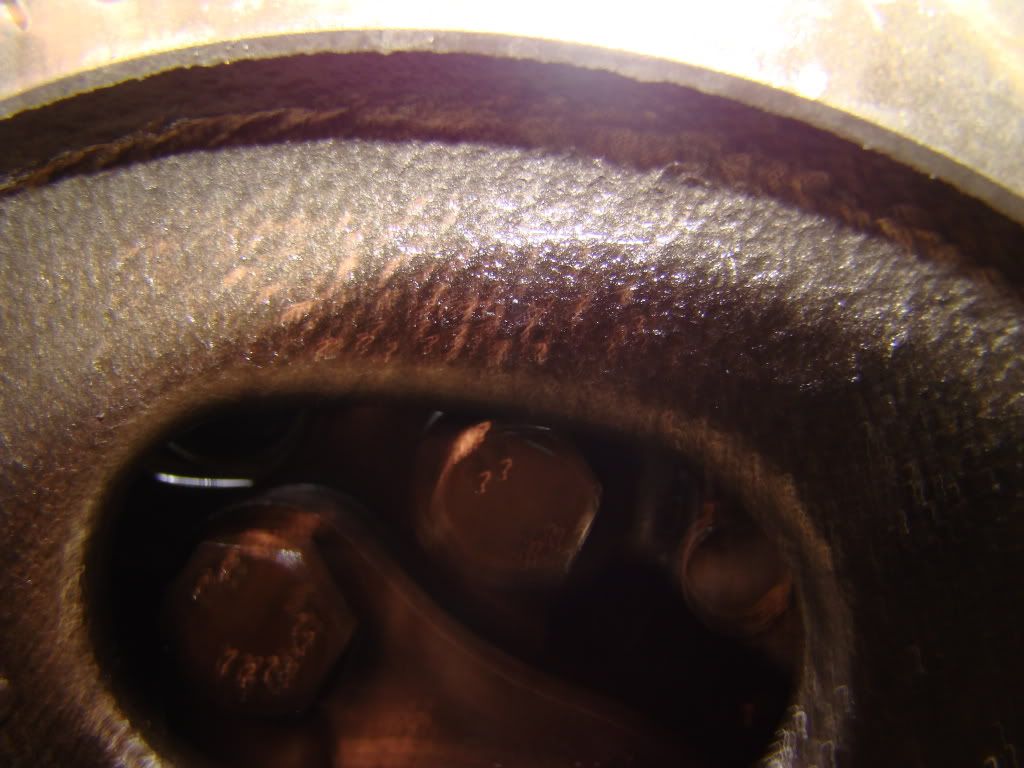
Three behind the camshaft gear. One can't be removed, but I custom-bent a wrench so I can sort-of tighten it a bit.
One beside the dowel pin.
One down low on the pass. side, by the oil pump.
Three behind the camshaft gear. One can't be removed, but I custom-bent a wrench so I can sort-of tighten it a bit.
Thread Starter
Registered User
Joined: Nov 2005
Posts: 1,971
Likes: 1
From: Land of milk and honey.
The pin is still flush...
This is the one I could not get out, it kind of binds the socket half way out. Top center bolt is the 10mm.
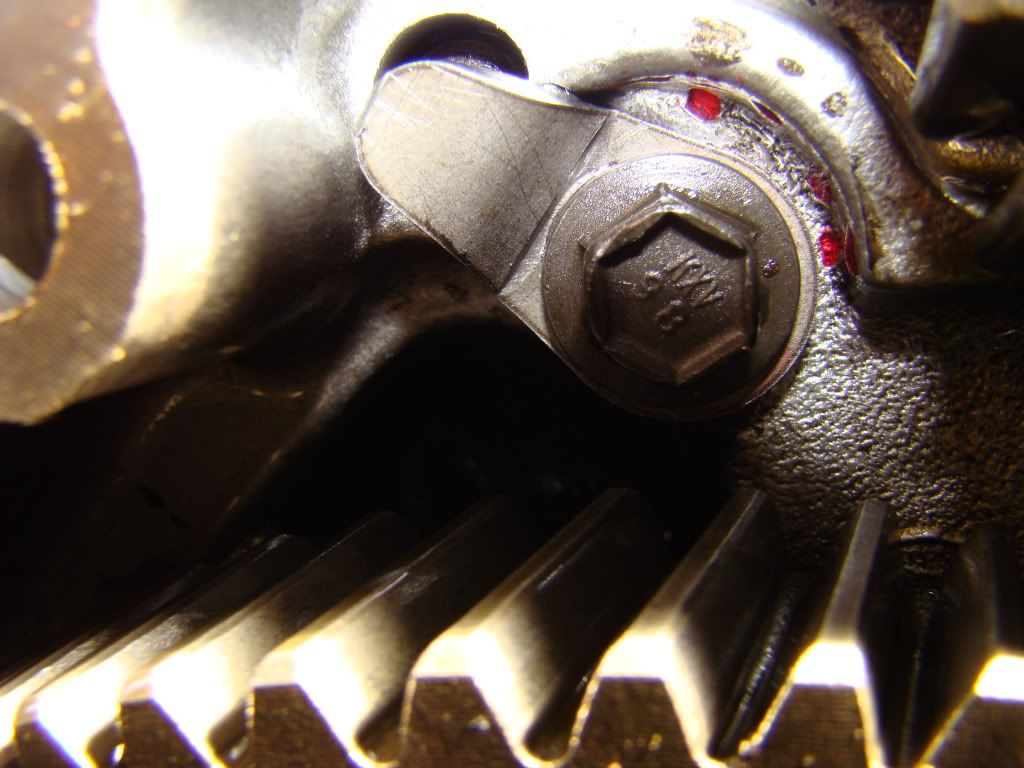
Does this look good? You can see where I missed the hole and dabbed threadlock over the top. As you are tightening this in, I could feel the tab crushing into the corner(upper right corner on the tab).I can just about squeeze the camera in there!
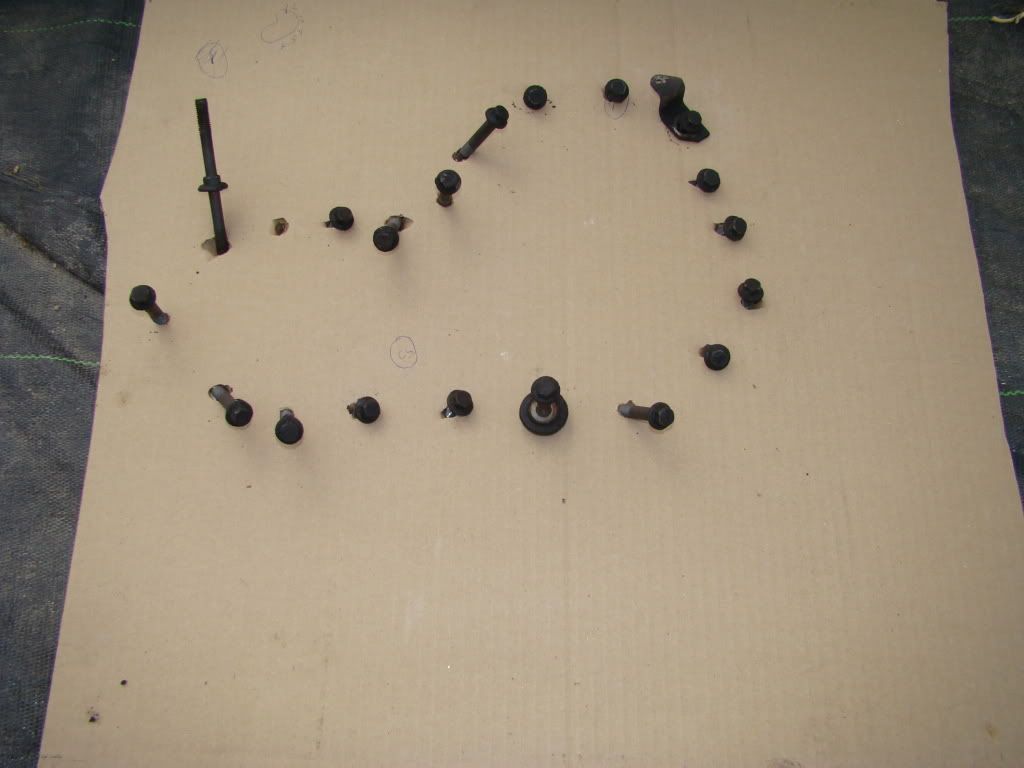
This idea came from someone on the 2nd gen side. Just stab the bolts into a piece of cardboard so you're not looking for the right length bolt on each hole!
This is the one I could not get out, it kind of binds the socket half way out. Top center bolt is the 10mm.
Does this look good? You can see where I missed the hole and dabbed threadlock over the top. As you are tightening this in, I could feel the tab crushing into the corner(upper right corner on the tab).I can just about squeeze the camera in there!
This idea came from someone on the 2nd gen side. Just stab the bolts into a piece of cardboard so you're not looking for the right length bolt on each hole!
Registered User
Joined: Apr 2006
Posts: 1,526
Likes: 1
From: Scottsdale, AZ
You are doing just fine I just got mine done 20min ago and mine was still all the way in. However the bolt next to mine was two threads out and was close to disaster . I did the same thing with marking the bolts in the order. With mine I replaced the drive belt and radiator hoses, along with a fresh oil and coolant. Looks like you are doing just fine
 It was a pain getting everything back together, but it runs.
I recommend painting the gear cover with high temp paint, looks good!
Good Luck
. I did the same thing with marking the bolts in the order. With mine I replaced the drive belt and radiator hoses, along with a fresh oil and coolant. Looks like you are doing just fine It was a pain getting everything back together, but it runs.I recommend painting the gear cover with high temp paint, looks good!
Good Luck

Thread
Thread Starter
Forum
Replies
Last Post
sootnsmoke
1st Gen. Ram - All Topics
11
Jan 5, 2012 08:55 PM
steven
12 Valve Engine and Drivetrain
1
Aug 14, 2006 02:49 PM