the current project
 04-17-2012, 04:46 PM
#16
Registered User
Thread Starter
Join Date: Feb 2008
Location: north woods of Michigan
Posts: 550
Likes: 0
Received 0 Likes
on
0 Posts
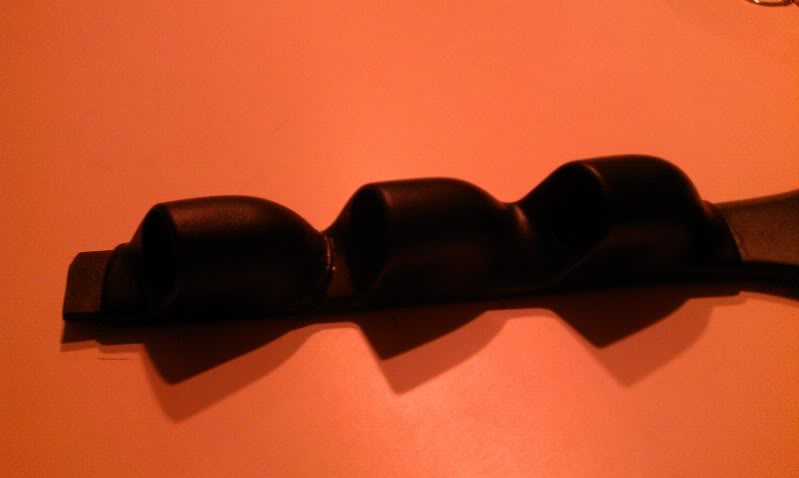
The pillar pods do not fit together so they will need cutting and epoxy work to get 3 gauges in. Also the angle on these will work for me but the top gauge is going to be angled bad for people under 6'.
 04-17-2012, 05:14 PM
#17
Registered User
Join Date: Sep 2010
Location: Sedgewick, AB
Posts: 1,059
Likes: 0
Received 0 Likes
on
0 Posts
I called and left a message but haven't heard anything back from that guy.
The pillar pods do not fit together so they will need cutting and epoxy work to get 3 gauges in. Also the angle on these will work for me but the top gauge is going to be angled bad for people under 6'.
The pillar pods do not fit together so they will need cutting and epoxy work to get 3 gauges in. Also the angle on these will work for me but the top gauge is going to be angled bad for people under 6'.
05-06-2012, 09:42 PM
#18
Registered User
Thread Starter
Join Date: Feb 2008
Location: north woods of Michigan
Posts: 550
Likes: 0
Received 0 Likes
on
0 Posts
my month or month and a half goal is completely blown out at this point and progress seems slow but it's still going
Got back up and did some more work this weekend but paint and body is going slower than I hoped.
sand blasted the floors
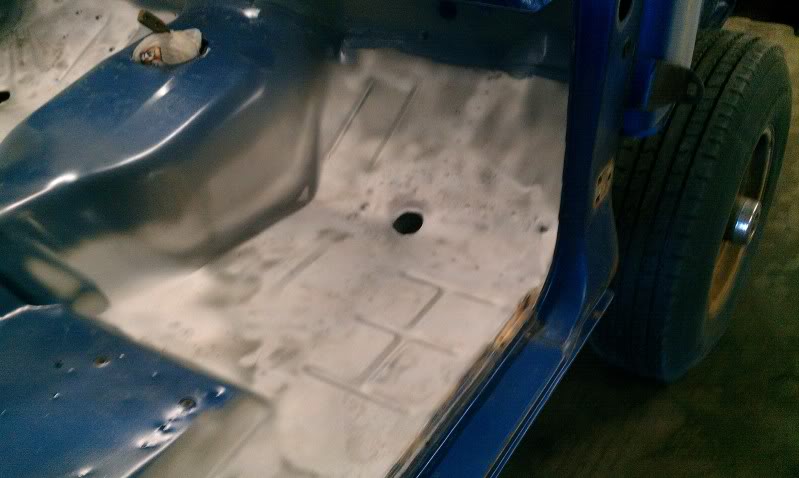
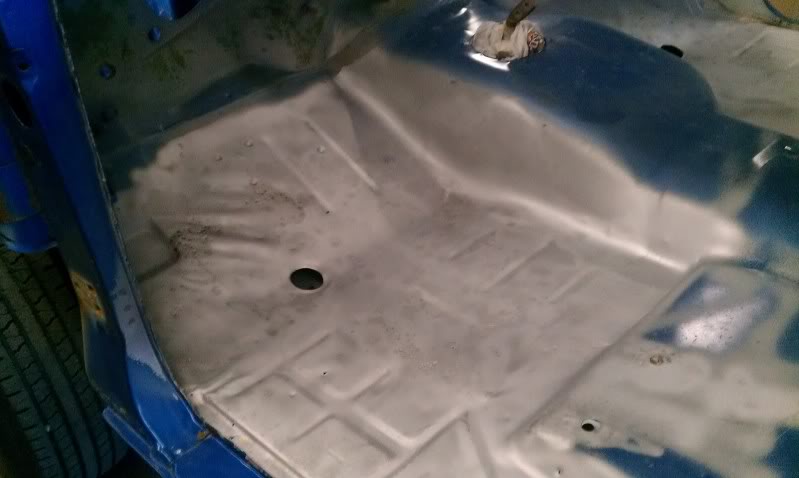
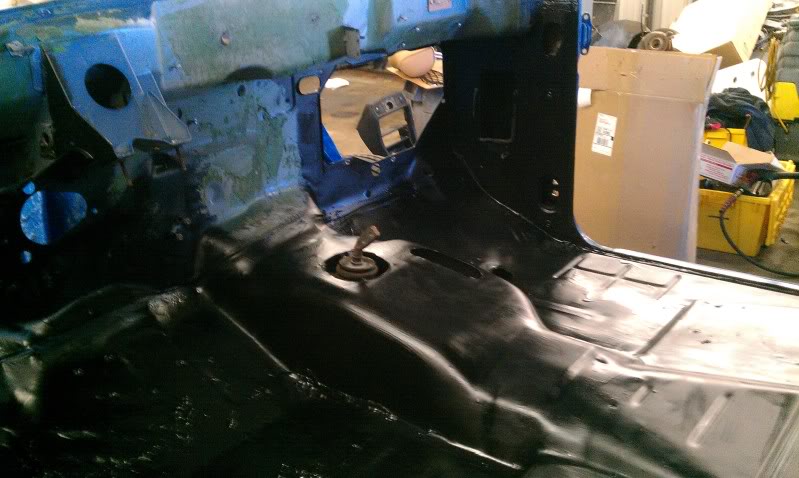
then coated them in zero rust
Got back up and did some more work this weekend but paint and body is going slower than I hoped.
sand blasted the floors
then coated them in zero rust
05-06-2012, 09:56 PM
#19
Registered User
Thread Starter
Join Date: Feb 2008
Location: north woods of Michigan
Posts: 550
Likes: 0
Received 0 Likes
on
0 Posts
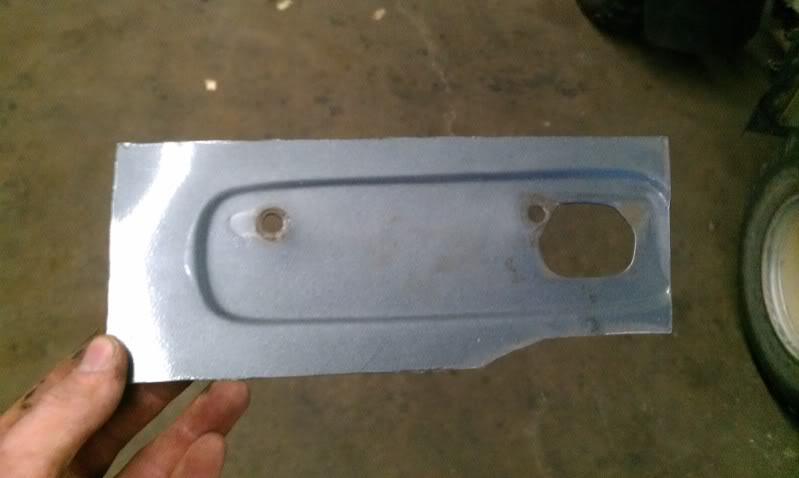
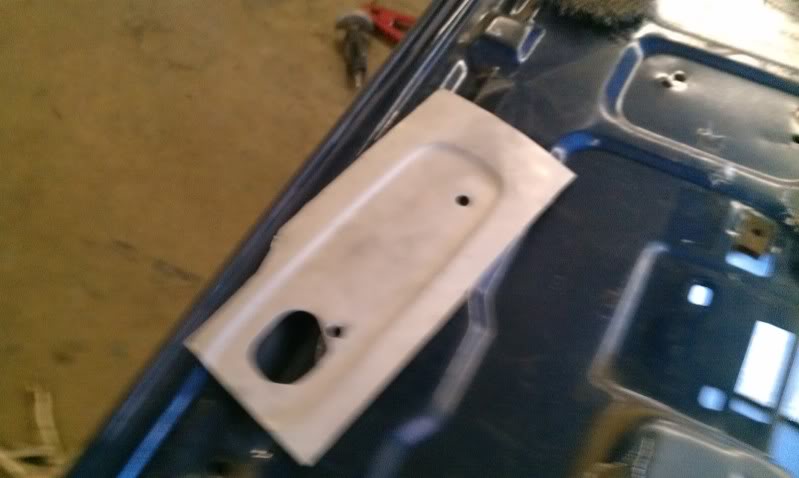
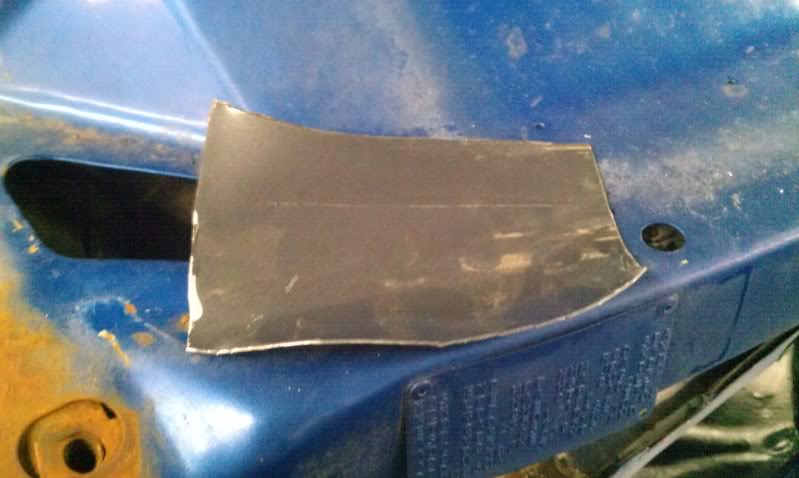
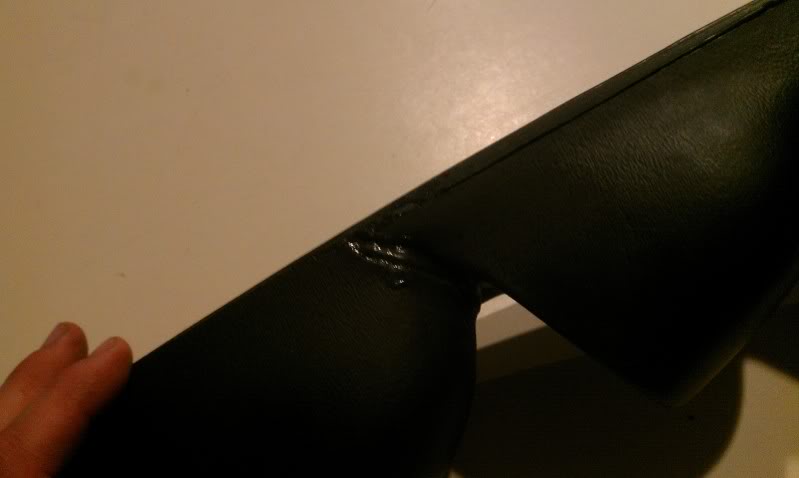
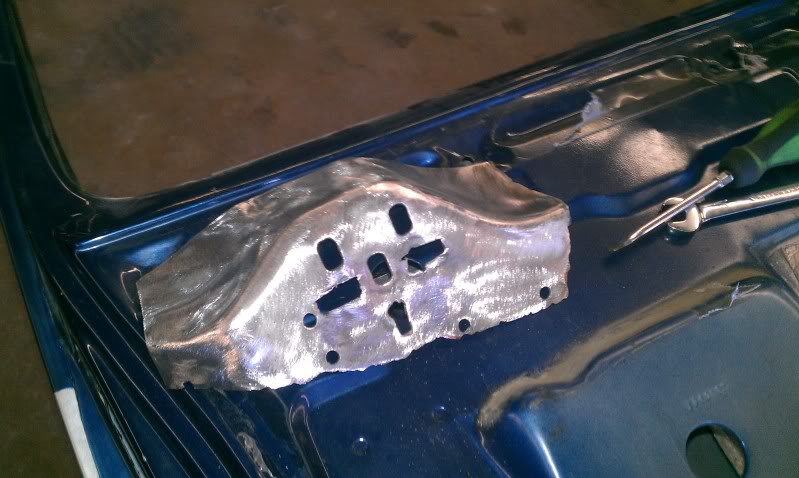
also did one door mod.
braced the outer door handle area.
To do this one I cut up my rusted out and smashed up door.
this is what I figured would fit and give the bracing needed
then I cleaned the inside of the door and brace panel of all paint so they could be bonded with 3m panel bonding adhesive
Then put the bonding adhesive in and clamped them together
Then it sits over night and is suppose to be stronger than spot welds.
05-07-2012, 09:12 PM
#22
Registered User
Thread Starter
Join Date: Feb 2008
Location: north woods of Michigan
Posts: 550
Likes: 0
Received 0 Likes
on
0 Posts
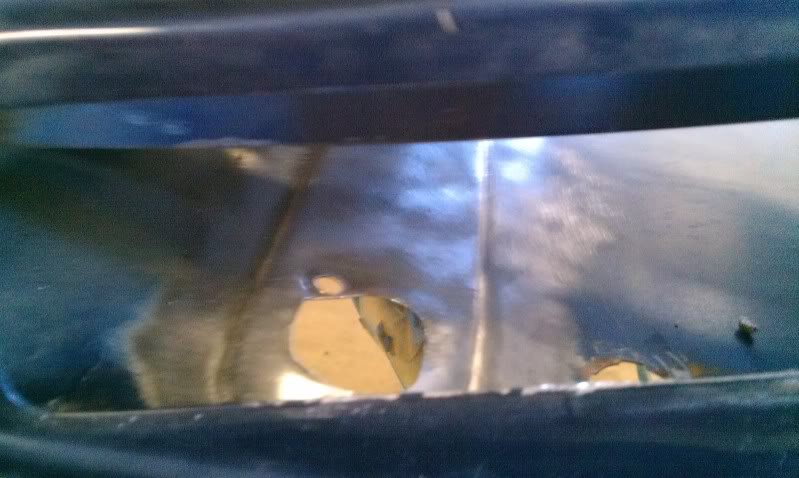
and the cowl fix now that you can't get panels from dodge I made my own and glued them in too.
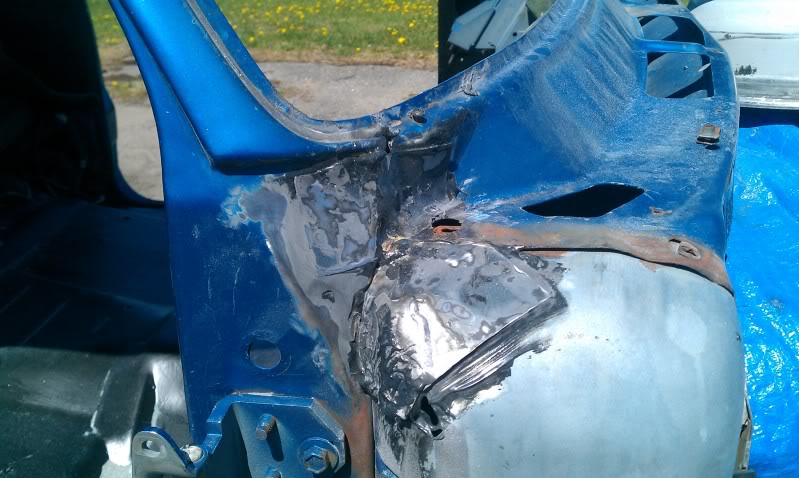
crack on passenger side, they were braised at the factory so the brass needs to be removed before welding.
other crack passenger side
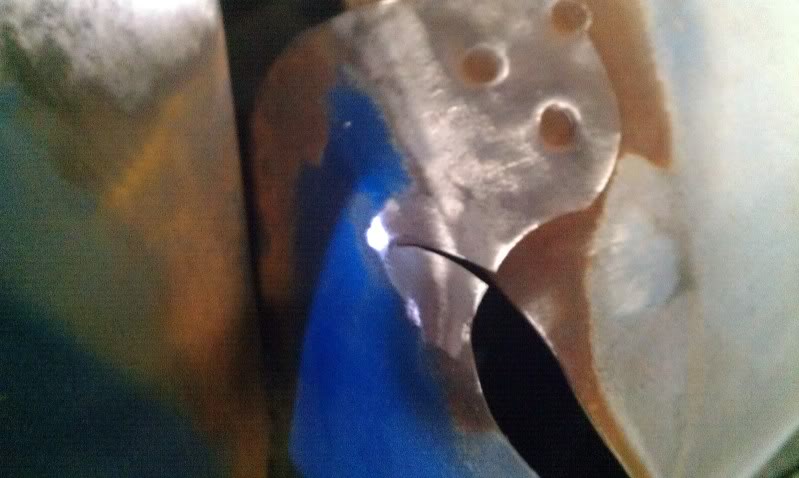
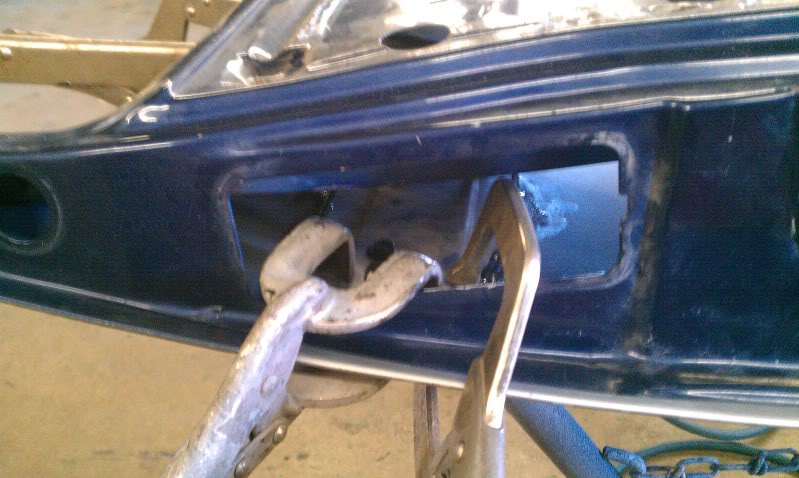
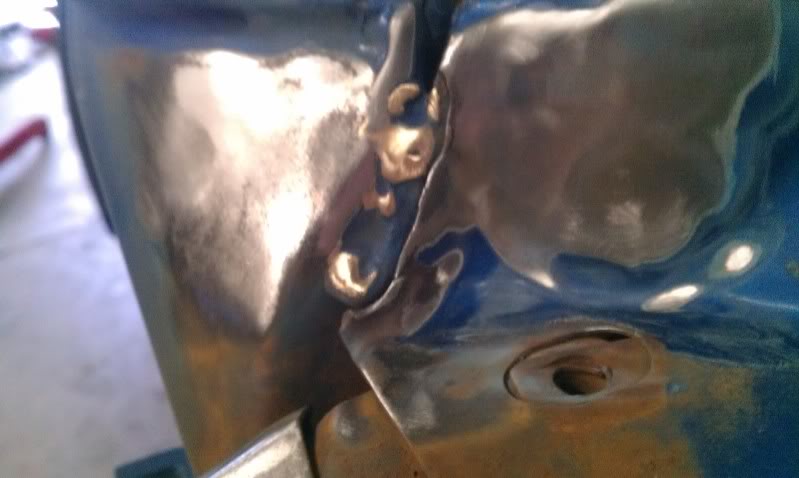
brass removed carefully with a die grinder then clamped up closer to weld. This also brings the fender mount closer to the windshield.
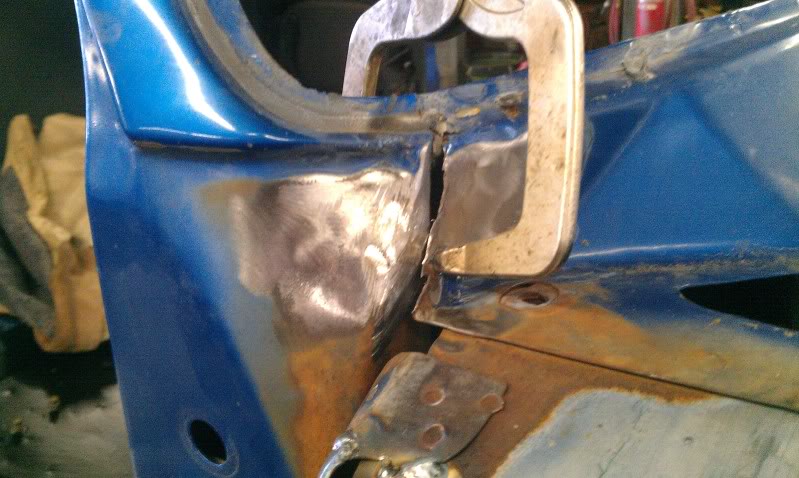
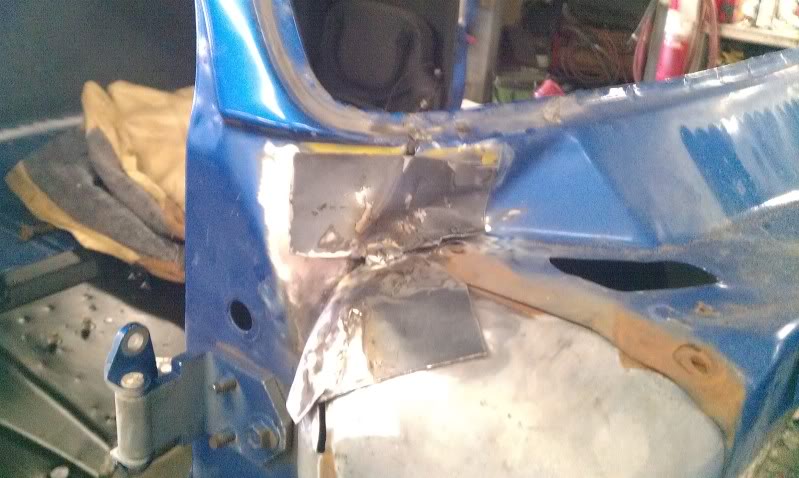
Cracks welded up and marked for what I wanted out of the panels
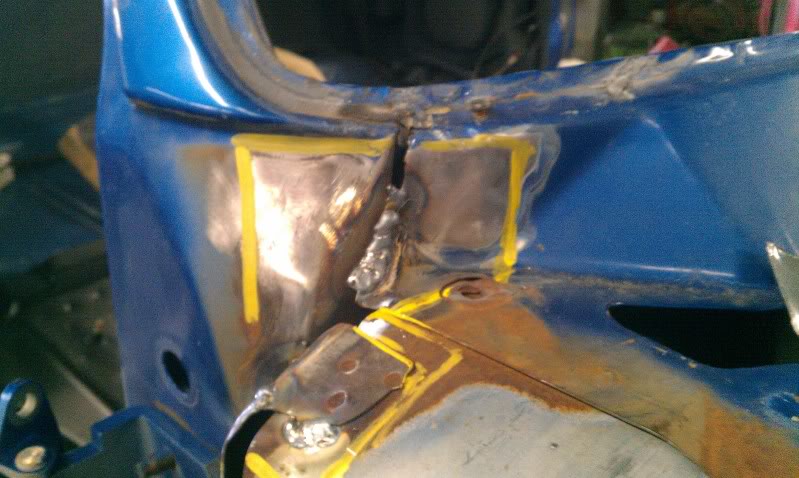
When the upper portion cracks out it allows the cowl to start spreading from the A-pillar. This weld should help keep it from doing it again.
Another piece cut out of my old smashed and rusted door.
Forming panel one

Forgot pic of panel two being formed but same idea takes some metal working skill but I don't have much or that and I still made it work pretty good.
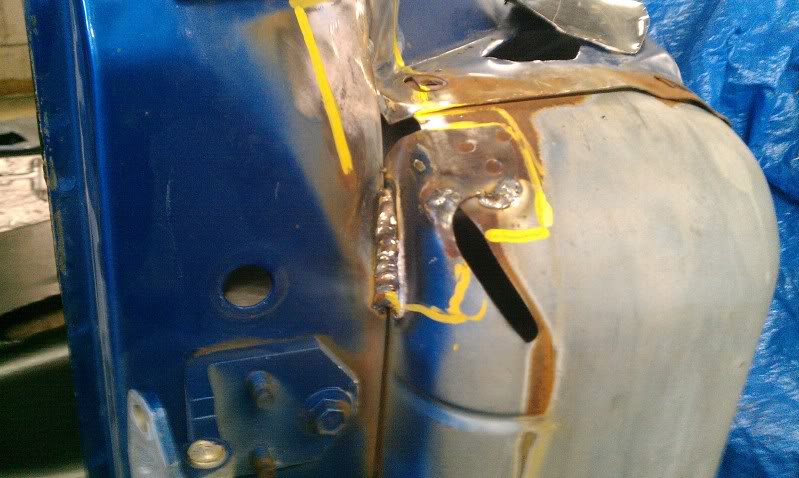
This is both panels welded together and ready to bond.
And I took pics of it bonded and clamped but they disappeared so there aren't any
Drivers side wasn't cracked out but it was compressed likely from an accident in the LF. It was slide hammered out and just needed a brace kit so same as other side.
 05-08-2012, 11:42 PM
#24
Registered User
Thread Starter
Join Date: Feb 2008
Location: north woods of Michigan
Posts: 550
Likes: 0
Received 0 Likes
on
0 Posts
 05-14-2012, 09:35 PM
#25
Registered User
Thread Starter
Join Date: Feb 2008
Location: north woods of Michigan
Posts: 550
Likes: 0
Received 0 Likes
on
0 Posts
This is the cowl after the stuff dried and I cleaned it up a little.
Then started getting the cab ready for primer then paint.
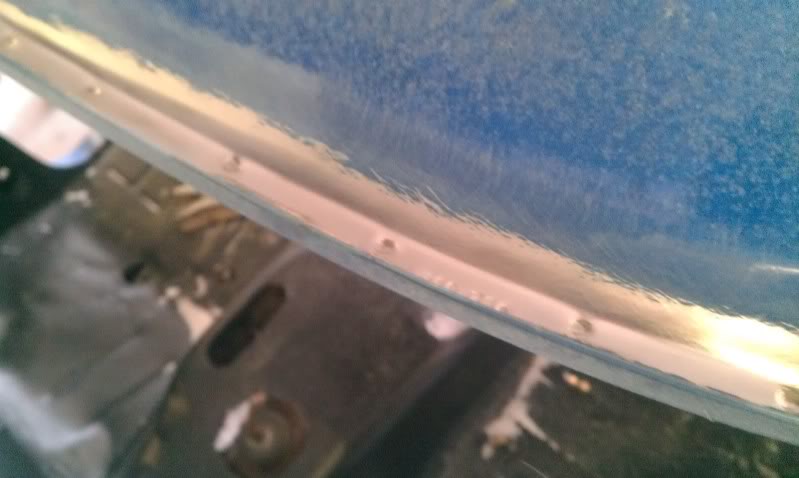
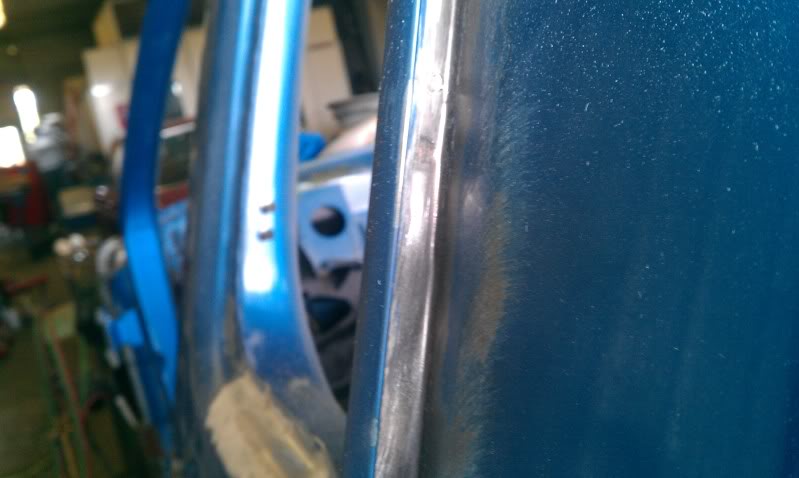
Under the trim was rusty on both sides
cleaned all the old seem sealer out of the roof channel, I don't want it to rust there so I cleaned it all out then will reseal it.
Then started getting the cab ready for primer then paint.
Under the trim was rusty on both sides
cleaned all the old seem sealer out of the roof channel, I don't want it to rust there so I cleaned it all out then will reseal it.
05-14-2012, 09:43 PM
#26
Registered User
Thread Starter
Join Date: Feb 2008
Location: north woods of Michigan
Posts: 550
Likes: 0
Received 0 Likes
on
0 Posts
Also I finally took the core support off and found out my turbo seals are bad. That means a turbo rebuild is in order and I might as well rebuild and install the HX35 I've had on the shelf instead. Also thinking about installing a power stroke intercooler while it's apart.
 05-19-2012, 08:32 PM
#29
Registered User
Thread Starter
Join Date: Feb 2008
Location: north woods of Michigan
Posts: 550
Likes: 0
Received 0 Likes
on
0 Posts
thanks DJ if life didn't keep getting in the way i might be back together by now. No work this weekend, my cousin is going to try to get the cab work finished and primed by next weekend for me.
06-24-2012, 08:05 PM
#30
Registered User
Thread Starter
Join Date: Feb 2008
Location: north woods of Michigan
Posts: 550
Likes: 0
Received 0 Likes
on
0 Posts
Still going just even slower I believe this is what is referred to as body shop hell.
Cab is primed but still need cowl area work and primed around the windshield/cowl.
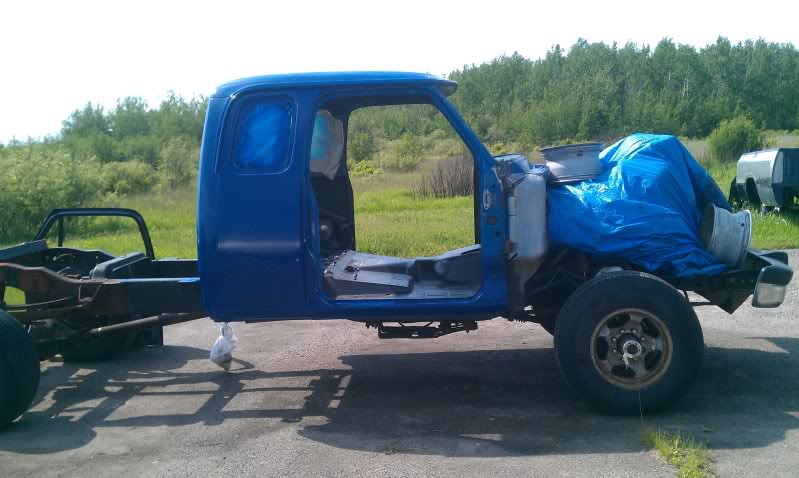
Door inner hinge brace still needs installed.
and put the door on to check fitment and took it back off.
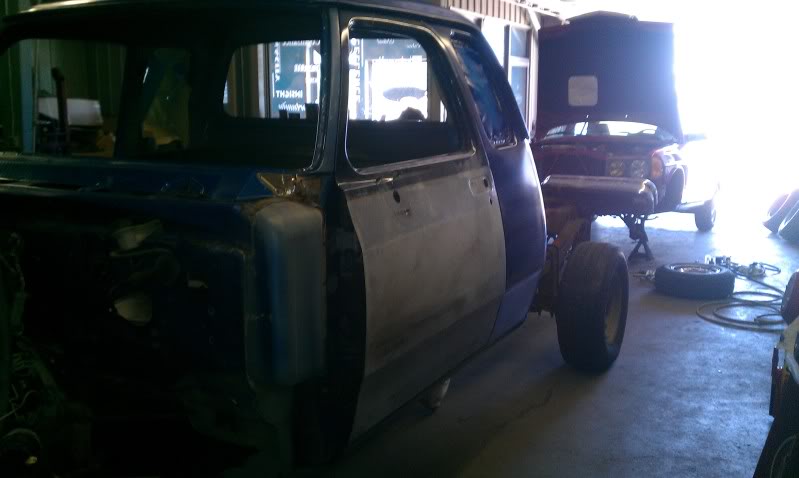
The rest of the front 1/2 minus core suport is in primer sanded and ready for paint.
Cab is primed but still need cowl area work and primed around the windshield/cowl.
Door inner hinge brace still needs installed.
and put the door on to check fitment and took it back off.
The rest of the front 1/2 minus core suport is in primer sanded and ready for paint.