Crewcab update...
 08-25-2012, 01:38 AM
#1
Registered User
Thread Starter
Crewcab update...
Originally Posted by Thrashingcows
This addition is due to Photobucket changing their terms of usage (2017) and not allowing 3rd party hosting of pics, so I am slowly fixing the pics and then archiving them in the link below. So in the future if the pics no longer work go to the link and everything will be there. 
https://web.archive.org/web/20171028...update-305923/
https://web.archive.org/web/20171028...update-305923/
Well been working on all kinds of projects...and not taking any time to update what I've been doing. So here is a little update on what I've done to the old Cummins crewcab in the last couple months.
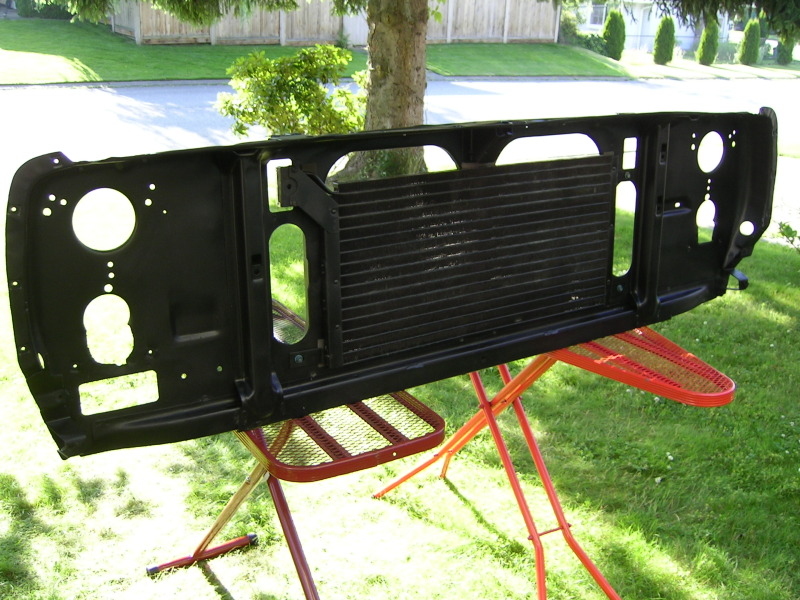
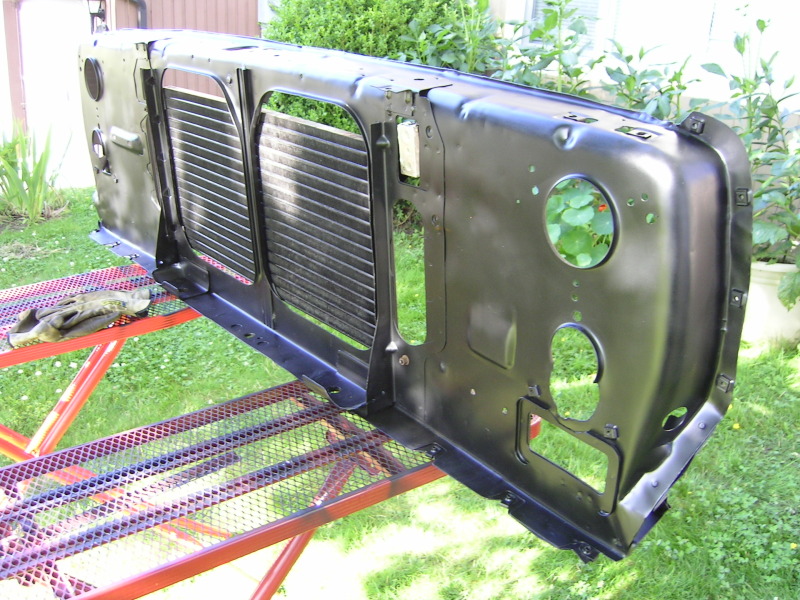
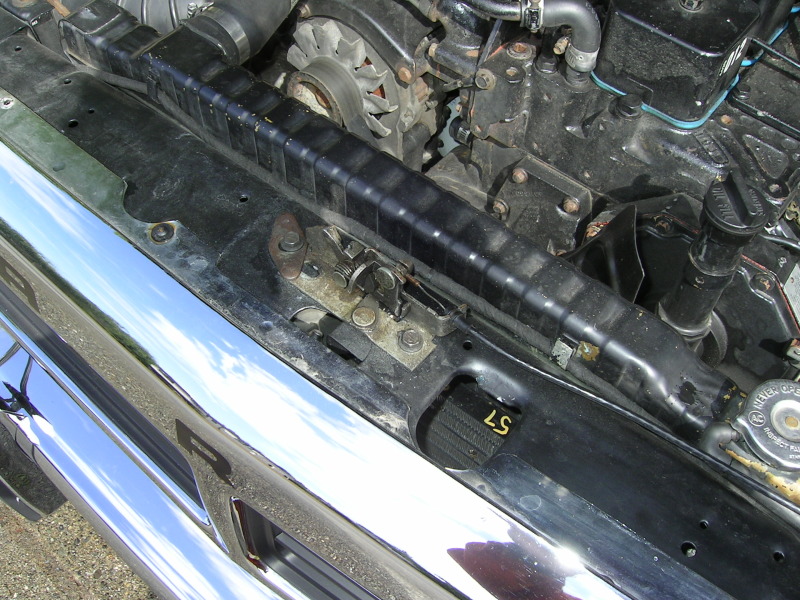
I first Re/Re'd the front rad support again. The first IC one I put in had been in a wreck...I straightened it OK, but it still bothered me. Found another one that was straight so I swapped them. At this time I also installed the A/C condenser nice and tight for my eventual PS IC installation.
(I'll do a complete thread on what I did)
Some pics...

The following users liked this post:
Federic (01-31-2022)
08-25-2012, 01:41 AM
#2
Registered User
Thread Starter
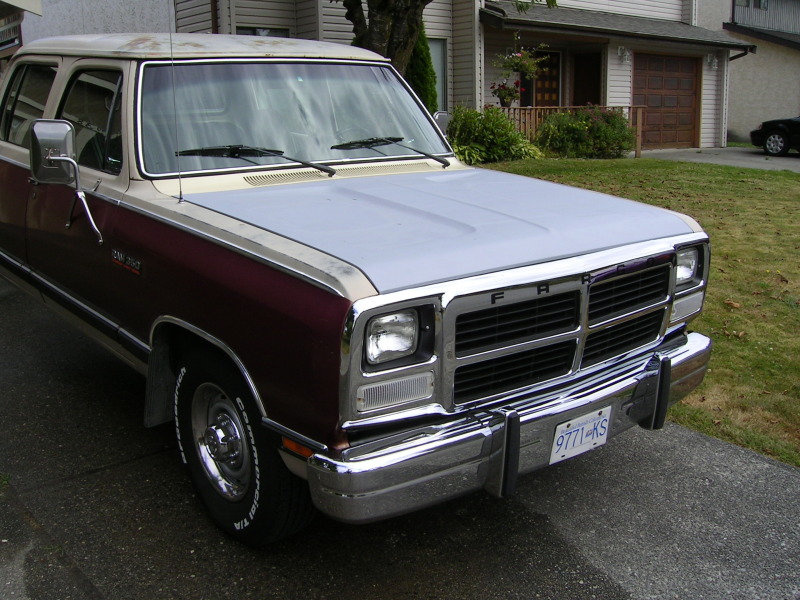
I then installed my new hood...old bathtub hood from pre 1980 dodge ram. Sanded it down and primed it for now. Will throw some color on it soon.
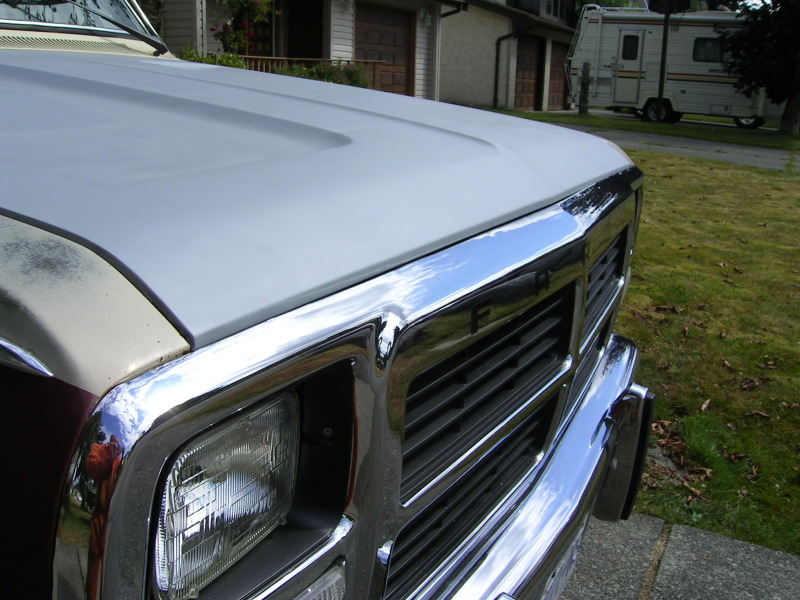
And you have to have the matching cowl cover too...
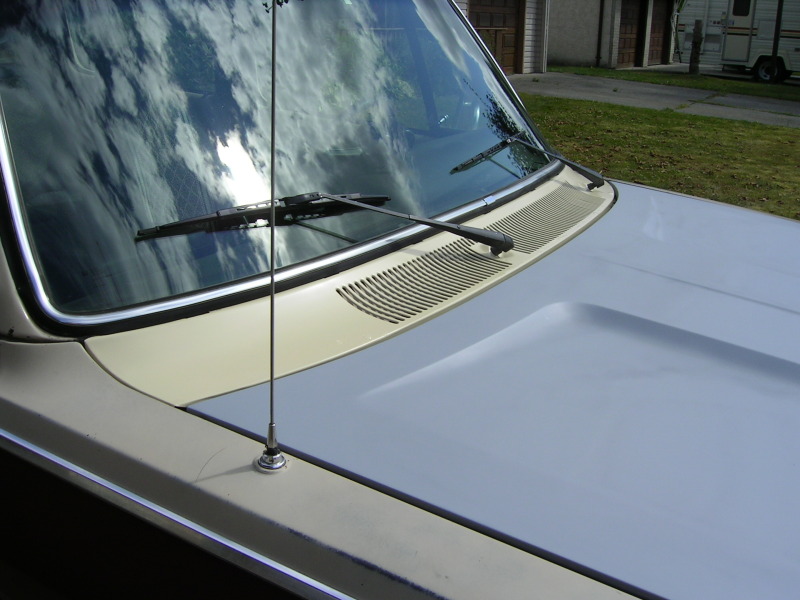
And you have to have the matching cowl cover too...
08-25-2012, 01:42 AM
#3
Registered User
Thread Starter
Also found that the hood latch system was totally different on the pre-80 hoods...more like you tradition mopar car set-up. So had to move the 90's style hood latch over and forward. Hood is still a bit loose...not tight against the fender stops. Will have to cut down the hood latch bar to bring it down a bit more.
Then had to also dimple the hood a little to clear the latch, and run a slightly shorter hood spring so the hood would close easier, and not pop up with so much force it nearly torn the latch from the rad support. Good thing I have saved most of the hood springs form all the mopars I've parted out of over the years.
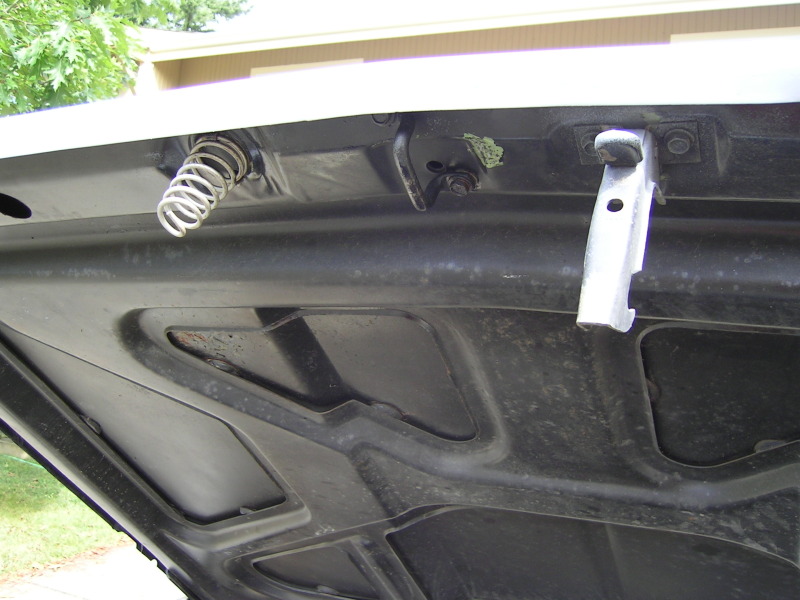
Then had to also dimple the hood a little to clear the latch, and run a slightly shorter hood spring so the hood would close easier, and not pop up with so much force it nearly torn the latch from the rad support. Good thing I have saved most of the hood springs form all the mopars I've parted out of over the years.
08-25-2012, 01:43 AM
#4
Registered User
Thread Starter
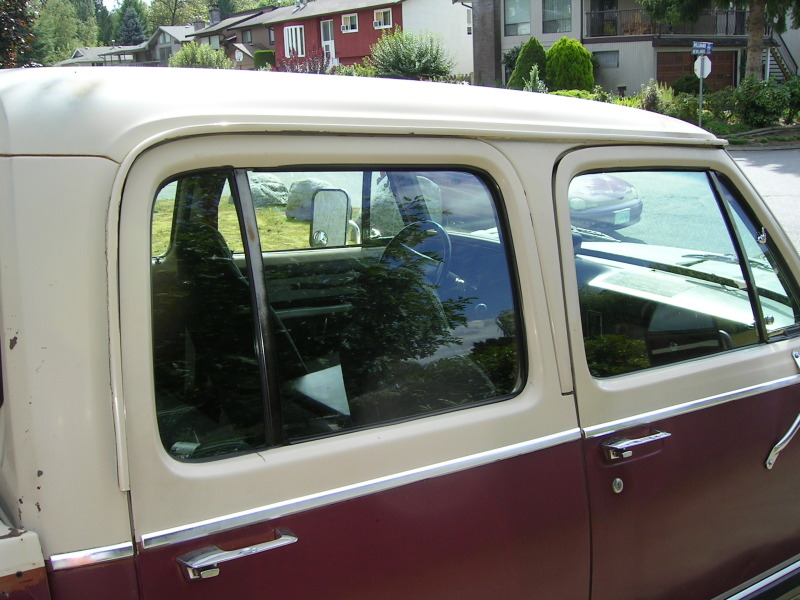
I also stripped off the stainless trim on the drip rail...going to sand the inside and out to clean off all the old flaking caulking. Then reseal and repaint. Considering not reinstalling the stainless trim...it holds a lot of moisture. Might put some cheap wheel opening adhesive trim on the outside of the drip rail to add a littel bright work.
Used two old bottle cap openers...the old metal ones you used to use as a kid. Rounded end on one side, sharp point on the other. These worked great to slowly peal the drip rails loose.
Used two old bottle cap openers...the old metal ones you used to use as a kid. Rounded end on one side, sharp point on the other. These worked great to slowly peal the drip rails loose.
08-25-2012, 01:44 AM
#5
Registered User
Thread Starter
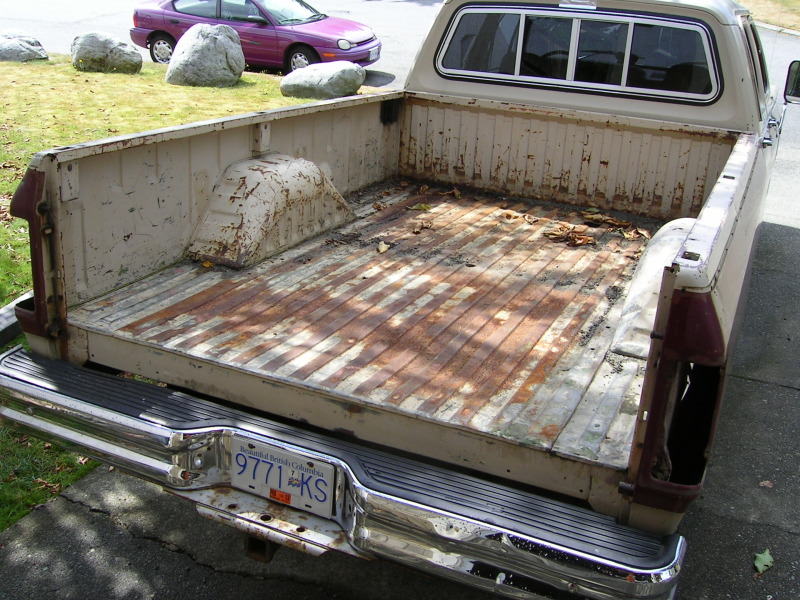
I decided to finally strip off the original box and get it ready for the one I picked up in Oregon.
I had worked on the box bolts from under neath for a few hours the other night. Got 6 of the eight loose after much loosening, then tightening...more PB Blaster, and repeat. The other 2..the ones by the fuel tank were welded to the frame...:dooh:
Took me about 2 hours to strip the box down, all trim and stuff removed. Also to cut through the booger welds holding the last 2 box mounting points to the frame.
Ready to come off...
08-25-2012, 01:47 AM
#6
Registered User
Thread Starter
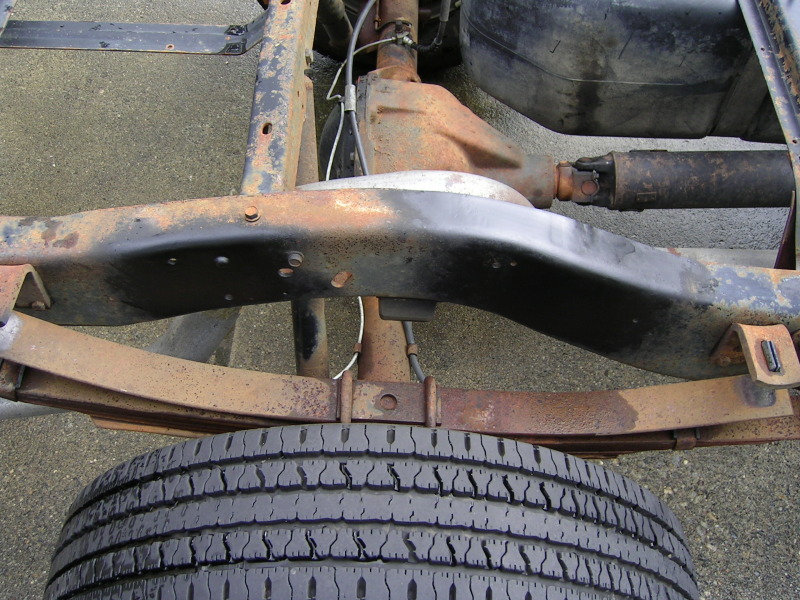
Now you can see all the brackets that were welded to the frame...5th wheel brackets, goose neck bar etc. Now I have to cut these off and clean up the frame...tomorrows job.
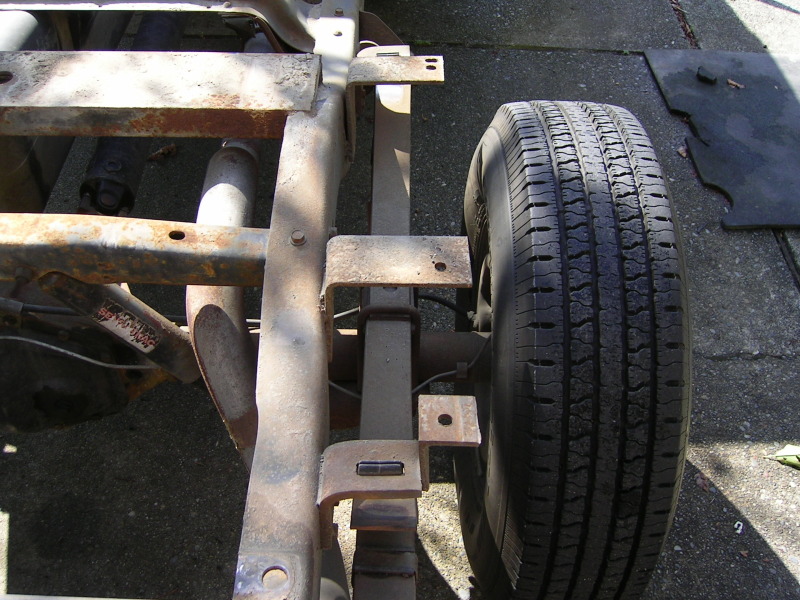
Here's a frightening pic....goose neck bolt...one or two booger welds away from failure.
Here's a frightening pic....goose neck bolt...one or two booger welds away from failure.
08-25-2012, 01:48 AM
#7
Registered User
Thread Starter
Got the frame all cleaned up and painted. Took a couple hours...ate through a few grinding disc. Found out that they tend to explode if you get them too hot....
Trending Topics
08-25-2012, 01:49 AM
#8
Registered User
Thread Starter
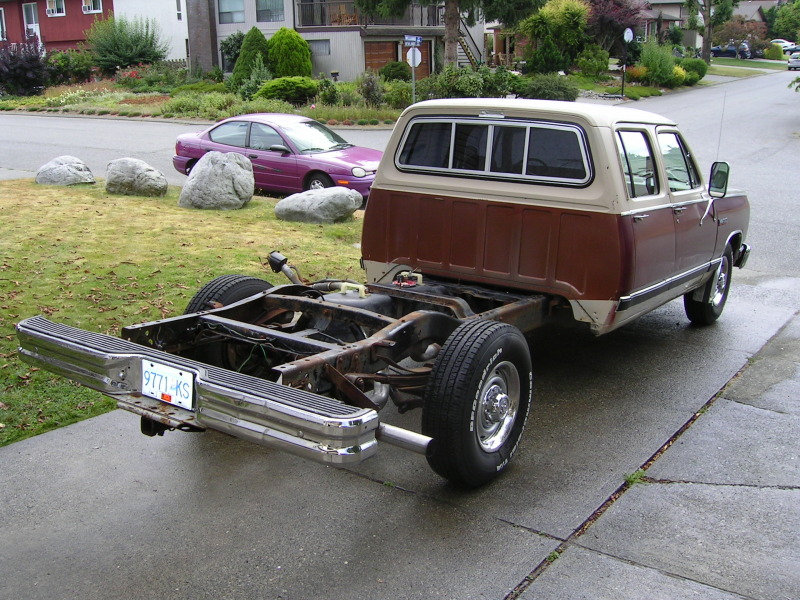
Pressure washed the frame and then managed to wrestle the box out of the back yard with the help of two neighbours. Then through a 3 1/2 foot wide gate beside the house and onto the truck.
08-25-2012, 01:51 AM
#9
Registered User
Thread Starter
Six of the eight bolts went right in and the box is loosely secured right now.
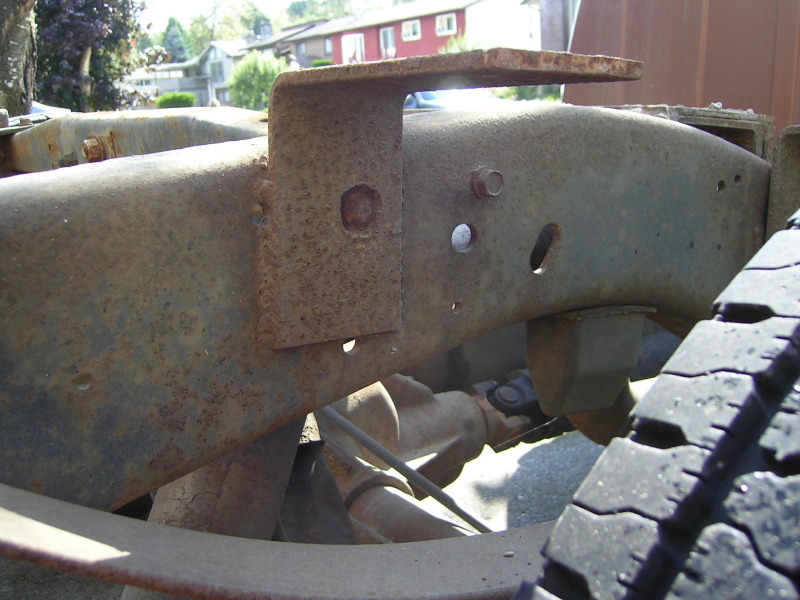
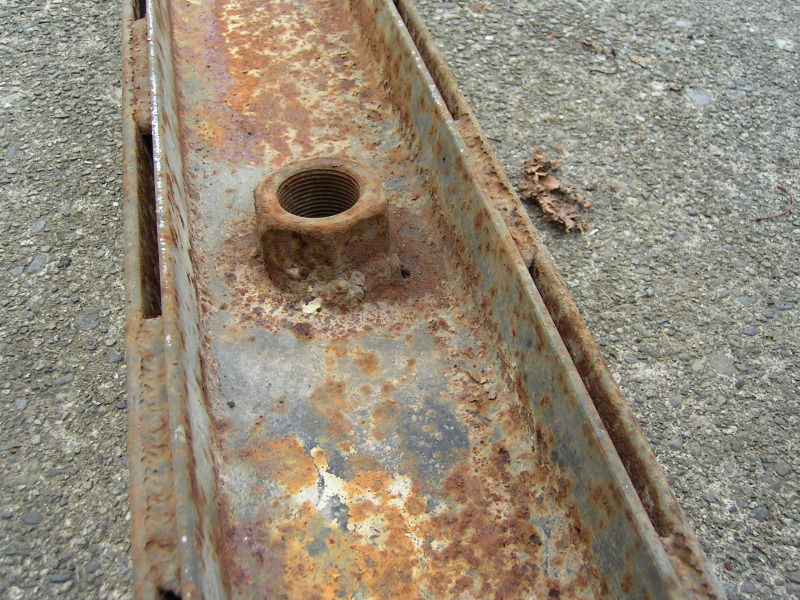
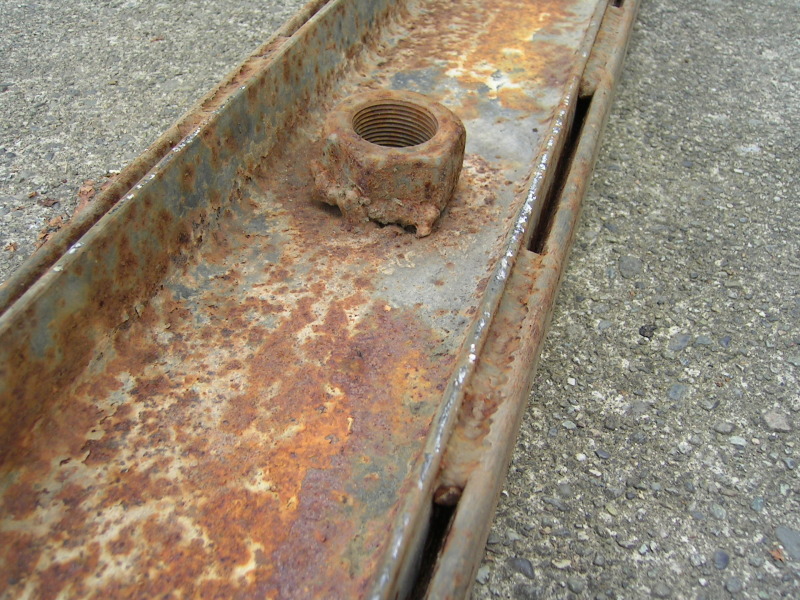
The two bolts by the fuel tank were missing and angle iron was welded in place on teh old box. Now with the new box I see that there must have been brackets involved with mounting the box in this location to the outside of the frame.
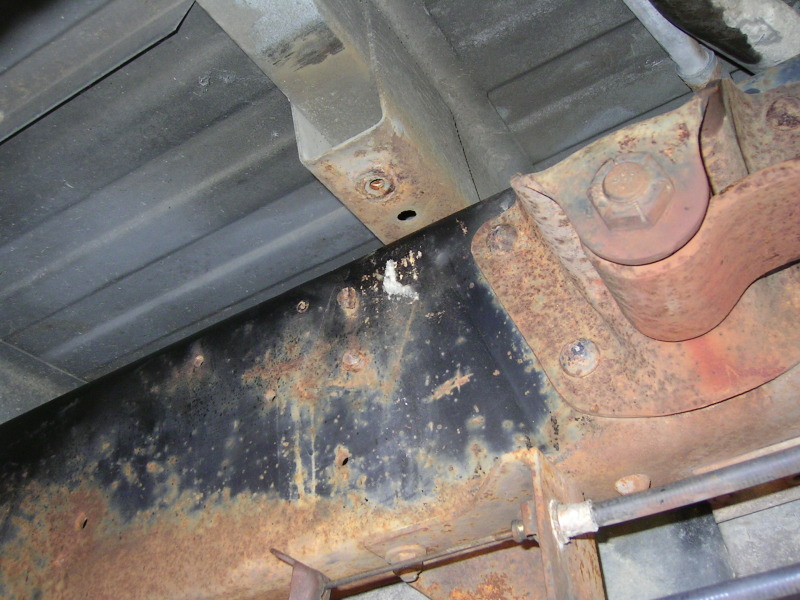

There are rivets that were obviously ground down to remove ??? I am assuming it was the brackets I'm missing. Tomorrow I will build a couple brackets, that will use the rivets and then I will plug weld the brackets to the existing rivets.
The two bolts by the fuel tank were missing and angle iron was welded in place on teh old box. Now with the new box I see that there must have been brackets involved with mounting the box in this location to the outside of the frame.
There are rivets that were obviously ground down to remove ??? I am assuming it was the brackets I'm missing. Tomorrow I will build a couple brackets, that will use the rivets and then I will plug weld the brackets to the existing rivets.
08-25-2012, 01:53 AM
#10
Registered User
Thread Starter
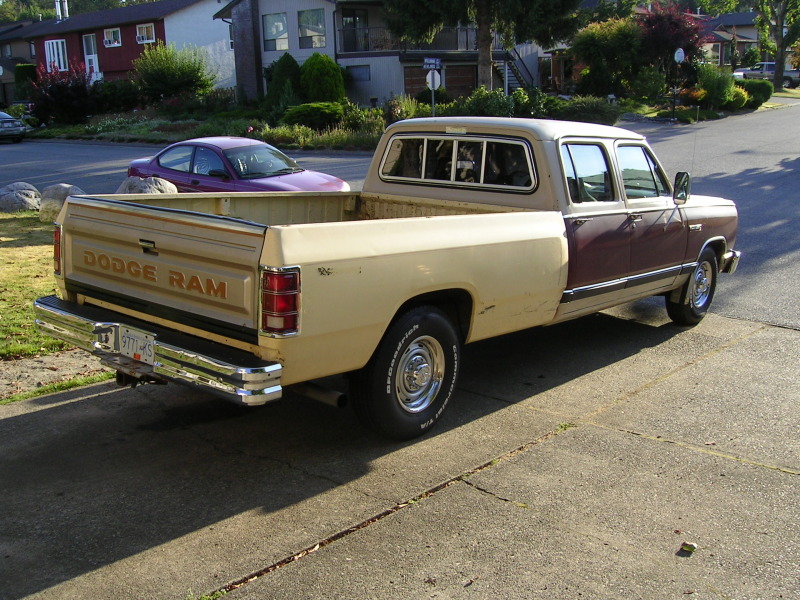
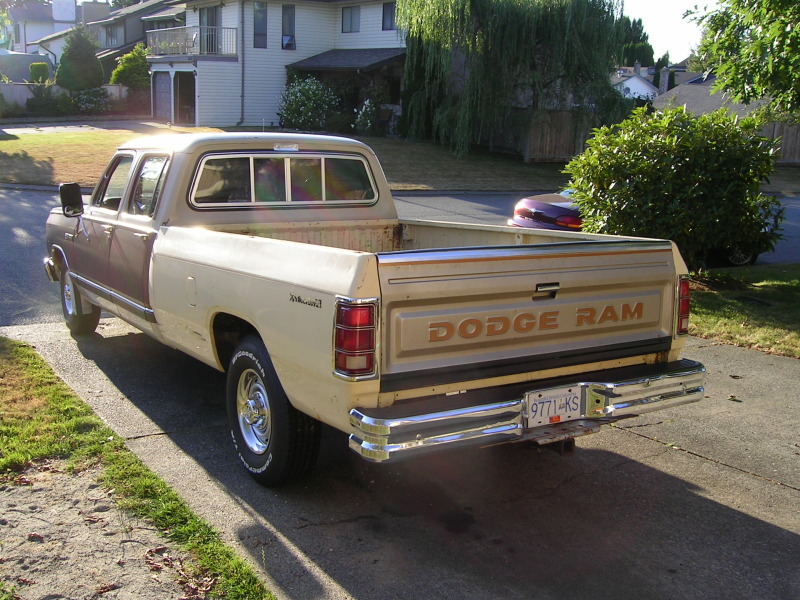
So the box removal, frame clean up and new box install all happened in the last couple days. Basicly up to date now.
Mark Nixon did tell me about my hood choice though...
Mark Nixon did tell me about my hood choice though...
On your early hood conversion, be glad you didn't use an Intercooled set-up. (radiator)
When I converted the carhauler, the radiator cap and the 2 top shroud mounts hit the front bar above the radiator.
I ended up cutting holes in that support so the cap's neck and those 2 shroud mounts could poke through it.
Putting a Ram's head on that early hood isn't as easy as it might seem, either.
Mark.
08-25-2012, 10:17 AM
#11
Registered User
Excellent work! I like the old style hood, now if and when you convert to 4wd you can add the power wagon emblems
08-26-2012, 12:27 AM
#12
Registered User
Thread Starter
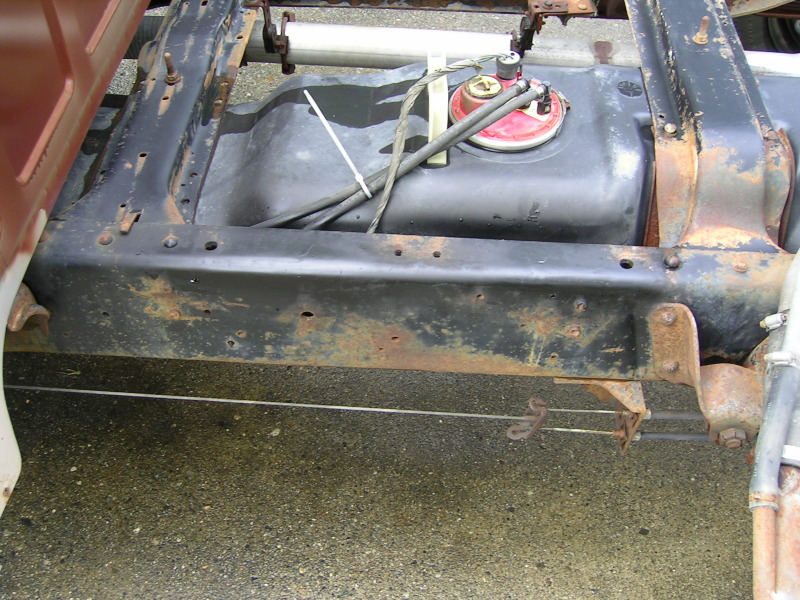
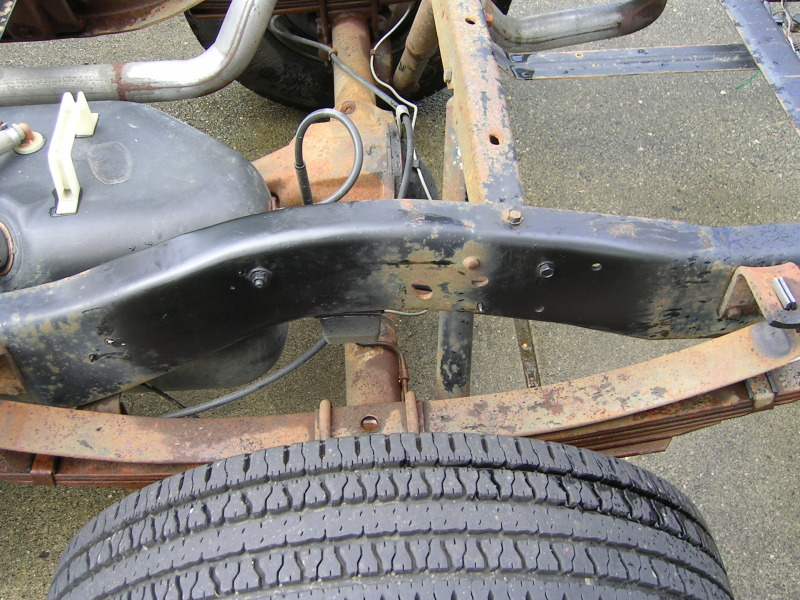
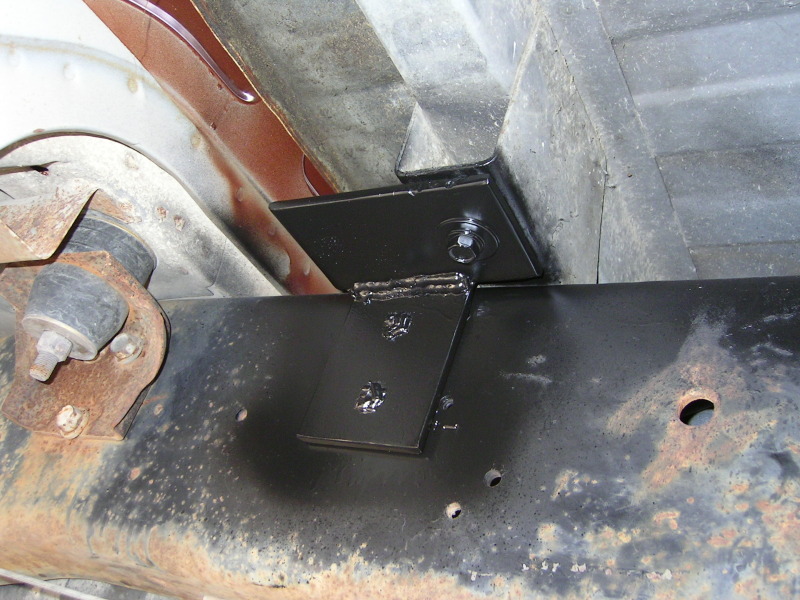
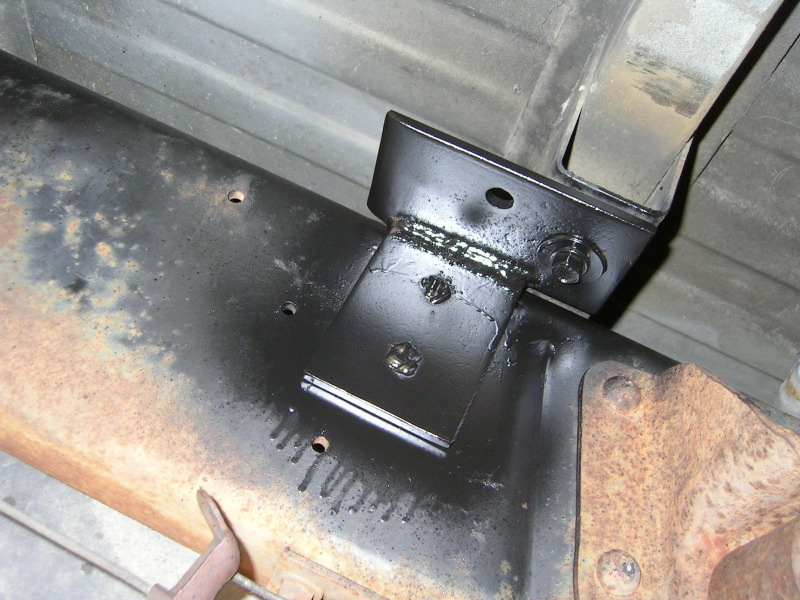
Well I finished the brackets today...used the metal from a couple of the brackets I cut off the frame to build them....no that's recycling!! Box is now bolted down tight and secure.
Now to figure out how to mount the trim...???
Now to figure out how to mount the trim...???
 08-26-2012, 01:14 PM
#15
Registered User
Thread Starter
Well I'm 6'8" so need work benches a tad taller then normal. I like the metal ironing boards since you can fold them up and store them away...and they are a nice high work area. Paid less then $10 for the pair down at the second hand store for these.