When you click on links to various merchants on this site and make a purchase, this can result in this site earning a commission. Affiliate programs and affiliations include, but are not limited to, the eBay Partner Network.
Installed: Head Unit, Rear View Camera/Factory Infinity Amp
I searched and searched and couldn't find info specific to my application, so I thought I would post in hopes of helping out others. This info applies only to 2003 3rd Gens as I understand changes were made in 2004+ models (Uconnect/Hands-free). I wanted to install a new double-Din head unit but wanted to retain all use and functions of the Factory Infinity amp and 7-speaker system. I'm not a huge audiophile and the main reasons for installing the unit were backup camera and hands free functions.
I replaced the stock am/fm/CD/Cassette unit with a Pioneer AVH-W4400NEX. This unit features wireless Android Auto (AA) and Carplay, fairly new technology. Most units only allow USB wired AA and Carplay functions. The "W" in the model name denotes "wi-fi", the means of connection for wireless AA and Carplay. Here are some notes on the unit:
1. The wireless Android Auto app will only work with Google phones and phones have an Android 9P operating system. For the most part, that leaves out most Samsung phones a couples years old and older.
2. The USB wired Android Auto app works great. However, I tried a couple of mini-USB to USB cords before I found one that works. The unit seems sensitive to cord resistance. The PAC USB extension I used did not work when plugged into the back of the unit. I had use the included USB cord. Bottom line, if Android Auto won't connect with a wired connection, try a different cord.
3. Make sure you update the head unit from Version 1.00 to Version 1.01. doing so will allow all current features including the option of bypassing the video-in-motion cut-off for applications not governed by statutes prohibiting this feature. There is no need for a bypass micro-switch sold separately. To enable by-pass on the head unit, switch source power off. Touch and hold the screen on the extreme lower left corner for 10 seconds. A pop-up will read "set on." You will now have video and all regular functions of the head unit in motion. You won't find this bypass method in the manual or in the setting menu.
Install of the head unit was fairly straight forward. I used Metra Adapter # 70-6052 as recommended by Crutchfield who assured me it would work and retain the use of the amplifier. I contacted Metra and was advised that the correct part was CHTO-02 (Amp Interface) and that the 70-6052 would NOT work. They were wrong. The 70-6052 retained all functions including fade and balance. Crutchfield knows its stuff. I also installed a steering wheel control interface (AWSC-1) which retained all factory functions. You can also assign functions to the factory buttons, but I left it as is. For Pioneer, a 3.5 min-jack plugs directly to the back of the unit.
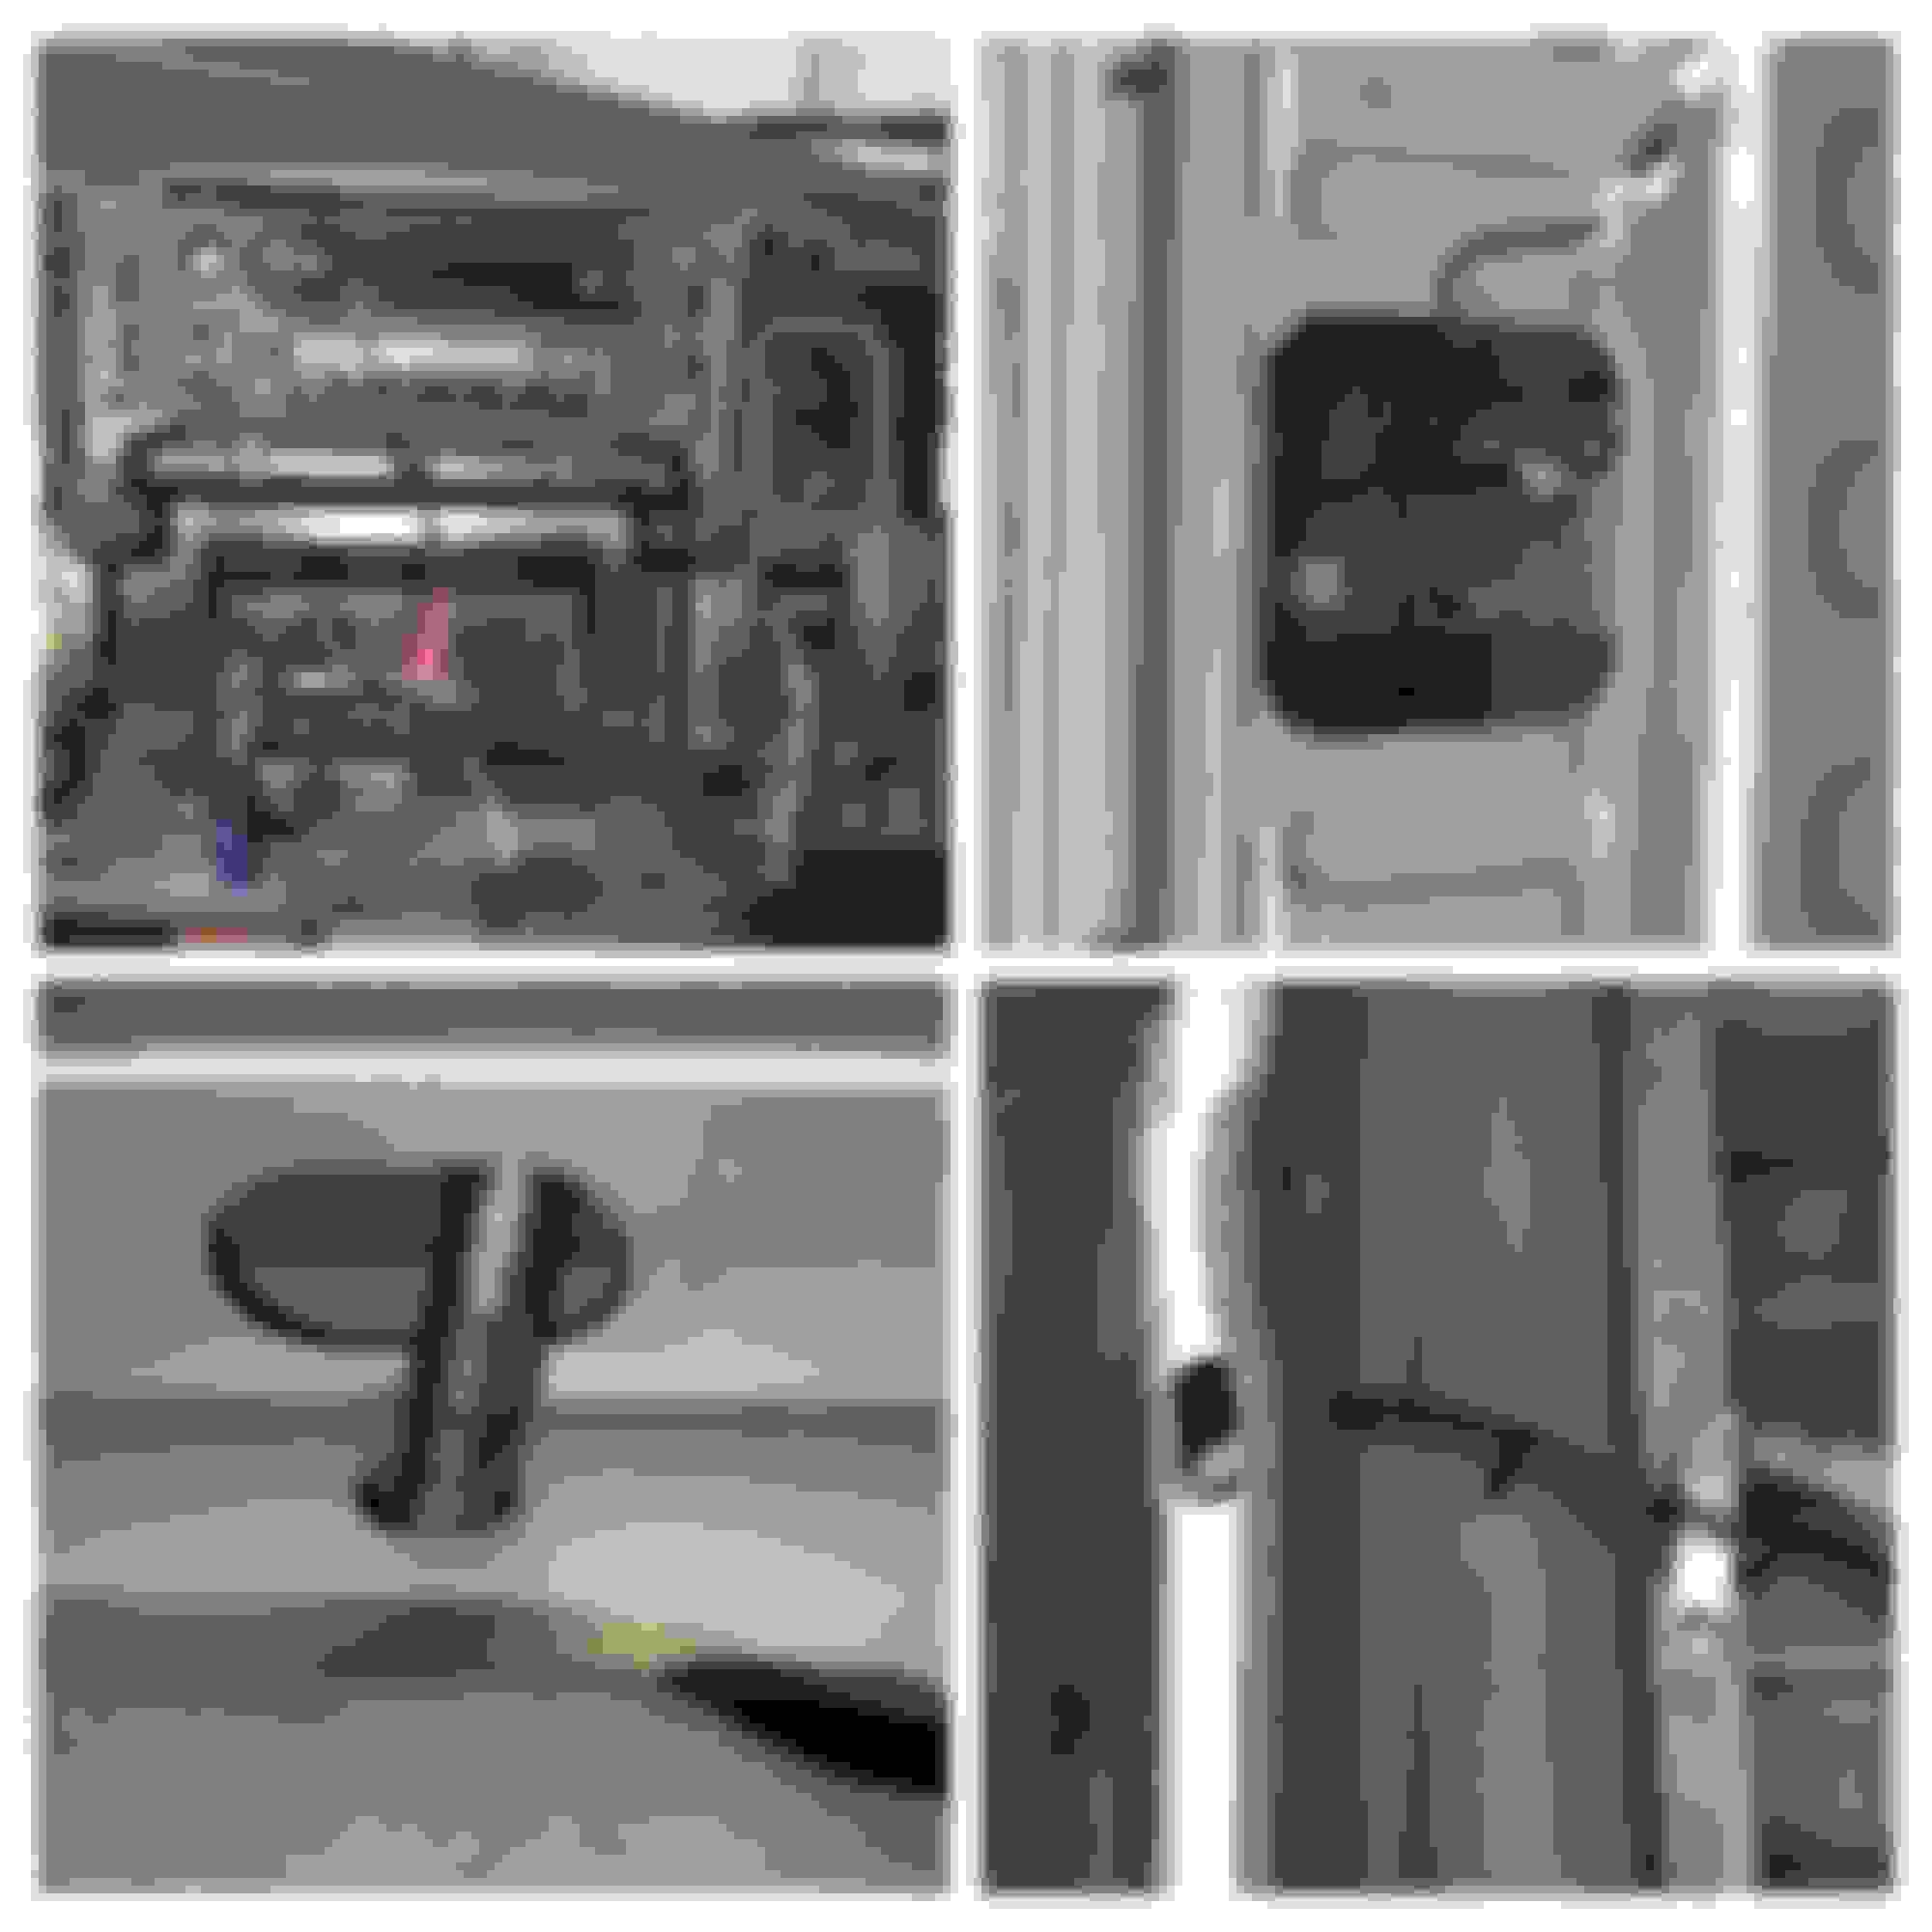
Wiring from head unit to adapter was pretty much color matched. I recommend soldering all connections since wiring is pretty tight behind the dash. The only wires that needed to be spliced elsewhere were:
1. Parking brake sense (green) from head unit to parking brake switch (white/light green)
2. AWSC-1: Pink wire from AWSC-1 to PCI/Bus (violet/blue) on the factory radio wiring harness/ Red to ignition power (red) on radio harness/ Black to ground/3.5 mini jack to head unit.
3. Back up sense from head unit (violet/white) to back up signal circuit (black/violet). For the back up camera, I ran a wire from the cab to the left rear tail light and spliced the wire in the tail light nook. I had to run the backup camera from rear to the cab anyways.
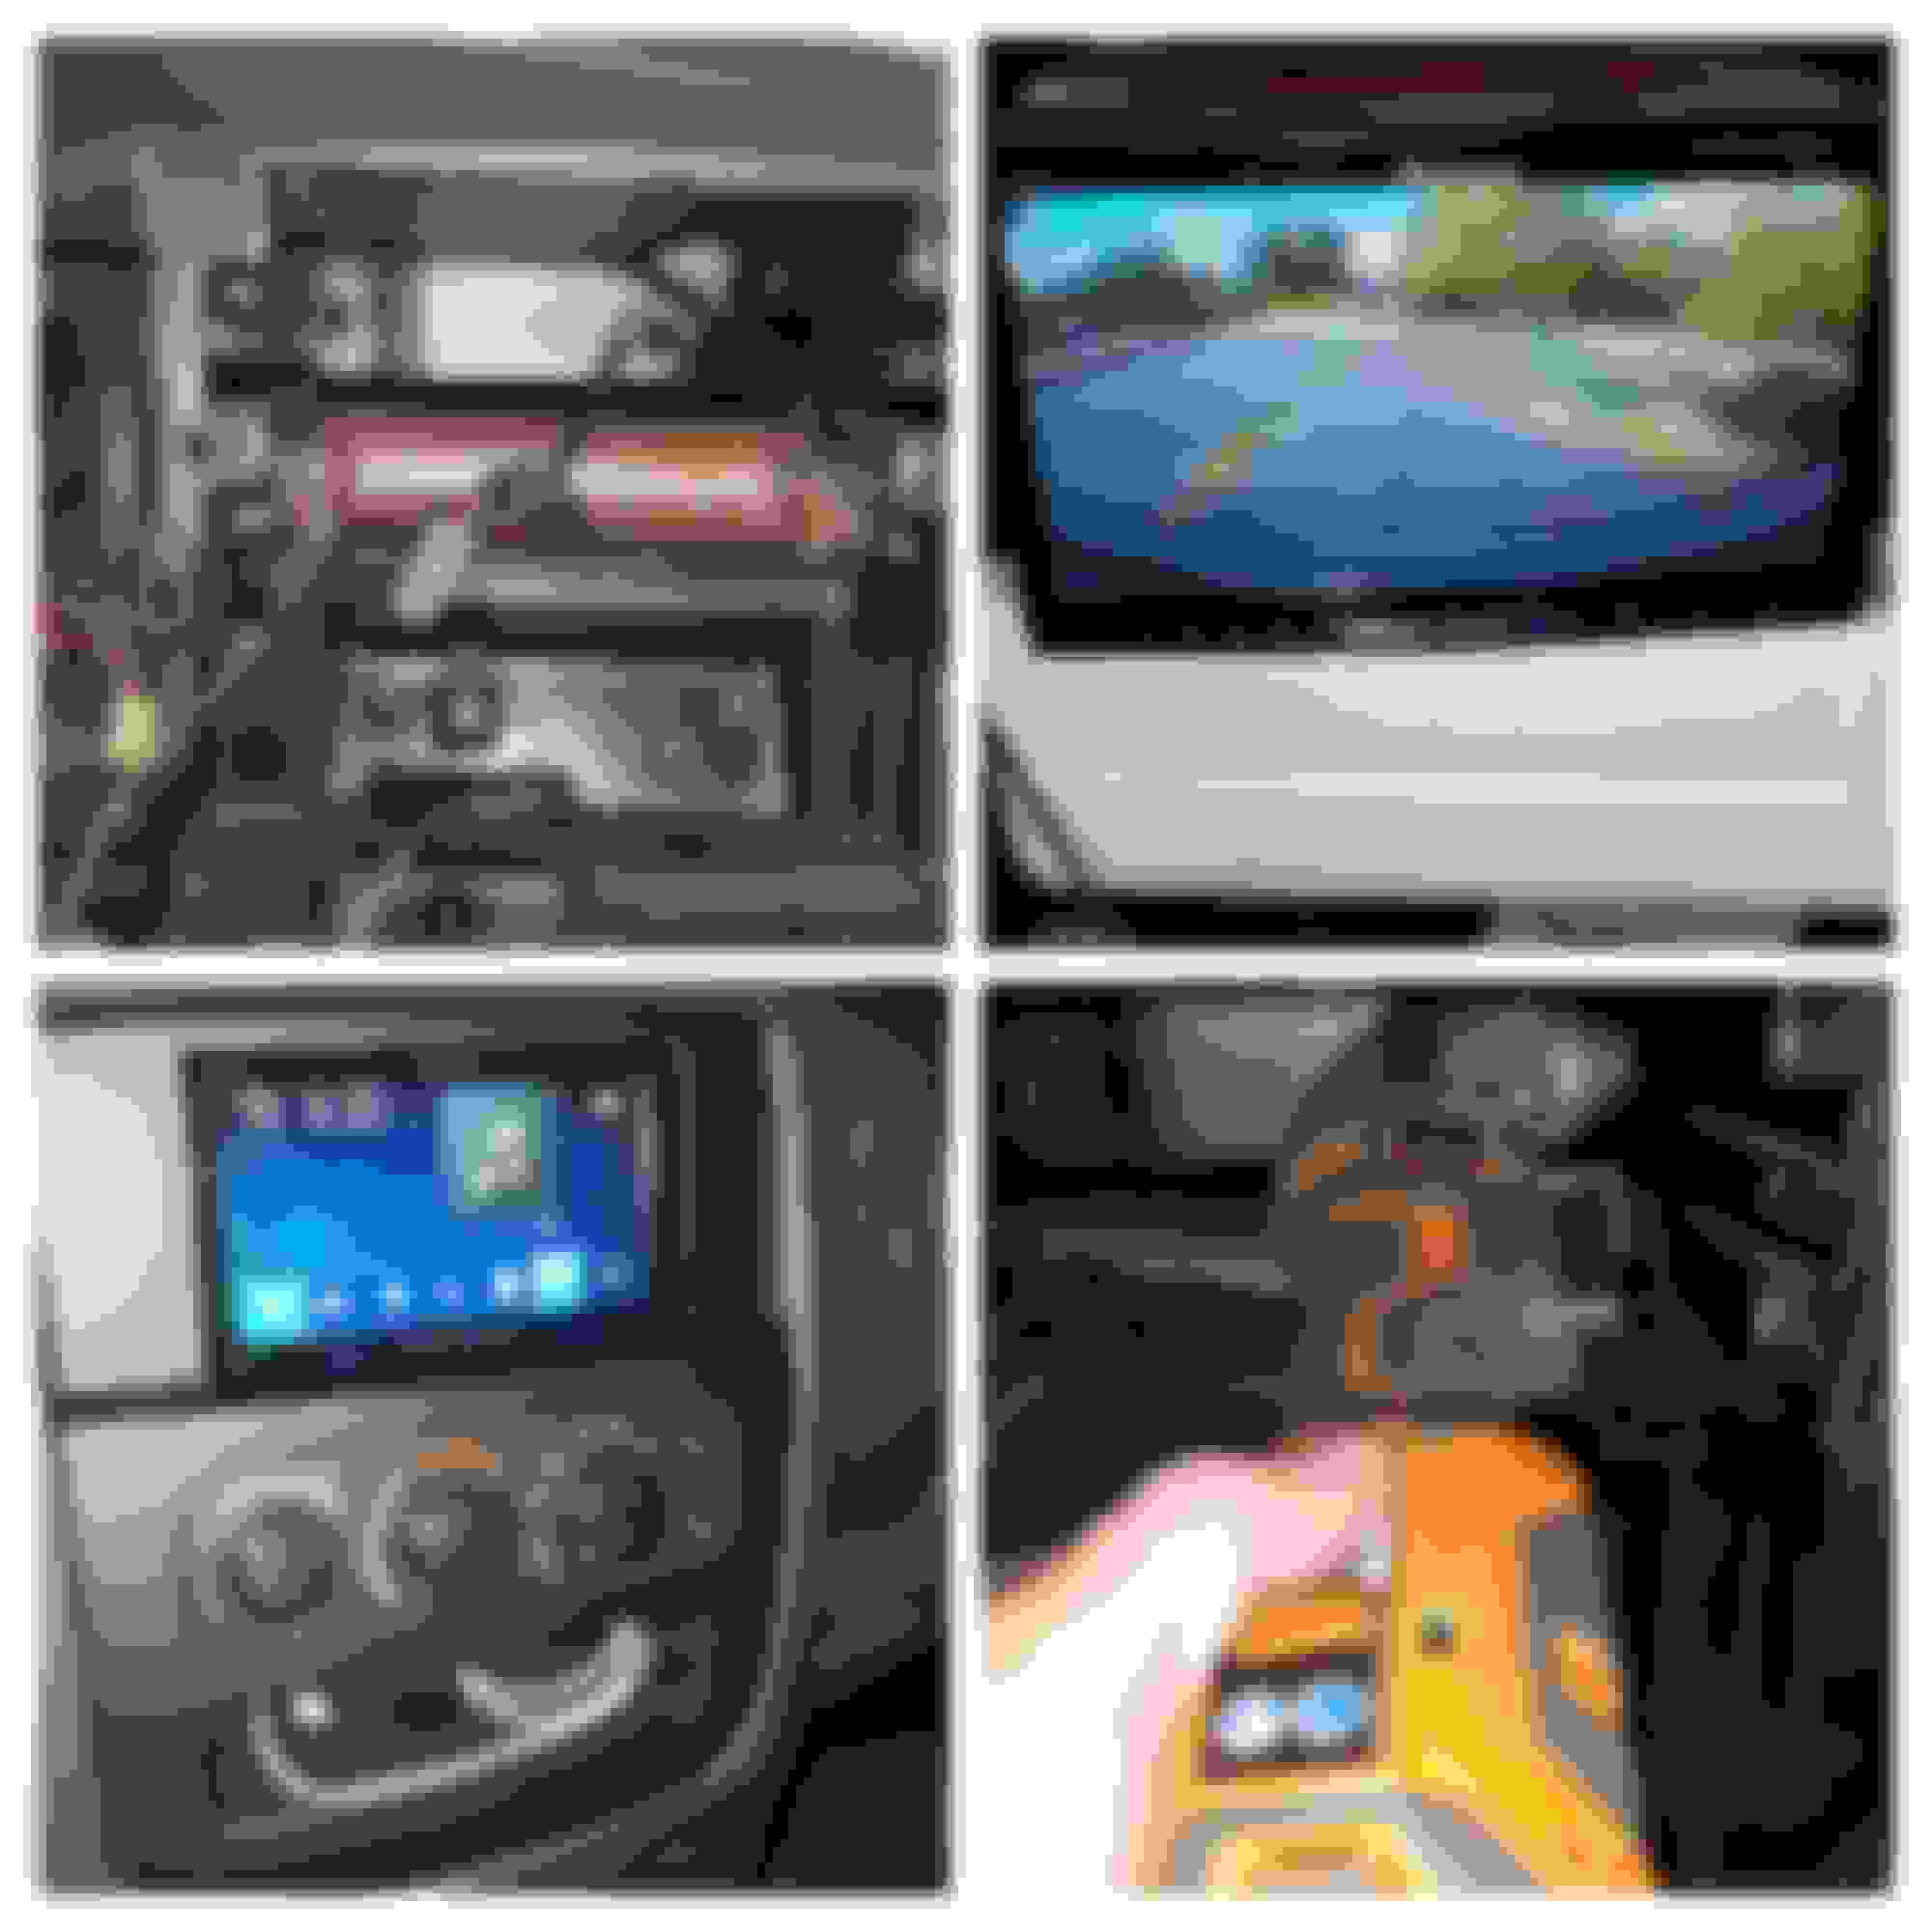
To place the head unit into the dash, the bottom support under the factory radio needed to be cut away. I used my Rigid Job Max with the thin blade. This tool allows the blade to be rotated on the head which made it easy to cut the various angles. Google will lead you to Youtube videos outlining the procedure. Cutting this support gives provides extra room under the radio to stuff wires and AWSC-1 box out of the way. I mounted the satellite antenna above the radio on the defrost vent. I used the Metra #95-6522B bezel which fit nicely. Sound quality is much better than stock. The unit provides a wide range of customization options.
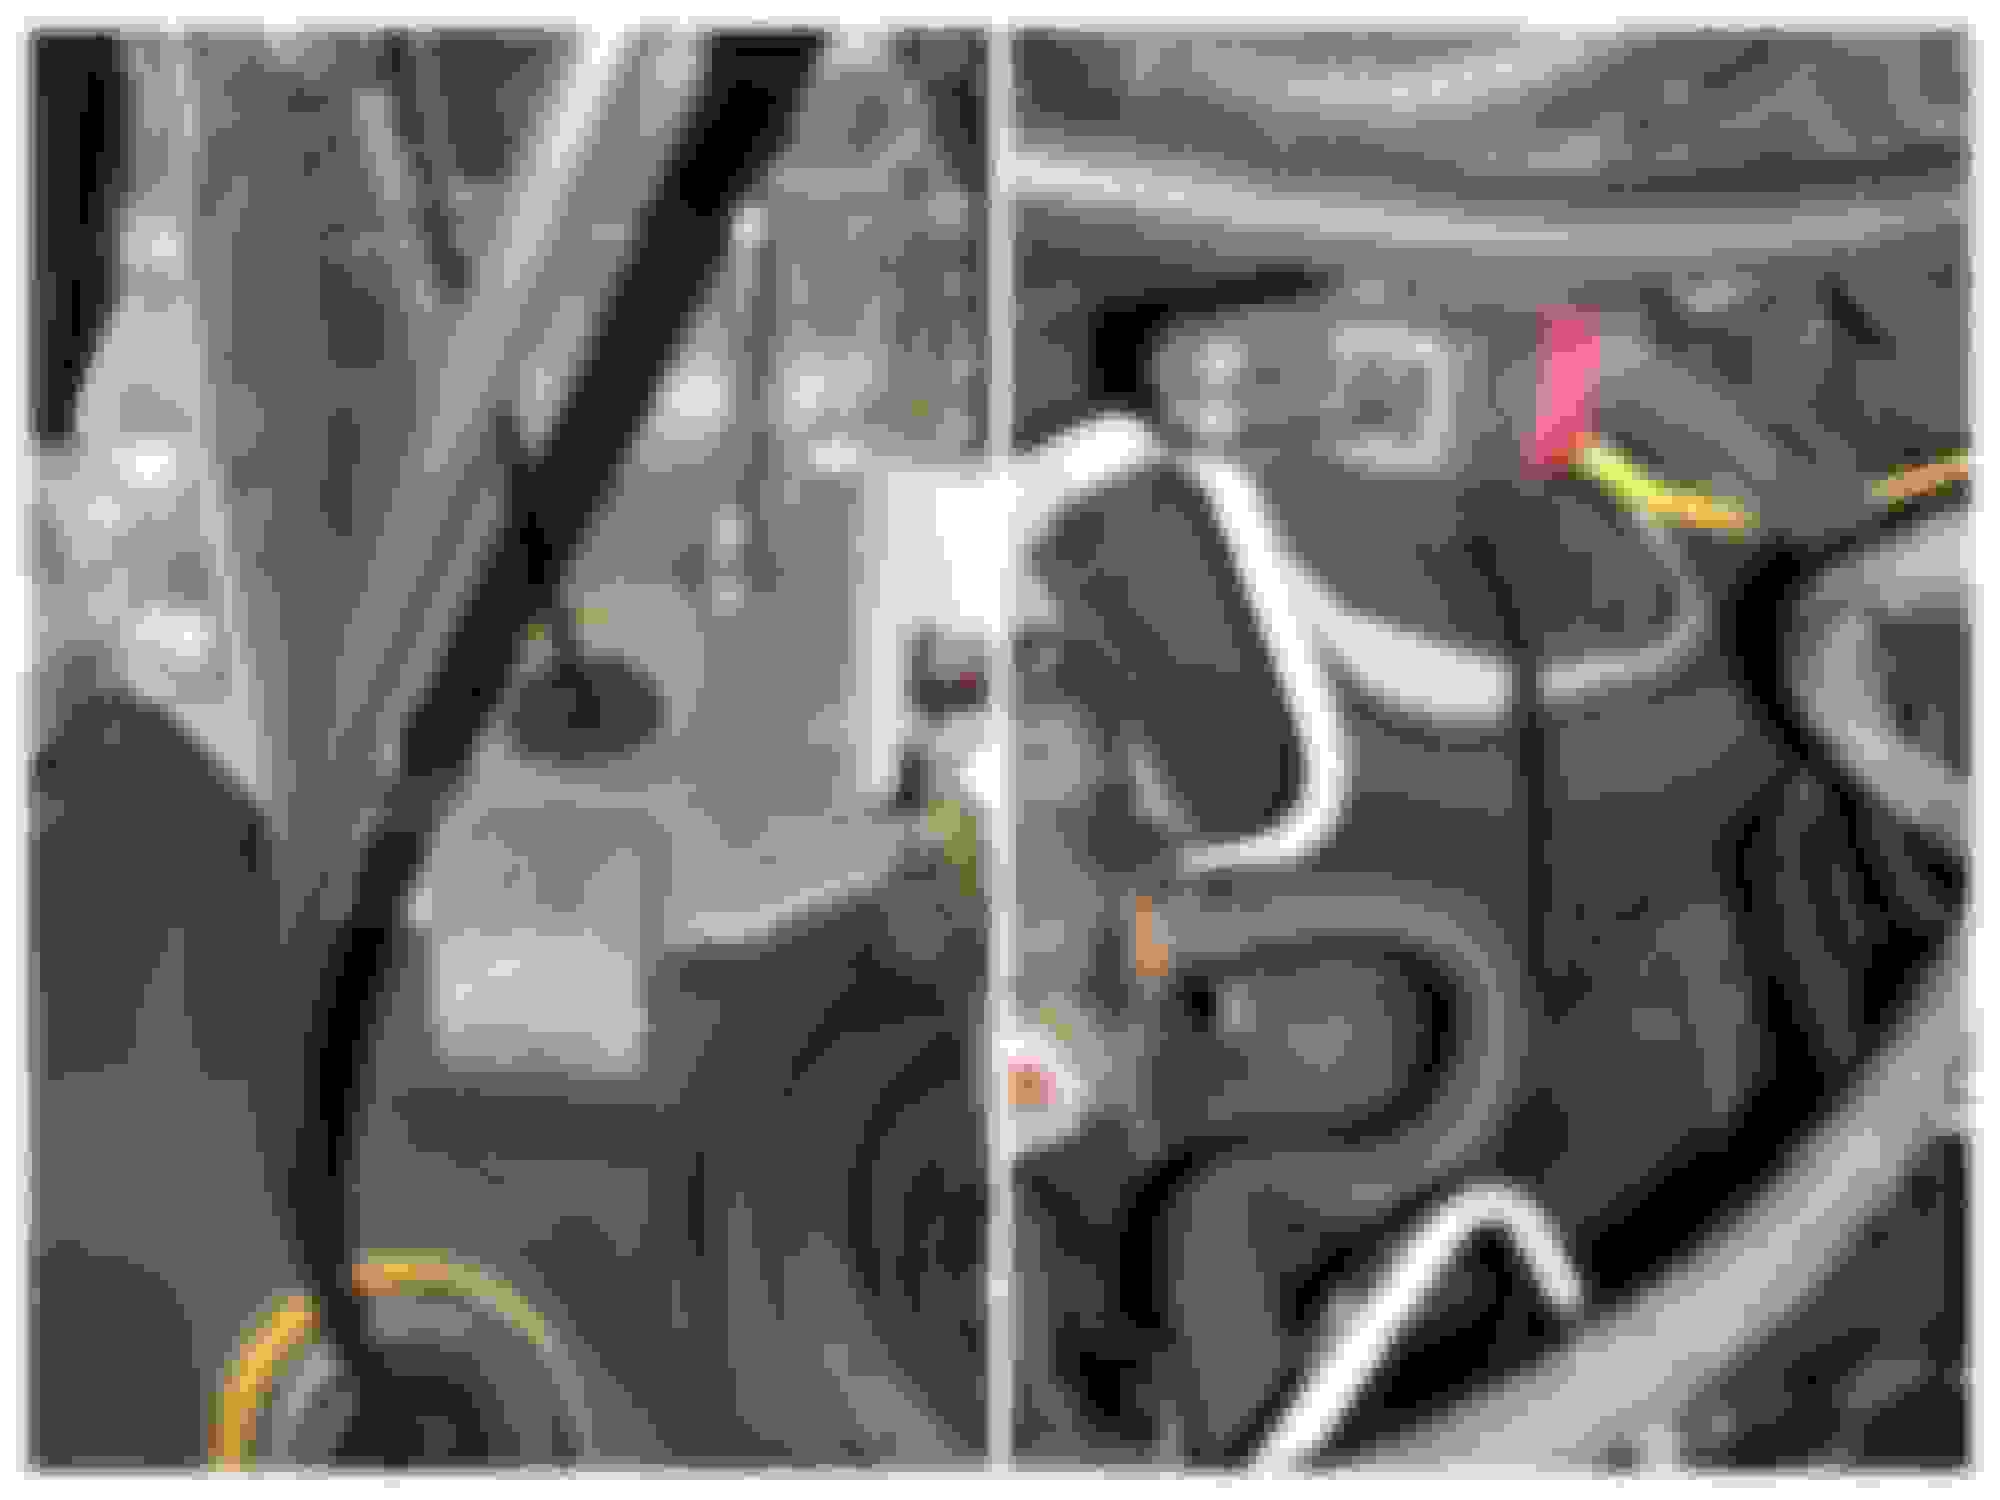
tailgate latch replacement with backup camera. It fit well, looks factory, and provided plenty of wire to run to the cab. Once inside the tailgate, wires will run through an access hole at the bottom of the tailgate to another access hole in the back of the bed. At this junction, I ran the wire through a slit piece of 5/16" tubing to protect the wires. I secured the hose under the bed with a homemade bracket to keep the hose in place. It bends well with the movement of the tailgate. After slicing the red to the backup light wire, I followed the factory wiring harness to the cab along the left side frame rail. I ran the wires through the firewall through a plate on the drivers side, which I believe is used for the clutch rod on manual trans trucks. Access the 15 mm mounting nuts under dash and remove from the engine side of firewall.
The camera view is good, not HD good, but good enough. There are parking grids displayed. The camera displays almost immediately, without a delay.
Here's my parts list:
Pioneer AVH-W4400NEX
Metra 70-6052 Wiring Harness Adapter
AWSC-1 Steering Wheel Control Adapter
Metra 95-6522B Dash Kit/Bezel
Metra 40-CR10 Antenna Adapter
Master Tailgaters Tailgate handle Replacement for 2002-2008 Dodge Ram
A few pics of the install:
Stock Unit and Tailgate Firewall Plate Head Unit Install
Thanks for this post! This is exactly what I want to do to my rig!
Questions:
How did you "update" the head unit? Did you connect it to a computer before installation? or, did you park your truck somewhere with Wi-Fi so it could connect to the internet after installation?
Thanks Matt. The head unit just priced dropped $100 down to $499. Crutchfield refunded the difference. Great company to buy from...
You would update by downloading the update file from the Pioneer website onto USB or disc and running it on the unit. Instructions will be provided with the update file. Real happy with the way it turned out.
 03-11-2019, 06:54 PM