Fuel Filter change instructions for all the newbies (with pics)
 10-04-2006, 06:30 PM
#1
Registered User
Thread Starter
Join Date: Aug 2004
Location: Batavia, Ohio
Posts: 1,570
Likes: 0
Received 0 Likes
on
0 Posts
Fuel Filter change instructions for all the newbies (with pics)
Hi, all I just did my fuel filter change and thought I would take some pictures and write down some instructions for all the newbies needing advice for a fuel filter change on a 3rd gen. Thought maybe it could be a sticky 
To start off, here are the easy instructions:
Fuel filter change procedure.
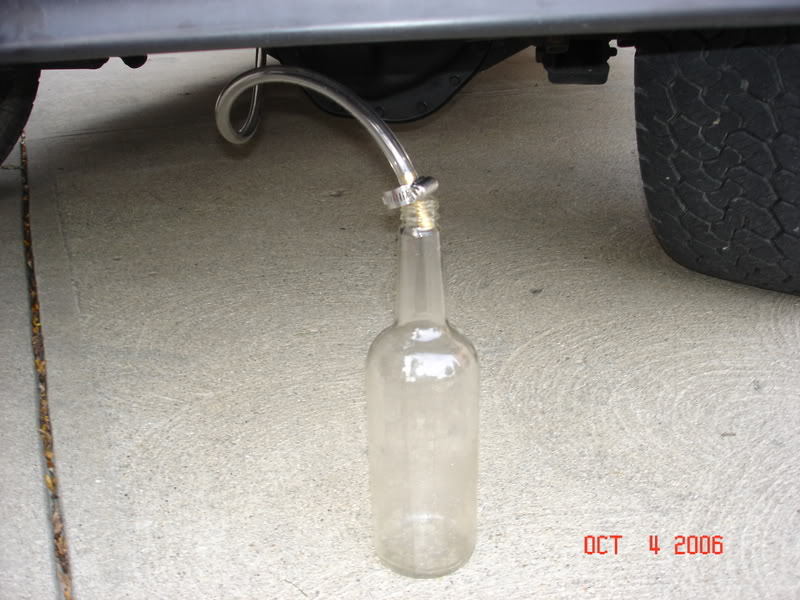
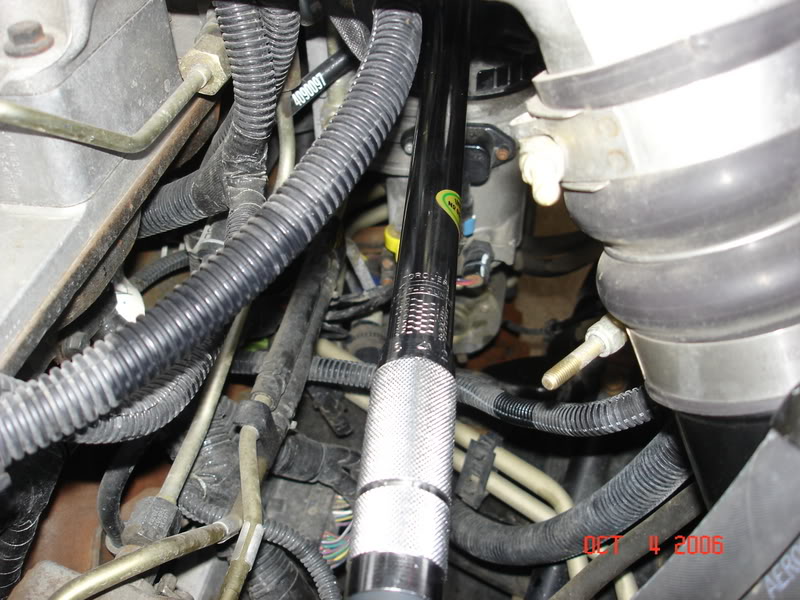
1) turn the yellow water seperator valve and let everything drain out. (i like to extend the hose to reach bucket for less mess)
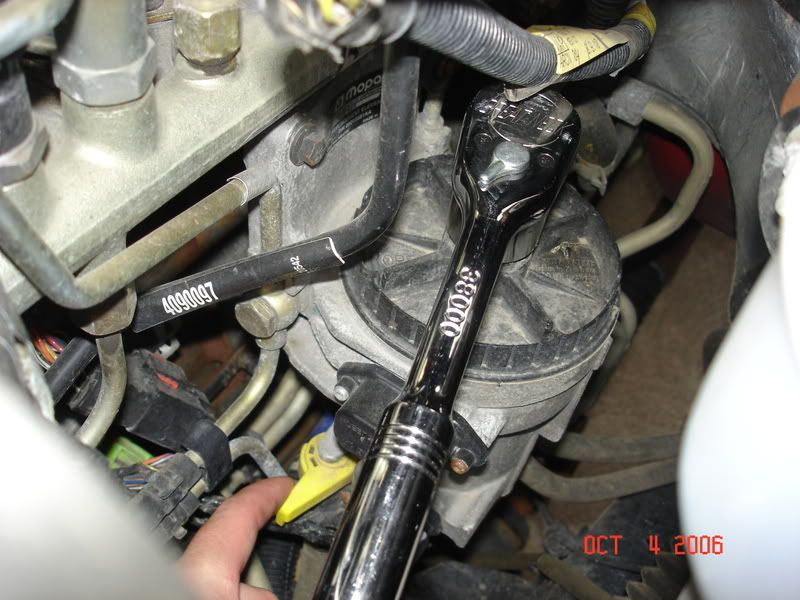
2) get 1 1/8" socket and unscrew the filter lid, this will also help drain fuel out faster
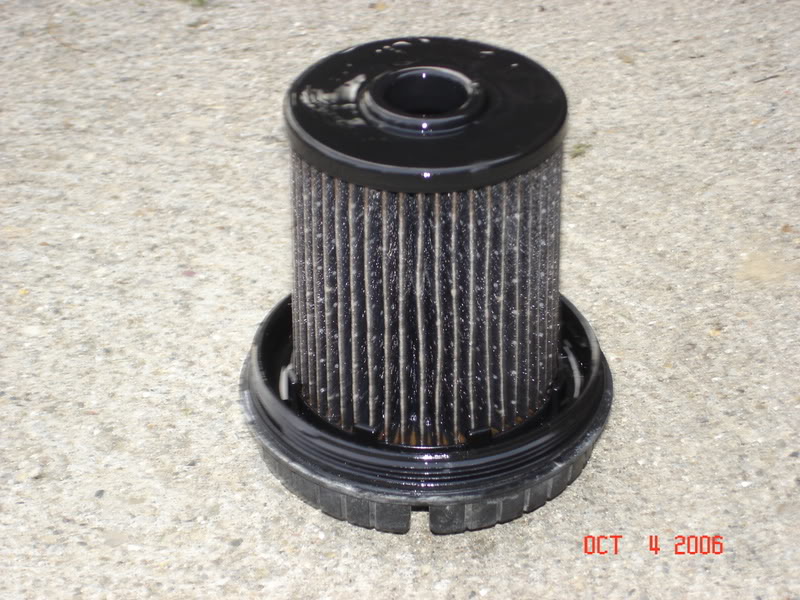
3) take out old filter AND o-ring
4) wipe out the inside if necassary (but you shouldnt need to do it, unless there is a ton of gunk in there, IMO risk for getting lint in the container)
5) stick on new filter AND o-ring
6) lube the o-ring
7) stick it back in the canister
8) turn the seperator valve back to normal
9) twist the fuel filter cab back on snug (or i believe to 24 Ft Lbs)
10) turn the key a couple times (bump start the engine this get the pump goin longer)
11) and start that sucker up, easy as pie
Now for my pictures:
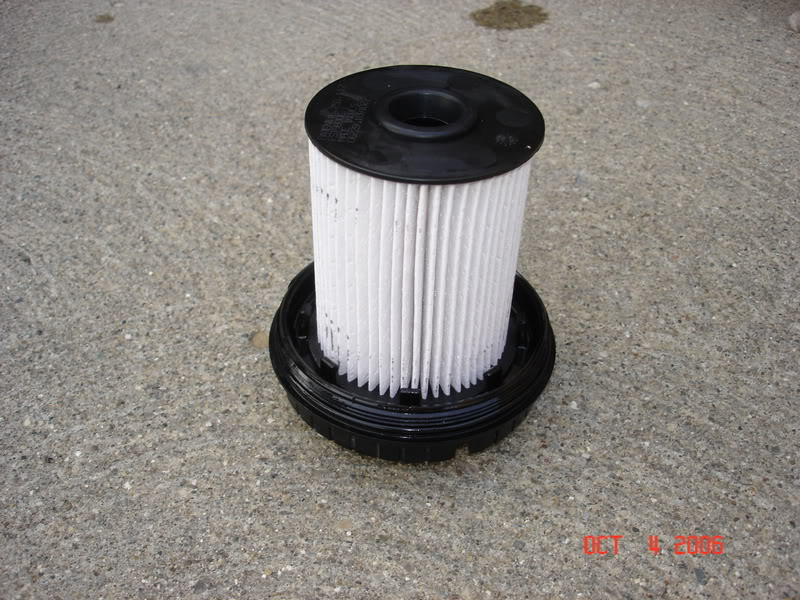
Fresh fuel filter
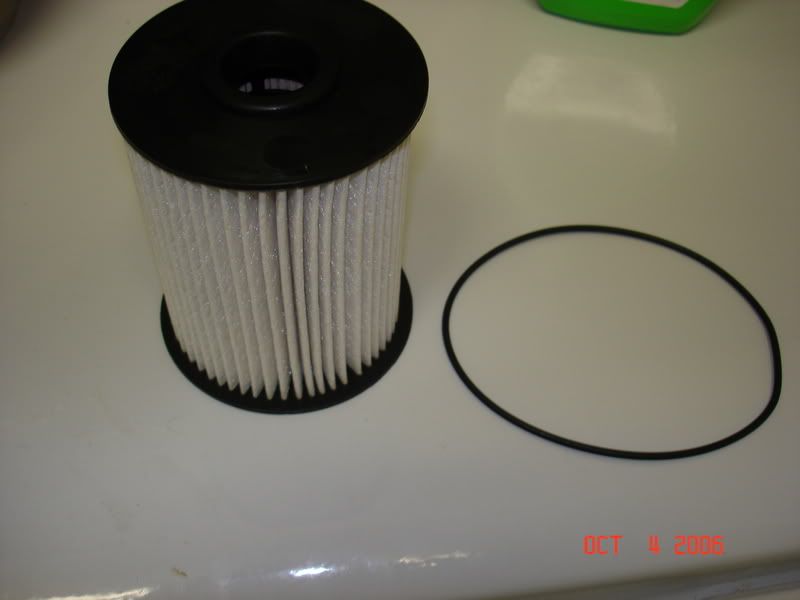
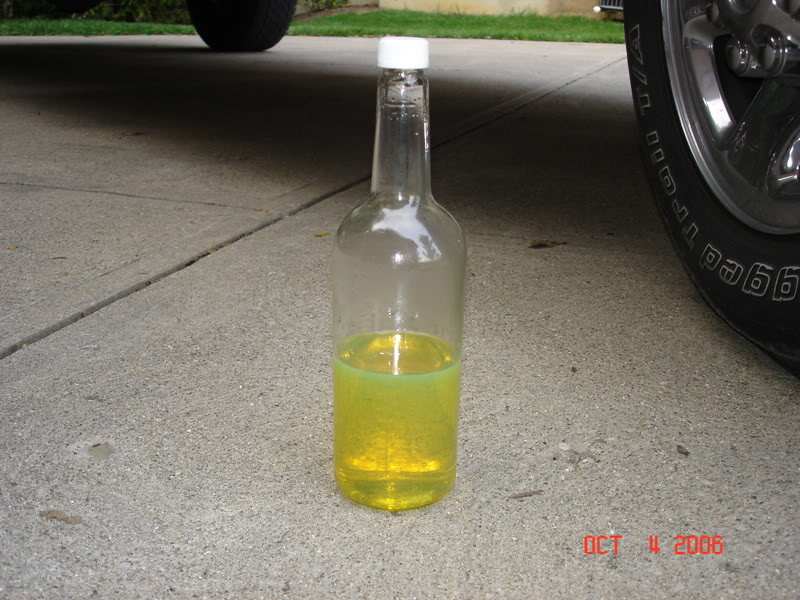
Hose extension to catch fuel in clear bottle
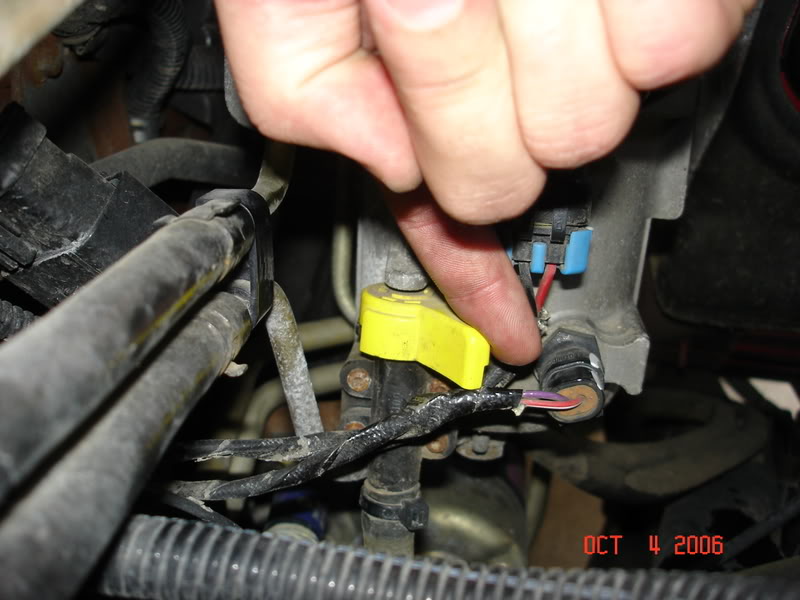
Turn the yellow drain valve, and unscrew lid
Take out old filter and O-ring
Put on new filter
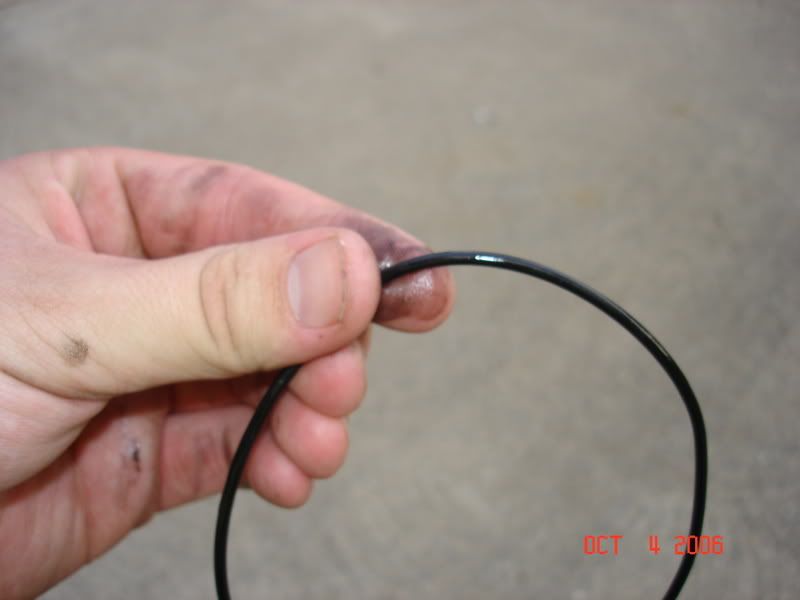
Lube new O-ring
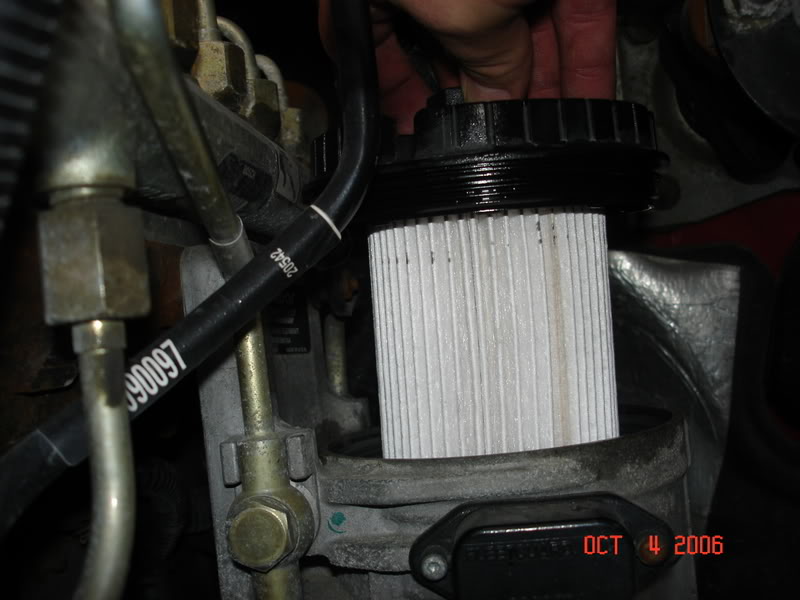
Drop assembly into canister (after checking for debri on inside of canister)
Close the drain valve
To start off, here are the easy instructions:
Fuel filter change procedure.
1) turn the yellow water seperator valve and let everything drain out. (i like to extend the hose to reach bucket for less mess)
2) get 1 1/8" socket and unscrew the filter lid, this will also help drain fuel out faster
3) take out old filter AND o-ring
4) wipe out the inside if necassary (but you shouldnt need to do it, unless there is a ton of gunk in there, IMO risk for getting lint in the container)
5) stick on new filter AND o-ring
6) lube the o-ring
7) stick it back in the canister
8) turn the seperator valve back to normal
9) twist the fuel filter cab back on snug (or i believe to 24 Ft Lbs)
10) turn the key a couple times (bump start the engine this get the pump goin longer)
11) and start that sucker up, easy as pie
Now for my pictures:
Fresh fuel filter
Hose extension to catch fuel in clear bottle
Turn the yellow drain valve, and unscrew lid
Take out old filter and O-ring
Put on new filter
Lube new O-ring
Drop assembly into canister (after checking for debri on inside of canister)
Close the drain valve
 10-04-2006, 06:31 PM
#2
Registered User
Thread Starter
Join Date: Aug 2004
Location: Batavia, Ohio
Posts: 1,570
Likes: 0
Received 0 Likes
on
0 Posts
Torque lid to 24 Ft. Lbs.
Check to see any water seperation at the end
bump start the engine a couple times and start er up.
Check for leaks and listen to her purr
VID:
Check to see any water seperation at the end
bump start the engine a couple times and start er up.
Check for leaks and listen to her purr
VID:
 10-04-2006, 06:37 PM
#4
Registered User
Thread Starter
Join Date: Aug 2004
Location: Batavia, Ohio
Posts: 1,570
Likes: 0
Received 0 Likes
on
0 Posts
Glad it will help you out. I would like to get stuff like this posted for all the regular maintenance items... oil change, front and rear (i should of taken pictures last saturday), tranny, transfer case ect ect....

 Very detailed pictures. Wish we had the post up here when I went to do my first fuel filter on the cummins.
Trending Topics
10-04-2006, 09:50 PM
#9
Registered User
Thread Starter
Join Date: Aug 2004
Location: Batavia, Ohio
Posts: 1,570
Likes: 0
Received 0 Likes
on
0 Posts
It is supposed to be changed every 10,000 miles. Not sure what the effect with bio diesel is. I am pretty sure you are supposed to change it before running bio diesel. If it were me I would still change it every 10,000 miles. $10.00 and 5 minutes keeps piece of mind
10-04-2006, 10:00 PM
#10
Registered User
Join Date: Oct 2004
Location: Whidbey Island, WA
Posts: 217
Likes: 0
Received 0 Likes
on
0 Posts
Good idea HorseHauler. I'm planning on doing front and rear diffs, transfer case and NV5600 this weekend (just spent $140 in fluids). I'll try to remember to get the camera out there.
Bio acts as a solvent and will loosen up any gunk that's built up in your tank and lines so you'll probably need to change it shortly after starting to run bio. You may have to do 2 or 3 changes at shortened intervals. This is just what I've read, maybe somebody who has experience running bio will chime in.
Bio acts as a solvent and will loosen up any gunk that's built up in your tank and lines so you'll probably need to change it shortly after starting to run bio. You may have to do 2 or 3 changes at shortened intervals. This is just what I've read, maybe somebody who has experience running bio will chime in.
10-04-2006, 10:03 PM
#12
Registered User
Thread Starter
Join Date: Aug 2004
Location: Batavia, Ohio
Posts: 1,570
Likes: 0
Received 0 Likes
on
0 Posts
10-04-2006, 10:05 PM
#14
Registered User
Thread Starter
Join Date: Aug 2004
Location: Batavia, Ohio
Posts: 1,570
Likes: 0
Received 0 Likes
on
0 Posts
If you get the transfer case pics that would sure help me out, I don't even know where to start for that. I was gonna let the dealer do that one, but if it is easy, then I will do it myself.
10-05-2006, 06:46 AM
#15
Registered User
Join Date: Jul 2006
Location: Houston TX
Posts: 263
Likes: 0
Received 0 Likes
on
0 Posts
Many thanks to Horse Hauler, I will be going through this in a week or two. Good point about the possibility of getting lint in the canister from wiping it out. You could blast it out with an aerosol product like brake cleaner, and for some strange reason napkins from most fast food restaurants are lint free.