
Holset HX35W Rebuild Thread

Thread Starter
Registered User
Joined: Dec 2008
Posts: 28
Likes: 0
Holset HX35W Rebuild Thread
Wasn't sure where to post his, but thought there might be some interest here. I rebuilt my Holset and documented it in case anyone else wants to give it a go. The turbo is off a Dodge / Cummins, but in this case I will be using it for another application, but it doesn't change the rebuild process.
I have the rebuild manual from Holset as well as the intructions from http://www.gpopshop.com where I bought the kit. I will be documenting the rebuild on this thread with detailed photos and description of the process so that anyone else wanting to do this will have something they can follow.
The Subject:

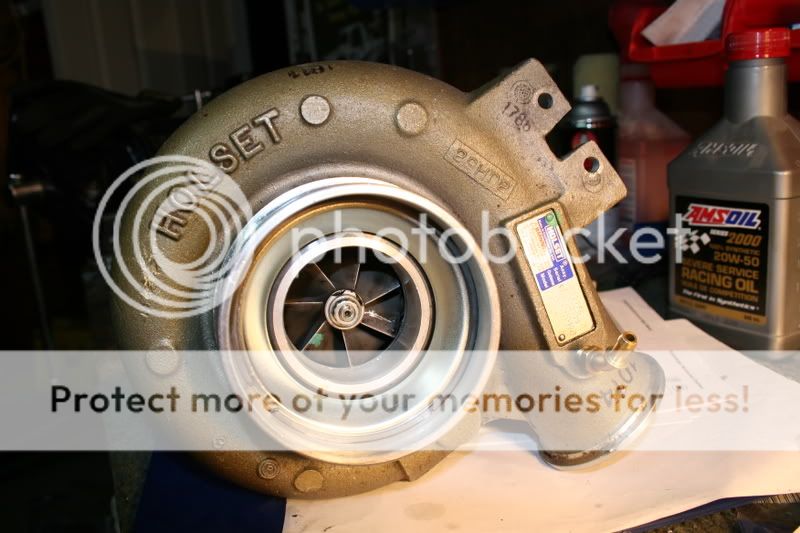
Holset HX35W. It's actually in really nice shape, but has a tiny bit of shaft play and is pretty dirty. Since it is out of the car, I figure I might as well do the rebuild now so it's ready to put some power down when it goes in the car later this spring.

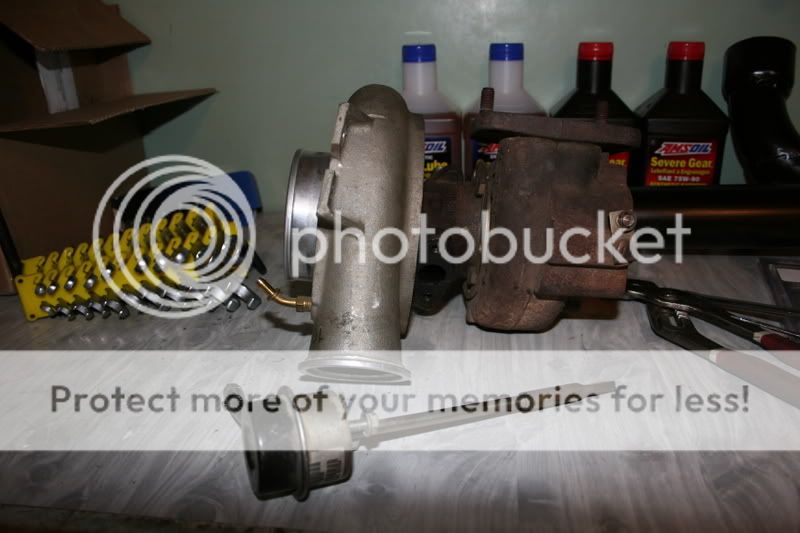
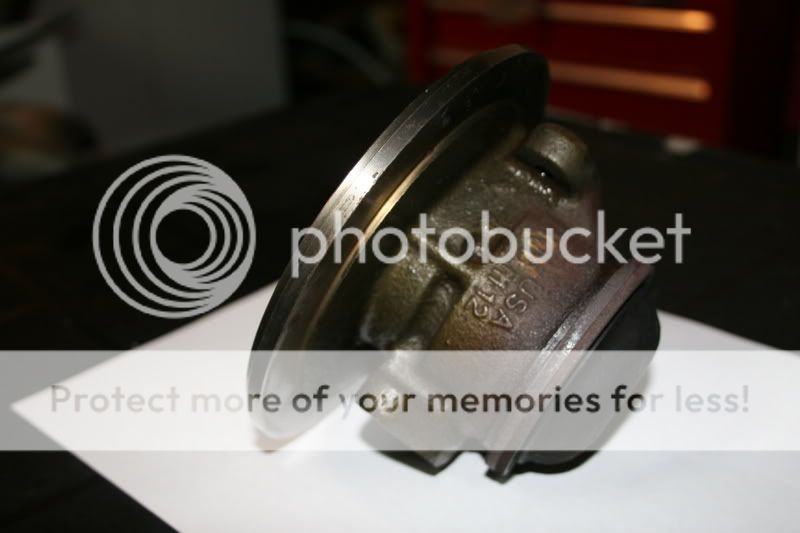
As you can see from the exhaust side, things look a little dieselish. The internal wastegate is going to be blocked off with the flange lying beside it and an external Turbonetics Evolution gate will be implemented instead.
Here's a map for the HOlset for those interested.

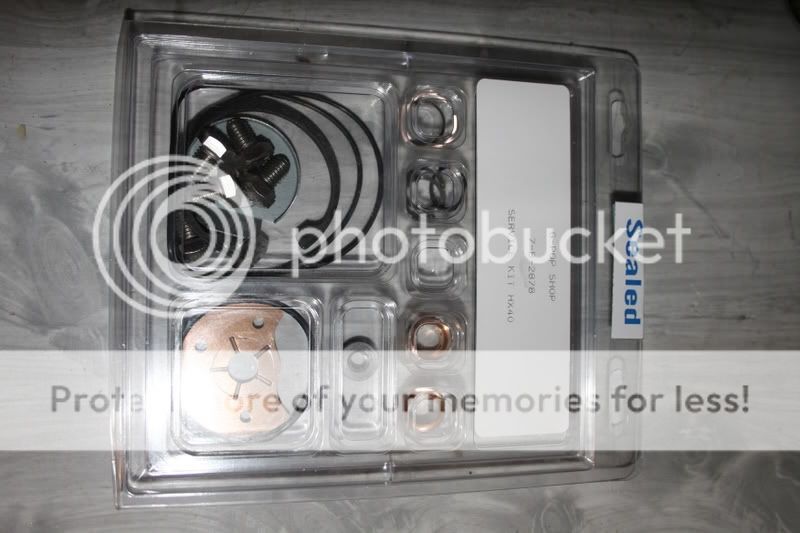
Here's the rebuild kit. Not much to it really. Bearings and few things. I realize the tag says HX40, but the HX35 and HX40 use the same kit.
Started to do a bit of the disassembly and inspection. Firstly decided to remove the internal wastegate actuator. Not going to be needing this thing.
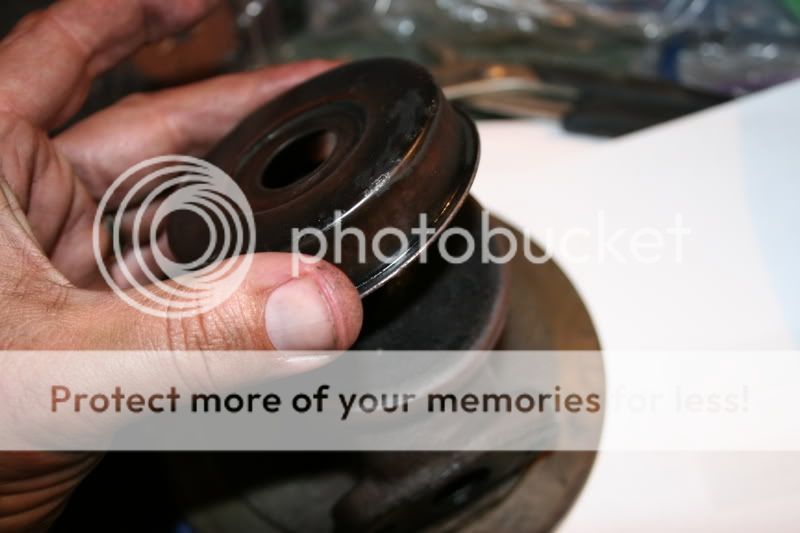
The first thing to take off is the aluminum intake housing. Some Holsets, like the one my buddy Jon used on his first build, use a V-band to hold on the housing. Mine uses the biggest circlip that I've ever seen.
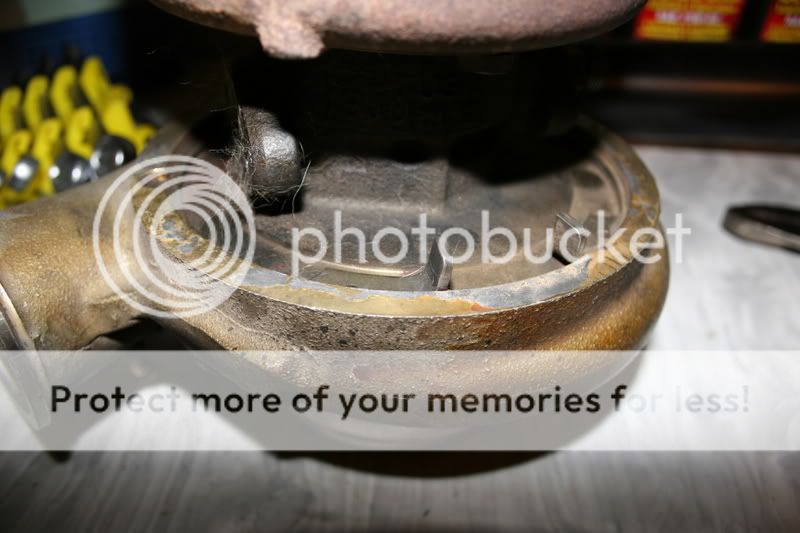
Used a large pair of channel lock pliers. Seemed to to do the trick. Came off without killing me.

After that, the housing just pulls off. If you are concerned about where the outlet will be lined up, you may want to take note of that before you pull it off.
I have the rebuild manual from Holset as well as the intructions from http://www.gpopshop.com where I bought the kit. I will be documenting the rebuild on this thread with detailed photos and description of the process so that anyone else wanting to do this will have something they can follow.
The Subject:
Holset HX35W. It's actually in really nice shape, but has a tiny bit of shaft play and is pretty dirty. Since it is out of the car, I figure I might as well do the rebuild now so it's ready to put some power down when it goes in the car later this spring.
As you can see from the exhaust side, things look a little dieselish. The internal wastegate is going to be blocked off with the flange lying beside it and an external Turbonetics Evolution gate will be implemented instead.
Here's a map for the HOlset for those interested.
Here's the rebuild kit. Not much to it really. Bearings and few things. I realize the tag says HX40, but the HX35 and HX40 use the same kit.
Started to do a bit of the disassembly and inspection. Firstly decided to remove the internal wastegate actuator. Not going to be needing this thing.
The first thing to take off is the aluminum intake housing. Some Holsets, like the one my buddy Jon used on his first build, use a V-band to hold on the housing. Mine uses the biggest circlip that I've ever seen.
Used a large pair of channel lock pliers. Seemed to to do the trick. Came off without killing me.
After that, the housing just pulls off. If you are concerned about where the outlet will be lined up, you may want to take note of that before you pull it off.
Thread Starter
Registered User
Joined: Dec 2008
Posts: 28
Likes: 0
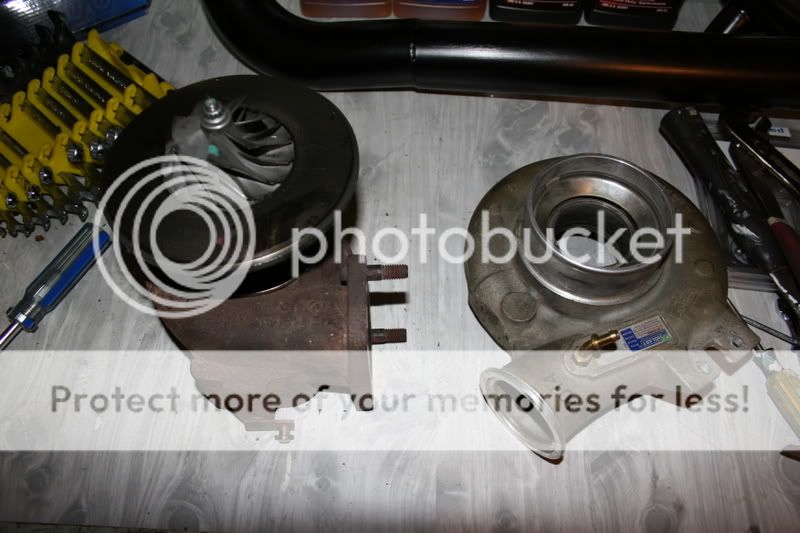
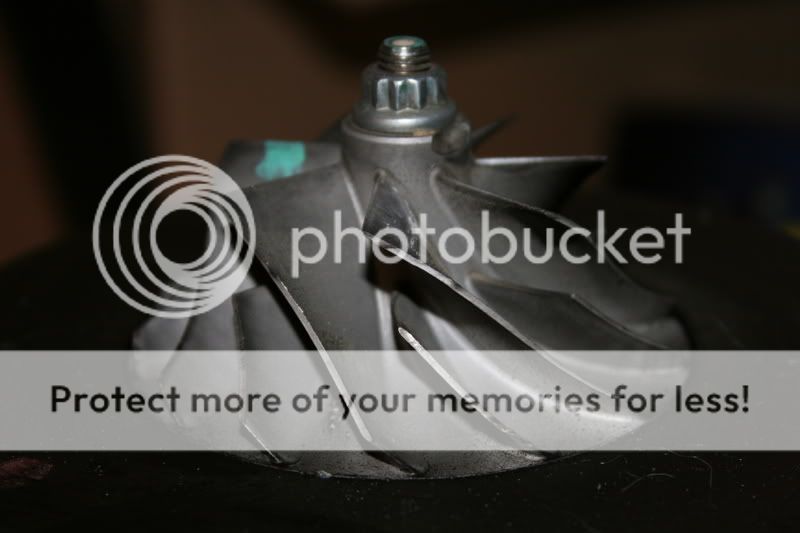
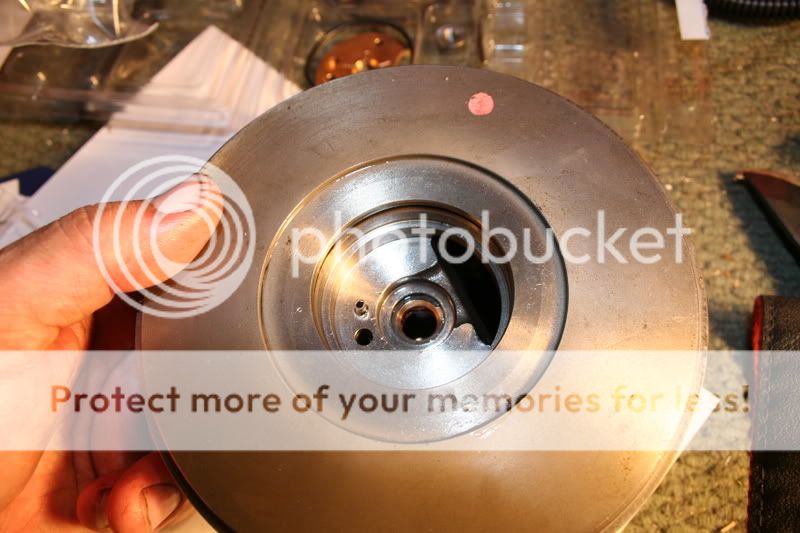
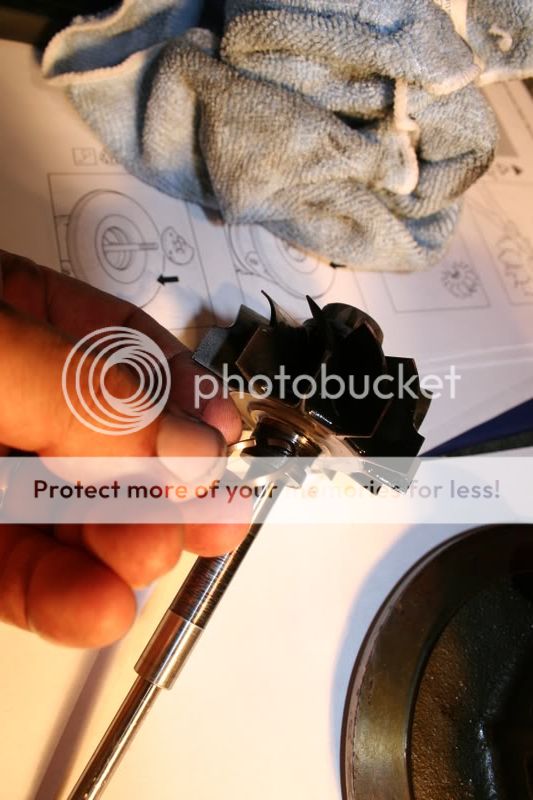
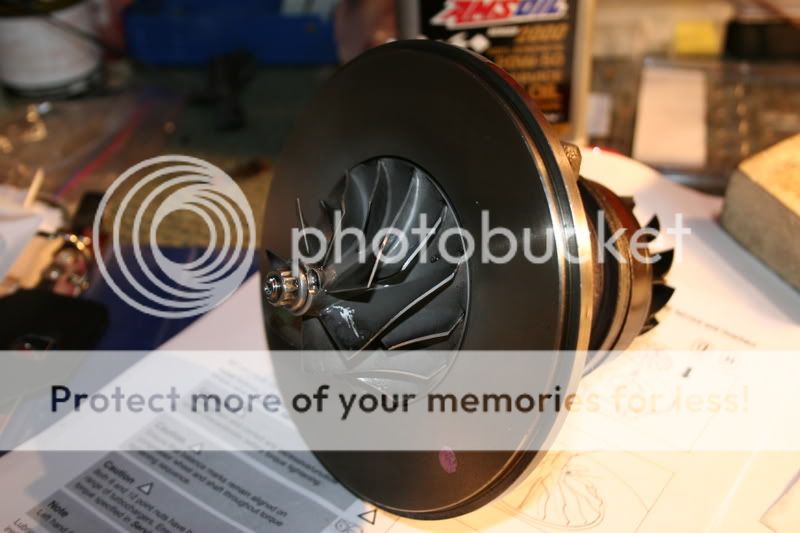
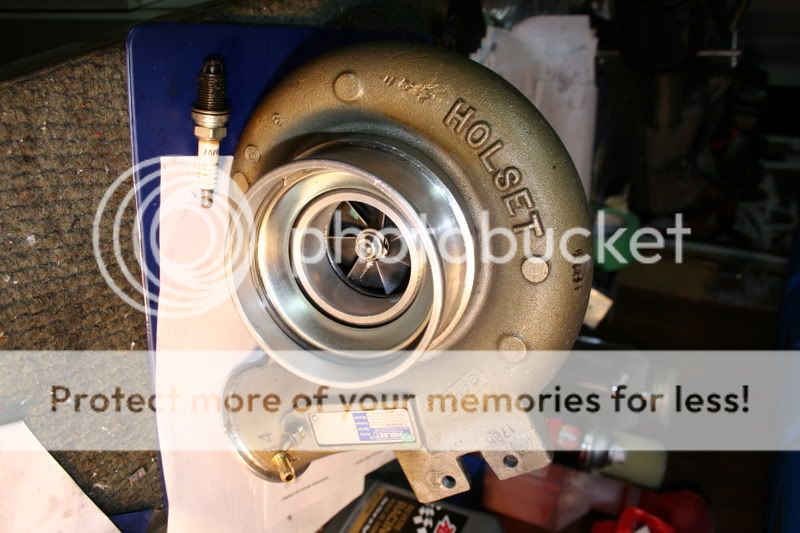
Time to inspect the impellar blades. They look very good.
Well. I had a bit of time tonight so I continued to dismantle the HX35W. Was carefull to mark the shaft and the nut so I can reassemble this thing correctly.

Held the exhaust side with a socket and turned the 10mm with an open end. Good thing I noticed the thread was lefthanded.
Impeller slides off nicely.

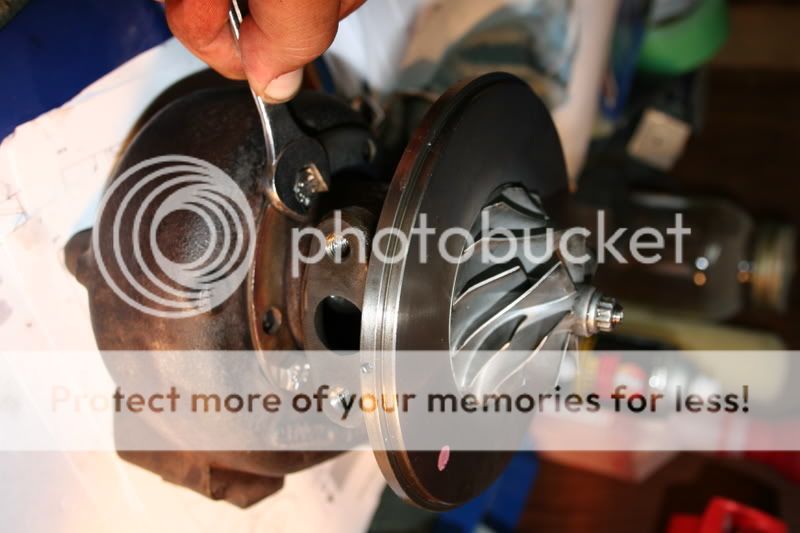
This is where I got hung up. I thought the exhaust side and the shaft would now just slide out the exhaust side. Didn't seem to want to so I decided to separate the center section from the exhaust housing.

Two of the bolts only thread out so far and then they hit on the oil inlet and outlet.

Well. I had a bit of time tonight so I continued to dismantle the HX35W. Was carefull to mark the shaft and the nut so I can reassemble this thing correctly.
Held the exhaust side with a socket and turned the 10mm with an open end. Good thing I noticed the thread was lefthanded.
Impeller slides off nicely.
This is where I got hung up. I thought the exhaust side and the shaft would now just slide out the exhaust side. Didn't seem to want to so I decided to separate the center section from the exhaust housing.
Two of the bolts only thread out so far and then they hit on the oil inlet and outlet.
Thread Starter
Registered User
Joined: Dec 2008
Posts: 28
Likes: 0
[quote="niks325i"]Alright, so we are in a state of progress again. Big thanks to Kevin Foy at Foy Profleet. He got the exhaust housing off for me. I had soaked it with penetrating oil for about a week and then he added some heat and the gentle touch of a hammer, and pop, she's apart.


Thread Starter
Registered User
Joined: Dec 2008
Posts: 28
Likes: 0
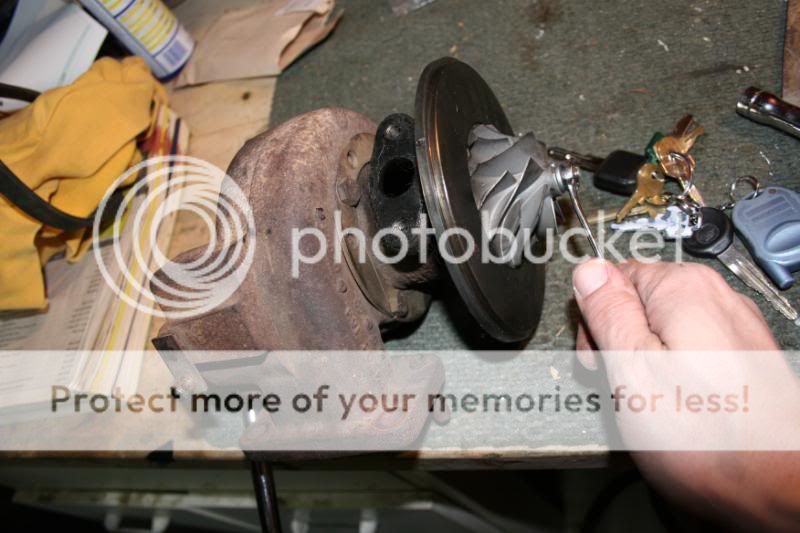
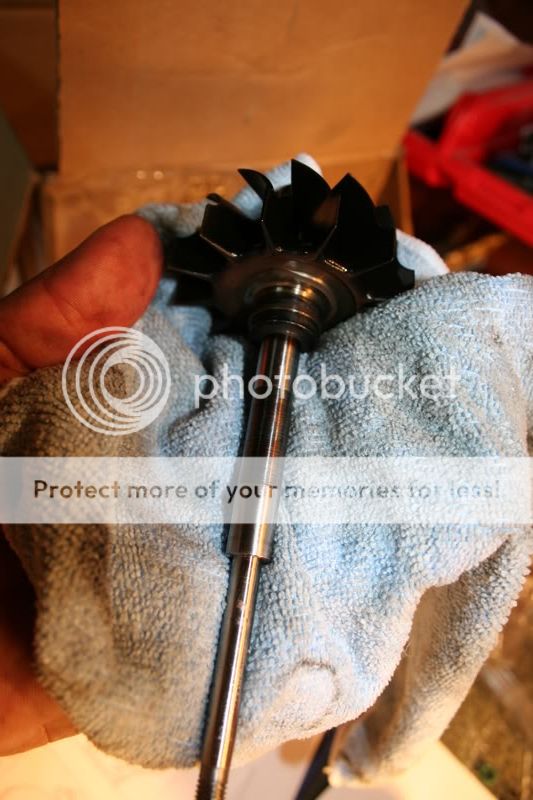
Removed the exhaust turbine and shaft. I was really pleased to see how clean the shaft was. There is next to no coking on it at all. Won't need the intense industrial cleaning that I thought it might.


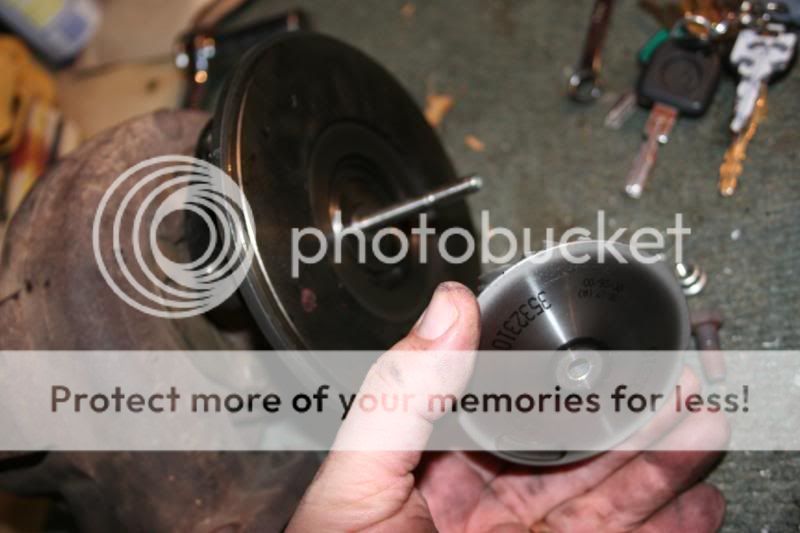
Removed the heat shield. It was a little crusty so I scraped it our and cleaned it up with some sandpaper.
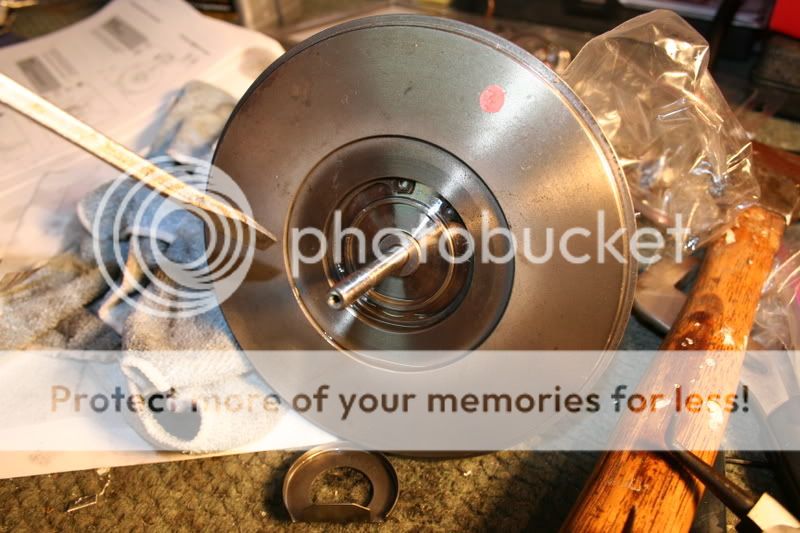
Flipped the center section over, removed the circlip and the oil seal plate.
Removed oil slinger.

Was going to remove the baffle but it seemed kind of stuck in place so I left it for now.

Removed bearing housing o-ring seal.
Removed the heat shield. It was a little crusty so I scraped it our and cleaned it up with some sandpaper.
Flipped the center section over, removed the circlip and the oil seal plate.
Removed oil slinger.
Was going to remove the baffle but it seemed kind of stuck in place so I left it for now.
Removed bearing housing o-ring seal.


Thread Starter
Registered User
Joined: Dec 2008
Posts: 28
Likes: 0
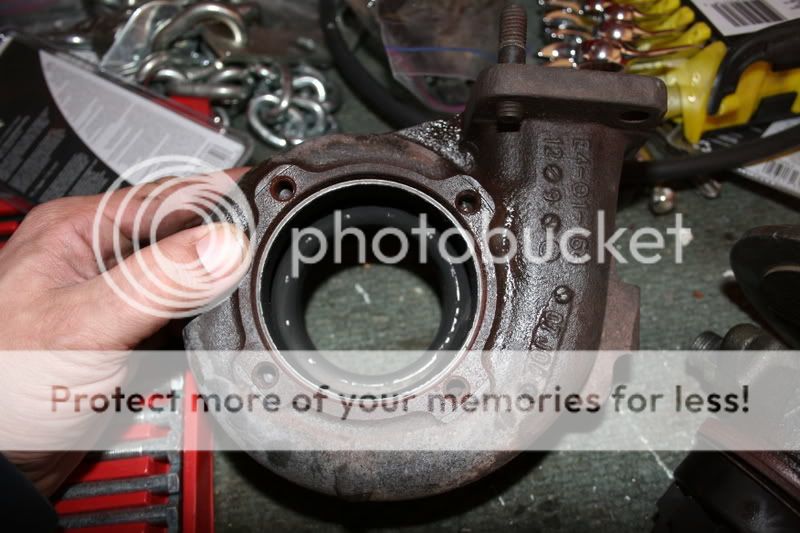
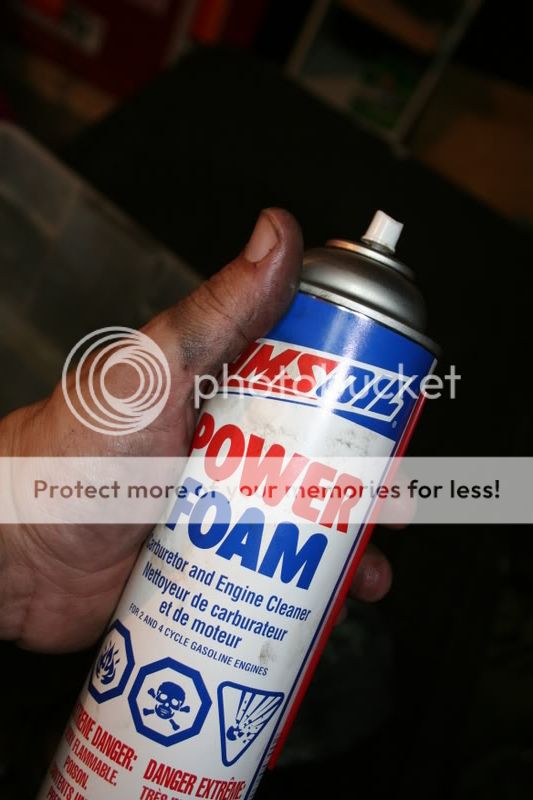
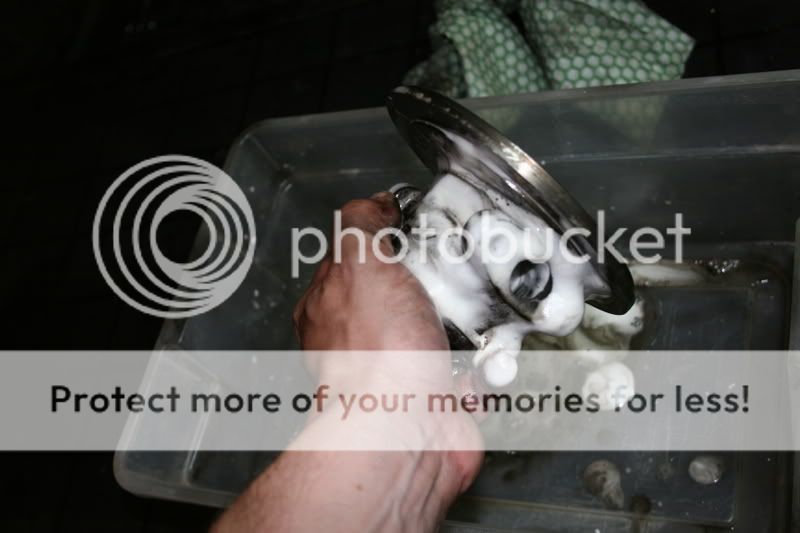
With everything out of the centre section, it was time to do some cleaning. Was trying to decide what to use to clean it when I realized I had some Amsoil Power Foam. My dad's been using this stuff to clean parts for 30 years. It foams up real nice too.
Clean centre section! Sprayed the Power Foam out of the section with Amsoil MP a a chaser. It's sort of like WD40 but synthetic.

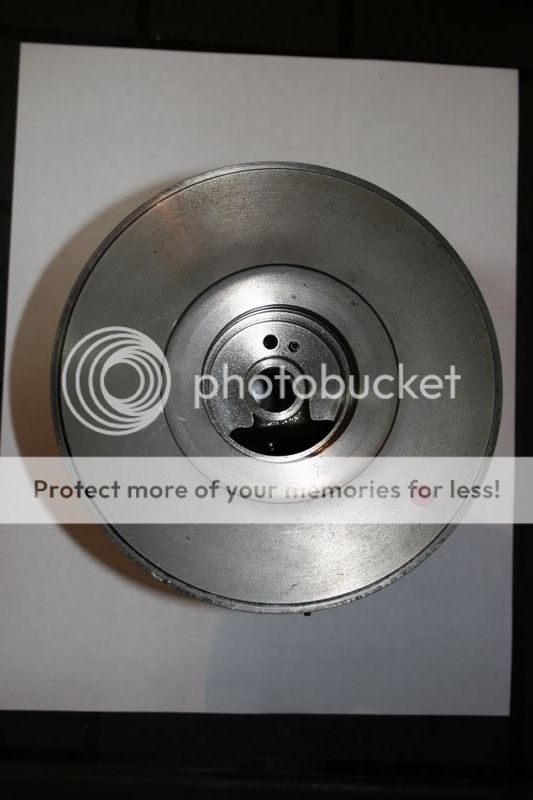
Clean centre section! Sprayed the Power Foam out of the section with Amsoil MP a a chaser. It's sort of like WD40 but synthetic.
Trending Topics
Thread Starter
Registered User
Joined: Dec 2008
Posts: 28
Likes: 0
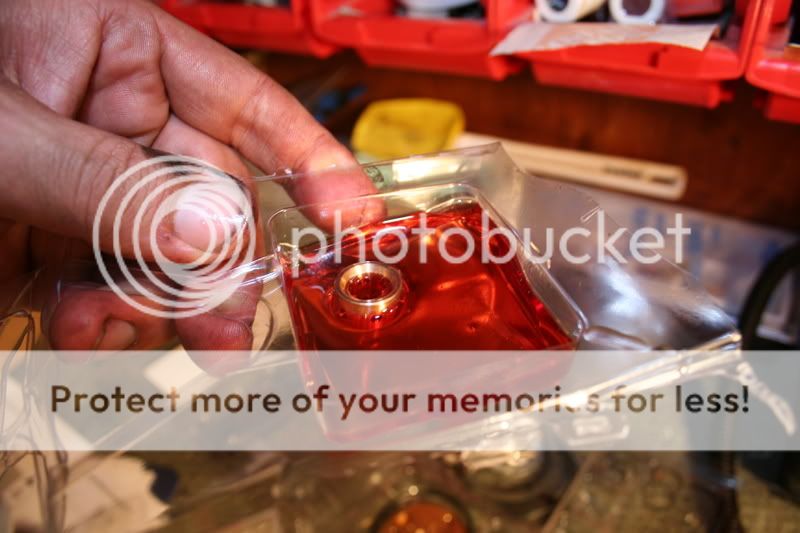
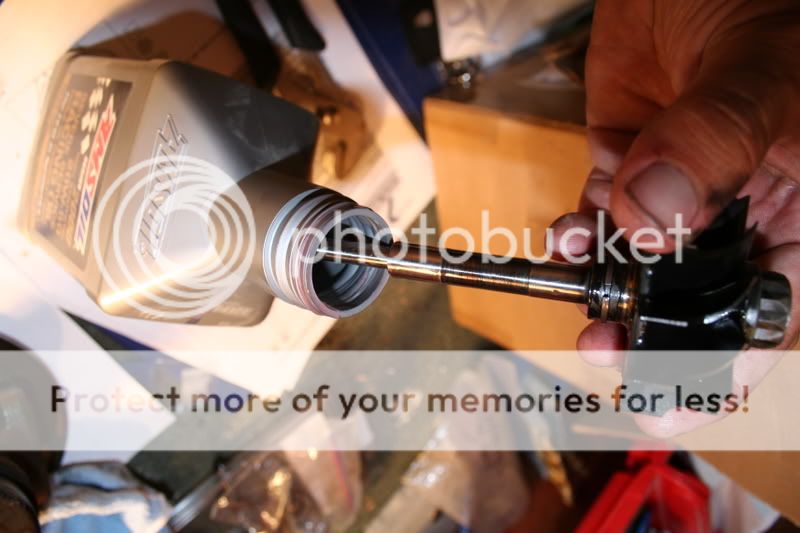
This is what I'm going to run in the warm month s anyway, so I decided to crack open a bottle to lubricate the journal bearings before I put them back in.

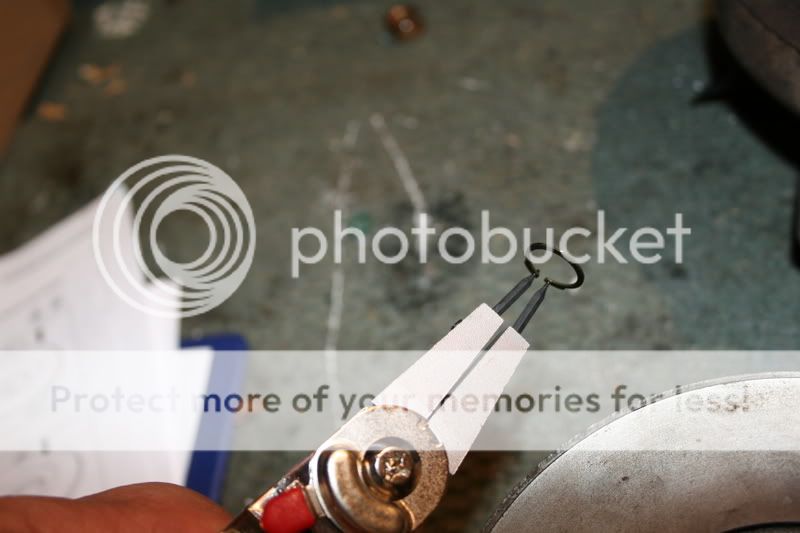
Bearings installed. The inner circlips were evil to get back in. One flew right across my shop and disappeared into a vortex of some sort. Glad I kept the old ones. The kit didn't have any extra.
Cleaned up the shaft a bit with some 1000 grit, but it really was in very good shape with no coking. Either this turbo had been rebuilt or had almost no miles and good synthetic.
Put on the new retainer clip.
Dip in the good stuff before sliding it through the new bearings.
Thread Starter
Registered User
Joined: Dec 2008
Posts: 28
Likes: 0
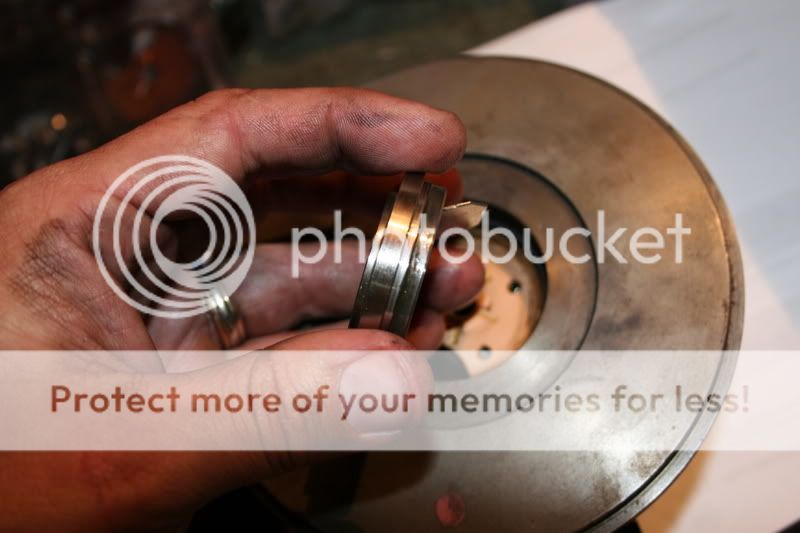
Insert new thrust washer.

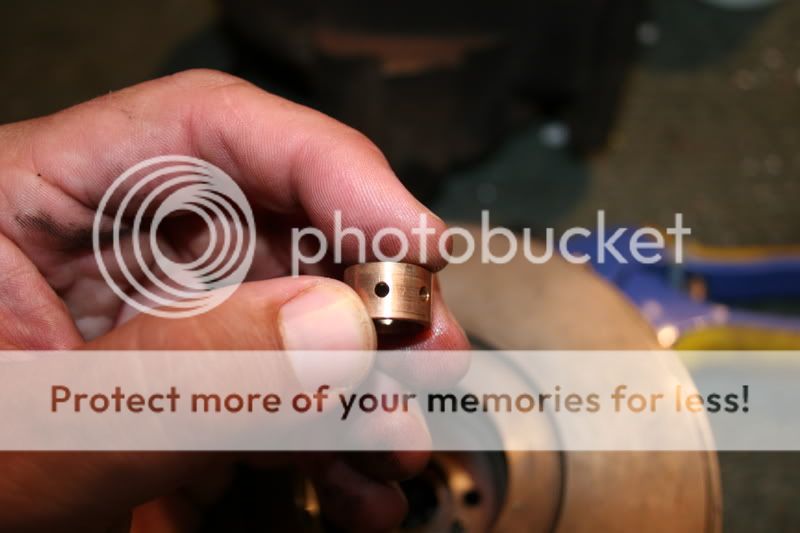
New thrust bearing. Make sure this it the right direction and the set pin is through the hole.
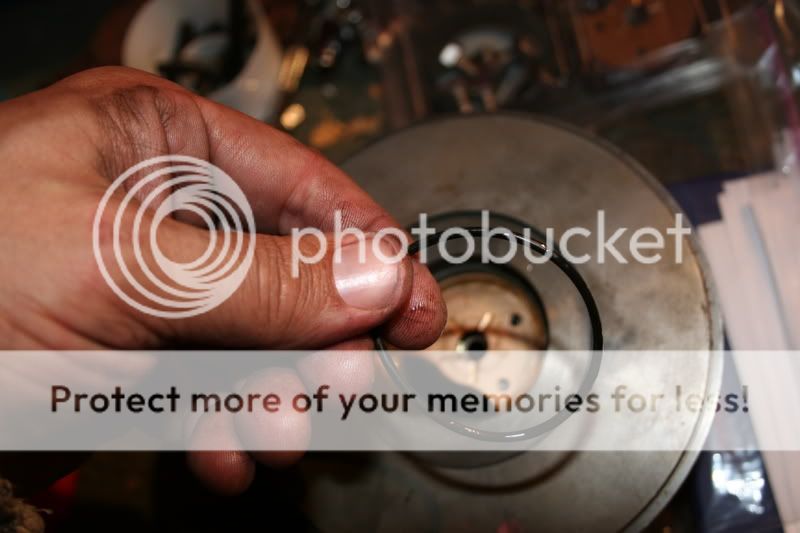
This o-ring was a pain and didn't want to sit in the groove on the housing.
Put new clip on oil slinger.

I missed a pic here. There's a little baffle that has to be replaced here. You won't miss it. It goes around the oil slinger.
That o-ring wouldn't stay in the groove on the centre section so I put it around this piece and pushed all in together as a unit and then put on the killer circlip. It's a little beast and you have to make sure it is on there good. I used a flat head screwdriver and a tap of a hammer to make sure it is in place.

New thrust bearing. Make sure this it the right direction and the set pin is through the hole.
This o-ring was a pain and didn't want to sit in the groove on the housing.
Put new clip on oil slinger.
I missed a pic here. There's a little baffle that has to be replaced here. You won't miss it. It goes around the oil slinger.
That o-ring wouldn't stay in the groove on the centre section so I put it around this piece and pushed all in together as a unit and then put on the killer circlip. It's a little beast and you have to make sure it is on there good. I used a flat head screwdriver and a tap of a hammer to make sure it is in place.
Thread Starter
Registered User
Joined: Dec 2008
Posts: 28
Likes: 0
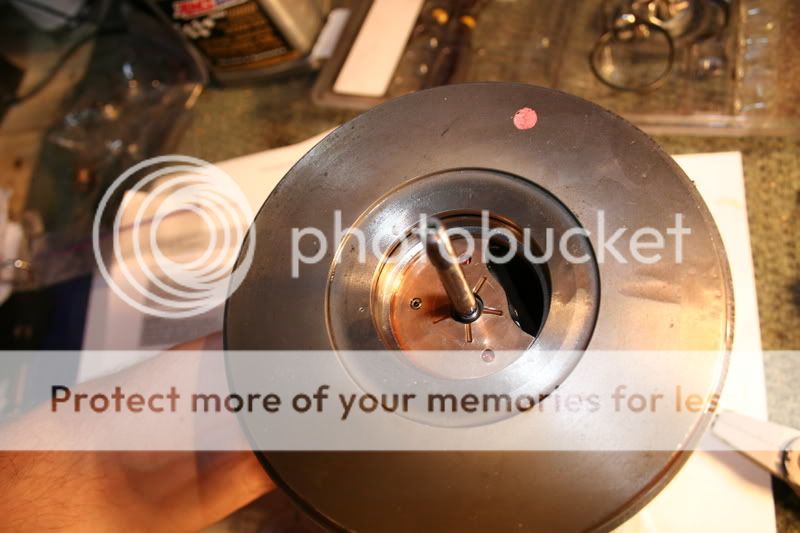
Put the impellar back on and made sure that the marks I made on the shaft and the impellar line up. I haven't torques it yet. I will do that later.

Decided to bolt up the exhaust housing.

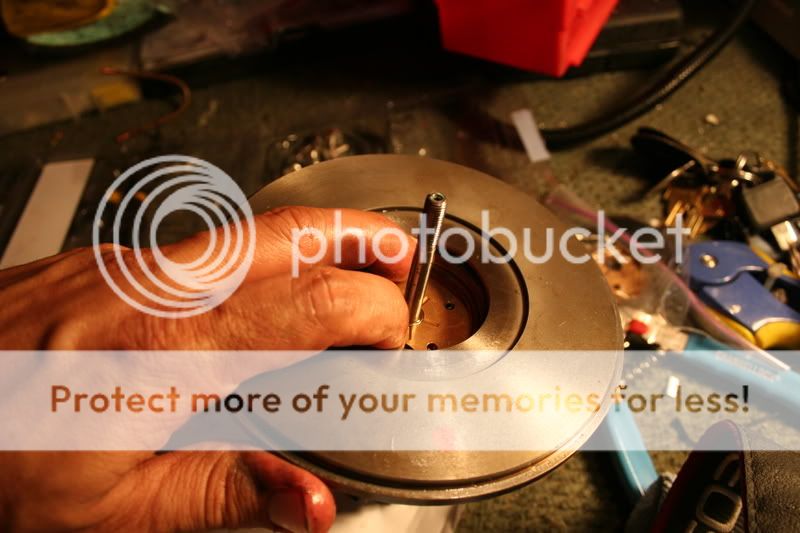
Put the cold side back on to see what things are going to look like.
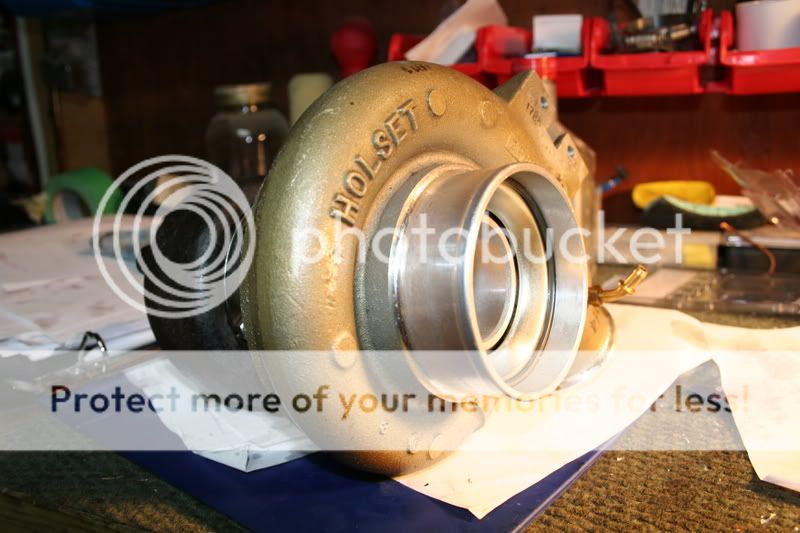
Size comparison to sparkplug.
And it is pretty much done. Just have to torque the nut on the shaft, put the big circlip on that holds the intake housing, and block off the internal wastegate.
Did it need to be rebuilt? Personally, I don't really think so. Peace of mind now knowing that everything is new and clean and ready to go. It was a challenge, but not as tough as I thought it would be. The key is to take your time, stay organized, follow some clear instructions. I used the Holset manual as my guide and it was pretty detailed.
Time to get this thing bolted on and creating some boost!
Nik
Decided to bolt up the exhaust housing.
Put the cold side back on to see what things are going to look like.
Size comparison to sparkplug.
And it is pretty much done. Just have to torque the nut on the shaft, put the big circlip on that holds the intake housing, and block off the internal wastegate.
Did it need to be rebuilt? Personally, I don't really think so. Peace of mind now knowing that everything is new and clean and ready to go. It was a challenge, but not as tough as I thought it would be. The key is to take your time, stay organized, follow some clear instructions. I used the Holset manual as my guide and it was pretty detailed.
Time to get this thing bolted on and creating some boost!
Nik
 I learned alot and I was supprised it didn't take too much time.

 No rice here.

