
Crewcab update...


Thread Starter
Registered User


Joined: Mar 2010
Posts: 7,265
Likes: 1,346
From: Prince George, BC
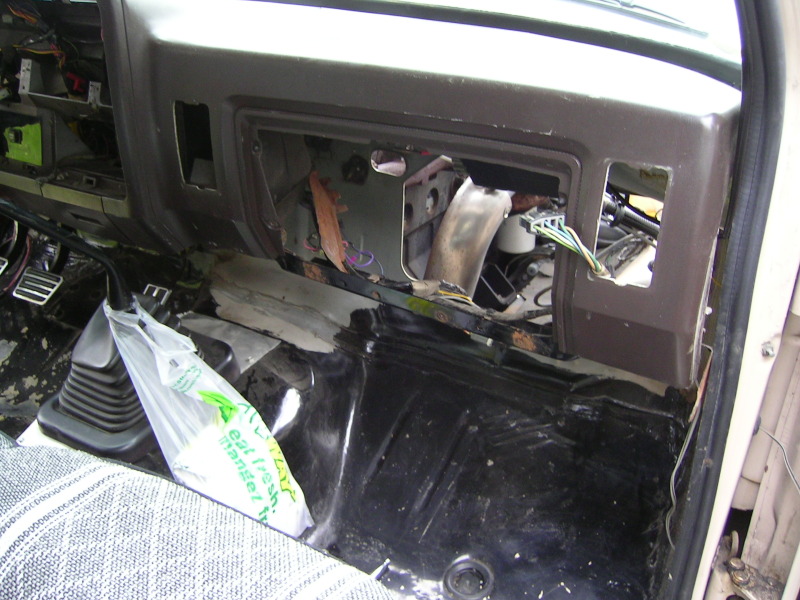
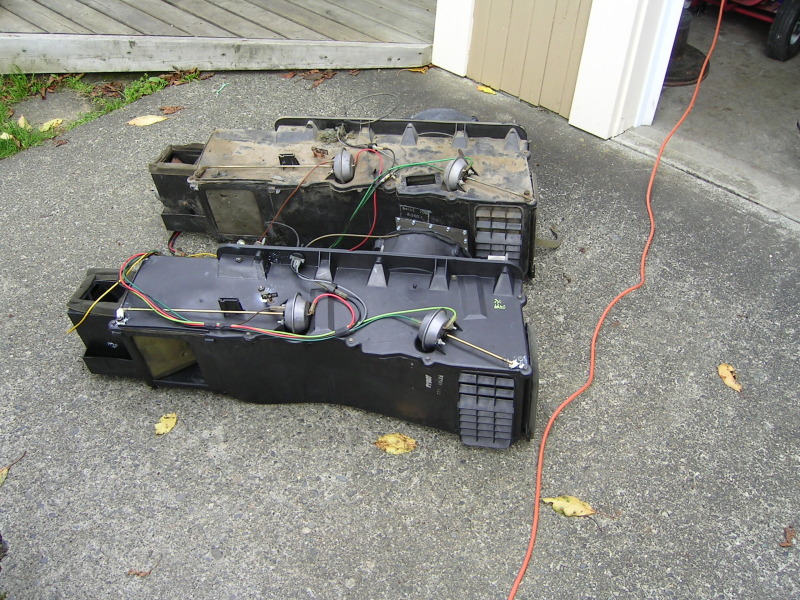
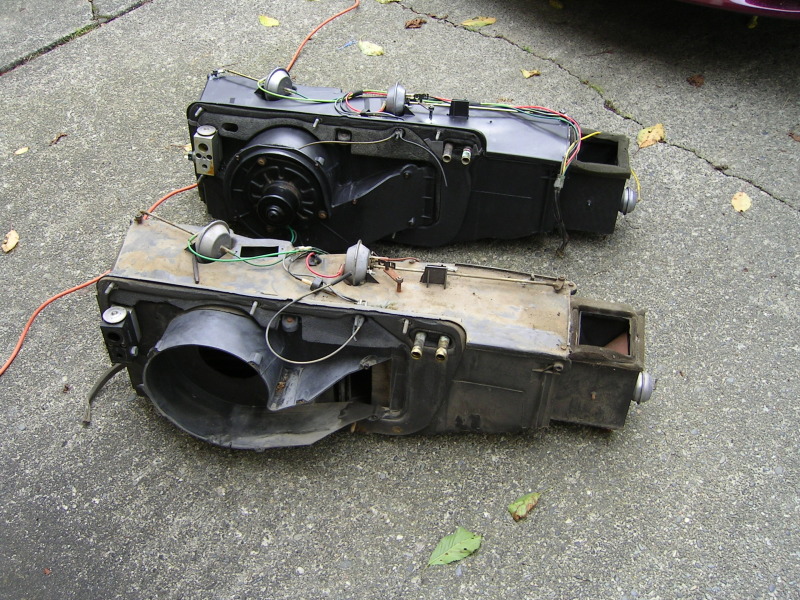
Well I can't believe I forgot to mention that I re/re'd a Heater and A/C unit from a newer dodgre ram (1993) and then swapped it into the crewcab.
New'er unit ready for a re/re...
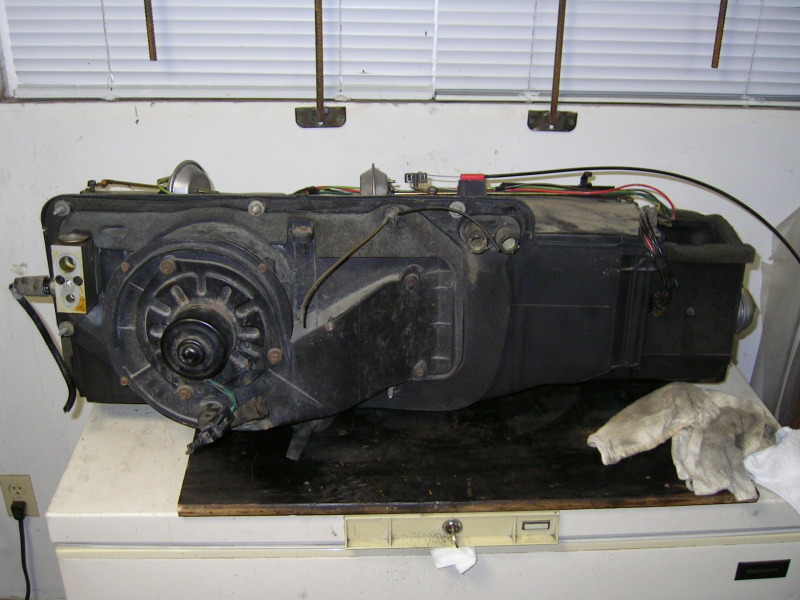
Old unit torn out of truck...
New'er unit ready for a re/re...
Old unit torn out of truck...
Thread Starter
Registered User
Joined: Mar 2010
Posts: 7,265
Likes: 1,346
From: Prince George, BC
New'er vs old....
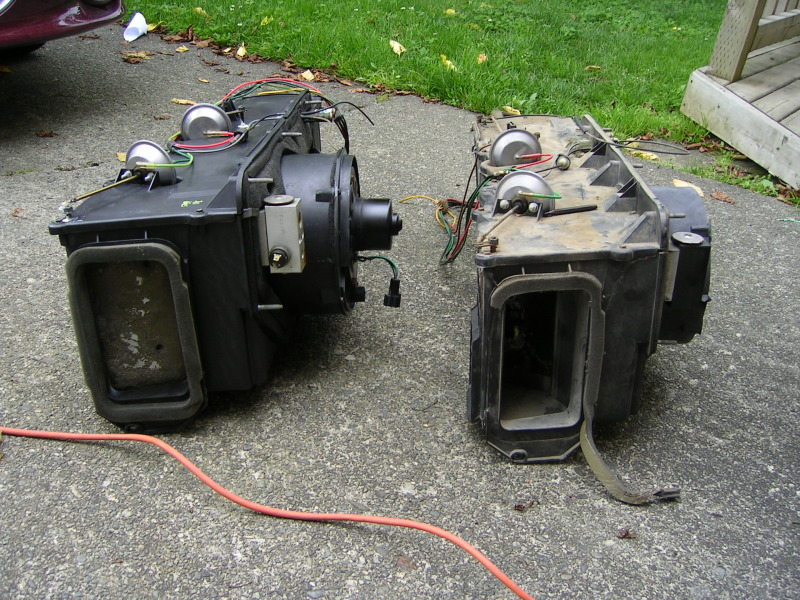
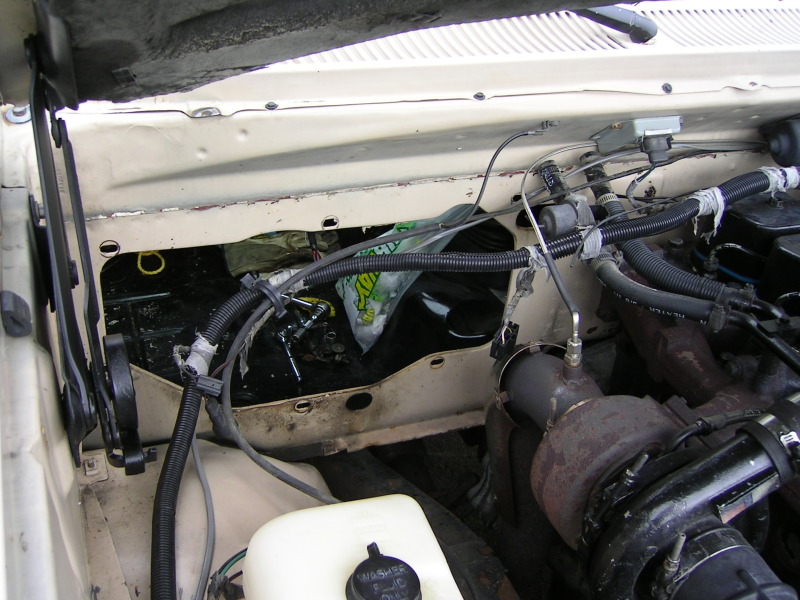
Also discovered why I didn't have much heat...turns out the vacuum line running to the water shut off valve had worn a hole in it. So it was only getting a minimum of vacuum to open the valve and let hot coolant into the heater core.
Also discovered why I didn't have much heat...turns out the vacuum line running to the water shut off valve had worn a hole in it. So it was only getting a minimum of vacuum to open the valve and let hot coolant into the heater core.
Thread Starter
Registered User
Joined: Mar 2010
Posts: 7,265
Likes: 1,346
From: Prince George, BC
Over the long weekend I ground out all the sealant from the drip rails. Used this handy little wire wheel on the grinder. That wheel, and the sealant being torn up...looked like it had just snowed.

But be careful trying to get into the tight areas...I hit the roof with the metal nut on the underside of the wire wheel...put a few good gouges in the roof....
...Photobucket is being difficult. Tried for a hour last night to upload and post pics and had to give up. Still not working this morning.
But be careful trying to get into the tight areas...I hit the roof with the metal nut on the underside of the wire wheel...put a few good gouges in the roof....
...Photobucket is being difficult. Tried for a hour last night to upload and post pics and had to give up. Still not working this morning.
Thread Starter
Registered User
Joined: Mar 2010
Posts: 7,265
Likes: 1,346
From: Prince George, BC
After grinding out all the sealant I used some small picks and screwdrivers to dig out as much of the old sealant I could. I then used a small flat brush to paint in some rust converting primer. Took a while to get into all the nooks and crannies, but got way better coverage then trying to spray primer from a can or gun.
You can see the rust through on the very front endge of the drip rail....
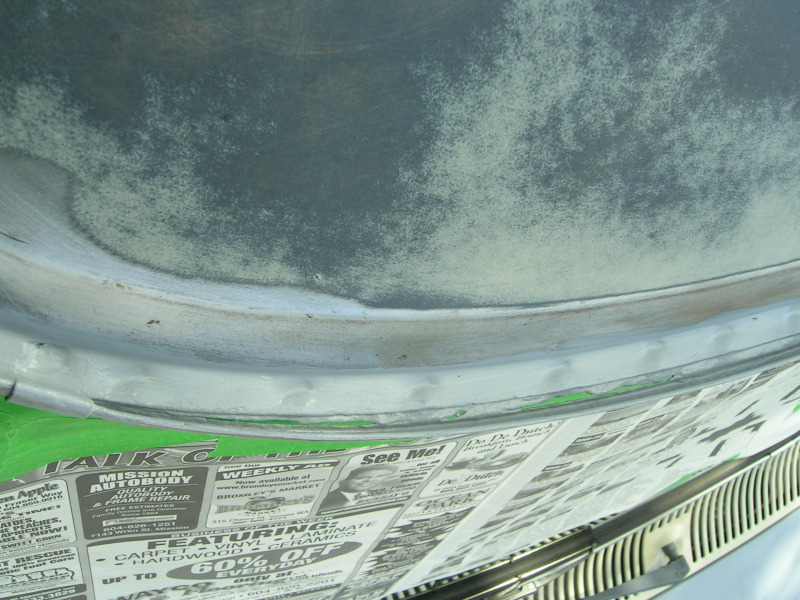
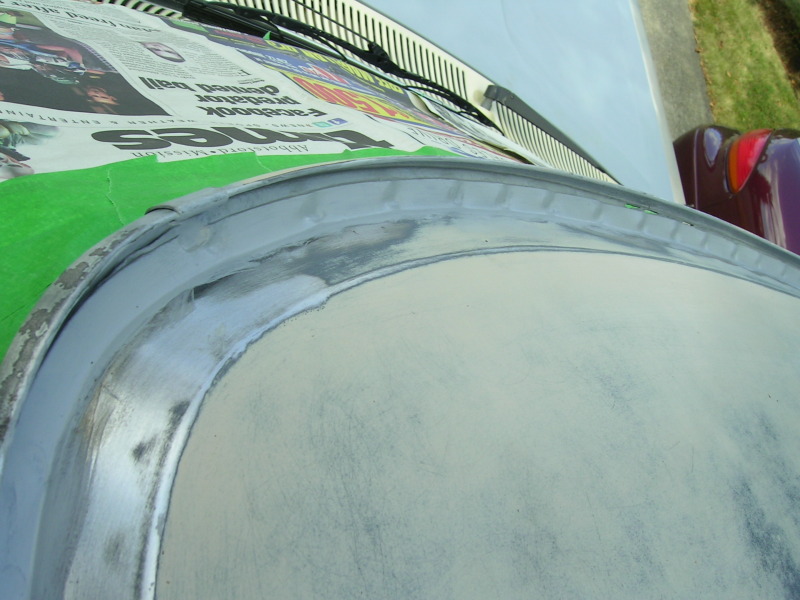
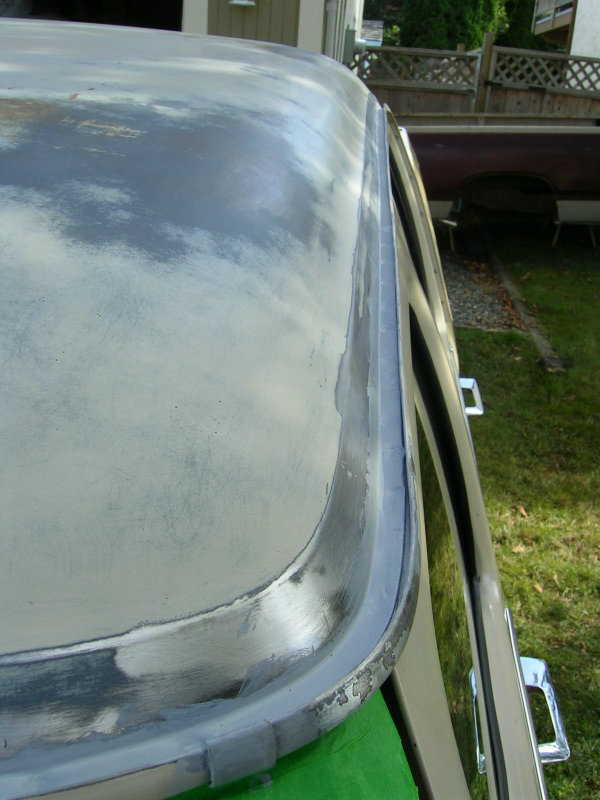
You can see the rust through on the very front endge of the drip rail....
Thread Starter
Registered User
Joined: Mar 2010
Posts: 7,265
Likes: 1,346
From: Prince George, BC
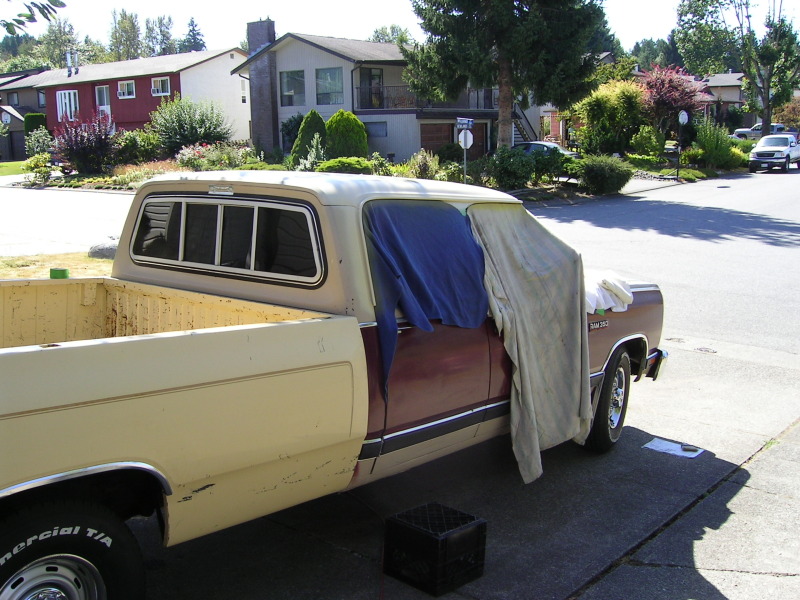
Then use a bunch of old sheets and blankets I keep around for whatever...and some tape and start spraying primer then paint. I found some of that pre-mix touch up paint...from Canadian Tire, that closely matched the creme on the new box.

Thread Starter
Registered User
Joined: Mar 2010
Posts: 7,265
Likes: 1,346
From: Prince George, BC
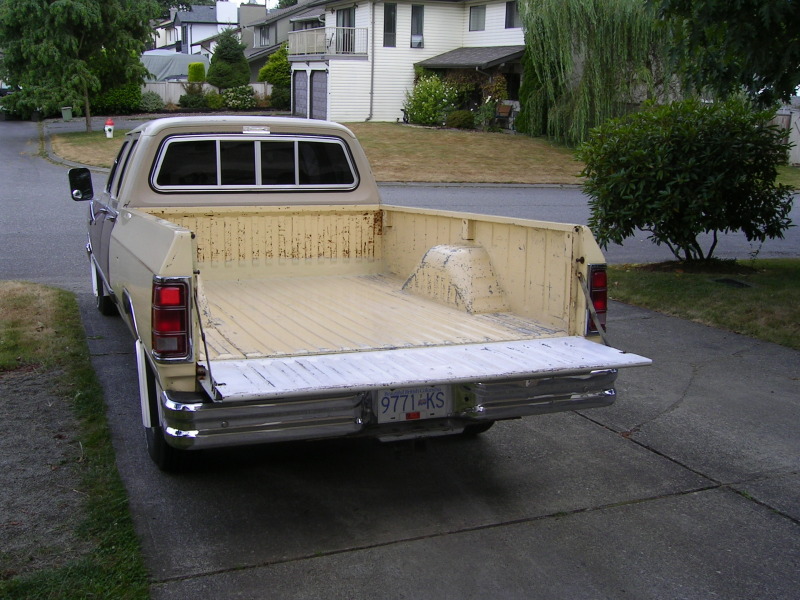
No sealant...just a good down to bare metal cleaning..then a rust converting brush on primer...then another zinc based primer...then top coat. Hope to hold off the rust demon for another year. Want to remove all the rust before I seal things up permanently.
Thread Starter
Registered User
Joined: Mar 2010
Posts: 7,265
Likes: 1,346
From: Prince George, BC
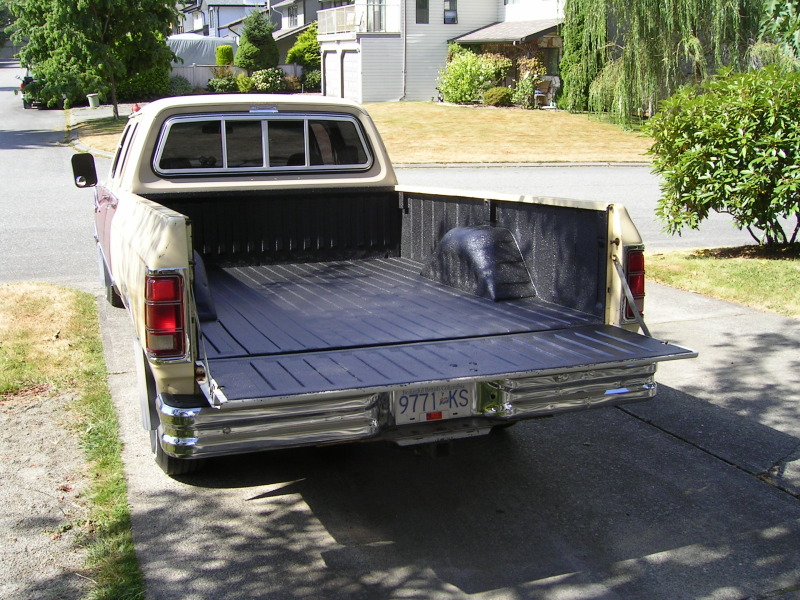
Once that's done I'm considering using POR15 to seal up the drip rail from the top and bottom.
Registered User
Joined: Mar 2008
Posts: 4,389
Likes: 114
From: Orange County, California
That's what I'd like to do as well. I've got a significant amount of rot under the drip rail, mostly on the driver side. My windshield is cracked so it definitely needs replacing but I'd like to be able to remove all the rot prior to installing a new piece of glass and know that it will NEVER come back!
Thread Starter
Registered User
Joined: Mar 2010
Posts: 7,265
Likes: 1,346
From: Prince George, BC
Also got the new motor installed in the heater box....it blows a bit harder then the original that's for sure. Before you could barely feel any air moving on the lowest setting...now you can. And there is also considerably more air moving on the high setting.
