the current project

 07-31-2012, 06:28 PM
#62
Registered User
Thread Starter
Join Date: Feb 2008
Location: north woods of Michigan
Posts: 550
Likes: 0
Received 0 Likes
on
0 Posts
I decided to work on my truck one more week before moving
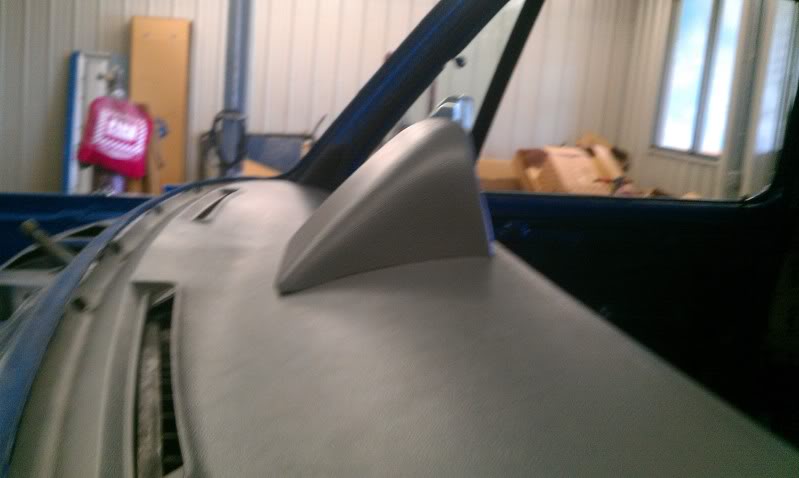
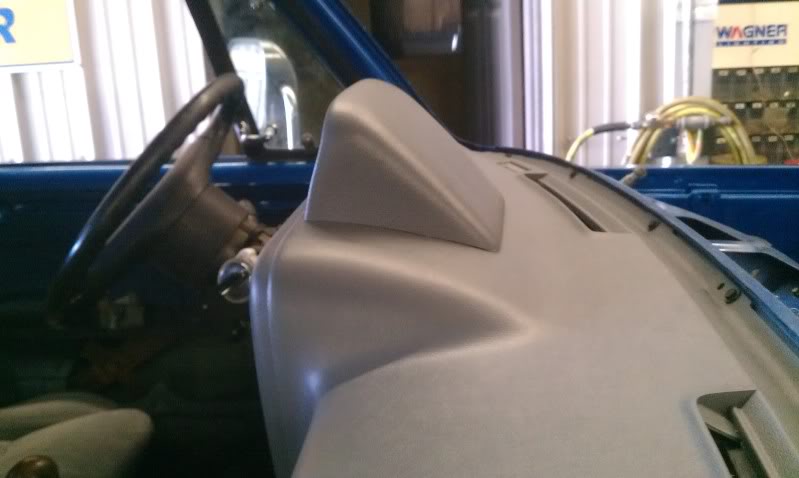
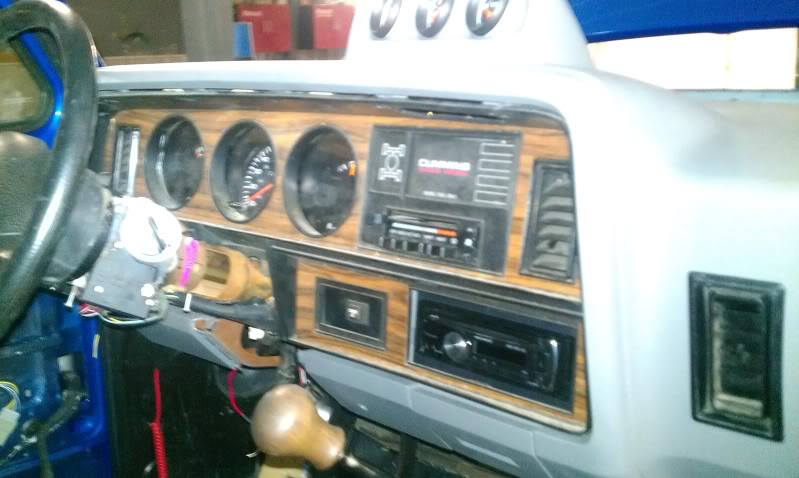
side views of the dash pod. I have a couple hours into fitting this to my dash but I figured it should be done while the windshield is out.
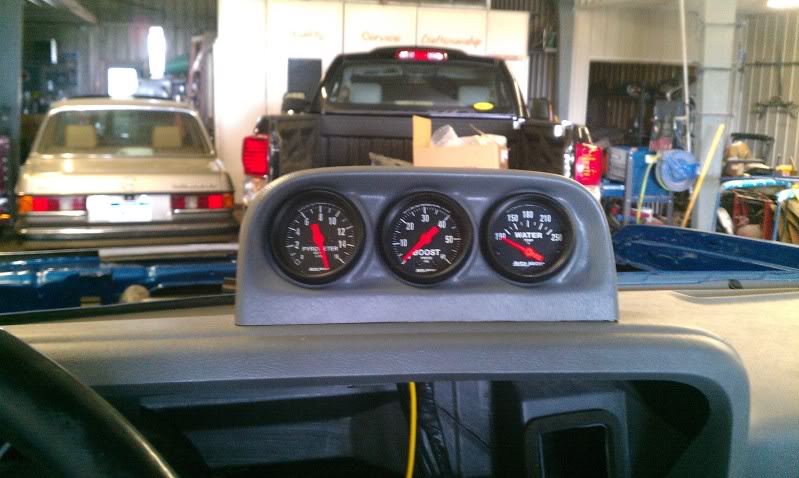
gauges wired and installed
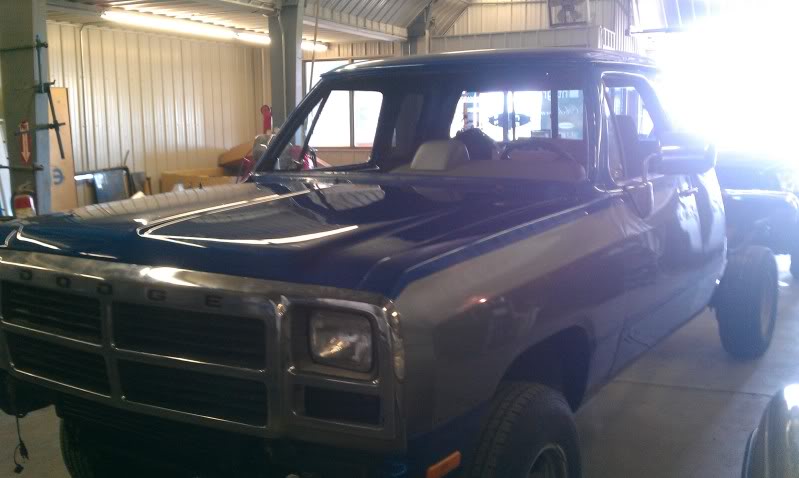
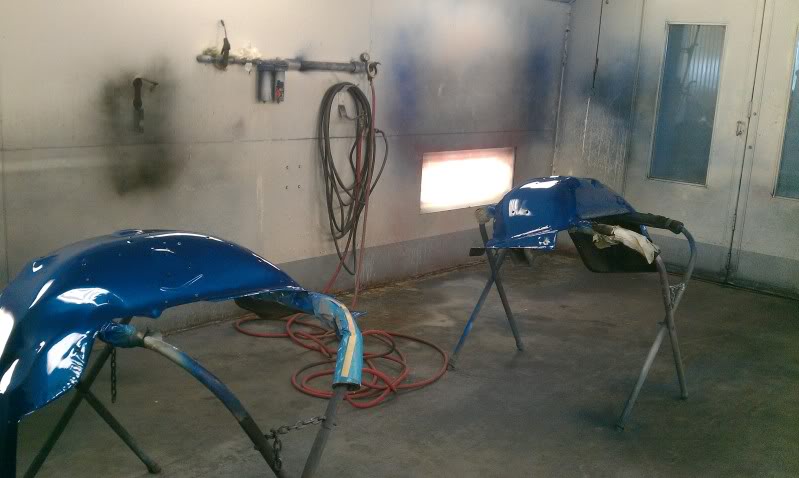
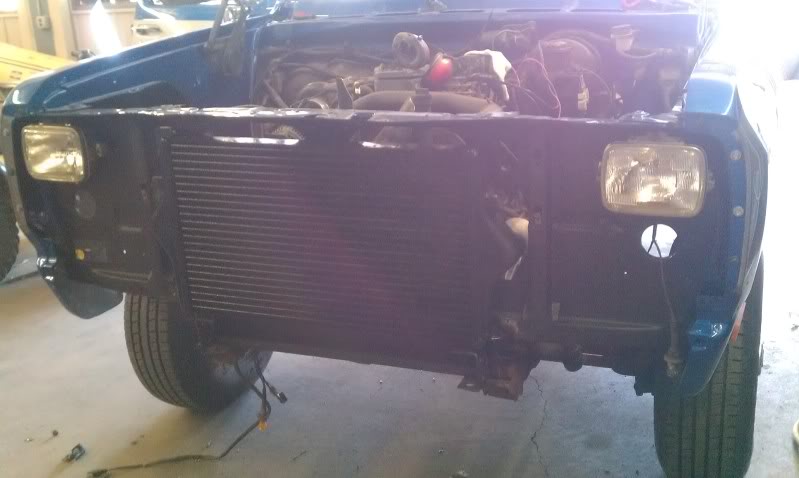
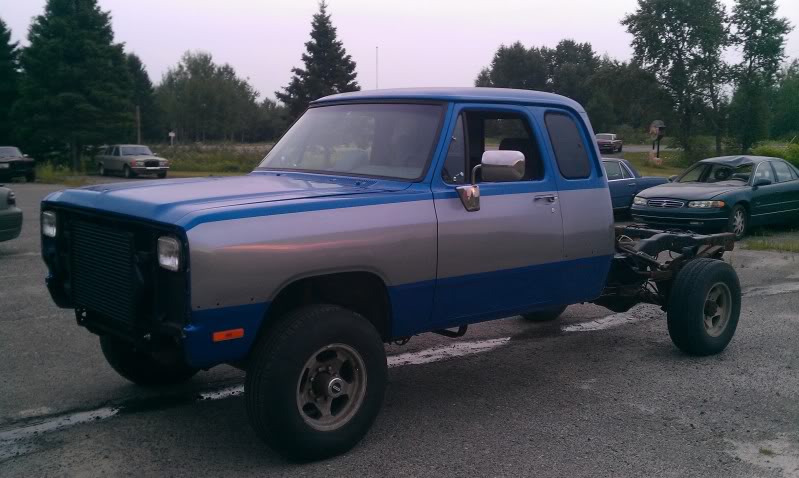
Hood is on still needs a little more adjustment, it's squared up the hinges need to be dropped down a bit. Grill is just sitting in place the intercooler still needs mounted.
I painted these too, getting my practice on things you can't really see.
side views of the dash pod. I have a couple hours into fitting this to my dash but I figured it should be done while the windshield is out.
gauges wired and installed
Hood is on still needs a little more adjustment, it's squared up the hinges need to be dropped down a bit. Grill is just sitting in place the intercooler still needs mounted.
I painted these too, getting my practice on things you can't really see.
08-01-2012, 04:59 AM
#63
Registered User
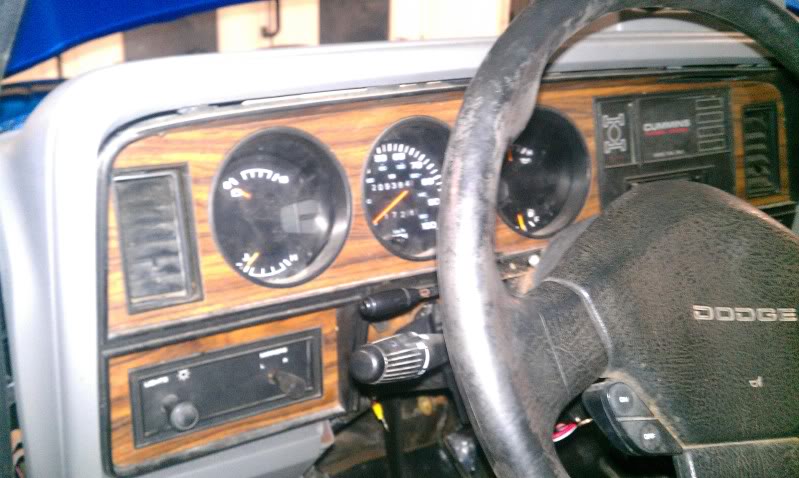
That guage pod does look pretty good. Guess I'll work on mine a little more. Is that a grey or beige colored interior?
I think part of my problem is that I like the old "frog eye" pods better but I want a 3-holer too.
Thanks for the extra pic.
I think part of my problem is that I like the old "frog eye" pods better but I want a 3-holer too.
Thanks for the extra pic.
08-01-2012, 10:45 PM
#64
Registered User
Thread Starter
Join Date: Feb 2008
Location: north woods of Michigan
Posts: 550
Likes: 0
Received 0 Likes
on
0 Posts
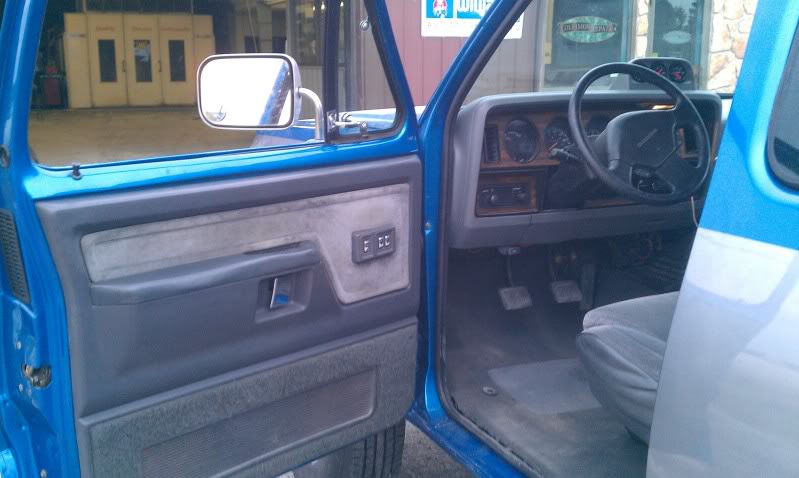
thanks its a gray interior. It seems to be pretty hard to find enough gauge pods that fit these old trucks so modification is about the only option.
behind dash pic this is with the 3 gauges run and it stayed pretty clean.
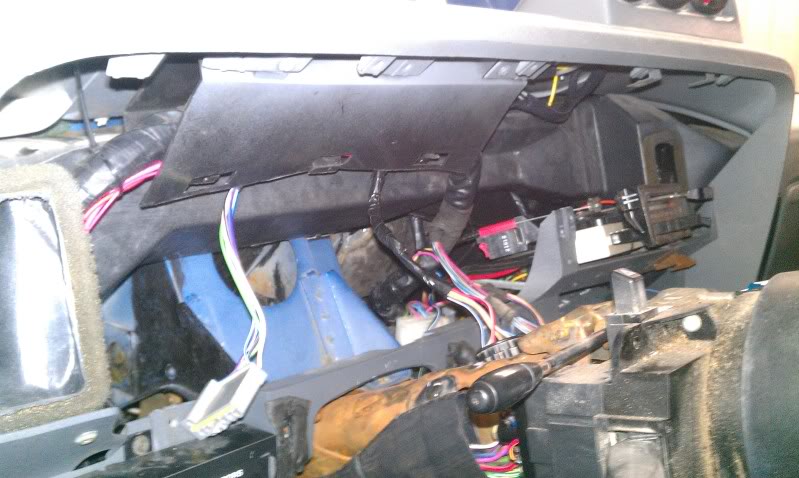
The dash and wiring was hopefully the worst part of the interior install. Really the gauges added a ton of time the dash itself wasn't that bad.
one inner fender in.

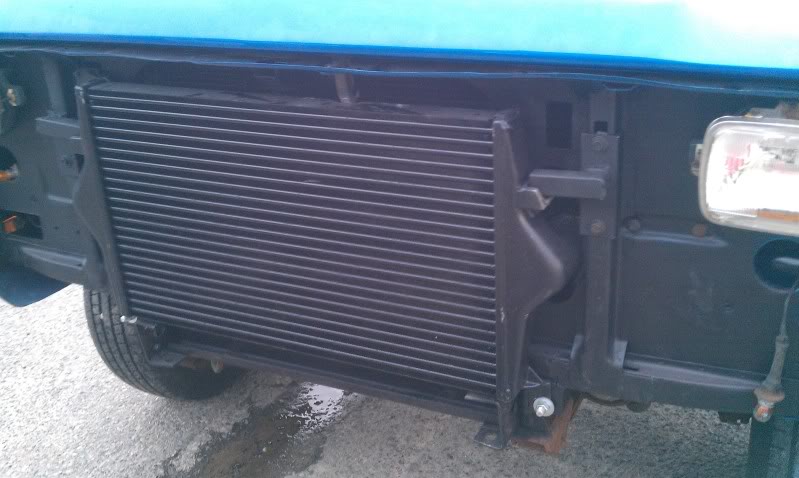
Also really close on the intercooler install should be done with that tomorrow if all goes well.
behind dash pic this is with the 3 gauges run and it stayed pretty clean.
The dash and wiring was hopefully the worst part of the interior install. Really the gauges added a ton of time the dash itself wasn't that bad.
one inner fender in.
Also really close on the intercooler install should be done with that tomorrow if all goes well.
 08-03-2012, 08:13 PM
#67
Registered User
Thread Starter
Join Date: Feb 2008
Location: north woods of Michigan
Posts: 550
Likes: 0
Received 0 Likes
on
0 Posts
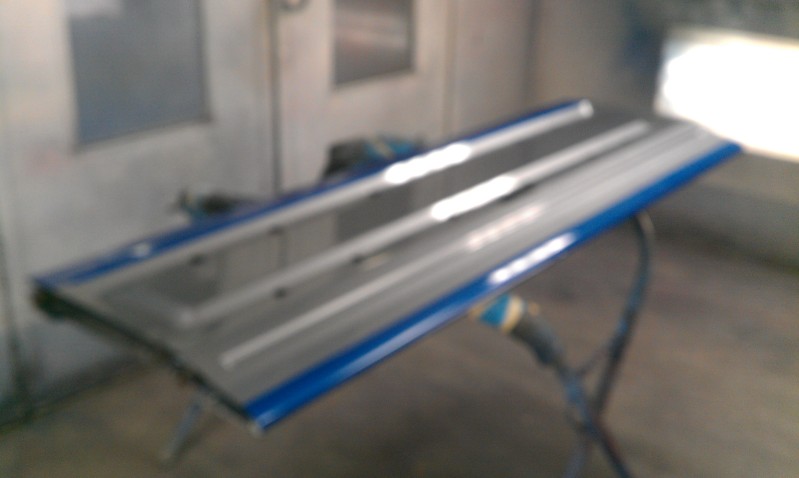
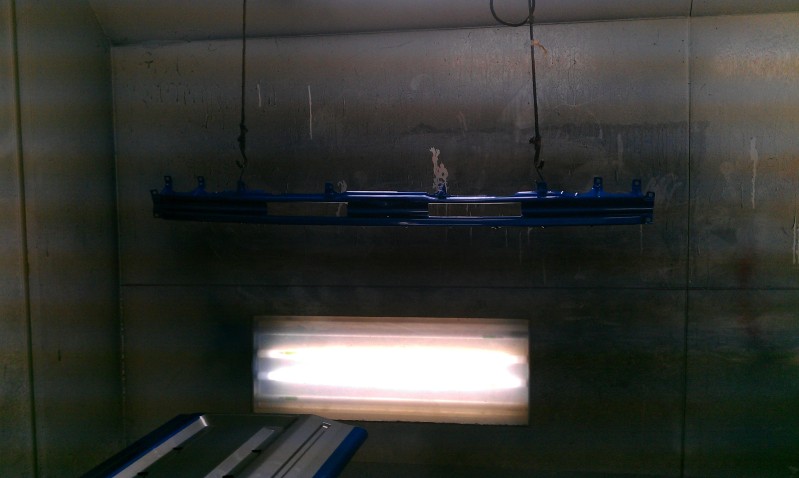
More progress.
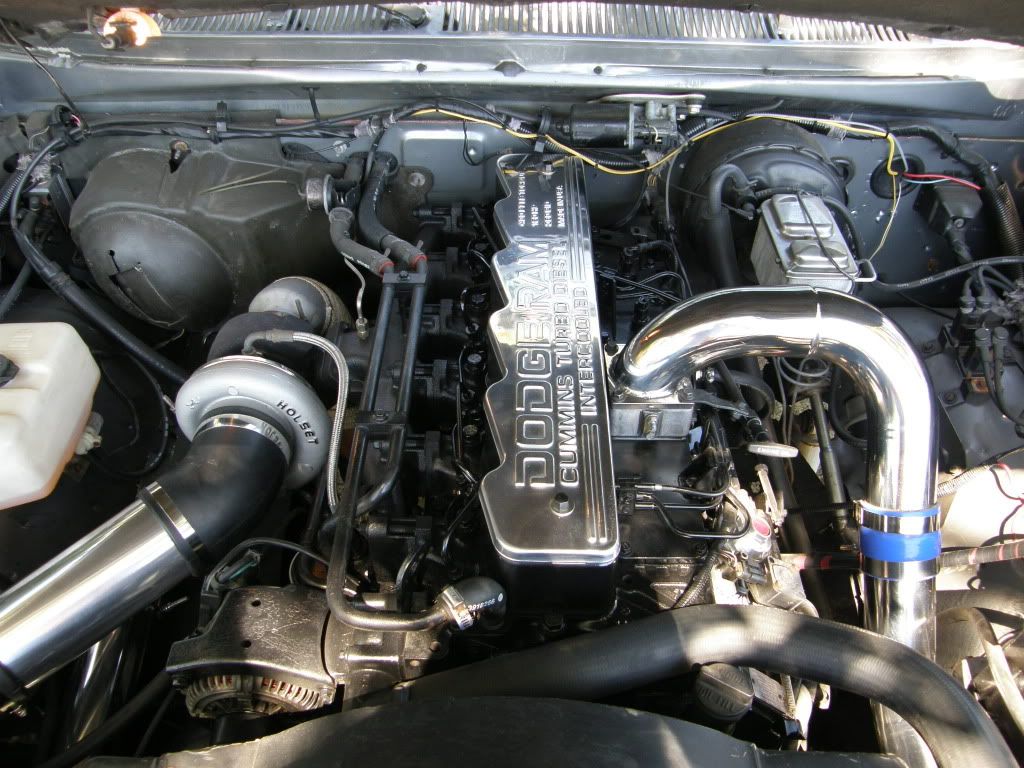
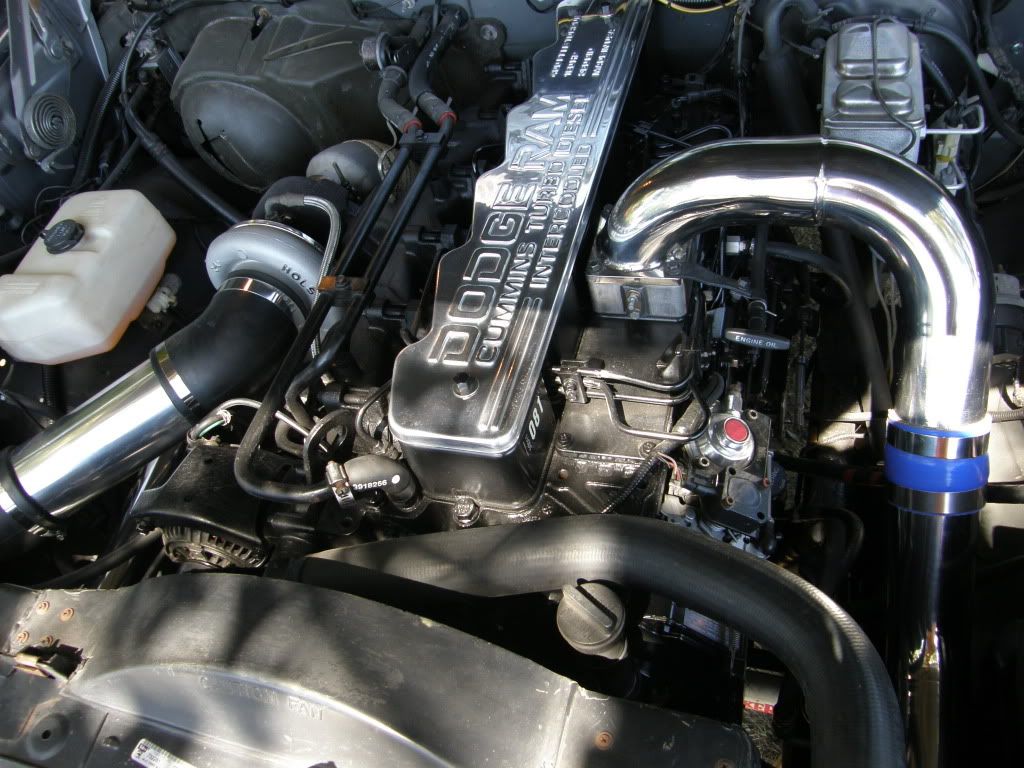
Intercooler fully mounted but ugly
outside picture
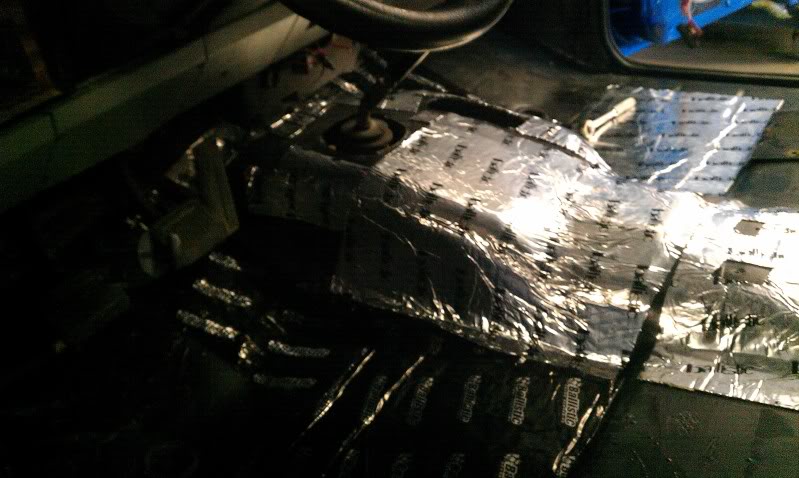
Started wiring for trailer (not nearly as extreme as j_martin) this plug is under the dash and where the wires go out to the tail lights. I solder in the turn and running lights inside the cab to keep them out of the elements. The running lights off the vehicle harness are being used as a signal to a fender mounted relay that fed the fuel pump on my parts truck so it looks stock under the hood.
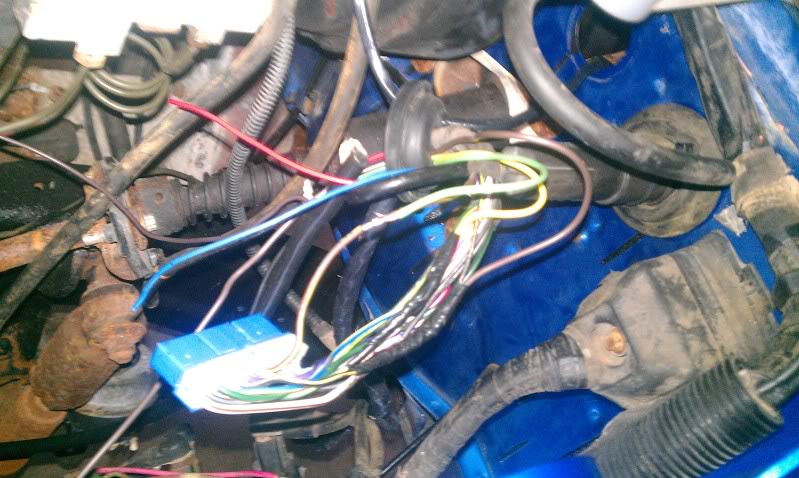
plugged in under dash(that is the gauge sender harnness that runs in front of the blue connector)
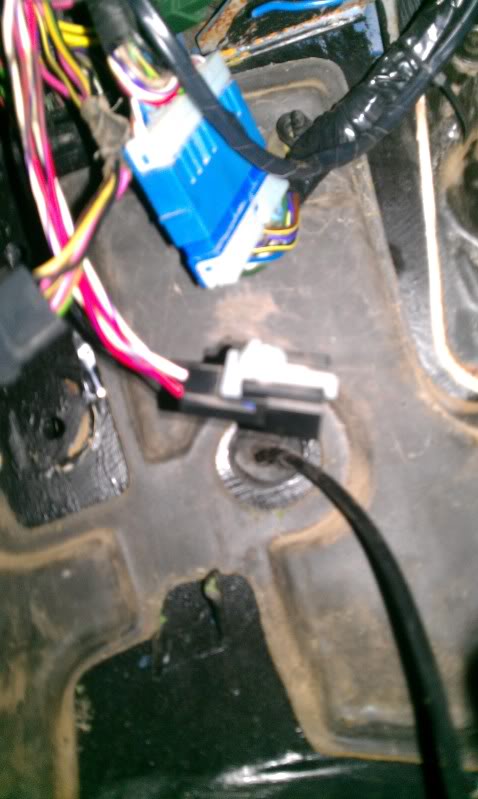
from this is a trailer bundle that runs to the back of the truck for the 7way plug.
sound matted the rest of the cab after one more coat of zero-rust.
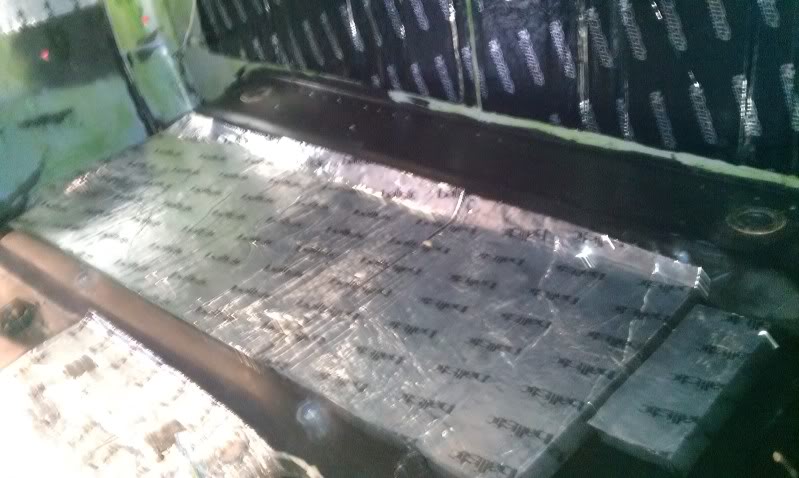
then stock insulation pad
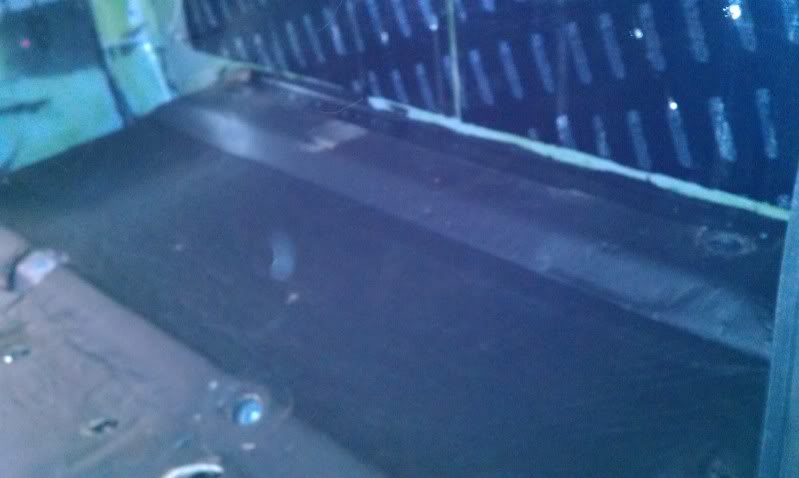
then interior
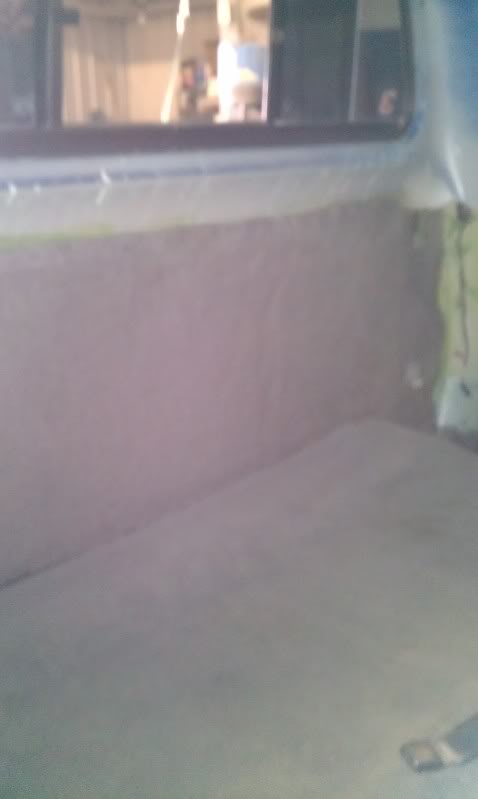
getting closer every day.
08-04-2012, 09:03 PM
#69
Registered User
Thread Starter
Join Date: Feb 2008
Location: north woods of Michigan
Posts: 550
Likes: 0
Received 0 Likes
on
0 Posts
This will be the last project of this size I will do(until I forget how much work it was).
Windshield in this took way to long
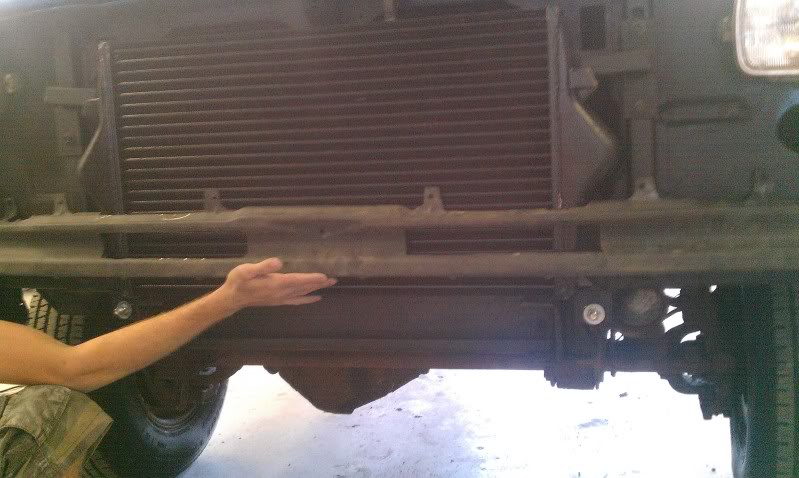
picture of the intercooler mounted.
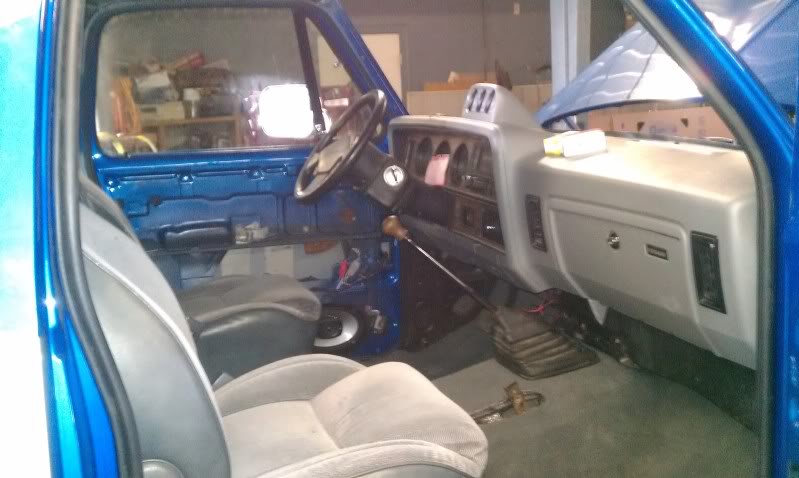
interior finished.
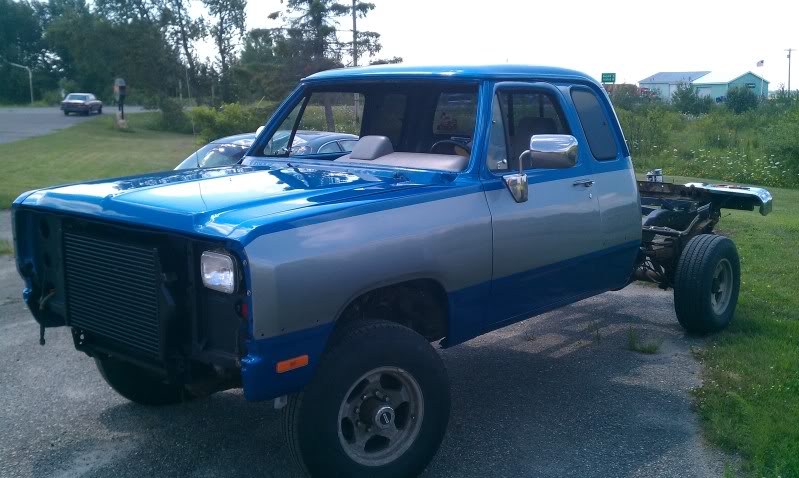
outside
Then I started on an issue with the valance. It's to close to fit around the intercooler. The normal trimming did not cure the problem. So I made bigger holes that also let air into more of the intercooler.
Windshield in this took way to long
picture of the intercooler mounted.
interior finished.
outside
Then I started on an issue with the valance. It's to close to fit around the intercooler. The normal trimming did not cure the problem. So I made bigger holes that also let air into more of the intercooler.
08-05-2012, 01:15 PM
#70
Registered User
It's coming along real nice! Great work!
Do you know what kind of wheels those are? I have the same ones on my 50 power wagon
Do you know what kind of wheels those are? I have the same ones on my 50 power wagon
08-05-2012, 08:01 PM
#71
Registered User
Join Date: Sep 2010
Location: Sedgewick, AB
Posts: 1,059
Likes: 0
Received 0 Likes
on
0 Posts
 08-16-2012, 09:57 PM
#72
Registered User
Thread Starter
Join Date: Feb 2008
Location: north woods of Michigan
Posts: 550
Likes: 0
Received 0 Likes
on
0 Posts
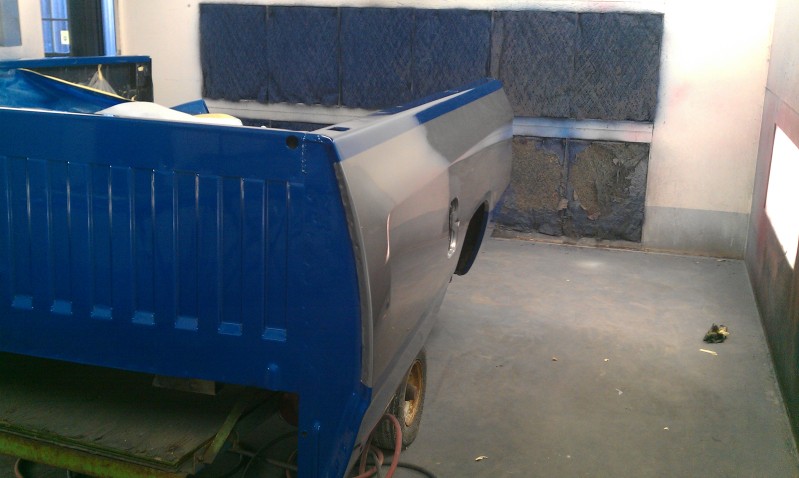
Ok well I started a new job and have been putting full effort into that lately (it's also 300+ miles from the truck) but I got up there last weekend and sanded out the box so it could get painted.

also did the filler panel
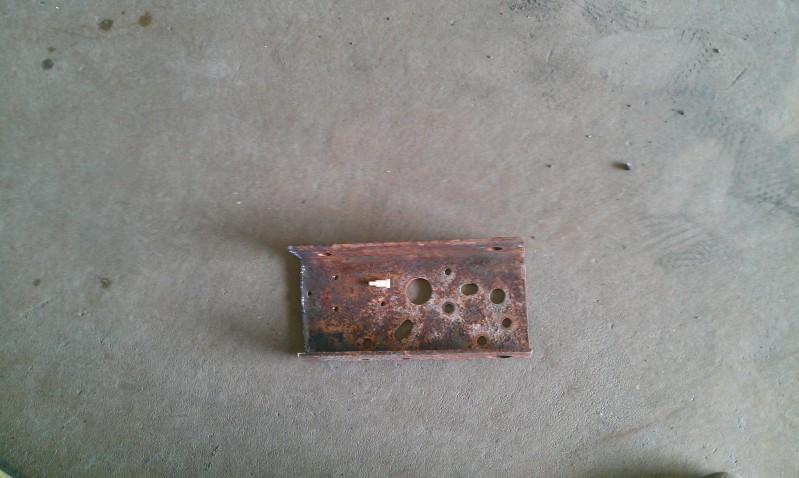
and started on the frame but ended up running out of rod about the time I needed to leave anyway.
cut off parts truck then top of the C cut off

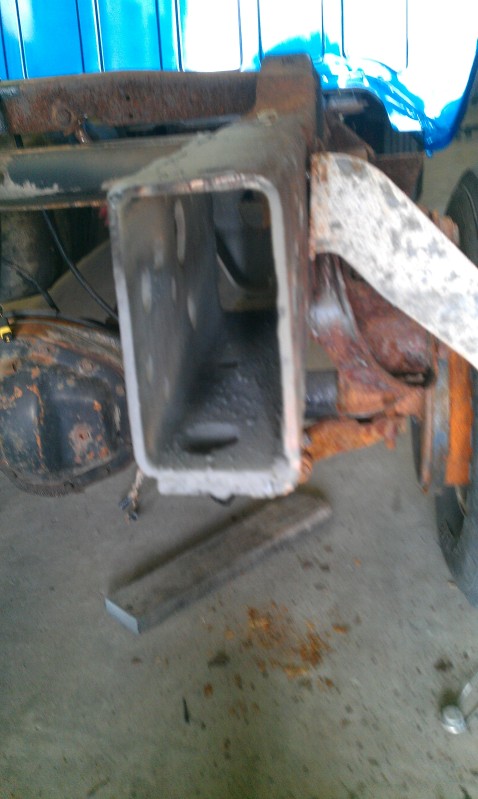
a hole saw will make access to the bumper bolts and I haven't decided on hitch bolts yet.
 08-24-2012, 10:18 PM
#74
Registered User
Thread Starter
Join Date: Feb 2008
Location: north woods of Michigan
Posts: 550
Likes: 0
Received 0 Likes
on
0 Posts
Well no pictures for a bit (no link cable up here) but if all goes well tomorrow it will be loaded on a trailer and head down with me Sunday for finishing.