Crew Cab Project has Started
 12-14-2011, 07:11 PM
#46
Registered User
Thread Starter

Hey Bryson, Before U fill it with foam - wait. I will show u what I'm doing tommorrow night. There's 2 reason's why I'm doing what I'm doing and I think alot of 1st Geners will be keenly interested. What I'm doing will work for crews, clubs and standard cabs. I think everyone will end up doing what I will be sharing tommorow night if they plan on keeping their trucks forever like I plan to do.
DJ I'll snap a pic with it your way and will have a vote to see which way looks better.
DJ I'll snap a pic with it your way and will have a vote to see which way looks better.
 12-15-2011, 09:29 AM
#48
Registered User
Join Date: Dec 2011
Location: Sparks, Nevada
Posts: 46
Likes: 0
Received 0 Likes
on
0 Posts
I have been thinking about the oil canning issue to. I was thinking about getting expanding foam and a long hose of some sort and seeing if I could fill in the layer between the 2 roof panels using the light hole in the back that you just replaced. I will be interested to see what your thinkin!
Mike
12-15-2011, 04:45 PM
#49
Registered User
cool build
we are also doing a crew

wish ours was as rust free (it is now)
was 440/518. Now Cummins 5 speed
we plan to haul the Rampage to Bradenton next year
maybe we'll meet up/ compare notes..


 '
'


we are also doing a crew
wish ours was as rust free (it is now)
was 440/518. Now Cummins 5 speed
we plan to haul the Rampage to Bradenton next year
maybe we'll meet up/ compare notes..
'
12-15-2011, 06:29 PM
#50
Registered User
Hey Bryson, Before U fill it with foam - wait. I will show u what I'm doing tommorrow night. There's 2 reason's why I'm doing what I'm doing and I think alot of 1st Geners will be keenly interested. What I'm doing will work for crews, clubs and standard cabs. I think everyone will end up doing what I will be sharing tommorow night if they plan on keeping their trucks forever like I plan to do.
DJ I'll snap a pic with it your way and will have a vote to see which way looks better.
DJ I'll snap a pic with it your way and will have a vote to see which way looks better.
12-15-2011, 08:54 PM
#51
Registered User
Thread Starter
Hi All, I've been watching these builds for a year now.
I have been thinking of the oil canning issue for awhile.
1 I don't like the foam idea at all. For the reason previuosly mentioned reason that it will trap and hold moisture and it would be impossible to remove.
So my idea is dynamatt to help stiffen the roof sheetmetal and a few layers of jute padding insulation. But wait how in the he__ am I goin ta get it in there ???
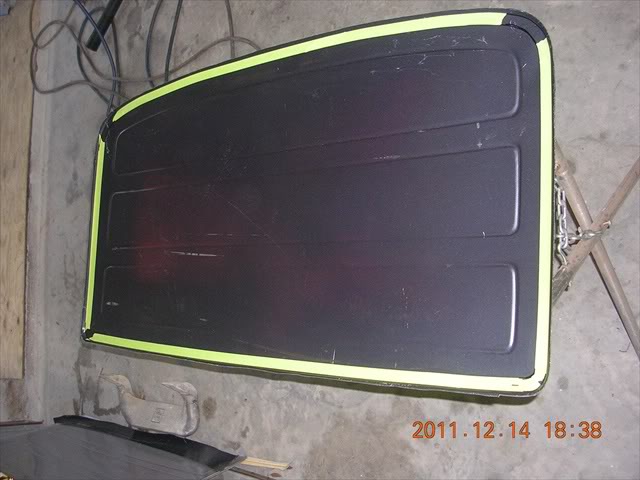
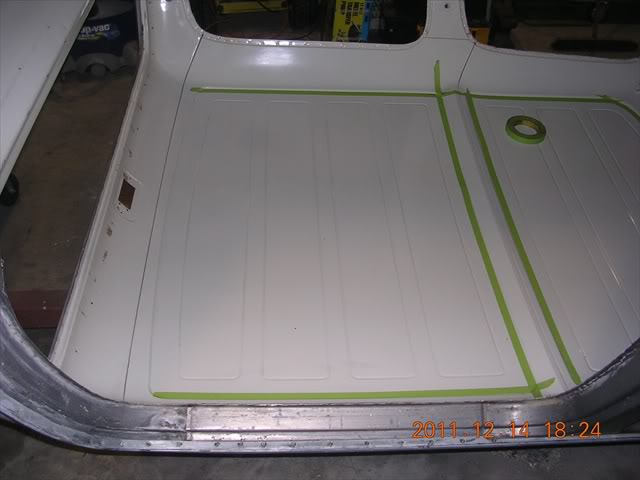
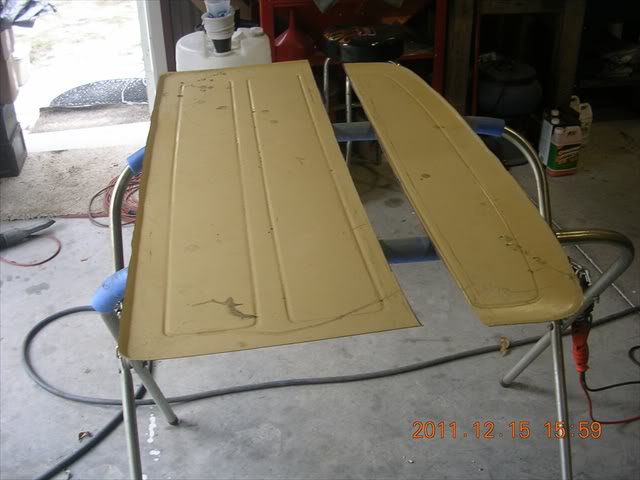
This is my soulution. First I went to the local U-pull-it and cut 3 reg cab roofs and cut out the inner roof skins.
This is what I ended up with.
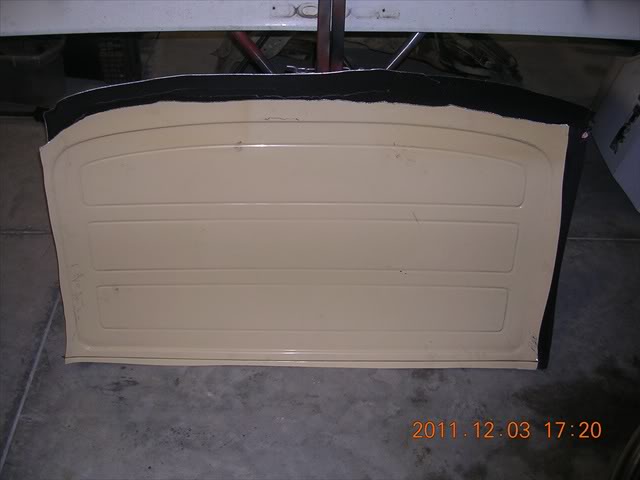
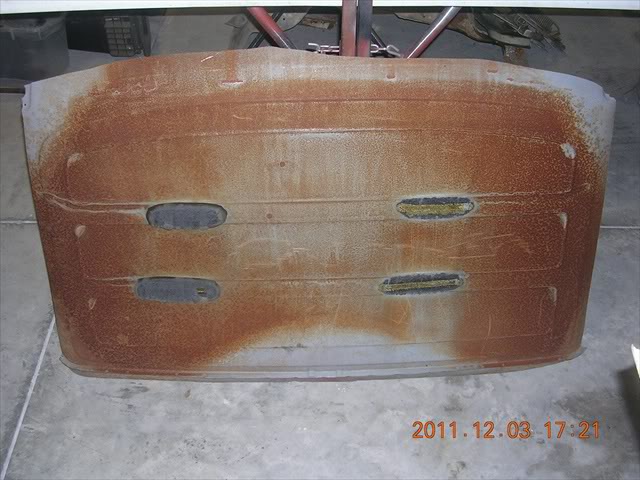
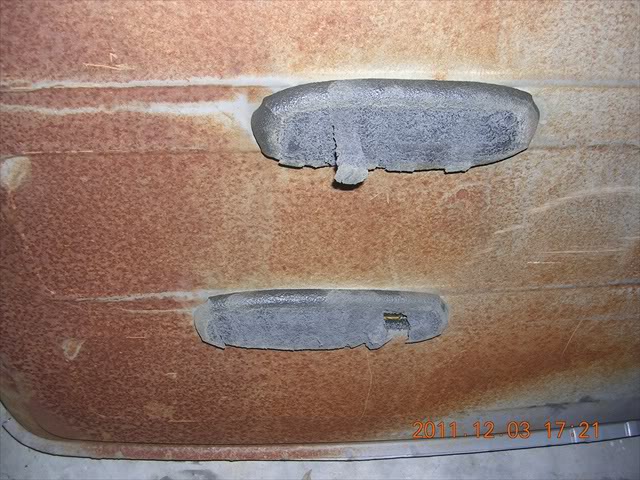
The beige skin was a1984 and the 2 gray skins were 1986's. The factory didn't metal preserve the inner and out roof sheetmetal at all. In the 84 roof was a sheet of fiberboard and the 86's used 4 squirts of foam for oil canning. Interesting so far huh ?
Not only oil canning but rust prevention too if you plan on keeping your truck a long time.
I have been thinking of the oil canning issue for awhile.
1 I don't like the foam idea at all. For the reason previuosly mentioned reason that it will trap and hold moisture and it would be impossible to remove.
So my idea is dynamatt to help stiffen the roof sheetmetal and a few layers of jute padding insulation. But wait how in the he__ am I goin ta get it in there ???
This is my soulution. First I went to the local U-pull-it and cut 3 reg cab roofs and cut out the inner roof skins.
This is what I ended up with.
The beige skin was a1984 and the 2 gray skins were 1986's. The factory didn't metal preserve the inner and out roof sheetmetal at all. In the 84 roof was a sheet of fiberboard and the 86's used 4 squirts of foam for oil canning. Interesting so far huh ?
Not only oil canning but rust prevention too if you plan on keeping your truck a long time.
12-15-2011, 09:22 PM
#52
Registered User
Thread Starter
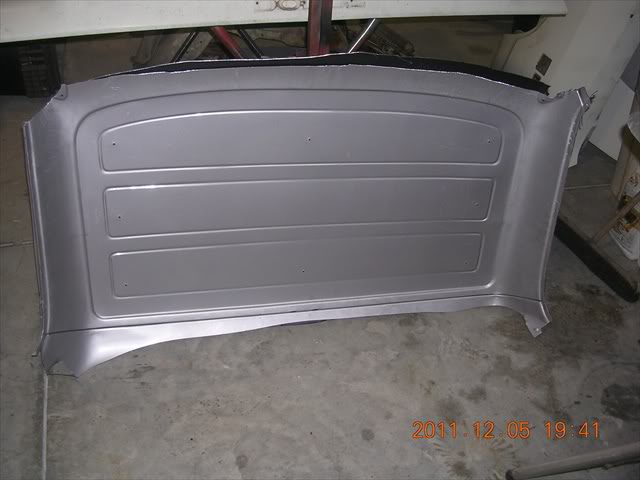
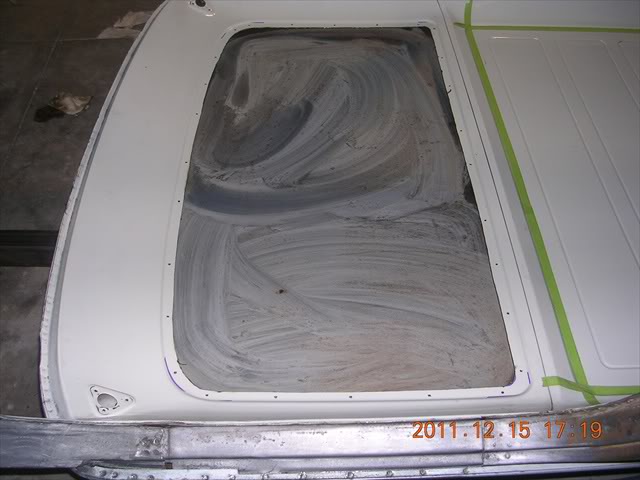
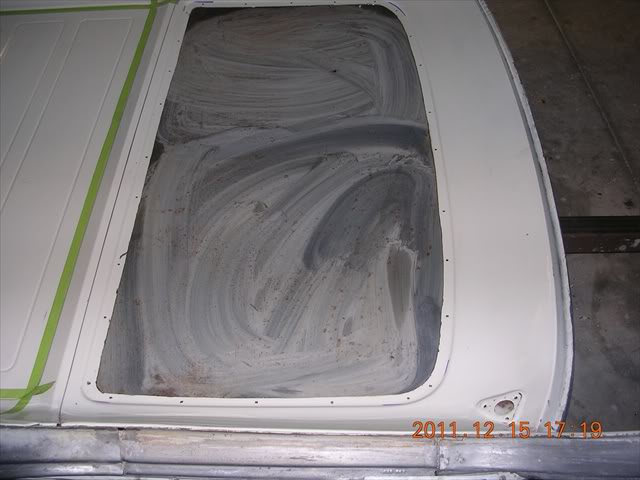
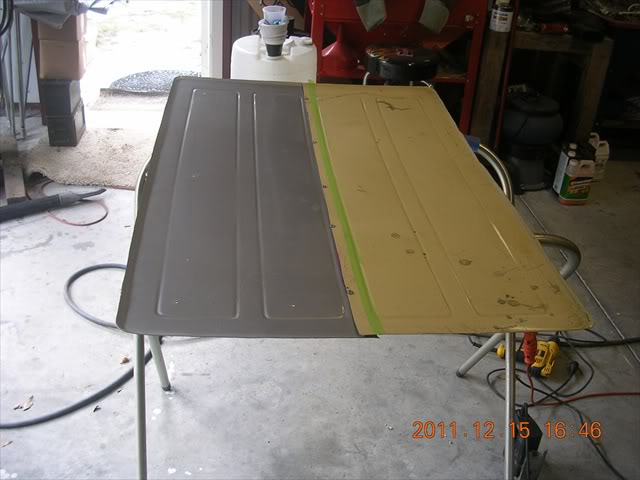
Next I cut down the skin to the lip edge to help mantain the integrity of the skin for my idea.
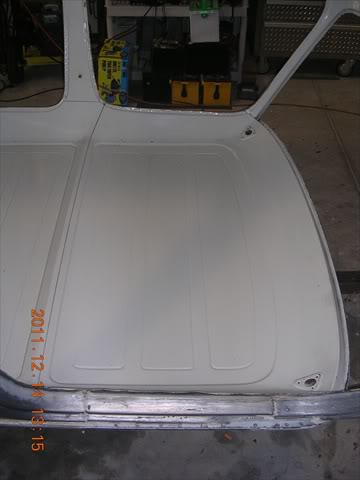
The screws are the self tapping type. These were used to make all the holes in the skin and the roof lip so they were an exact match. I have a clip retainer and screw set up that will be used for final assy to ensure a solid mount for the now removable panel.
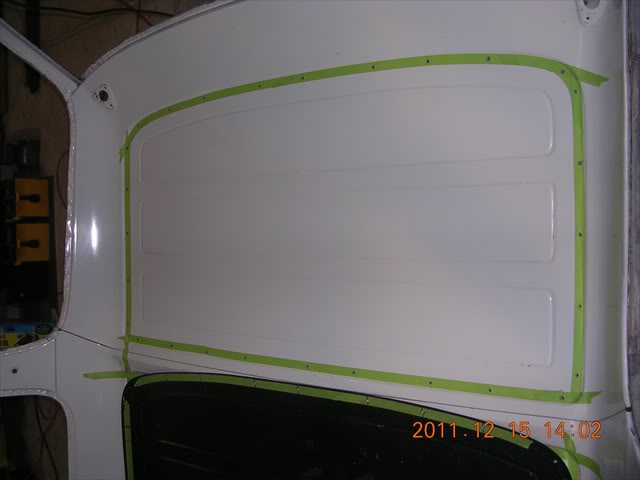
Notice the screw holes now they match the panel perfectly.
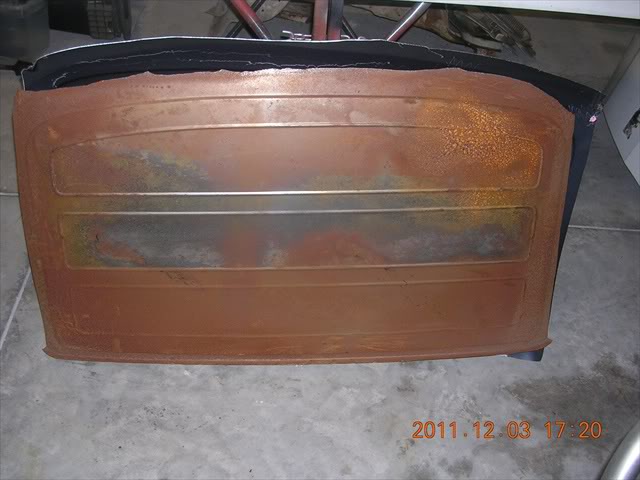
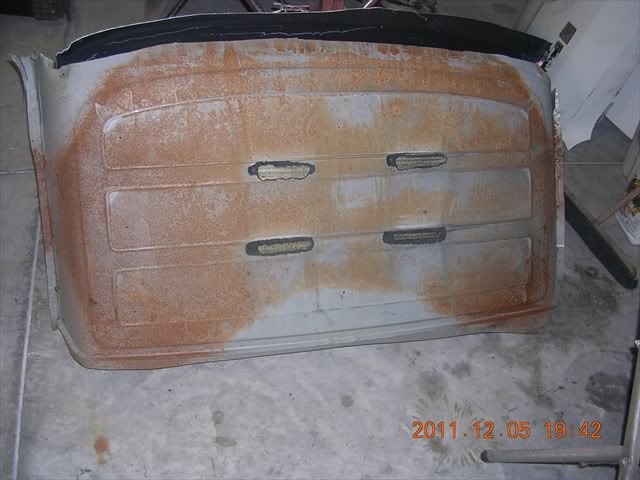
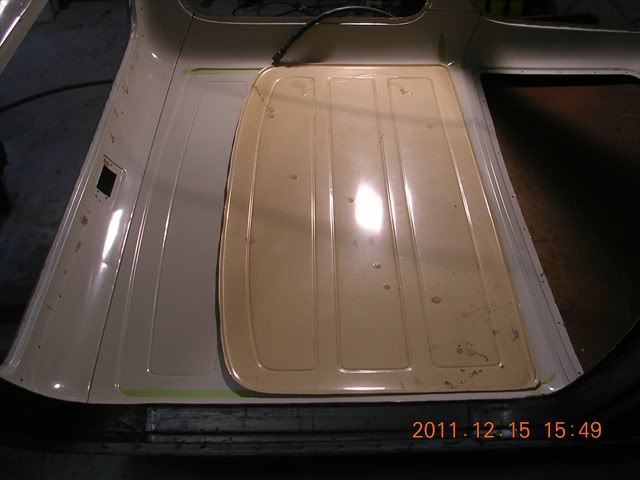
The fiberboard panel I mentioned earlier. Nice moisture trap huh. Sure was nice of the factory to help the roof rot faster for us. This board would be in all 84 and 85 crews, clubs and standard cabs.

My Crew spent all 27 years in Arizona, land of little water and it still has surface rust-not bad but it's there. I'm sure it's in all of your trucks too.
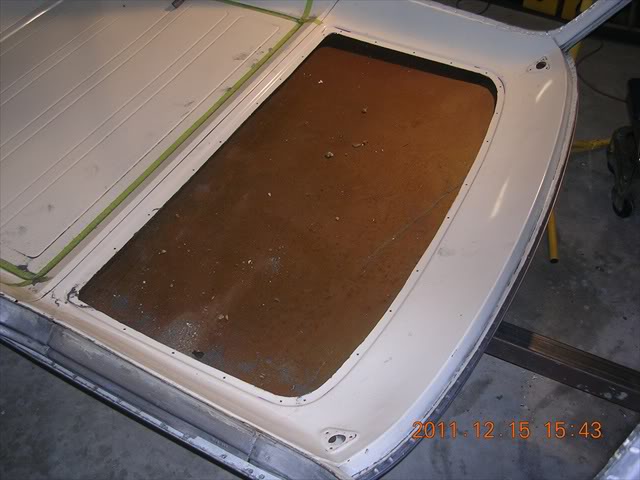
A little better lighting to show the potential rust monster.
The screws are the self tapping type. These were used to make all the holes in the skin and the roof lip so they were an exact match. I have a clip retainer and screw set up that will be used for final assy to ensure a solid mount for the now removable panel.
Notice the screw holes now they match the panel perfectly.
The fiberboard panel I mentioned earlier. Nice moisture trap huh. Sure was nice of the factory to help the roof rot faster for us. This board would be in all 84 and 85 crews, clubs and standard cabs.
My Crew spent all 27 years in Arizona, land of little water and it still has surface rust-not bad but it's there. I'm sure it's in all of your trucks too.
A little better lighting to show the potential rust monster.
12-15-2011, 09:53 PM
#53
Registered User
Thread Starter
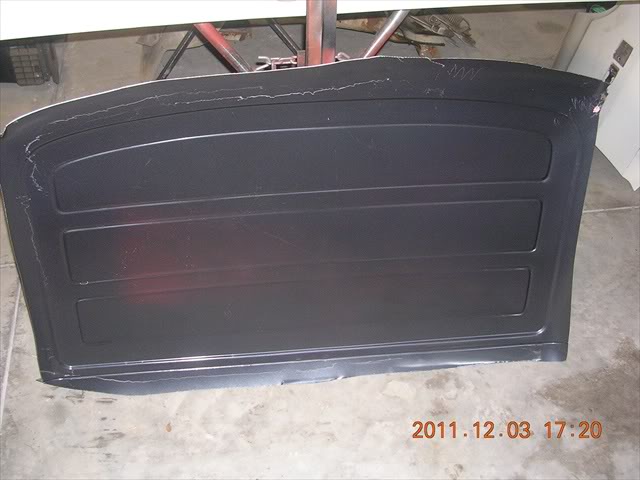
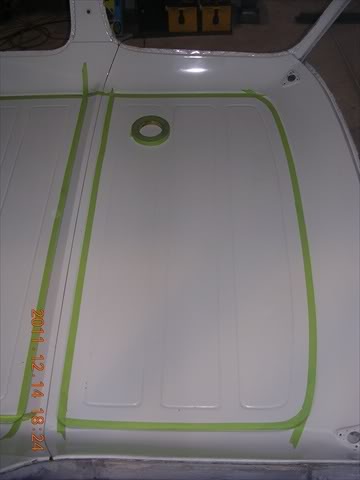
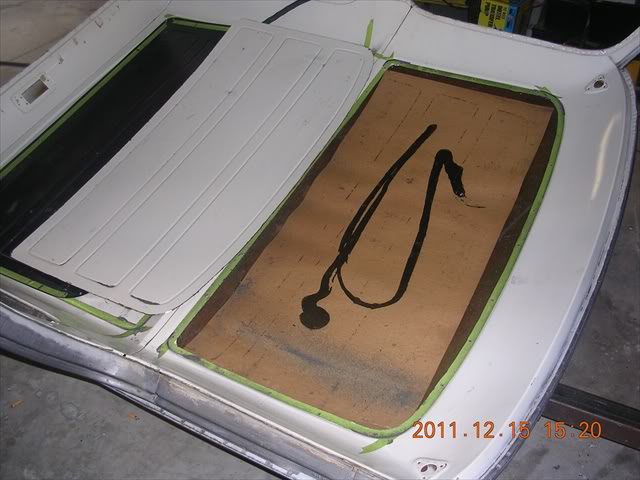
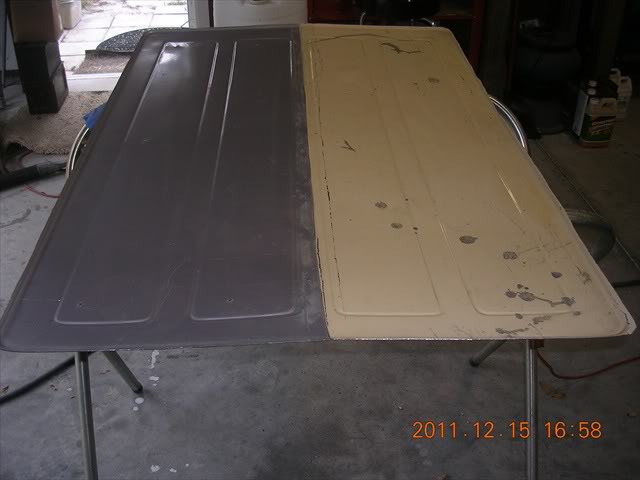
I test fit the removable roof panel 1 more time.
Next I used some of the pickle X 20 I mentioned before to clean some of the rust.
Once she's primed and painted. I can add dynamatt and jute padding to sanwich between the panel and the roof to completely stop the oil caning to the front of the cab.
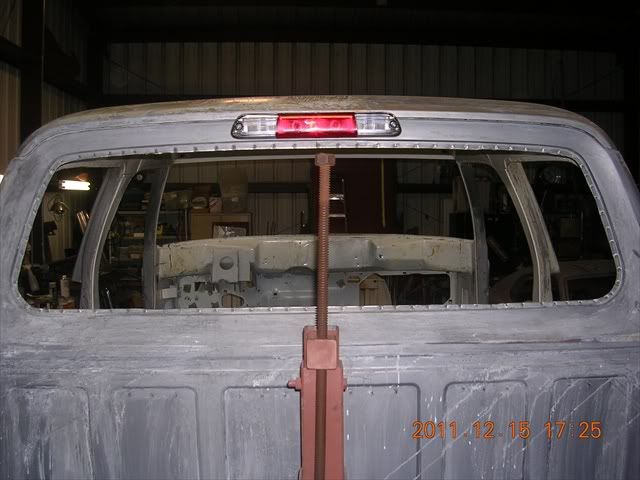
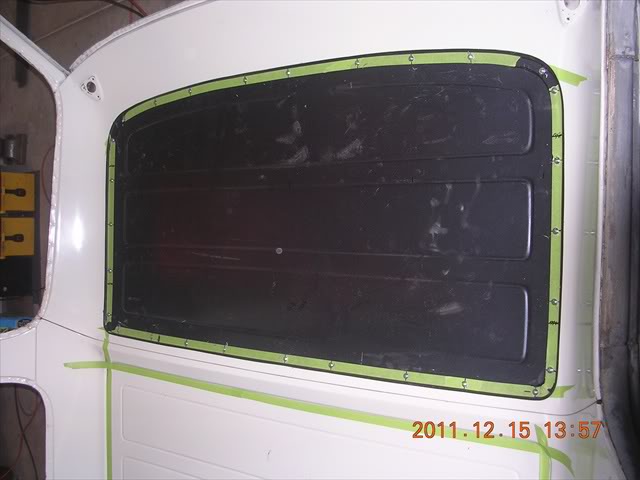
No for the back of the cab. Which I haven't completed yet. But I think ya'll get the idea of what I'm doing.
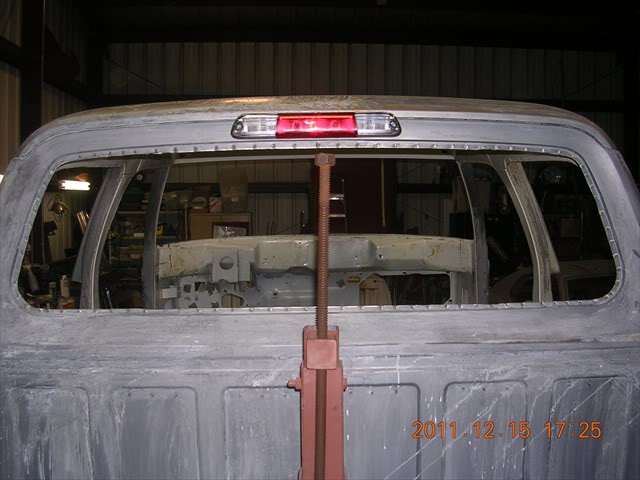
The back panel I have to make using 2 standard cab panels.
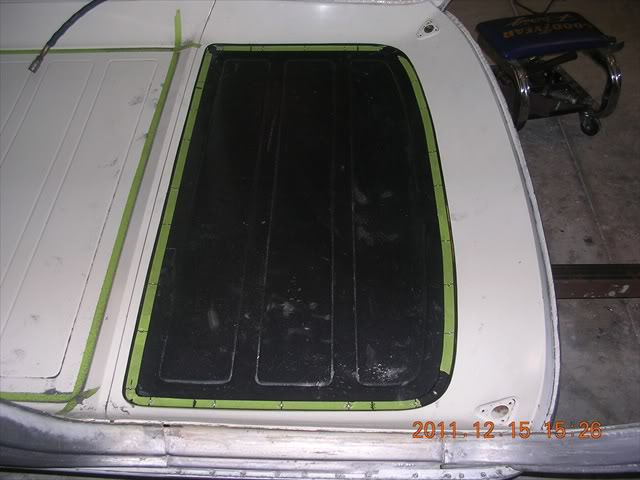
Now I have to weld these 2 together and start fitting and trimming it to fit. Which I'll show the progress in the next few days.
When done I'll be able to add Dynamatt to the front and rear of the roof skin and add jute padding to totally stop the oil canning.
So what does everyone think. ?? It takes some work but I think it's the best way to kill the rust and the oil caning.
Next I used some of the pickle X 20 I mentioned before to clean some of the rust.
Once she's primed and painted. I can add dynamatt and jute padding to sanwich between the panel and the roof to completely stop the oil caning to the front of the cab.
No for the back of the cab. Which I haven't completed yet. But I think ya'll get the idea of what I'm doing.
The back panel I have to make using 2 standard cab panels.
Now I have to weld these 2 together and start fitting and trimming it to fit. Which I'll show the progress in the next few days.
When done I'll be able to add Dynamatt to the front and rear of the roof skin and add jute padding to totally stop the oil canning.
So what does everyone think. ?? It takes some work but I think it's the best way to kill the rust and the oil caning.

 12-15-2011, 10:31 PM
#56
Registered User
Yes, we will let you know
Tracks are closing here for winter
(Nashville, tn)
Good idea you got
Looks like it would make it also
easier to wire the clearance lights
or trouble shoot the wiring
Gayle and Howard
Ha-Ha Racin
Havin Fun 101
12-17-2011, 08:04 PM
#58
Registered User
Thread Starter
Hi Bryson, Yes I'm taking Johnny 5's lead from his build where he mentioned a clubcab headliner and a standard cab headliner to cover the screws. I've accumulated a few sets of trim plus part of the clubs trim. I have all the plastic trim to trim it all out nicely.
One thing I forgot to mention was that I will also be gluing/riveting the panel that was cut out to the backside bolt in panels to add rigidity.
I know it seems like a project to do this. But it was really a cake walk.
One thing I forgot to mention was that I will also be gluing/riveting the panel that was cut out to the backside bolt in panels to add rigidity.
I know it seems like a project to do this. But it was really a cake walk.