Shock Replacement HOW TO Pics
 06-01-2008, 04:04 PM
#1
Registered User
Thread Starter

Join Date: Jul 2007
Location: Frederick Maryland
Posts: 6
Likes: 0
Received 0 Likes
on
0 Posts
Shock Replacement HOW TO Pics
My intentions for this post is to show how this is done so that maybe a few that wouldn't have attempted this because they just didn't know will see it isn't that hard and will do it themselves.
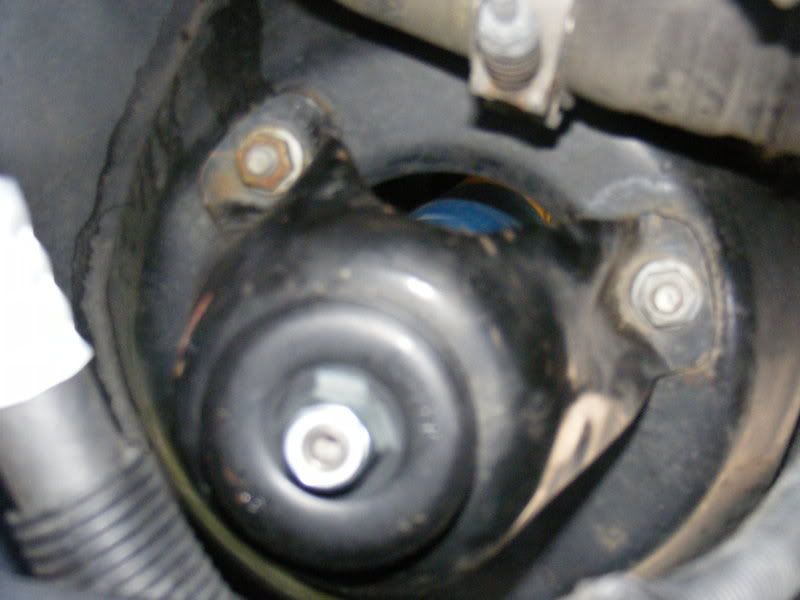
This is under the hood and is the top of the shock on the passenger side.
This is the new one installed.
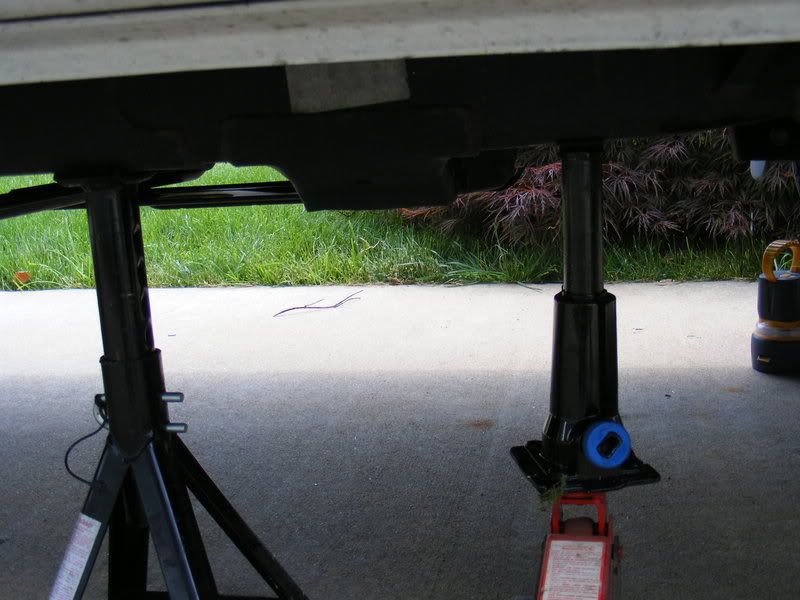
Jack up the front so the shock is fully extended. This is so that when you release it you don't have the shock push into the battery, hose or other objects.
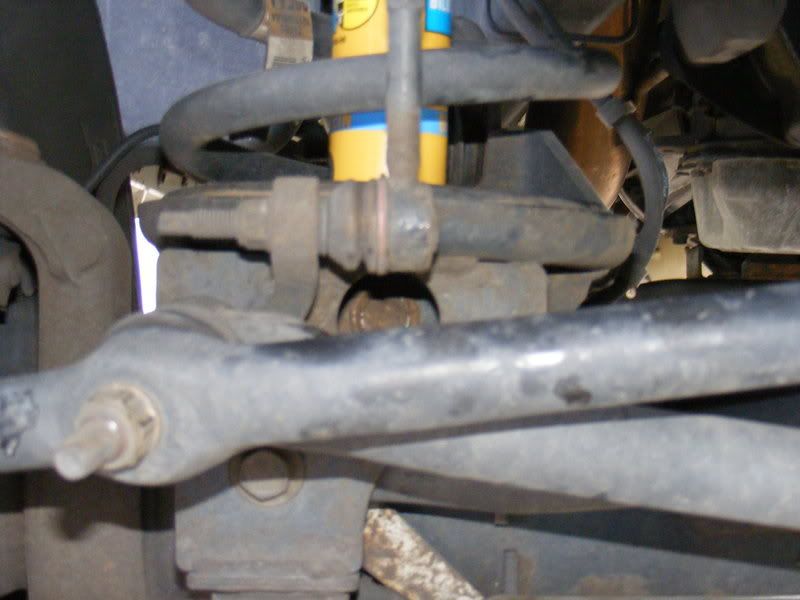
After jacking it up, Use a 18mm socket and remove the lower bolt. Nothing on the other side to hold.
Now go back to the topside.
If you have a impact gun with a 18mm socket take the top nut off the shock. If you don't have an impact you can remove the lower 3 15mm nuts and after removing the entire shock and the top part you can use a bench vise. Use the vise to hold the top of the bolt of the shock which is a 8mm area for a wrench. While in the vise use a 18mm wrench and remove the nut. This will work for this side but without an impact you won't be able to do the other side as the brake resevoir is in the way for this procedure. The other side you must remove the shock nut, the 3 lower nuts, put the piece to the side and remove the shock.
To put the new shock in, put it in from the top and put the lower bolt in and tighten.
From the top put the new bushings and other hardware on the new shock just like the old one. Put the shock tower cover on and put the 3 lower 15mm nuts on. Put the top rubber bushing, the plate and the new 19mm nut.
Here use a 6mm allen and a wrench to tighten.
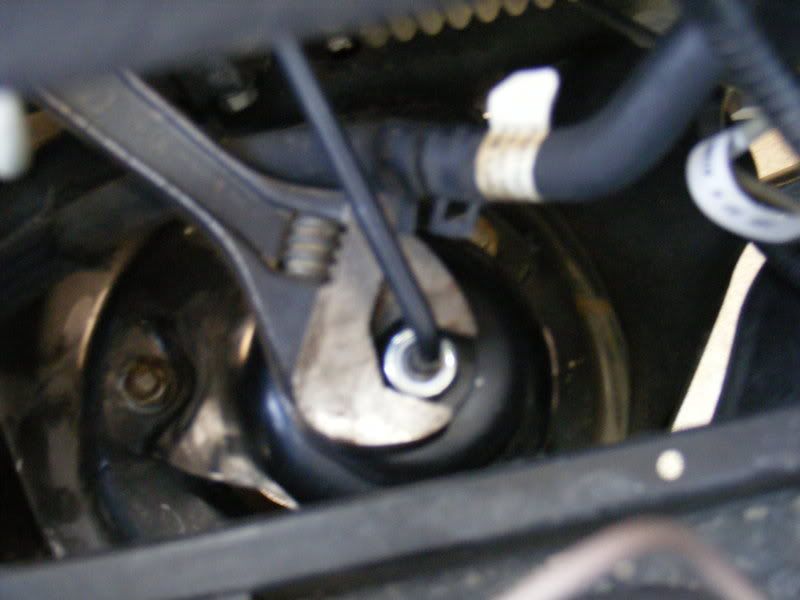
What I did was turn the allen not the wrench as it is easier to turn and there is little room. Just make sure to tighten enough to get the threads past the lock washer.
On the brake resevoir side there is a hose that clips to the shock mount so make sure it goes back.
This is under the hood and is the top of the shock on the passenger side.
This is the new one installed.
Jack up the front so the shock is fully extended. This is so that when you release it you don't have the shock push into the battery, hose or other objects.
After jacking it up, Use a 18mm socket and remove the lower bolt. Nothing on the other side to hold.
Now go back to the topside.
If you have a impact gun with a 18mm socket take the top nut off the shock. If you don't have an impact you can remove the lower 3 15mm nuts and after removing the entire shock and the top part you can use a bench vise. Use the vise to hold the top of the bolt of the shock which is a 8mm area for a wrench. While in the vise use a 18mm wrench and remove the nut. This will work for this side but without an impact you won't be able to do the other side as the brake resevoir is in the way for this procedure. The other side you must remove the shock nut, the 3 lower nuts, put the piece to the side and remove the shock.
To put the new shock in, put it in from the top and put the lower bolt in and tighten.
From the top put the new bushings and other hardware on the new shock just like the old one. Put the shock tower cover on and put the 3 lower 15mm nuts on. Put the top rubber bushing, the plate and the new 19mm nut.
Here use a 6mm allen and a wrench to tighten.
What I did was turn the allen not the wrench as it is easier to turn and there is little room. Just make sure to tighten enough to get the threads past the lock washer.
On the brake resevoir side there is a hose that clips to the shock mount so make sure it goes back.
 06-01-2008, 04:08 PM
#2
Registered User
Thread Starter
Join Date: Jul 2007
Location: Frederick Maryland
Posts: 6
Likes: 0
Received 0 Likes
on
0 Posts
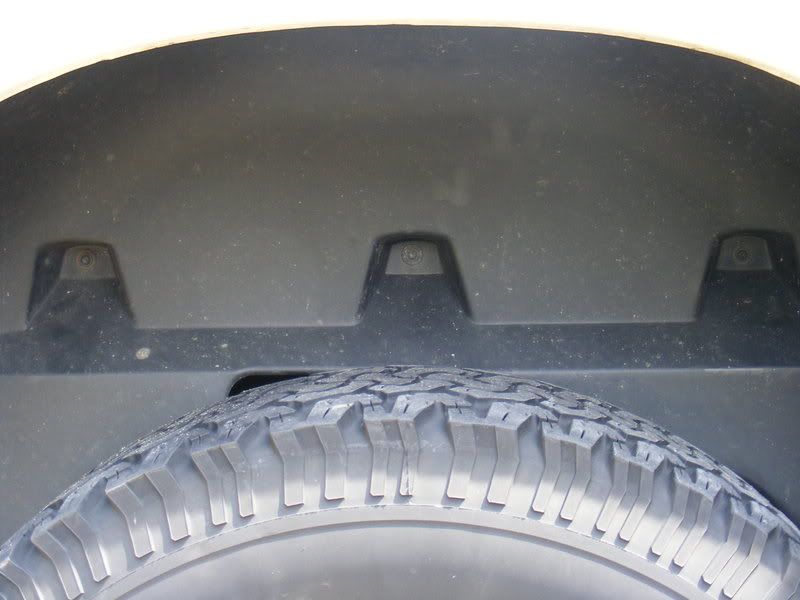
For the rear if you have the mud guard you must remove it. I uses a T25 torx to remove the bolts.

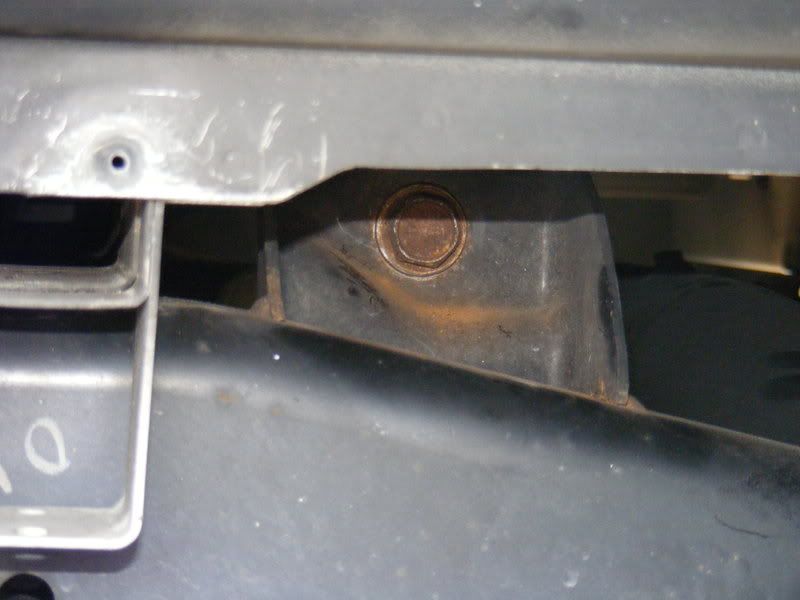
This is the upper nut on the inside but you don't need to put anything on it.
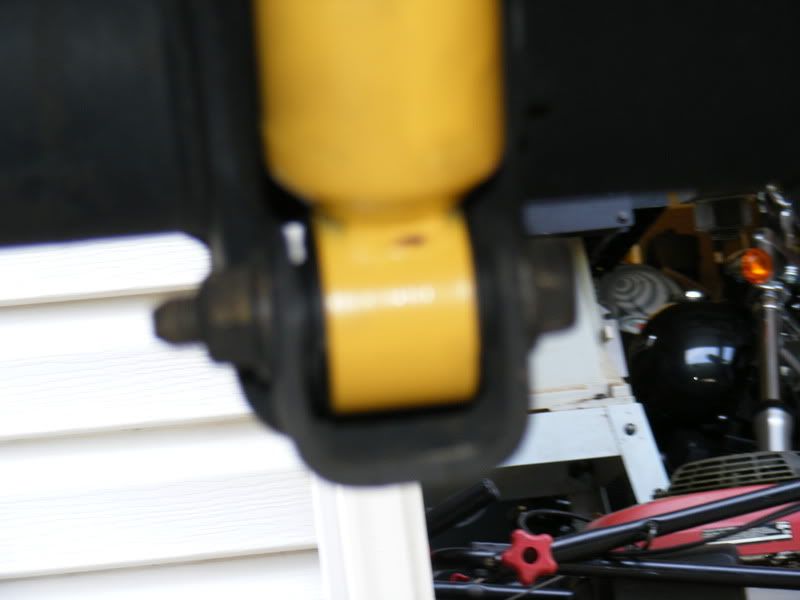
This is the top bolt 18mm with a nut on the other side with a locking device that you don't have to put a wrench on for the bolt to come out. Also be aware that on the drivers side there is another hose clamped to it you need to put back.
I didn't jack the rear as there really isn't anything for the shock to push against that it might damage.
This is the lower nut 18mm
This is the upper nut on the inside but you don't need to put anything on it.
This is the top bolt 18mm with a nut on the other side with a locking device that you don't have to put a wrench on for the bolt to come out. Also be aware that on the drivers side there is another hose clamped to it you need to put back.
I didn't jack the rear as there really isn't anything for the shock to push against that it might damage.
This is the lower nut 18mm


Thread
Thread Starter
Forum
Replies
Last Post
freight train
3rd Gen High Performance and Accessories (5.9L Only)
22
03-25-2013 04:46 PM
stumpjumper
Towing and Hauling / RV
7
08-21-2007 07:14 AM