New RA Bumper
 04-30-2007, 01:23 AM
#1
Registered User
Thread Starter
Join Date: Jul 2003
Location: Phoenix, AZ
Posts: 314
Likes: 0
Received 0 Likes
on
0 Posts
New RA Bumper
I'm going to try to see if this link works. I'm not the most 'puter literate guy.  I'll have a few more pictures in tomorrow.
http://s154.photobucket.com/albums/s...ril2007062.jpg
http://s154.photobucket.com/albums/s...ril2007061.jpg
I'll have a few more pictures in tomorrow.http://s154.photobucket.com/albums/s...ril2007062.jpg
http://s154.photobucket.com/albums/s...ril2007061.jpg


 04-30-2007, 09:16 AM
#6
Registered User
Thread Starter
Join Date: Jul 2003
Location: Phoenix, AZ
Posts: 314
Likes: 0
Received 0 Likes
on
0 Posts
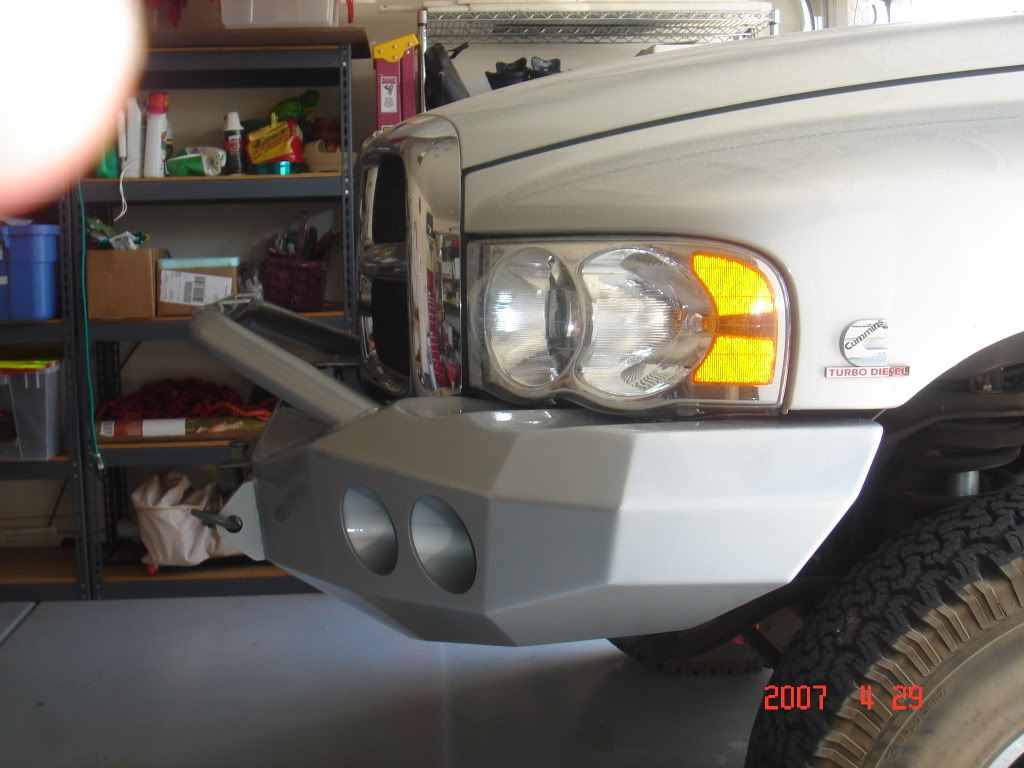
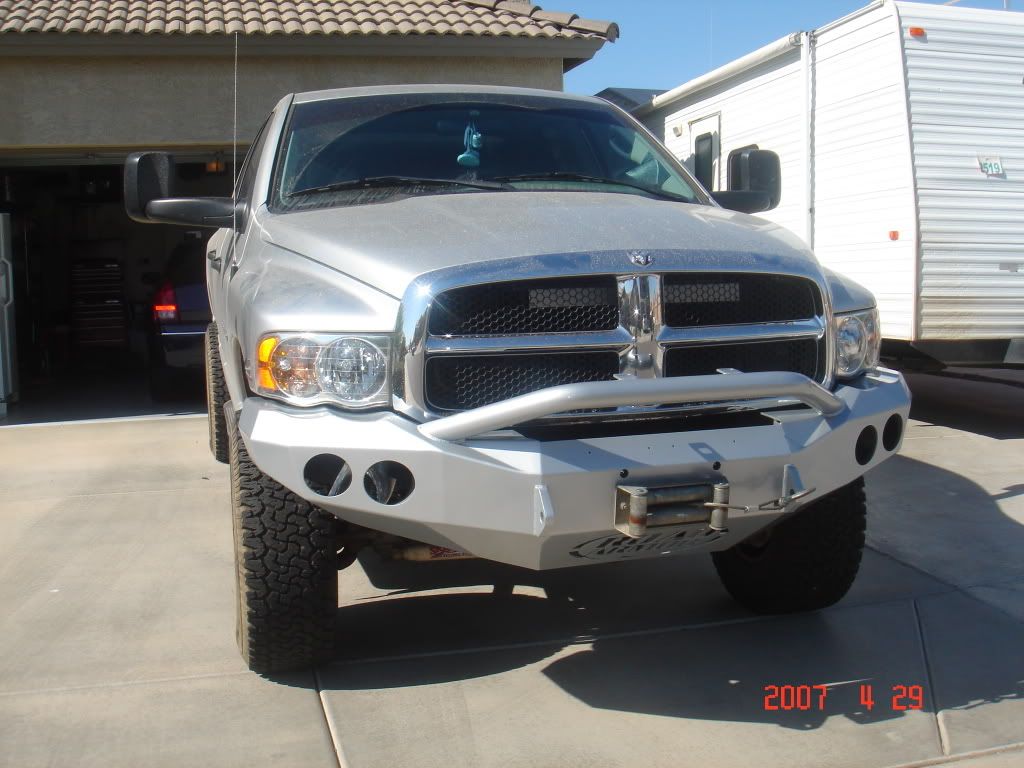
That bumper is powder coated. It's not an exact match but it's pretty close. It cost $150 to PC it, but they wanted an additional $250 to special order "Dodge PS2" silver. I almost did it until the told me the finish wouldn't be exact as it's thicker. It has a that "orange peel" texture to it when you look at it in the sun.
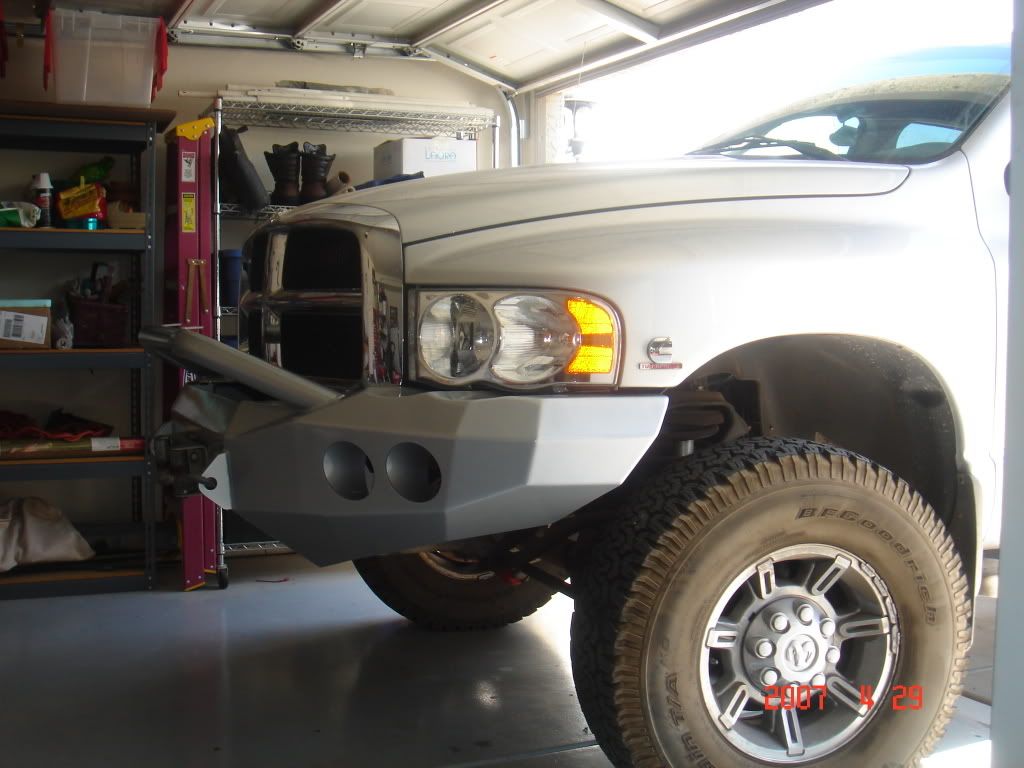
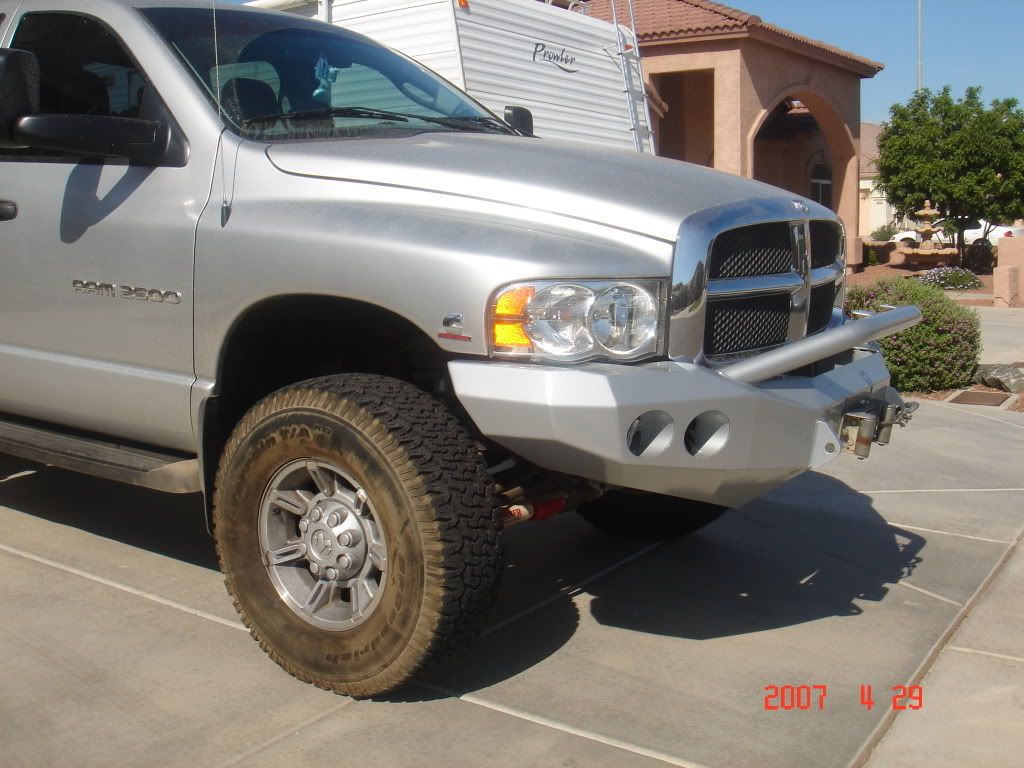
I wish I could fit in the garage too. I sit just a little too high. I can only get in to the top of the windshield. I haven't measured but I bet I'm too long too.
I can get some with the headlights on maybe tonight, depending on the kids. They get kind of tough sometimes. I'm expecting to add some PIAA 510's soon. Soon as that happens I'll post some pictures then too. The bumper is REAL close to the headlights, but I don't want to lower it anymore. I already have a 3/4 inch gap between the bottom of the fender and the top edge of the bumper. I guess it's engineered for more flex when you use the winch.
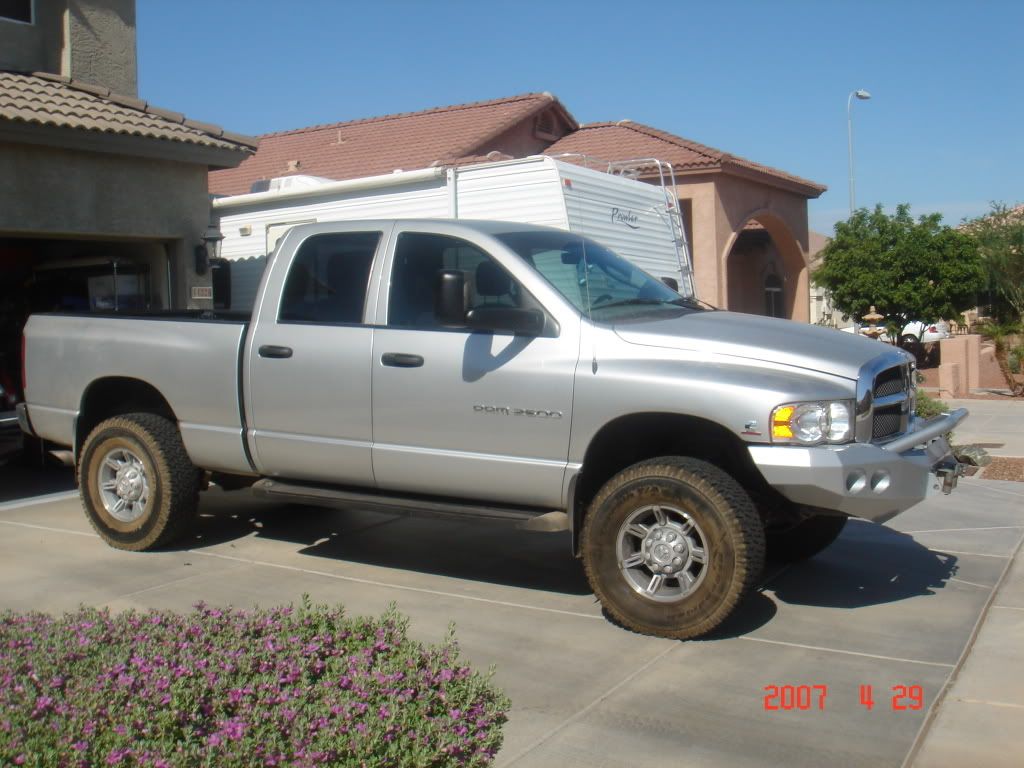
I'll get some better pictures (out in the sun) posted later today.
I wish I could fit in the garage too.
I sit just a little too high. I can only get in to the top of the windshield. I haven't measured but I bet I'm too long too.I can get some with the headlights on maybe tonight, depending on the kids. They get kind of tough sometimes. I'm expecting to add some PIAA 510's soon. Soon as that happens I'll post some pictures then too. The bumper is REAL close to the headlights, but I don't want to lower it anymore. I already have a 3/4 inch gap between the bottom of the fender and the top edge of the bumper. I guess it's engineered for more flex when you use the winch.
I'll get some better pictures (out in the sun) posted later today.
Trending Topics
04-30-2007, 10:29 AM
#8
Registered User

Join Date: Dec 2006
Posts: 184
Likes: 0
Received 0 Likes
on
0 Posts
That bumper is powder coated. It's not an exact match but it's pretty close. It cost $150 to PC it, but they wanted an additional $250 to special order "Dodge PS2" silver. I almost did it until the told me the finish wouldn't be exact as it's thicker. It has a that "orange peel" texture to it when you look at it in the sun.
I wish I could fit in the garage too. I sit just a little too high. I can only get in to the top of the windshield. I haven't measured but I bet I'm too long too.
I can get some with the headlights on maybe tonight, depending on the kids. They get kind of tough sometimes. I'm expecting to add some PIAA 510's soon. Soon as that happens I'll post some pictures then too. The bumper is REAL close to the headlights, but I don't want to lower it anymore. I already have a 3/4 inch gap between the bottom of the fender and the top edge of the bumper. I guess it's engineered for more flex when you use the winch.
I'll get some better pictures (out in the sun) posted later today.
I wish I could fit in the garage too.
I sit just a little too high. I can only get in to the top of the windshield. I haven't measured but I bet I'm too long too.I can get some with the headlights on maybe tonight, depending on the kids. They get kind of tough sometimes. I'm expecting to add some PIAA 510's soon. Soon as that happens I'll post some pictures then too. The bumper is REAL close to the headlights, but I don't want to lower it anymore. I already have a 3/4 inch gap between the bottom of the fender and the top edge of the bumper. I guess it's engineered for more flex when you use the winch.
I'll get some better pictures (out in the sun) posted later today.
04-30-2007, 10:41 AM
#9
Registered User
Thread Starter
Join Date: Jul 2003
Location: Phoenix, AZ
Posts: 314
Likes: 0
Received 0 Likes
on
0 Posts
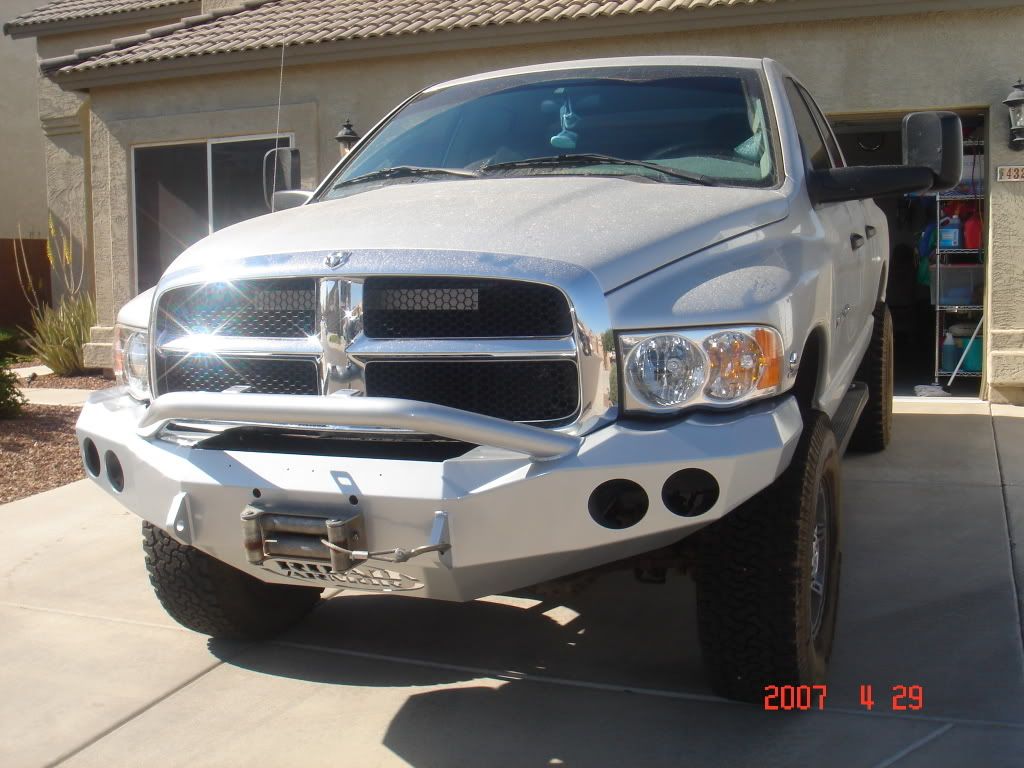
My guess is I was lucky. :-) I started out with all the mounting bolts loose. I tightened the frame rails first, and then used a big rubber mallet, hips, and a fat belly to move it as best I could while my buddy tightened up the remaining 6 nuts. I'd still like to shift it over about 3/4 inch to the drivers side, but I just don't think that's gonna happen.
04-30-2007, 11:53 AM
#10
Registered User
Join Date: Feb 2006
Location: mid-west mid-south wa
Posts: 1,026
Received 0 Likes
on
0 Posts
when I adjusted my buckstop, I needed two floor jacks to get it adjusted correct side to side.
the first time I did it, things just lined up.
when I put the winch on, I need to adjust all the bolts over and over again to get it close. Then I gave up and said it looked fine.
the first time I did it, things just lined up.
when I put the winch on, I need to adjust all the bolts over and over again to get it close. Then I gave up and said it looked fine.
04-30-2007, 02:57 PM
#11
Registered User
Join Date: Dec 2006
Posts: 184
Likes: 0
Received 0 Likes
on
0 Posts
i did the frame bot first to ya mines off center by about 1/4 to 1/2 and inch had alot of trouble getting clearance below the head light s had to really whale on it with a 10 pound dead blow

 04-30-2007, 10:05 PM
#14
Registered User
Thread Starter
Join Date: Jul 2003
Location: Phoenix, AZ
Posts: 314
Likes: 0
Received 0 Likes
on
0 Posts
