Air Dog 100 install/pics
 01-06-2008, 01:29 PM
#1
Administrator ........ DTR's puttin fires out and workin on big trucks admin
Thread Starter

Air Dog 100 install/pics
Here is the what and how I installed the Air Dog 100, there are pro's and con's, I will offer the most objective opinion I can. This will be a long detailed post
First off the wiring harness that came with the kit is the older out dated harness, it is NOT the same one as in 53Willy's pictures, it has one 3 prong triangle shape duetch connector for the A/D pump, the 2 spade connectors for the filter change indicator, battery connections, and a BLACK trigger wire, unfortunately the wireing was the last thing I did and my camera batteries were dead, so no pics of the actual harness.
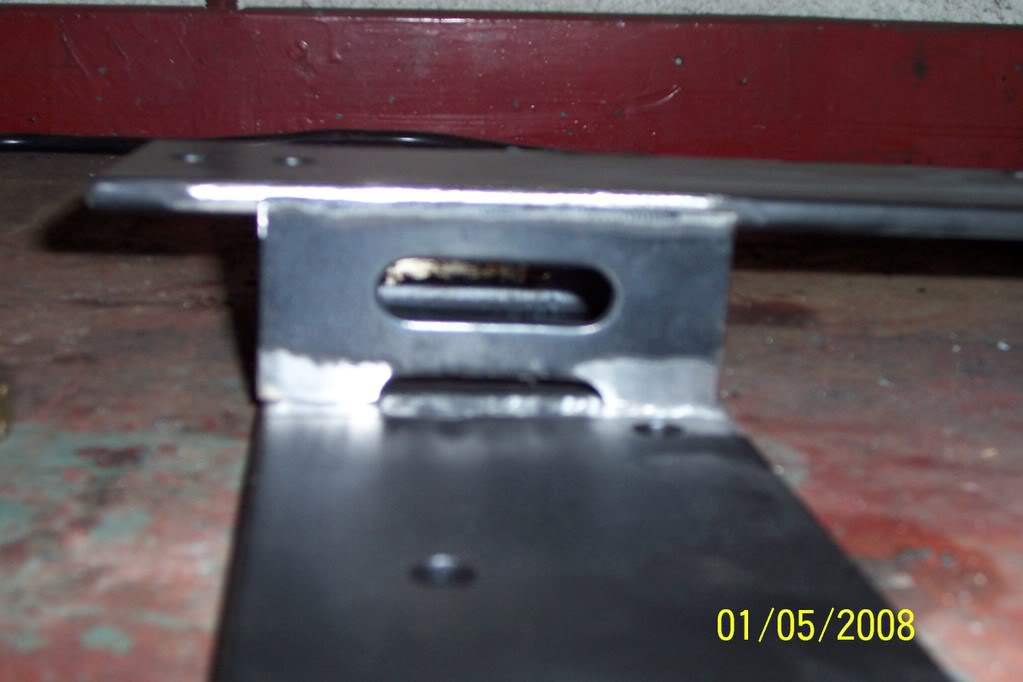
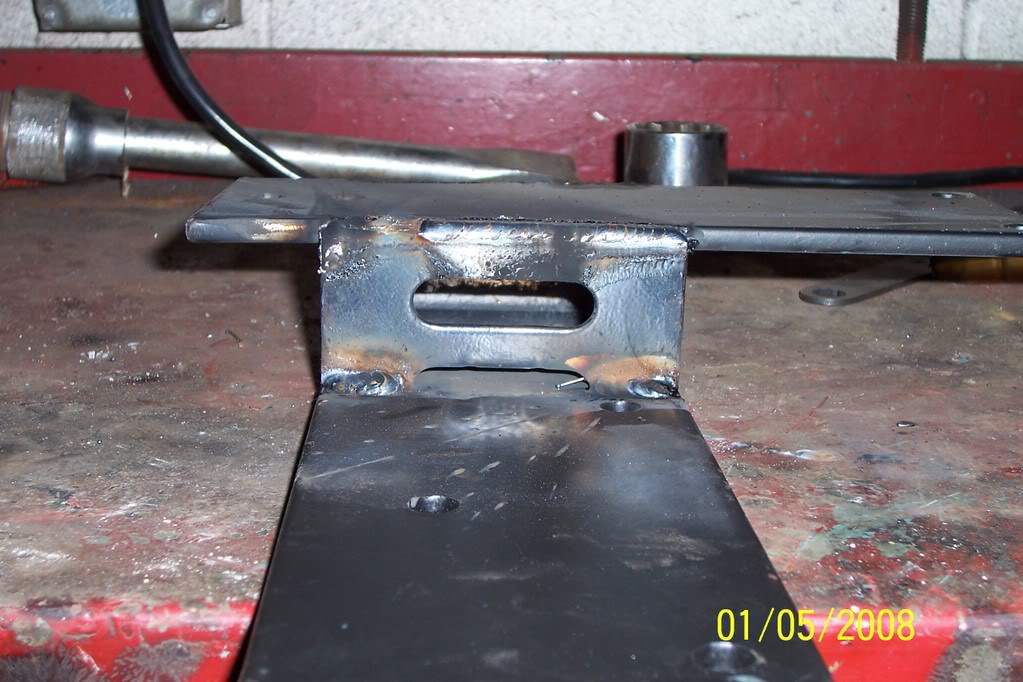
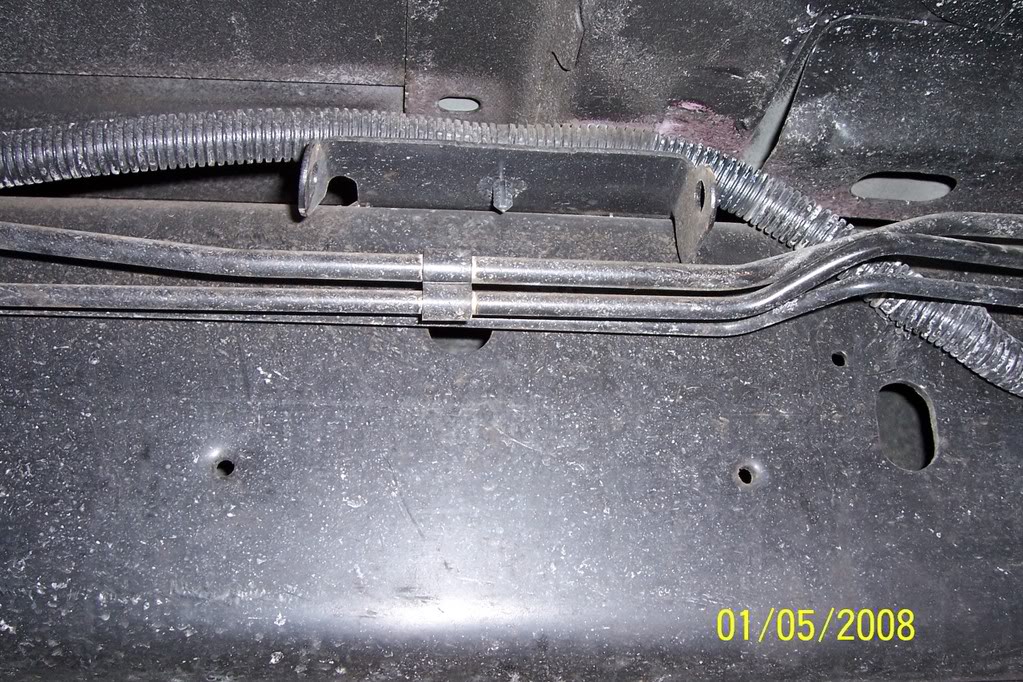
Ok lets start off with the bracket, no way was I going to mount it the way
the instructions called for, so i modified it accordingly

First off the wiring harness that came with the kit is the older out dated harness, it is NOT the same one as in 53Willy's pictures, it has one 3 prong triangle shape duetch connector for the A/D pump, the 2 spade connectors for the filter change indicator, battery connections, and a BLACK trigger wire, unfortunately the wireing was the last thing I did and my camera batteries were dead, so no pics of the actual harness.
Ok lets start off with the bracket, no way was I going to mount it the way
the instructions called for, so i modified it accordingly
 01-06-2008, 01:36 PM
#2
Administrator ........ DTR's puttin fires out and workin on big trucks admin
Thread Starter
Here is the what and how I installed the Aid Dog 100, there are pro's and con's, I will offer the most objective opinion I can. This will be a long detailed post
First off the wiring harness that came with the kit is the older out dated harness, it is NOT the same one as in *****'s53 pictures, it has one 3 prong triangle shape duetch connector for the A/D pump, the 2 spade connectors for the filter change indicator, battery connections, and a BLACK trigger wire, unfortunately the wireing was the last thing I did and my camera batteries were dead, so no pics of the actual harness.
Ok lets start off with the bracket, no way was I going to mount it the way
the way the instructions called for, so i modified it accordingly
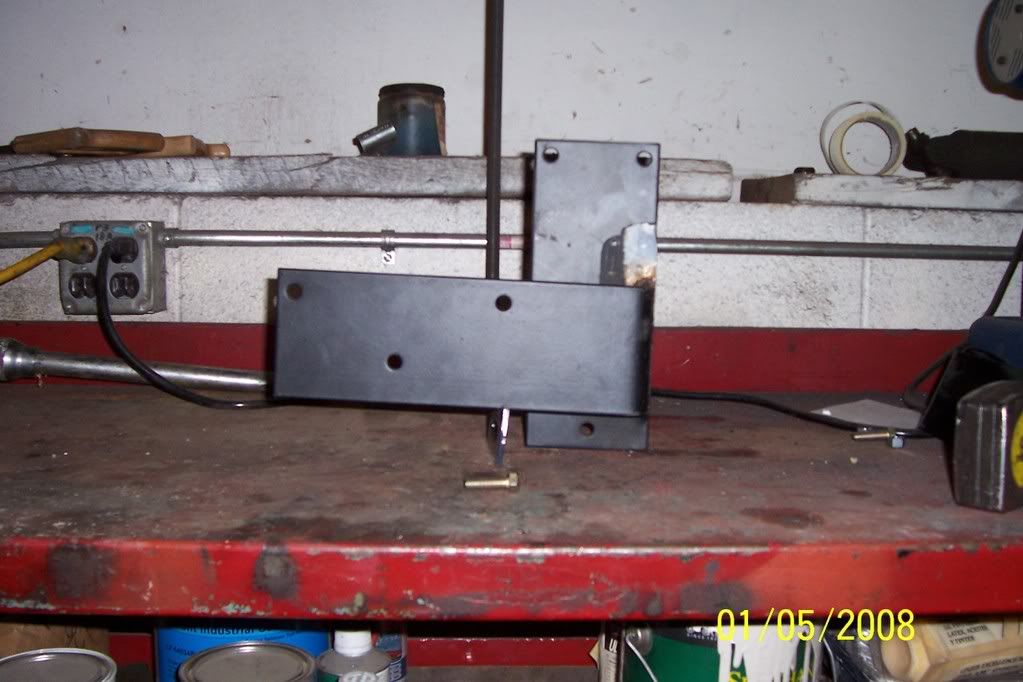
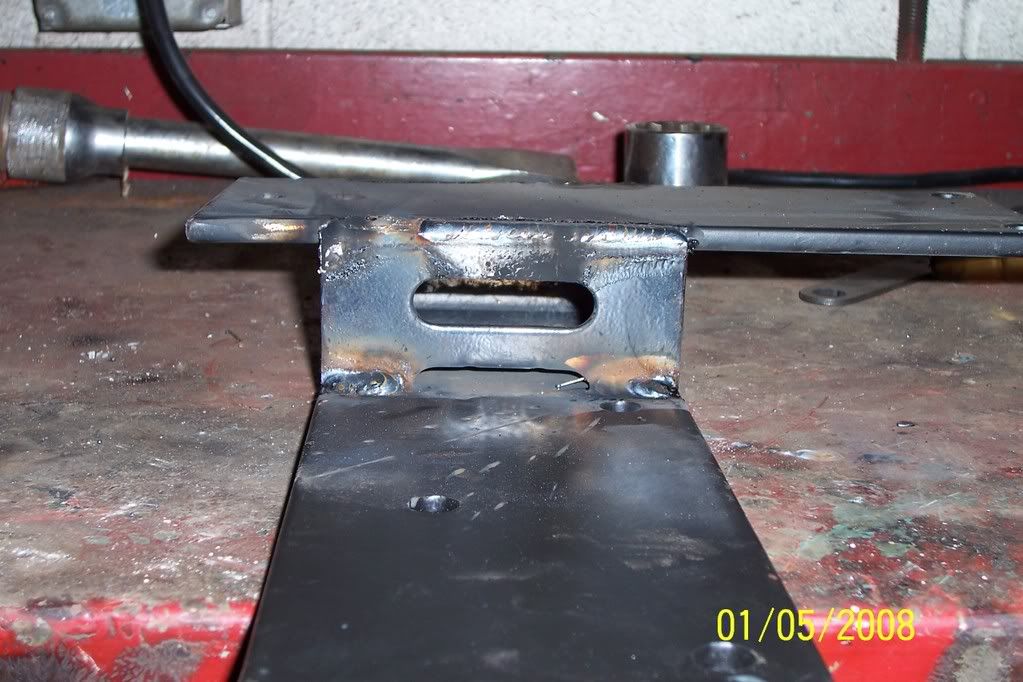
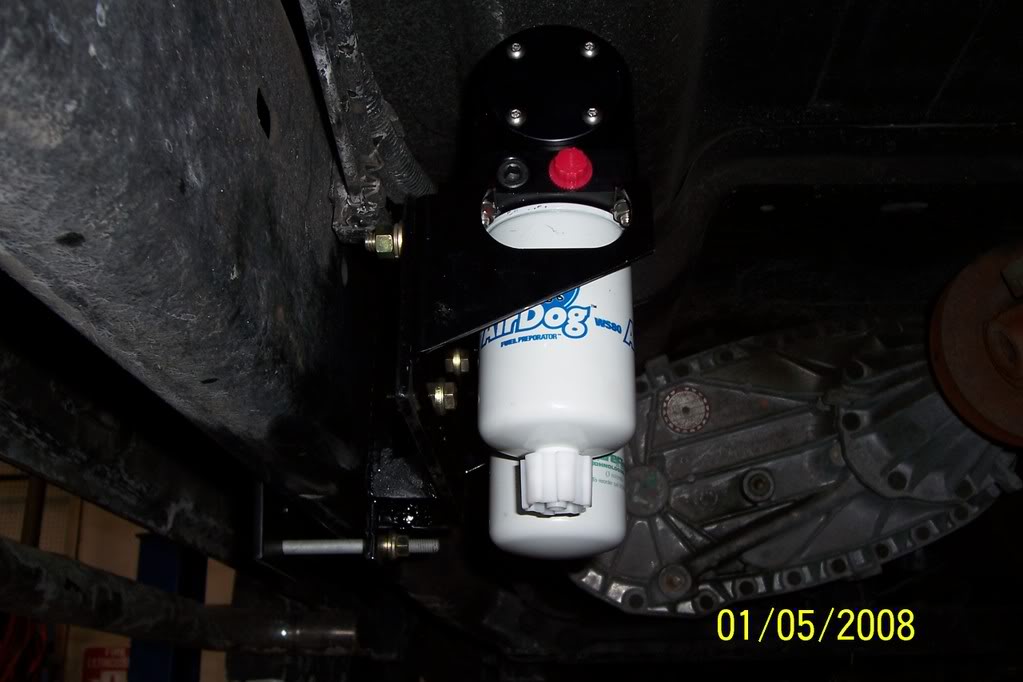
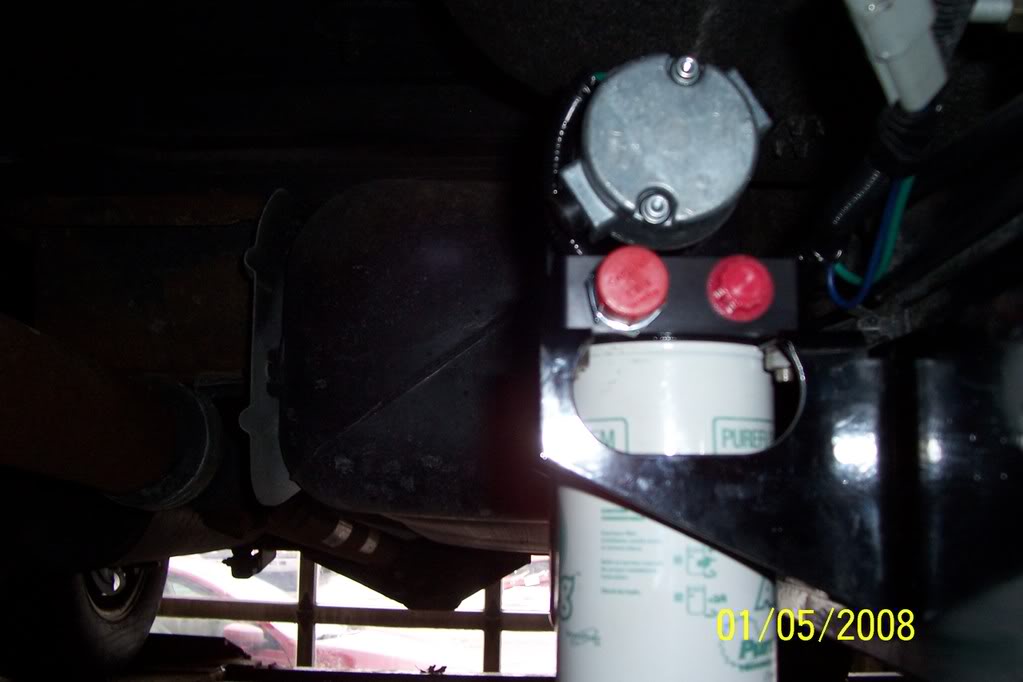
The unit on the frame,
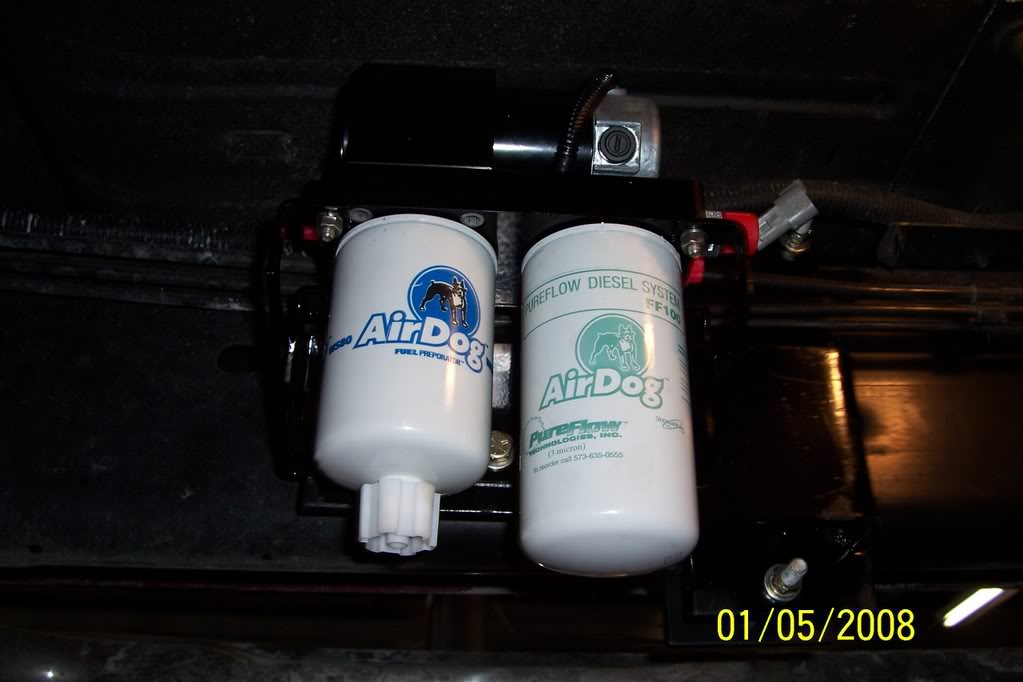
Different angle shots,
 01-06-2008, 01:43 PM
#3
Administrator ........ DTR's puttin fires out and workin on big trucks admin
Thread Starter
Continued, now that the A/D is mounted the fun begins, entire driveshaft, then tank removal,
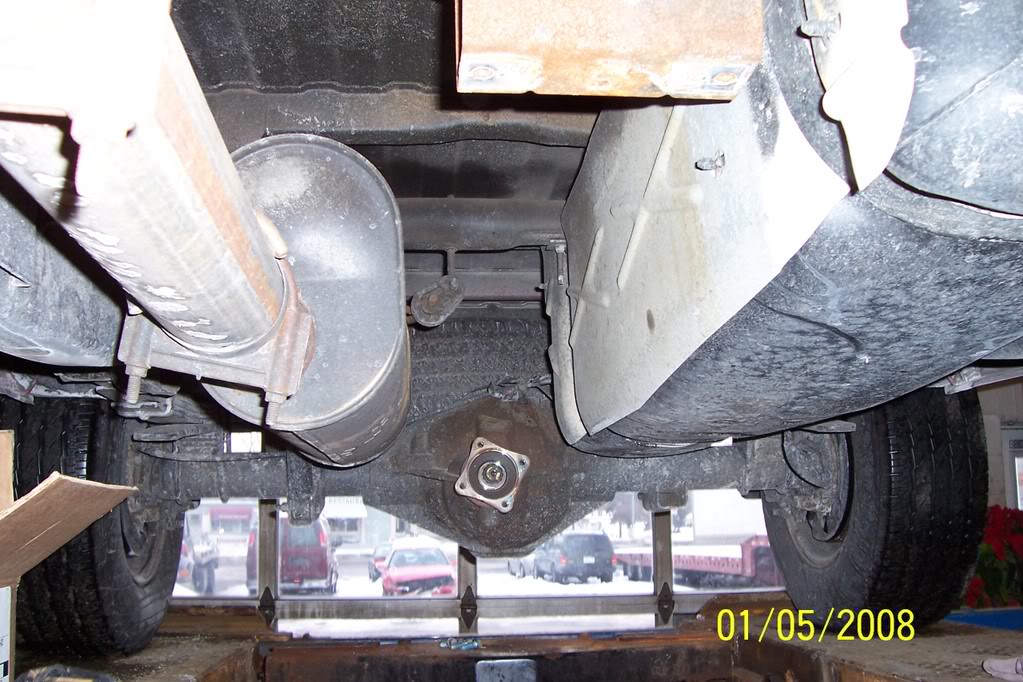
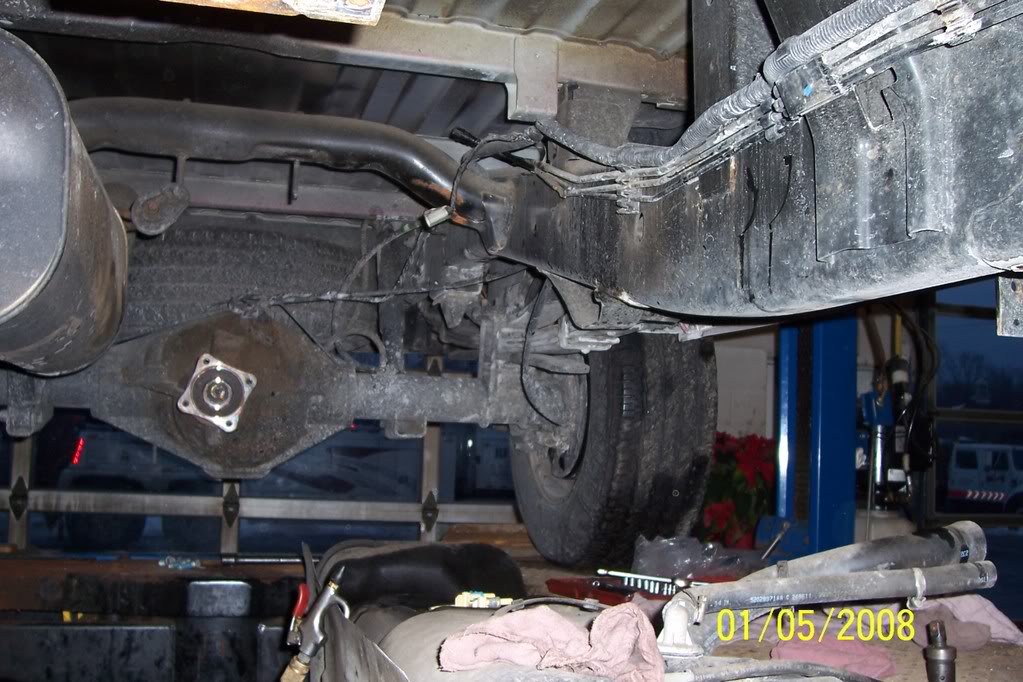
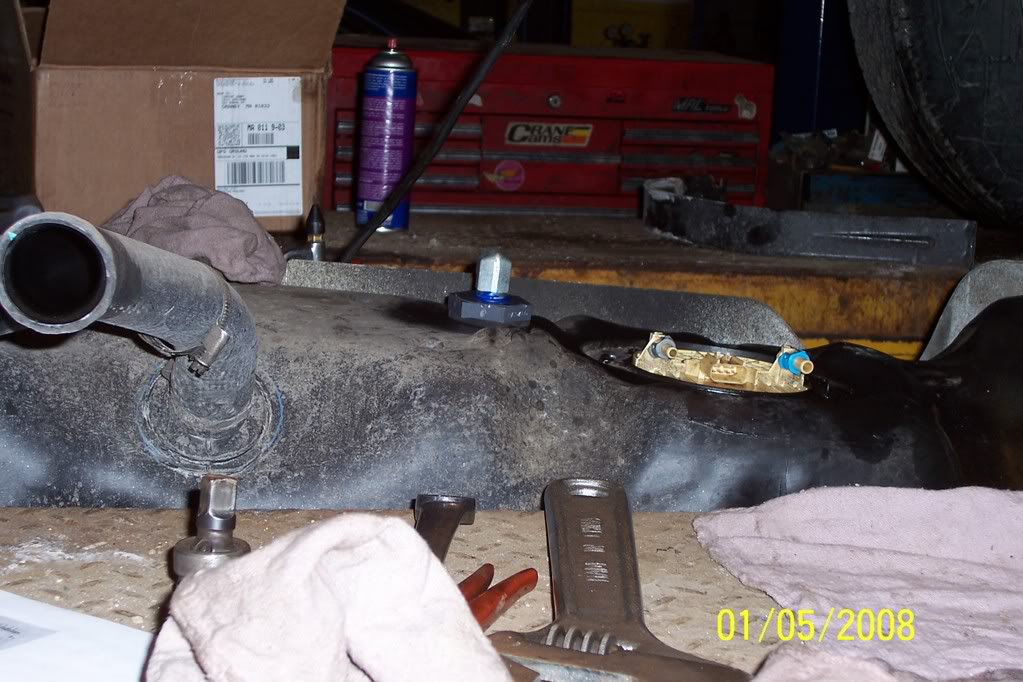
Fuel pump removal, and draw straw install,

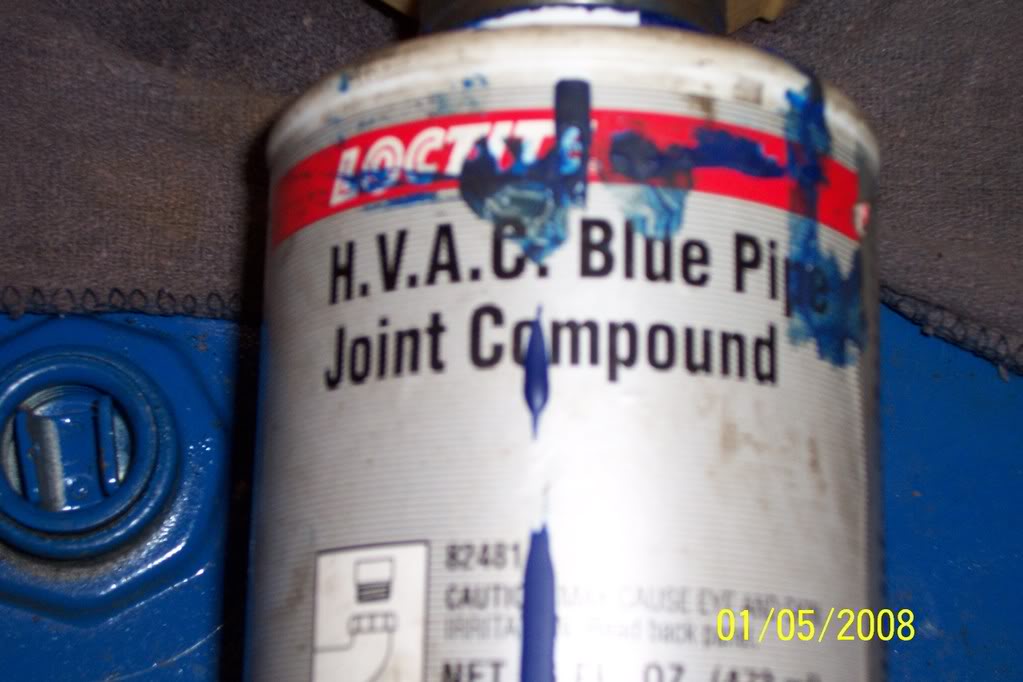
The joint sealer we use, (highly recomended),
Fuel pump removal, and draw straw install,
The joint sealer we use, (highly recomended),
01-06-2008, 02:06 PM
#4
Administrator ........ DTR's puttin fires out and workin on big trucks admin
Thread Starter
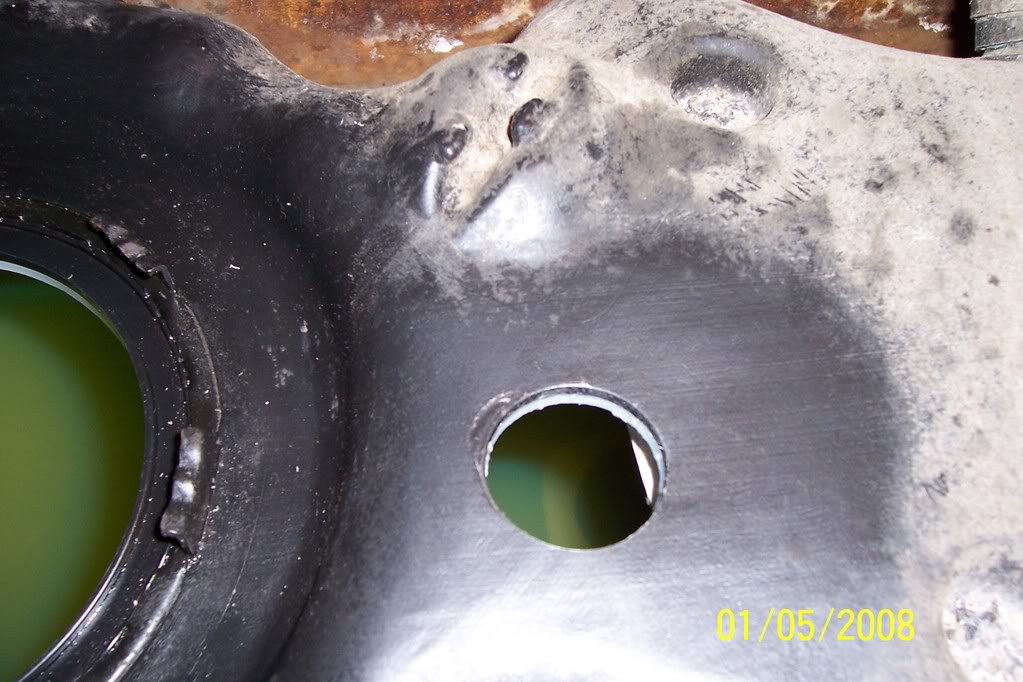
Continued, draw tube assembly and measurement, ok boy's, I dropped my tank with 20 gallons of fuel in it, using my h/d tranny lift centerd on the tank, after drilling the hole I had to cut the draw straw to size, ( pay attention here), the tank with fuel in it sitting center on the lift buckles the bottom of the tank inward giving you a false measurement, this is how I compensated for this, 1st measurement I cut 2" off the staw, then installed in the tank to get final measurement, at this point the straw was touching the bottom of the tank and the coupler was sticking up appx 1 gasket width (the rubber gasket that comes with the straw), I tightened it up and it touched the bottom of the tank, no problem though, as soon as I set the tank back up and relieved the pressure on the bottom of the tank it gave the required clearance, you could actuall push the tank bottom up and feel it hit the draw straw, the magic number for me was 2" with a VERY LIGHT grind to clean the edges of the draw tube. Here is the tube installed.
Reinstall tank and begin the plumbing, here are some fitting I used, the one on the left is supplied with the kit, but the one on the right I had at my shop, if you are gonna mod the bracket then I would highly recomend getting at least 2 of these, that is all I needed.
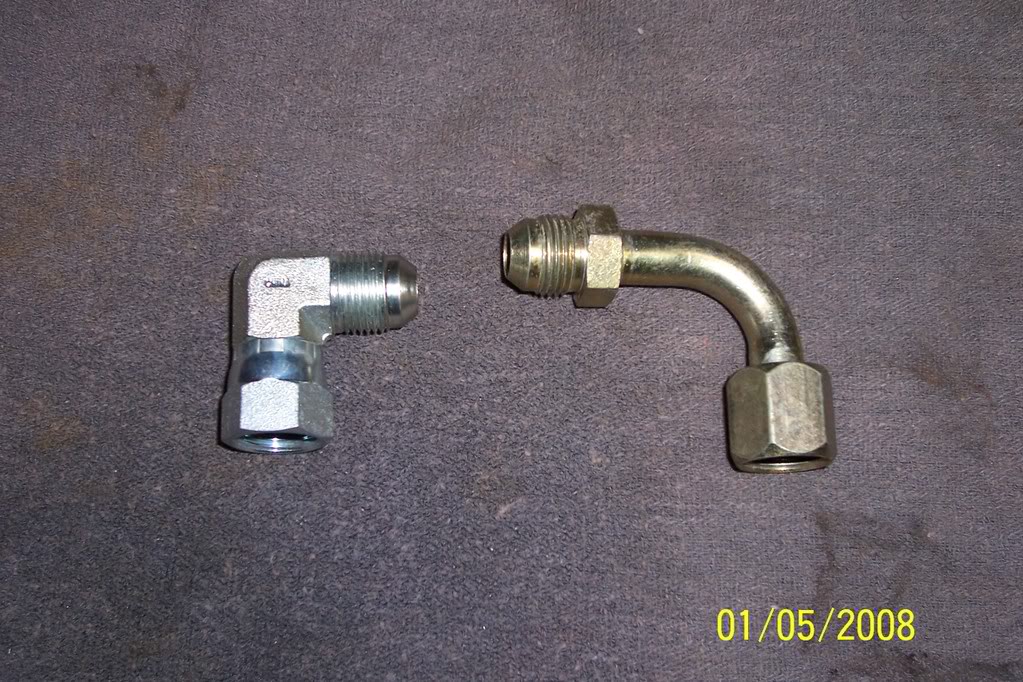
View of fitting installed,

Reinstall tank and begin the plumbing, here are some fitting I used, the one on the left is supplied with the kit, but the one on the right I had at my shop, if you are gonna mod the bracket then I would highly recomend getting at least 2 of these, that is all I needed.
View of fitting installed,
01-06-2008, 02:17 PM
#5
Administrator ........ DTR's puttin fires out and workin on big trucks admin
Thread Starter
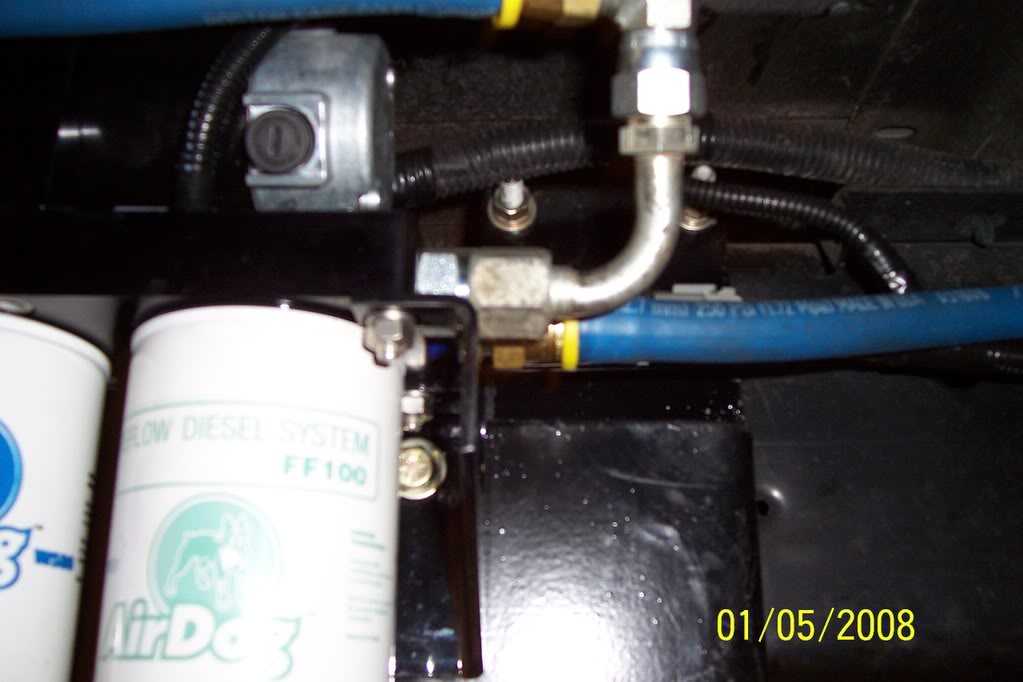
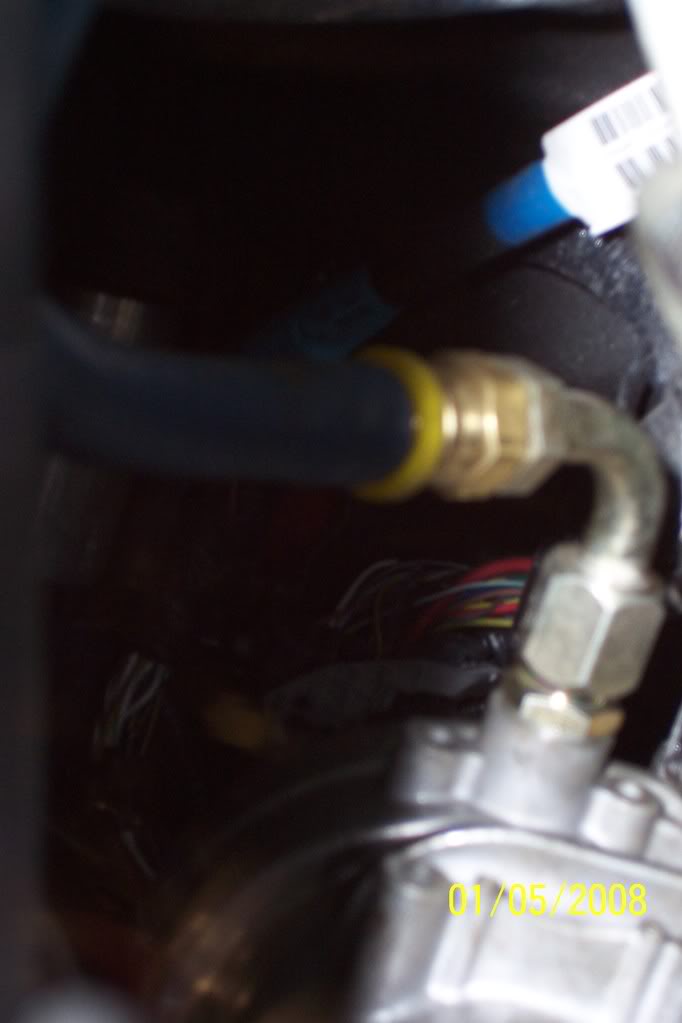
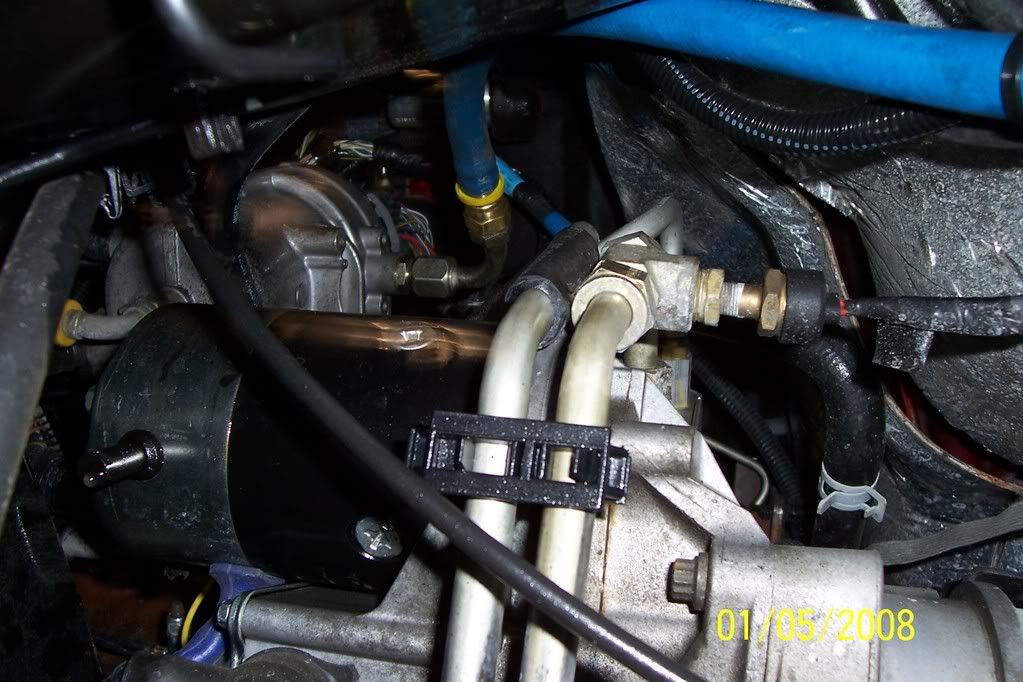
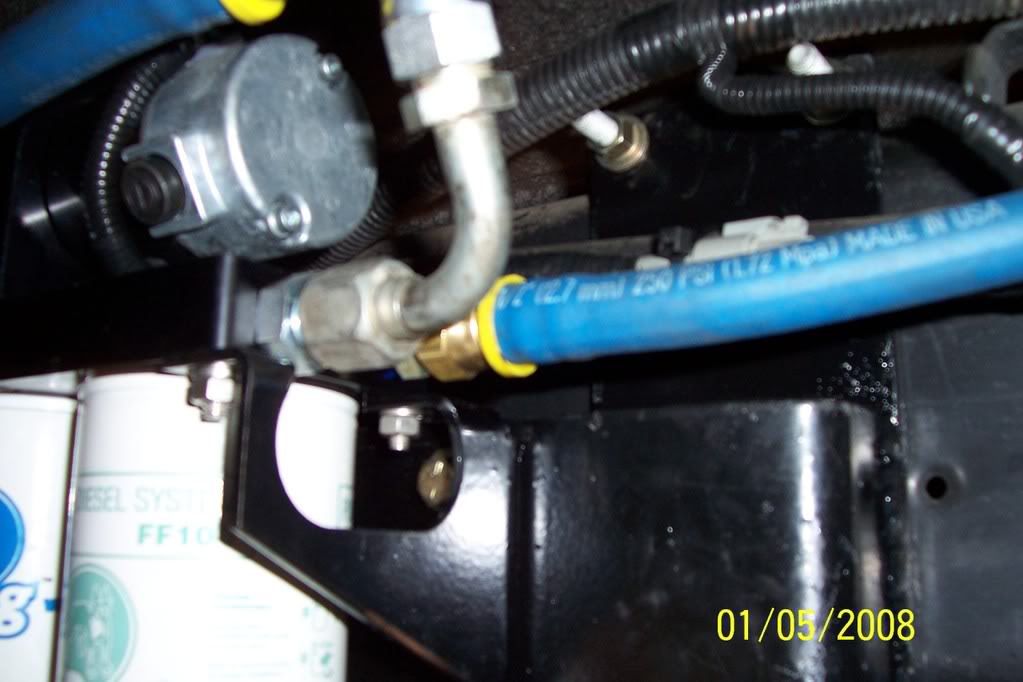
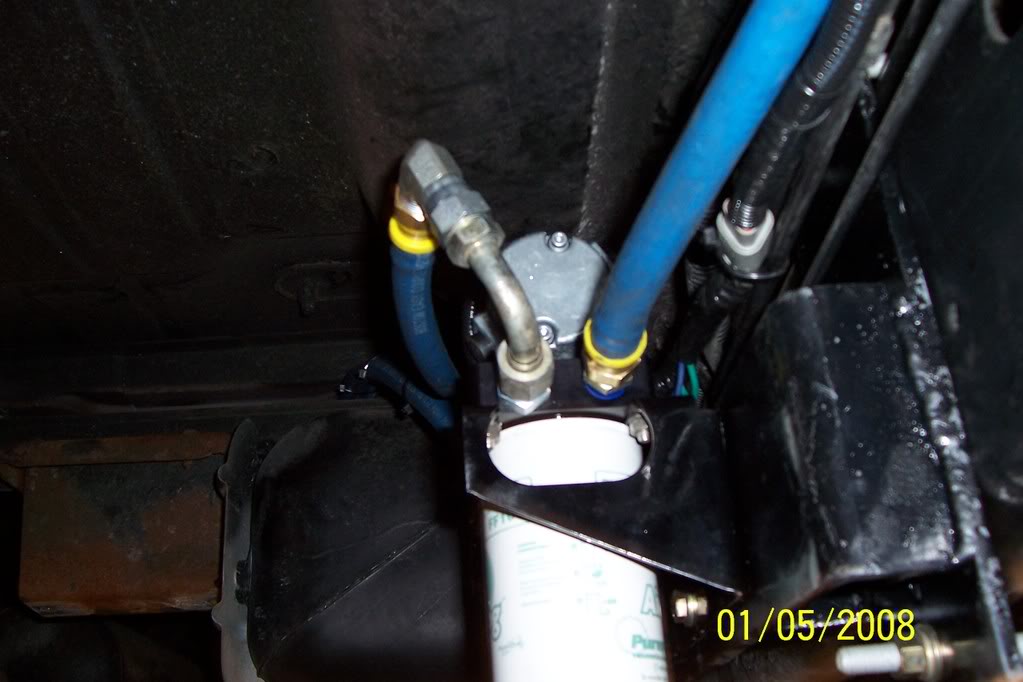
Continued, the A/D 100 is designed to be plumbed through the factory fuel filter housing, thus the delema about the wiring harness. here are pics of the feed line going to the factory f/f housing, this is also where I used the 2nd hydraulic elbow that I had.
01-06-2008, 02:44 PM
#6
Administrator ........ DTR's puttin fires out and workin on big trucks admin
Thread Starter
Continued, now the wiring, I zip tied the relay to the factory harness on the fire wall, I coiled up and tied off the change filter indicator wiring and tucked it out of the way, I cut the pathetic inline glass bus fuse caddy they supplied with the harness and installed a weather tight sfe fuse caddy. I also cut off the o-ring connectors they use and soldered and heat shrunk my own on the battery wires.
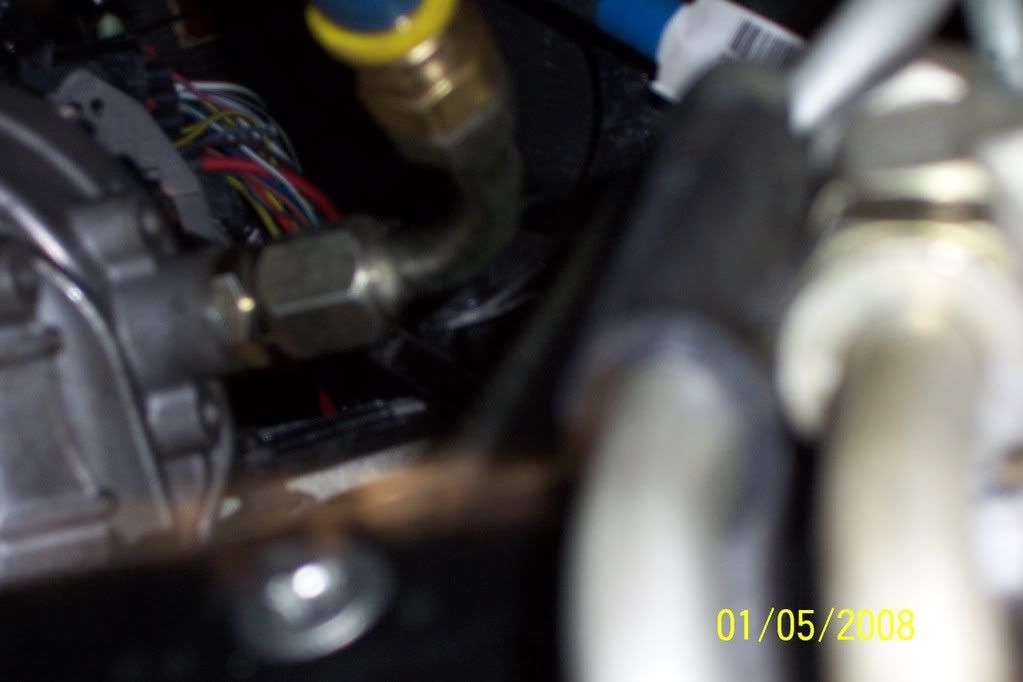
Now the trigger wire that they send with this kit is a BLACK wire and is designed to go to the fuse panel, so it is appx 30" long, I wanted to use the factory trigger wire, an orange wire with red stripe, ( thanks *****"s), and I had a location right next to the A/D on the frame to tie in, so I added 3' of the same diameter wire (16ga) and ran it in the wire loom for the A/D plug. The harness for the A/D power plug was about 3 ft longer than what I needed, so I ran it, measured it, cut and spliced it to the length that I wanted and tie it and the trigger wire in at the same location, Unfortunately these are the only pics I have of the wiring, (the trigger wire). The trigger wire is the ONLY wire that needs to be spliced into. I tied the orange with red stripe wire to my trigger wire then I took a piece of heatshrink tube and shrunk it on the end going to the tank, while the heatshrink tube was still hot I squeezed the end of it to make a water and air tight seal, (the pic of this was blurry, camera was dying at this point).
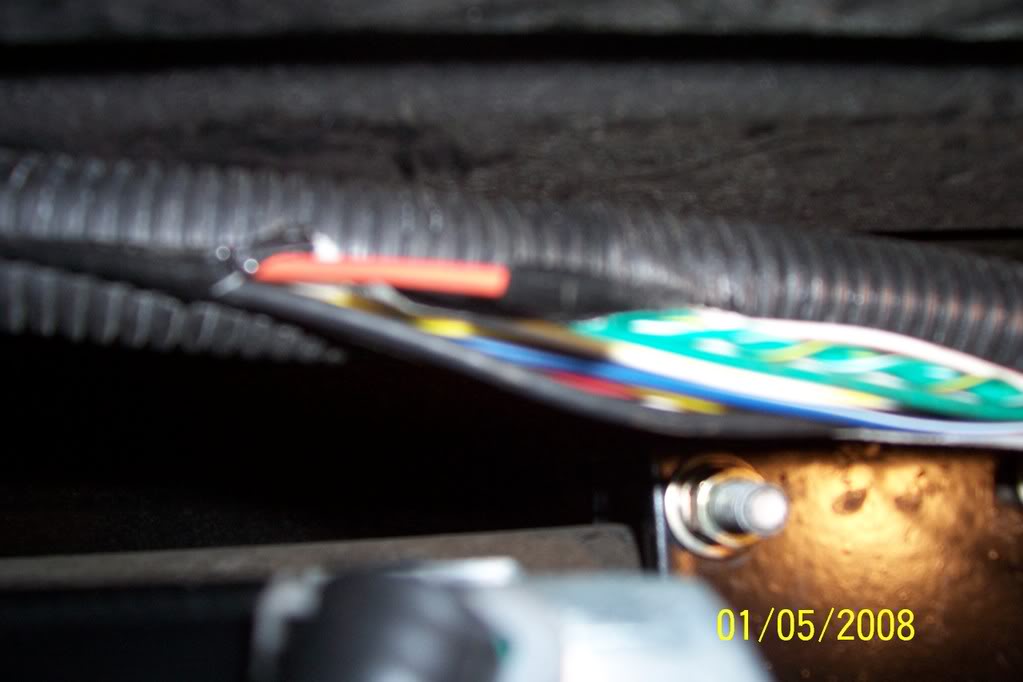
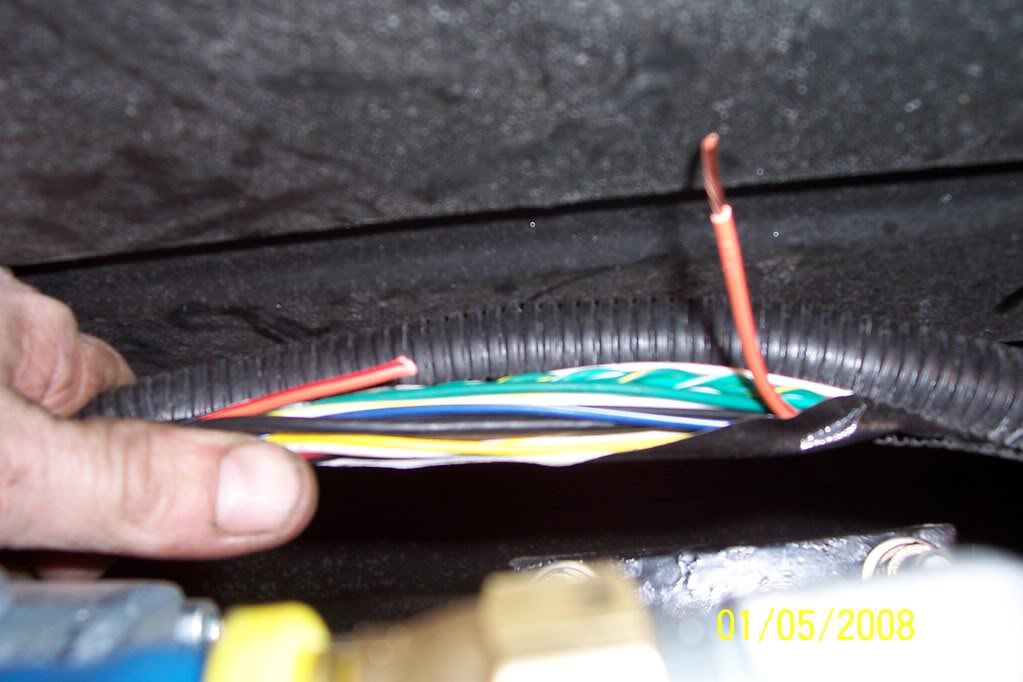
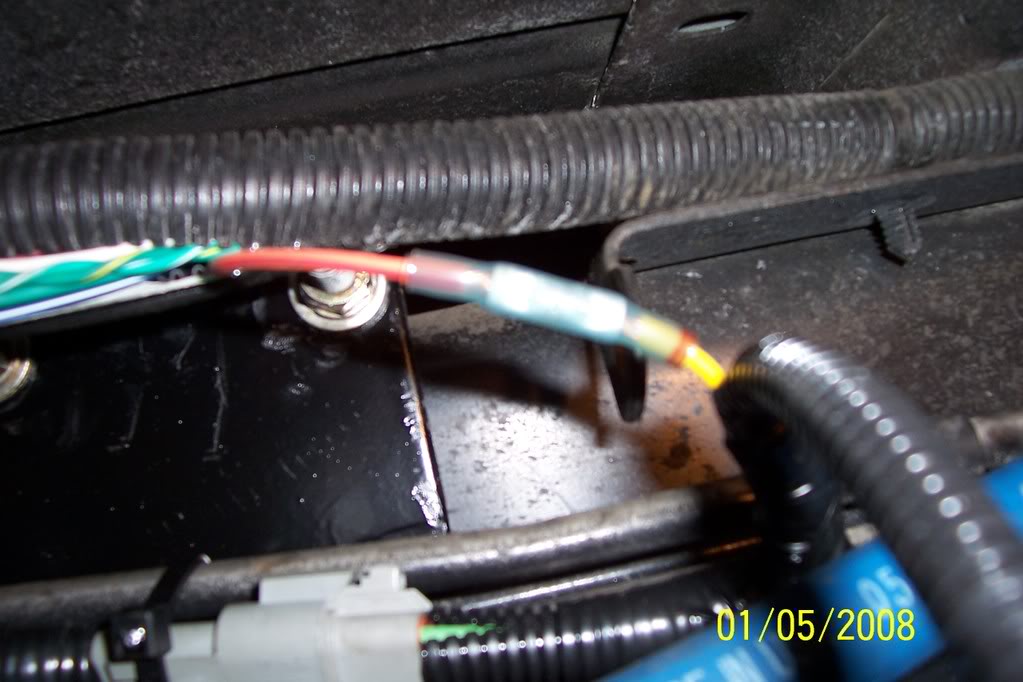
Notice the completed splice on the top right of picture,
Now the trigger wire that they send with this kit is a BLACK wire and is designed to go to the fuse panel, so it is appx 30" long, I wanted to use the factory trigger wire, an orange wire with red stripe, ( thanks *****"s), and I had a location right next to the A/D on the frame to tie in, so I added 3' of the same diameter wire (16ga) and ran it in the wire loom for the A/D plug. The harness for the A/D power plug was about 3 ft longer than what I needed, so I ran it, measured it, cut and spliced it to the length that I wanted and tie it and the trigger wire in at the same location, Unfortunately these are the only pics I have of the wiring, (the trigger wire). The trigger wire is the ONLY wire that needs to be spliced into. I tied the orange with red stripe wire to my trigger wire then I took a piece of heatshrink tube and shrunk it on the end going to the tank, while the heatshrink tube was still hot I squeezed the end of it to make a water and air tight seal, (the pic of this was blurry, camera was dying at this point).
Notice the completed splice on the top right of picture,

Trending Topics
01-06-2008, 03:07 PM
#8
Administrator ........ DTR's puttin fires out and workin on big trucks admin
Thread Starter
Continued, all in all not a bad job, however I don't see it being done in 3 hours, at least not with any quality, It took me 14 hours without stopping one time. 
The directions supplied are shotty at best, just simply not specific enough with very poor detail, (to generic). I know they are working on better instructions.
The pump assembly, and most related components are of top quality, the pump runs a little loud at start up but that is it, once the truck is running you cant hear the pump at all. Even though this pump is routed through the factory f/f housing and my GDP 2 micron f/f set up it still puts a rock solid 18 psi at the cps, (sweet). I think I will be eliminating the GDP 2 micron set up, and run the stock f/f housing with no filter, the jury is still out on it though.
I noticed once the truck fired up and the air bled out of the system, it idled a LOT quiter, acceleration seems smoother with less effort, the pinging/ nailing I had seems to be completely gone also, time will tell.
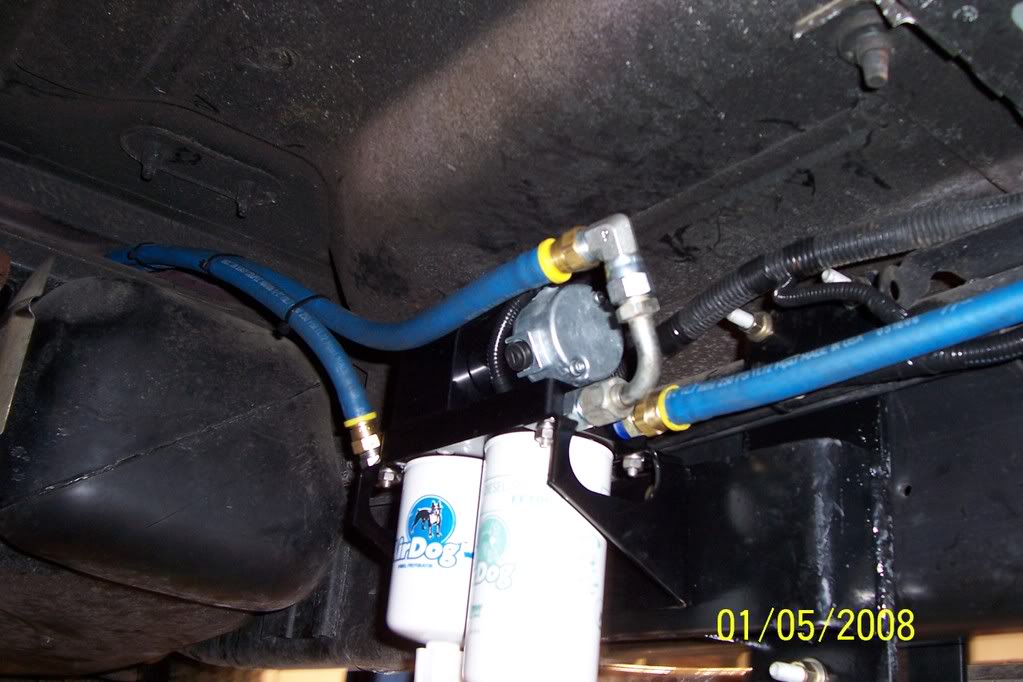
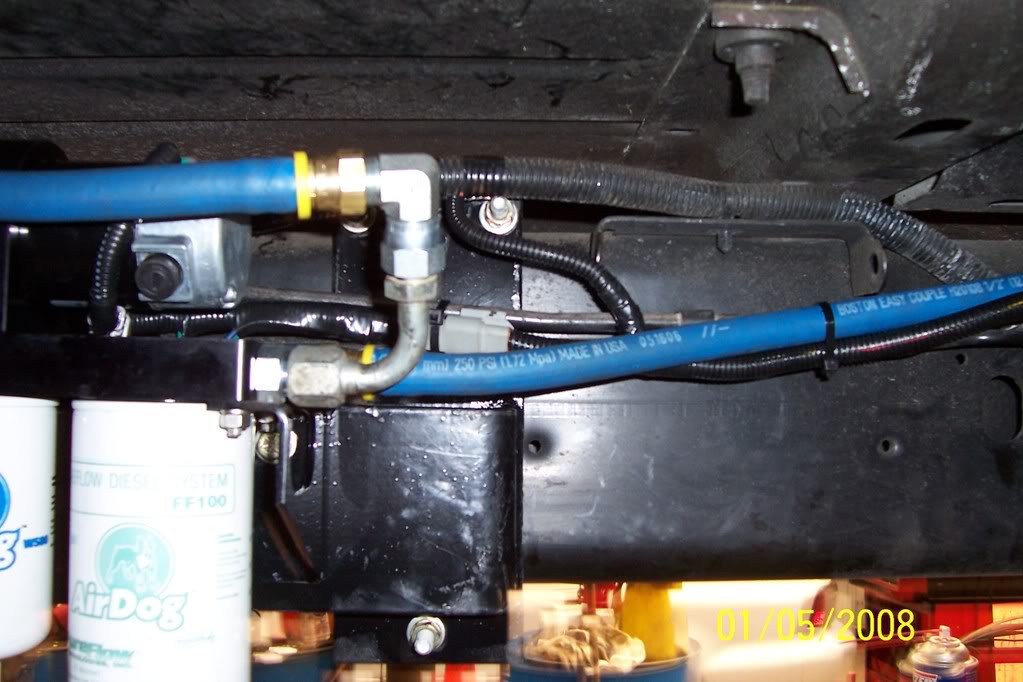
Even with the small problems I would have to give 2 thumbs up, all said and done. Here are some final install pics.
Thanks for viewing,
Tim


The directions supplied are shotty at best, just simply not specific enough with very poor detail, (to generic). I know they are working on better instructions.
The pump assembly, and most related components are of top quality, the pump runs a little loud at start up but that is it, once the truck is running you cant hear the pump at all. Even though this pump is routed through the factory f/f housing and my GDP 2 micron f/f set up it still puts a rock solid 18 psi at the cps, (sweet). I think I will be eliminating the GDP 2 micron set up, and run the stock f/f housing with no filter, the jury is still out on it though.
I noticed once the truck fired up and the air bled out of the system, it idled a LOT quiter, acceleration seems smoother with less effort, the pinging/ nailing I had seems to be completely gone also, time will tell.
Even with the small problems I would have to give 2 thumbs up, all said and done. Here are some final install pics.
Thanks for viewing,
Tim


 [/QUOTE]
01-06-2008, 05:34 PM
[/QUOTE]
01-06-2008, 05:34 PM
#10
Registered User

Join Date: Oct 2006
Location: greensboro
Posts: 411
Likes: 0
Received 0 Likes
on
0 Posts
The setup must be totally diffrent on a newer truck cause mine fit flawlessly and was a clean setup with out butcher it up and modifity brakets like that. Plus the fp 100 I thought would pull threw the factory draw straw location. Plus don't think any of them are designed to go threw the factory filter housing what would be the point of running it threw 2 filters.
01-06-2008, 10:17 PM
#11
Administrator ........ DTR's puttin fires out and workin on big trucks admin
Thread Starter
The setup must be totally diffrent on a newer truck cause mine fit flawlessly and was a clean setup with out butcher it up and modifity brakets like that. Plus the fp 100 I thought would pull threw the factory draw straw location. Plus don't think any of them are designed to go threw the factory filter housing what would be the point of running it threw 2 filters.
Its routed through the factory f/f housing because the wiring with the 100 series does not allow for any electronic bypassing. As far as the 2 extra filters go, I plan on running the factory f/f housing without a filter, so I can still benefit from the fuel heater, as for the GDP 2 micron, its coming off the truck.
Tim
01-06-2008, 10:31 PM
#12
Registered User
Join Date: Oct 2006
Location: greensboro
Posts: 411
Likes: 0
Received 0 Likes
on
0 Posts
Yea i forgot some of the newer ones have the intake pump the only way around the draw straw then is to use the pickup off a jeep liberty and it is a direct swap out so that you dont have to drill a hole in the top of the tank, Wasnt trying to knock your work just trying to learn about those year models and came across wrong. Just out of curioustiy what do you mean by "does not allow for any electronic bypassing" was wondering what you have to bypass. I know you lose the water in fuel light and I didnt see what good the fuel heater was doing that far up the fuel line anyway as if it was going to gel it would in the line well before there.
01-06-2008, 10:59 PM
#14
Administrator ........ DTR's puttin fires out and workin on big trucks admin
Thread Starter
I called Air Dog before I made the purchase through them, the individual I talked to stated that the 100 series could use the factory p/u by removing the fuel pump from the basket and replacing it with a hose, that sealed the deal for me, I did not want to drill a hole in my fuel tank. However when the pump arrived it had absolutely no provisions what so ever to replace the factory lift pump, or connect to the pick up assembly, but it did come with the draw straw provision, so I called customer service and essentially got off the phone with more questions than answers. After pondering it for about a week and reading a bunch of posts I decided to go forward with the install (even though I was cringing at slugging a hole in the tank  ). Now that it is done, if for some reason the A/D ever fails I have an intact fuel pump in place and ready for use with an hours worth of my time, even on the side of the road.
I offer my apology for misunderstanding you.
Tim
). Now that it is done, if for some reason the A/D ever fails I have an intact fuel pump in place and ready for use with an hours worth of my time, even on the side of the road.I offer my apology for misunderstanding you.
Tim
01-06-2008, 11:09 PM
#15
Administrator ........ DTR's puttin fires out and workin on big trucks admin
Thread Starter
Tim